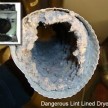
How To Clean A Dryer Duct
How To Clean A Dryer Duct – Steps
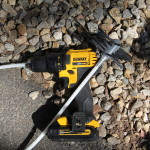
Cleaning a dryer duct on the inside is best done with the addition of a vacuum so you can control the lint dust.
Many dryer duct kits come with a special cap that allows you to attach a vacuum hose as well as run the flexible rod through the cap.
STEPS:
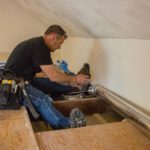
1. Determine if it is easier to clean the dryer duct from the inside of the house or from the outside. If the duct is on a second or third story you may want to clean it from the inside.
These caps fit into the dryer duct and prevent the lint dust from entering the room.
TIP: Unplug the dryer from the power source and pull it out from the wall and the dryer duct connection. Use care with gas connections.
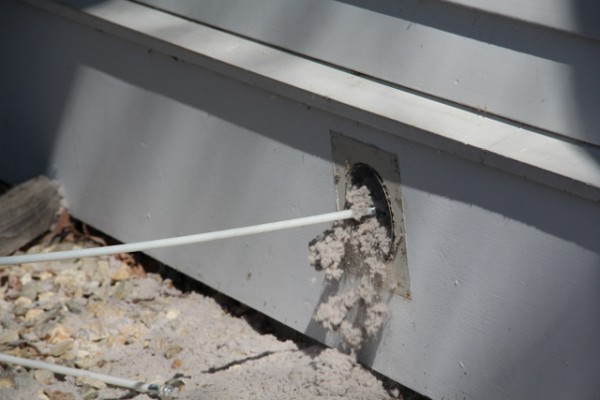
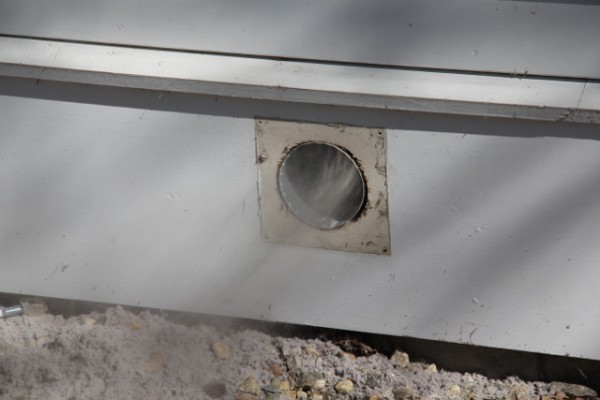
4. If you are cleaning the dryer duck from the outside remove
the dryer hood if possible. If not possible use a paper clip to hold open the flapper.
TIP: When done cleaning the entire dryer duct turn on the dryer and allow all of the loose lint debris to exit the pipe. Run the brush through the pipe once or twice with the dryer running. Wear a dust mask!
5. After cleaning the duct work re install the dryer to the duct or the dryer hood to the pipe. Replace and repair any damaged or worn parts.
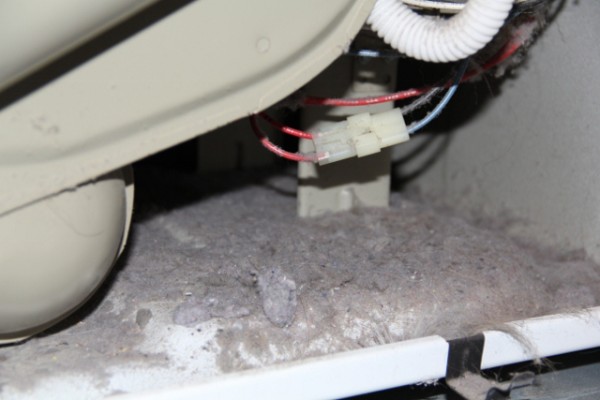
Cleaning Lint From Inside The Dryer
4. Run your brush and vacuum into the lint screen area.
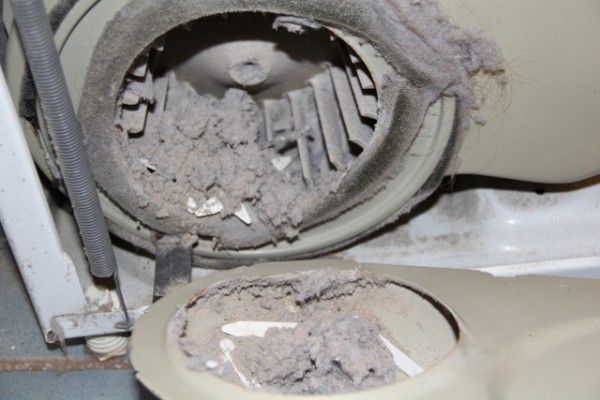
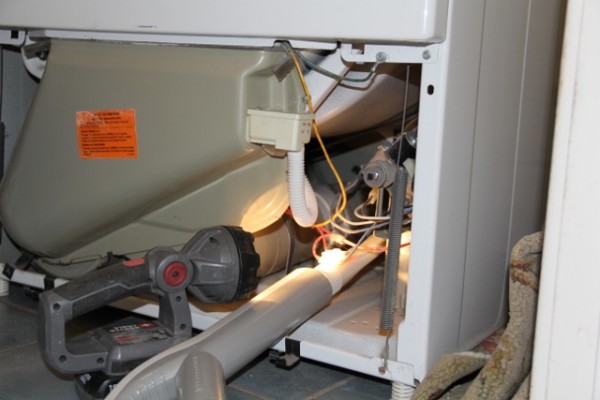
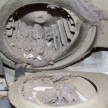
5. Vacuum the squirrel cage blower fan. [photo above]
Clearing Dryer Duct Obstructions
Reconnect everything and test dryer. It is normal to see visible lint flying out of the exterior hood after doing this procedure.
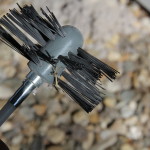
Sometimes a dryer duct develops an obstruction whether it is from a rodent or a bird nesting inside the pipe. Most dryer duct kits come with an obstruction attachment that replaces the brush.
The Blockage Removal Tool can be used to dislodge and clear animal and bird nests in the exhaust vent prior to rotary brushing and also clears debris from clogged gutter downspouts – without stepping foot on a ladder.
RELATED POST:
Dryer and Bathroom Duct Cleaning
How to Clean A Dryer Duct and Vent


