Cleaning A Dryer Vent
When you consider that 15,000 fires start in the laundry room every year and that these fires are mostly due to lint build up in the clothes dryer or a clogged dryer duct it makes you wonder why we don’t do something about it. Annual dryer duct cleaning will ensure you avoid these possible issues.

When you further consider that these fires result in 10 deaths and 310 injuries per year I just shake my head. [stats according to the Consumer Product Safety Commission]
Can you imagine if this happened to your family? Your children? Instead of fretting do something . . . clean your dryer ducts!
Empty Lint Screen Every Time
Many dryer fires are attributed to lint accumulation inside the dryer or dryer duct work. Failure to clean the lint trap is the most likely cause of massive lint build up. You should clean the lint trap EVERY time you use the dryer.
Does Your Dryer Vent Need To Be Cleaned?
Determining if your dryer duct is full of lint and in need of cleaning can be straightforward. The clue is noticing if your clothes dryer is taking longer to dry a load of clothes, actually taking two and three cycles to dry clothes that once dried in one.
If your clothes come out hot after the last cycle then you can usually rule out your your heating element and suspect a blocked duct.


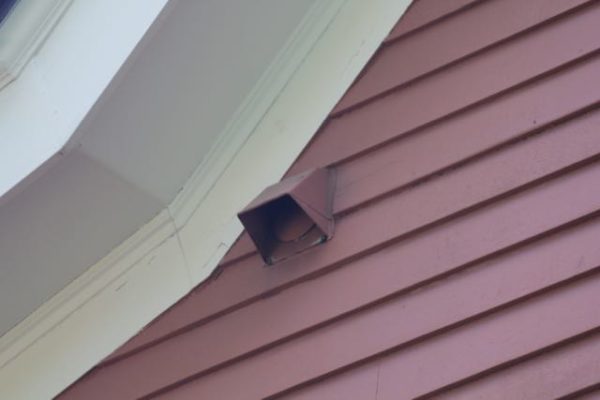
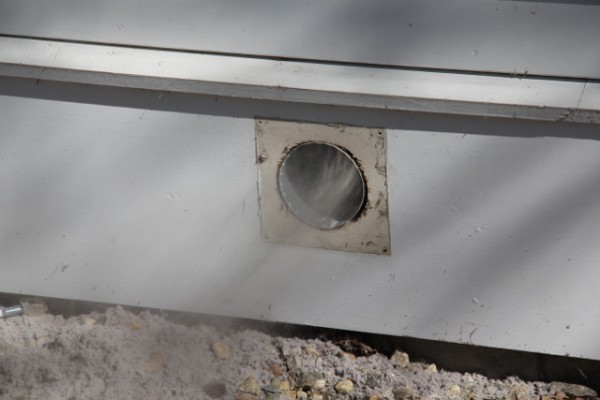
Inspect Exterior Vent Flap
Inspect the exterior vent flap when the dryer is in use. Make sure there are no exterior obstructions like bird, mouse or bee nests. The air velocity should open this vent wide open. If the exterior flapper barely opens then your airflow is minimal and your duct may need to be cleaned or shortened.

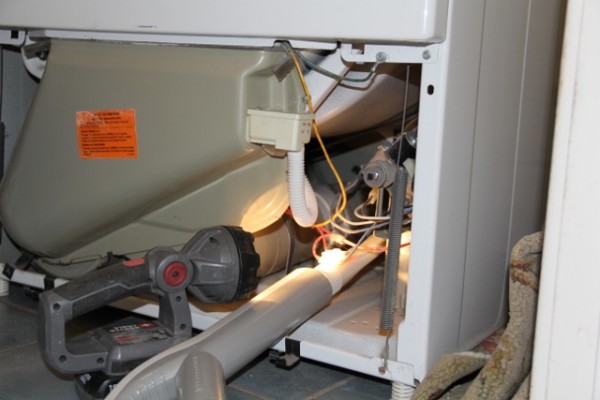
Check For Kinked Hose Behind Dryer
When dryers are located a short distance from an outside wall, the short, straight exhaust duct runs worked well, and leaves little need for maintenance and making inspecting easy. Many laundry rooms today are situated deeper inside homes with long runs and several elbows, often resulting in restrictive airflow. Many times these pipes are buried in finished ceilings or floors.
Clues Your Dryer Duct Is Clogged
- Clothes take an unusually long time to dry
- Clothes are hotter than usual at the end of the drying cycle
- Outside of dryer feels unusually hot
- Exterior vent flap barely opens when dryer is on
- Laundry room feels warmer or more humid than normal
- Unexplained moisture stains appear in ceiling below exhaust pipe
- Burnt smell when using machine
Do You Have The Correct Vent Pipe?
Before you clean our your dryer duct, it’s a good idea to see if you have the correct type of pipe installed, and if it was installed properly to operate safely.
Inspect the rear of the dryer and ensure that the was not pushed in too far, resulting in the dryer duct being crushed. This condition would also slow air flow and create a lint trap. A good dryer to pipe transition is the “Periscope-type connector.” I like these connectors because they eliminate the common problem of kinked and crushed transition ducts behind the dryer.
Dryer ducts should be UL-approved 4″ metal material and all the joints sealed with metal foil tape. The metal tape helps seal off air leaks form the system and makes the air flow more efficient. Avoid using metal screws or white plastic flex pipe.
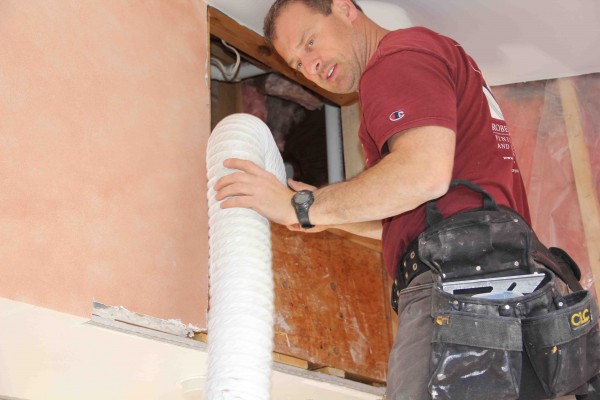
Removing white plastic flex pipe
There should be no sheet-metal screws, rivets or any other fastener used to connect the duct joints. Fasteners that extend into the airway will catch lint and obstruct airflow. Clamps or foil duct tape should be used to secure joints.
Avoid White or Mylar Spiral Type Duct
Mylar-covered spiral wire duct was popular for awhile and replaced the white vinyl duct. Mylar is a shiny metallic-coated polyester film, and it is slightly more heat-resistant than vinyl, but still presents a fire hazard. The use of solid all-metal [ridgid or semi-ridgid] exhaust ducts is now the standard, code-approved, and solid piping is still the BEST method for venting.
Look for sags in the dryer exhaust duct-pipe run. This happens when the pipe is not properly supported and the sag cab create a restriction, preventing all the moisture and lint from blowing out.
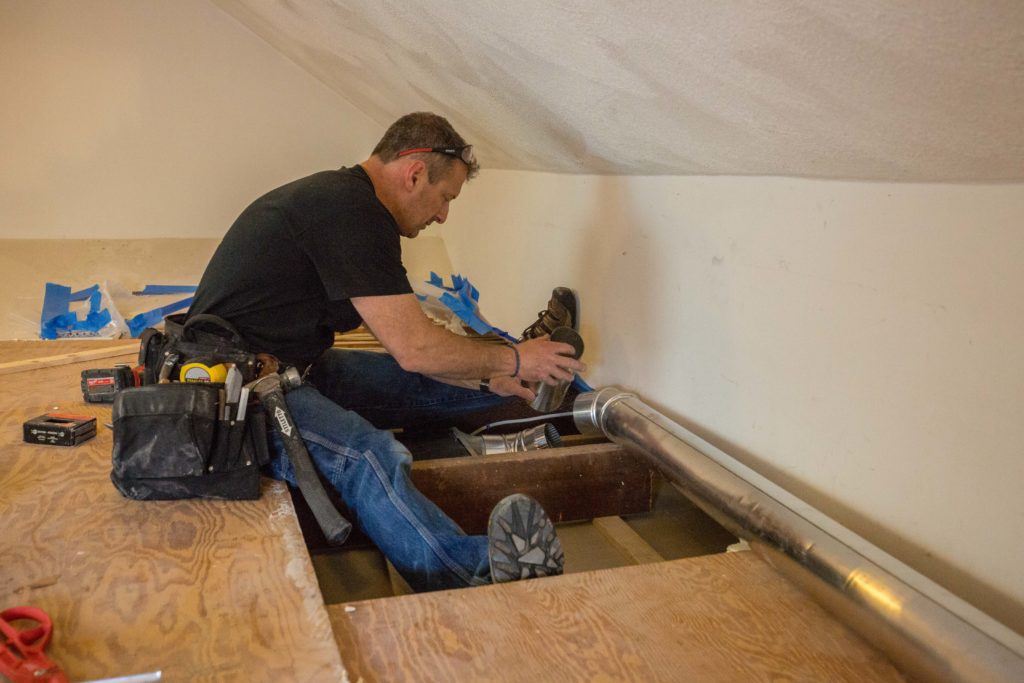
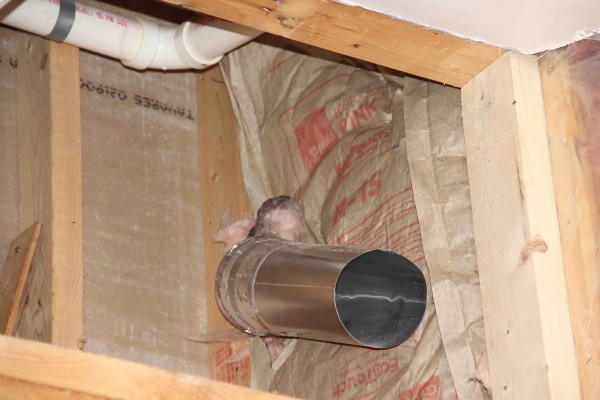
Insulate Any Vent Pipe In Unheated Spaces
Ensure that any dryer ducts traveling through unheated attic or eve spaces are insulated. Un-insulated pipe will sweat or create frost and interior lint build up. While you at it, ensure that all of the pipe seams are facing up and sealed with foil tape – to prevent seam seepage.
Follow Manufacturers Duct Runs
Dryer ducts should not exceed the dryer manufacturers recommendation. The duct must not exhaust into attics, crawl spaces, basements, chimneys, the cavity of any wall or any interior room. Always vent to the exterior with an approved exterior dryer vent hood and back draft damper flap. The damper is important to prevent outside air intrusion and the entry of small animals.
Dryer Duct Best Practices
- Use rigid aluminum or rigid galvanized steel duct (especially if concealed). If flexible metal duct must be used, use the semi-rigid type.
- The dryer duct should be as straight and short as possible. Minimize 90-degree turns. Sharp turns cause back pressure and create resistance to airflow. Two 45-degree bends are more efficient than one 90-degree bend. For best performance, separate all turns by 4 feet of straight duct.
- Duct joints should be wrapped with foil tape to make air and moisture tight.
- Rigid seamed exhaust duct ideally should be installed with the seams up to prevent any accumulation of condensation from seeping out. When possible, horizontal runs of dryer ducts should slope slightly downward (1/4 inch per foot) toward the exterior termination to reduce the possibility of condensation accumulating and collecting lint.
- The hood should point down and have at least 12 inches of clearance between the bottom of the hood and the ground.
- Ducts should always have adequate support, especially at each joint.
- A dryer duct should never exhaust near the fresh air intake of a high-efficiency furnace, water heater or any HVAC intake.
- In cold climates, insulating the dryer exhaust duct in unheated spaces may help to limit the condensation from forming inside the duct and collecting lint.
- Exhausting a dryer near or next to an air conditioning or heat pump condensing unit should be avoided. The expelled lint can collect and clog the condenser fins and will likely require continual condenser cleaning
Continue Reading . . .
How To Clean A Dryer Duct
Clothes dryer vents need to be periodically cleaned to remove the build up of lint and other obstructions. Here are a few tips to keep your clothes dryer running safely and efficiently:
Clean Dryer Ducts Annually
Establishing an annual dryer duct cleaning schedule is important, and it is also not as hard as you’d think.
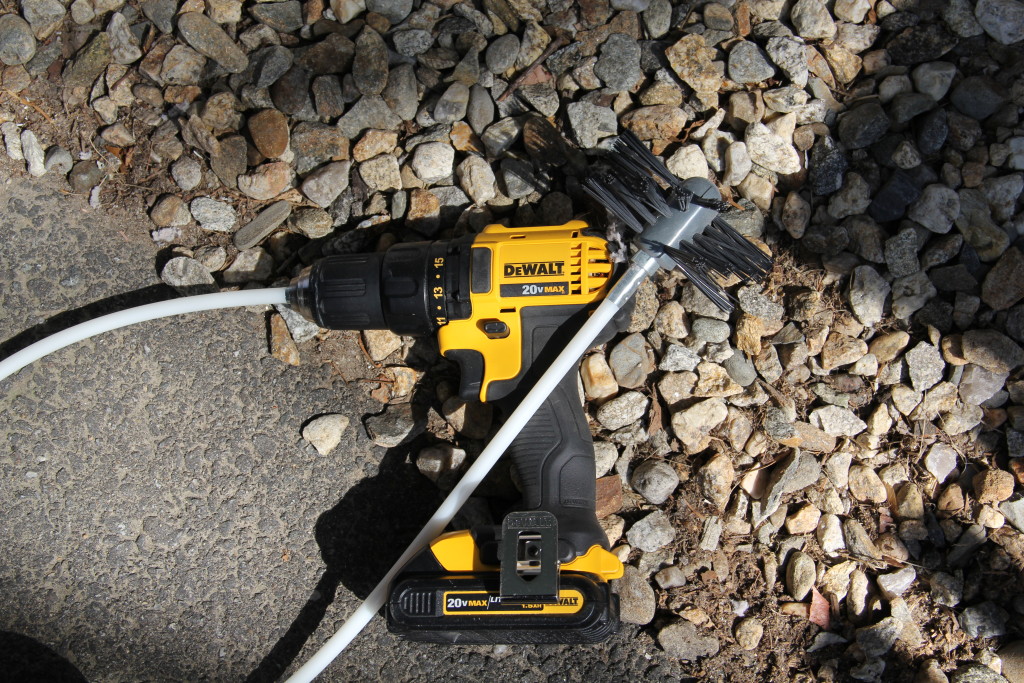
You can purchase a dryer duct kit online or at your hardware store for approximately $40.00. I’ve also seen people use a shop vacuum and insert it from both ends of the dryer vent pipe. One home inspector friend of mine even used battery powered leaf blower on the inside and a shop vacuum on the outside with good success.
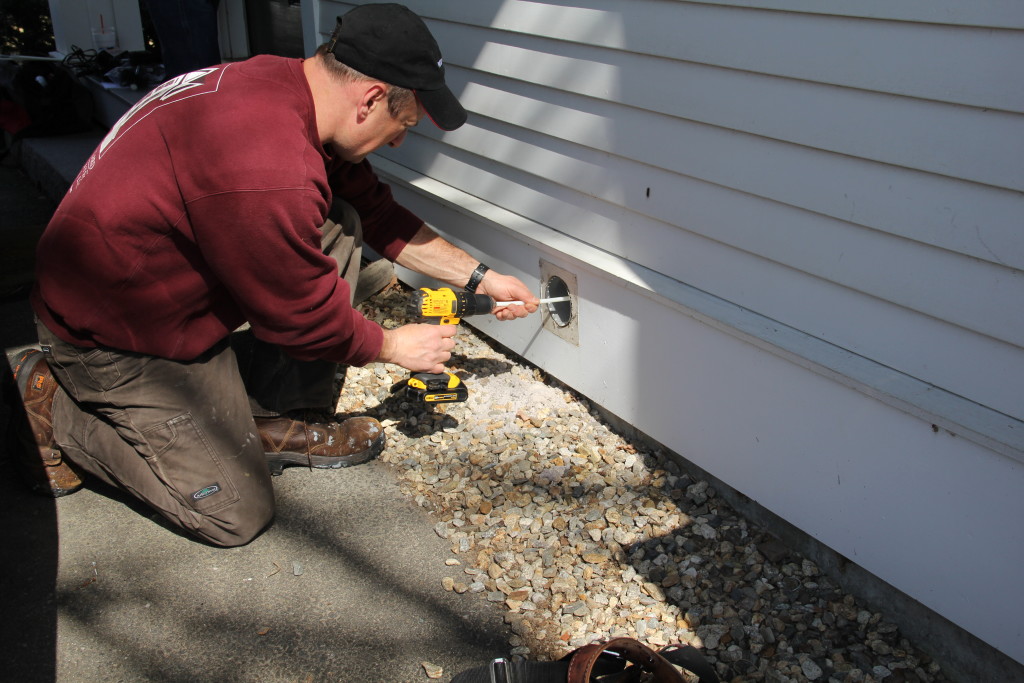
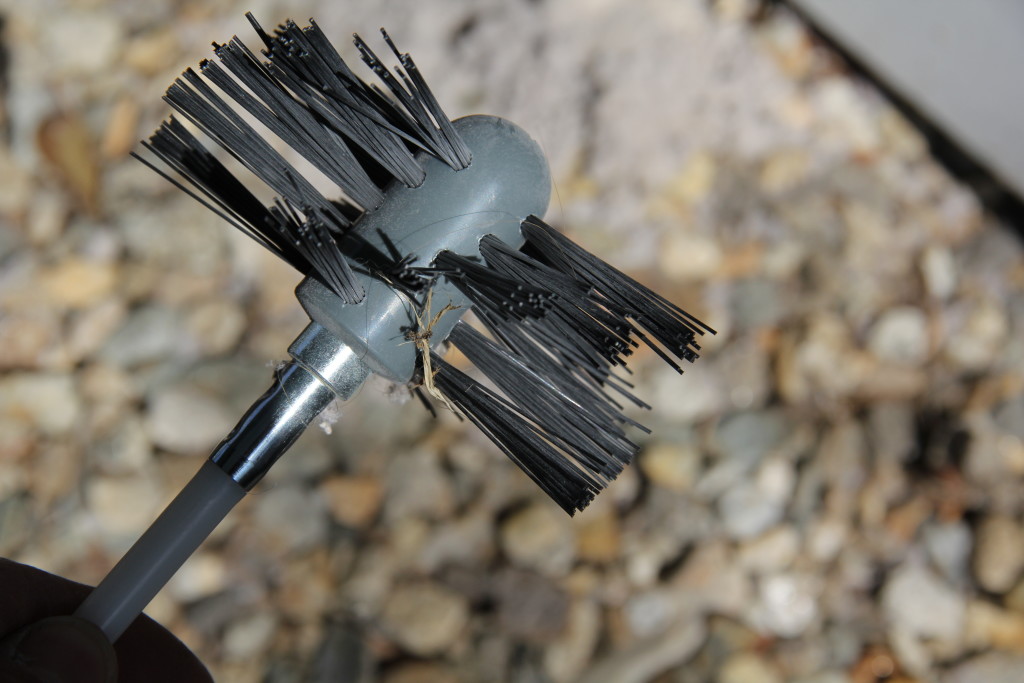
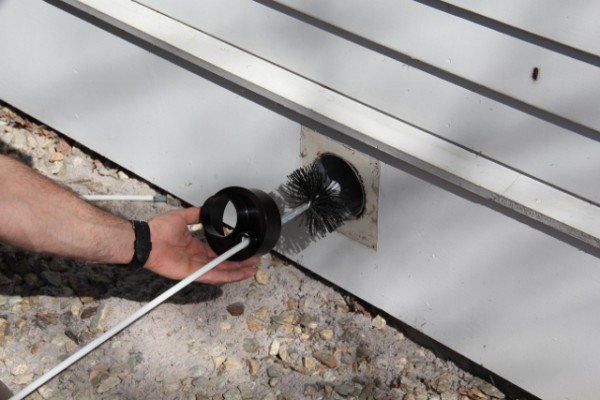
These kits are designed to be used with a drill. An auger brush attaches to a flexible rod is designed to allow both air and loosened lint to pass through the durable bristles for easy lint removal. The brush head is bendable to conform to tight spaces and has a plastic round nose that allows it to navigate in and around pipe elbows.
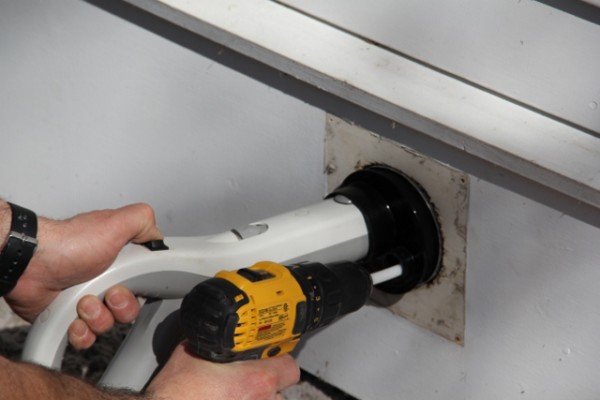
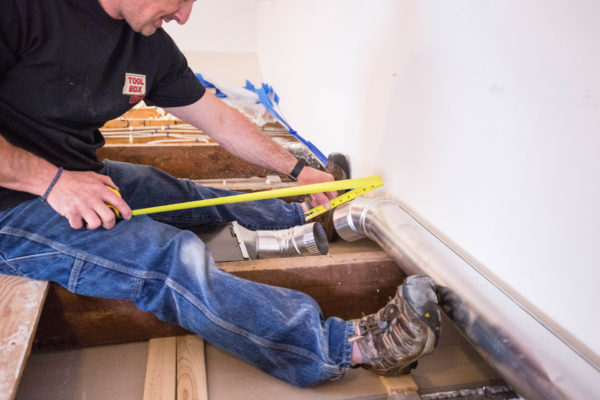
The flexible rods are typically 36″ long and you can use this length to determine approximately how many rods you will need., A kit typically comes with enough flexible rods to clean a 12 foot duct.
How To Clean A Dryer Duct – Steps
Cleaning a dryer duct on the inside is best done with the addition of a vacuum so you can control the lint dust.
Many dryer duct kits come with a special cap that allows you to attach a vacuum hose as well as run the flexible rod through the cap.
STEPS:
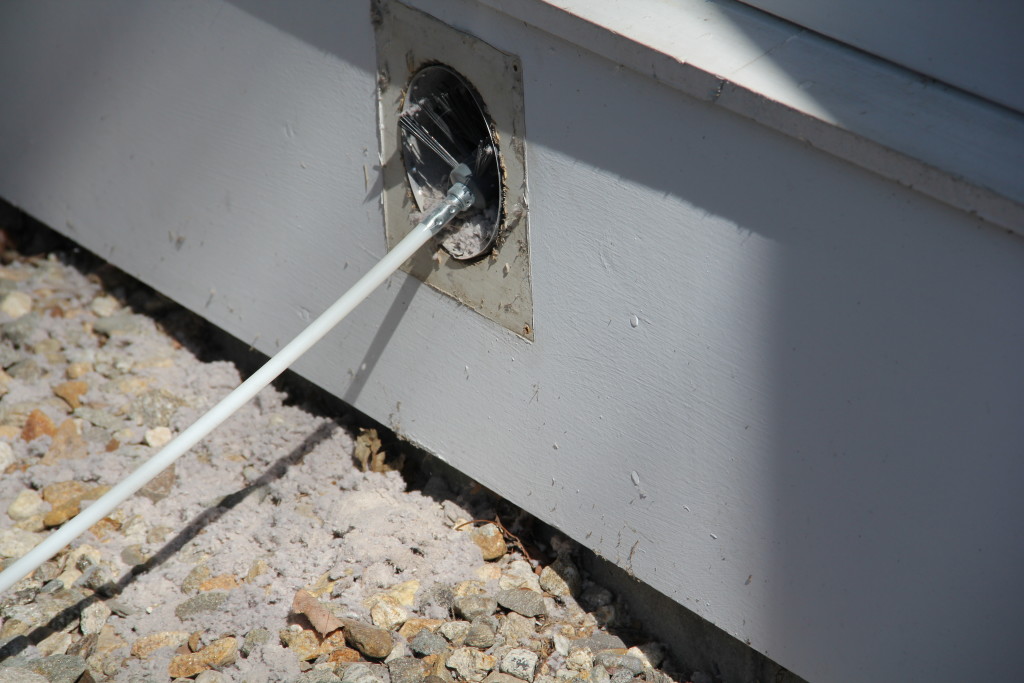
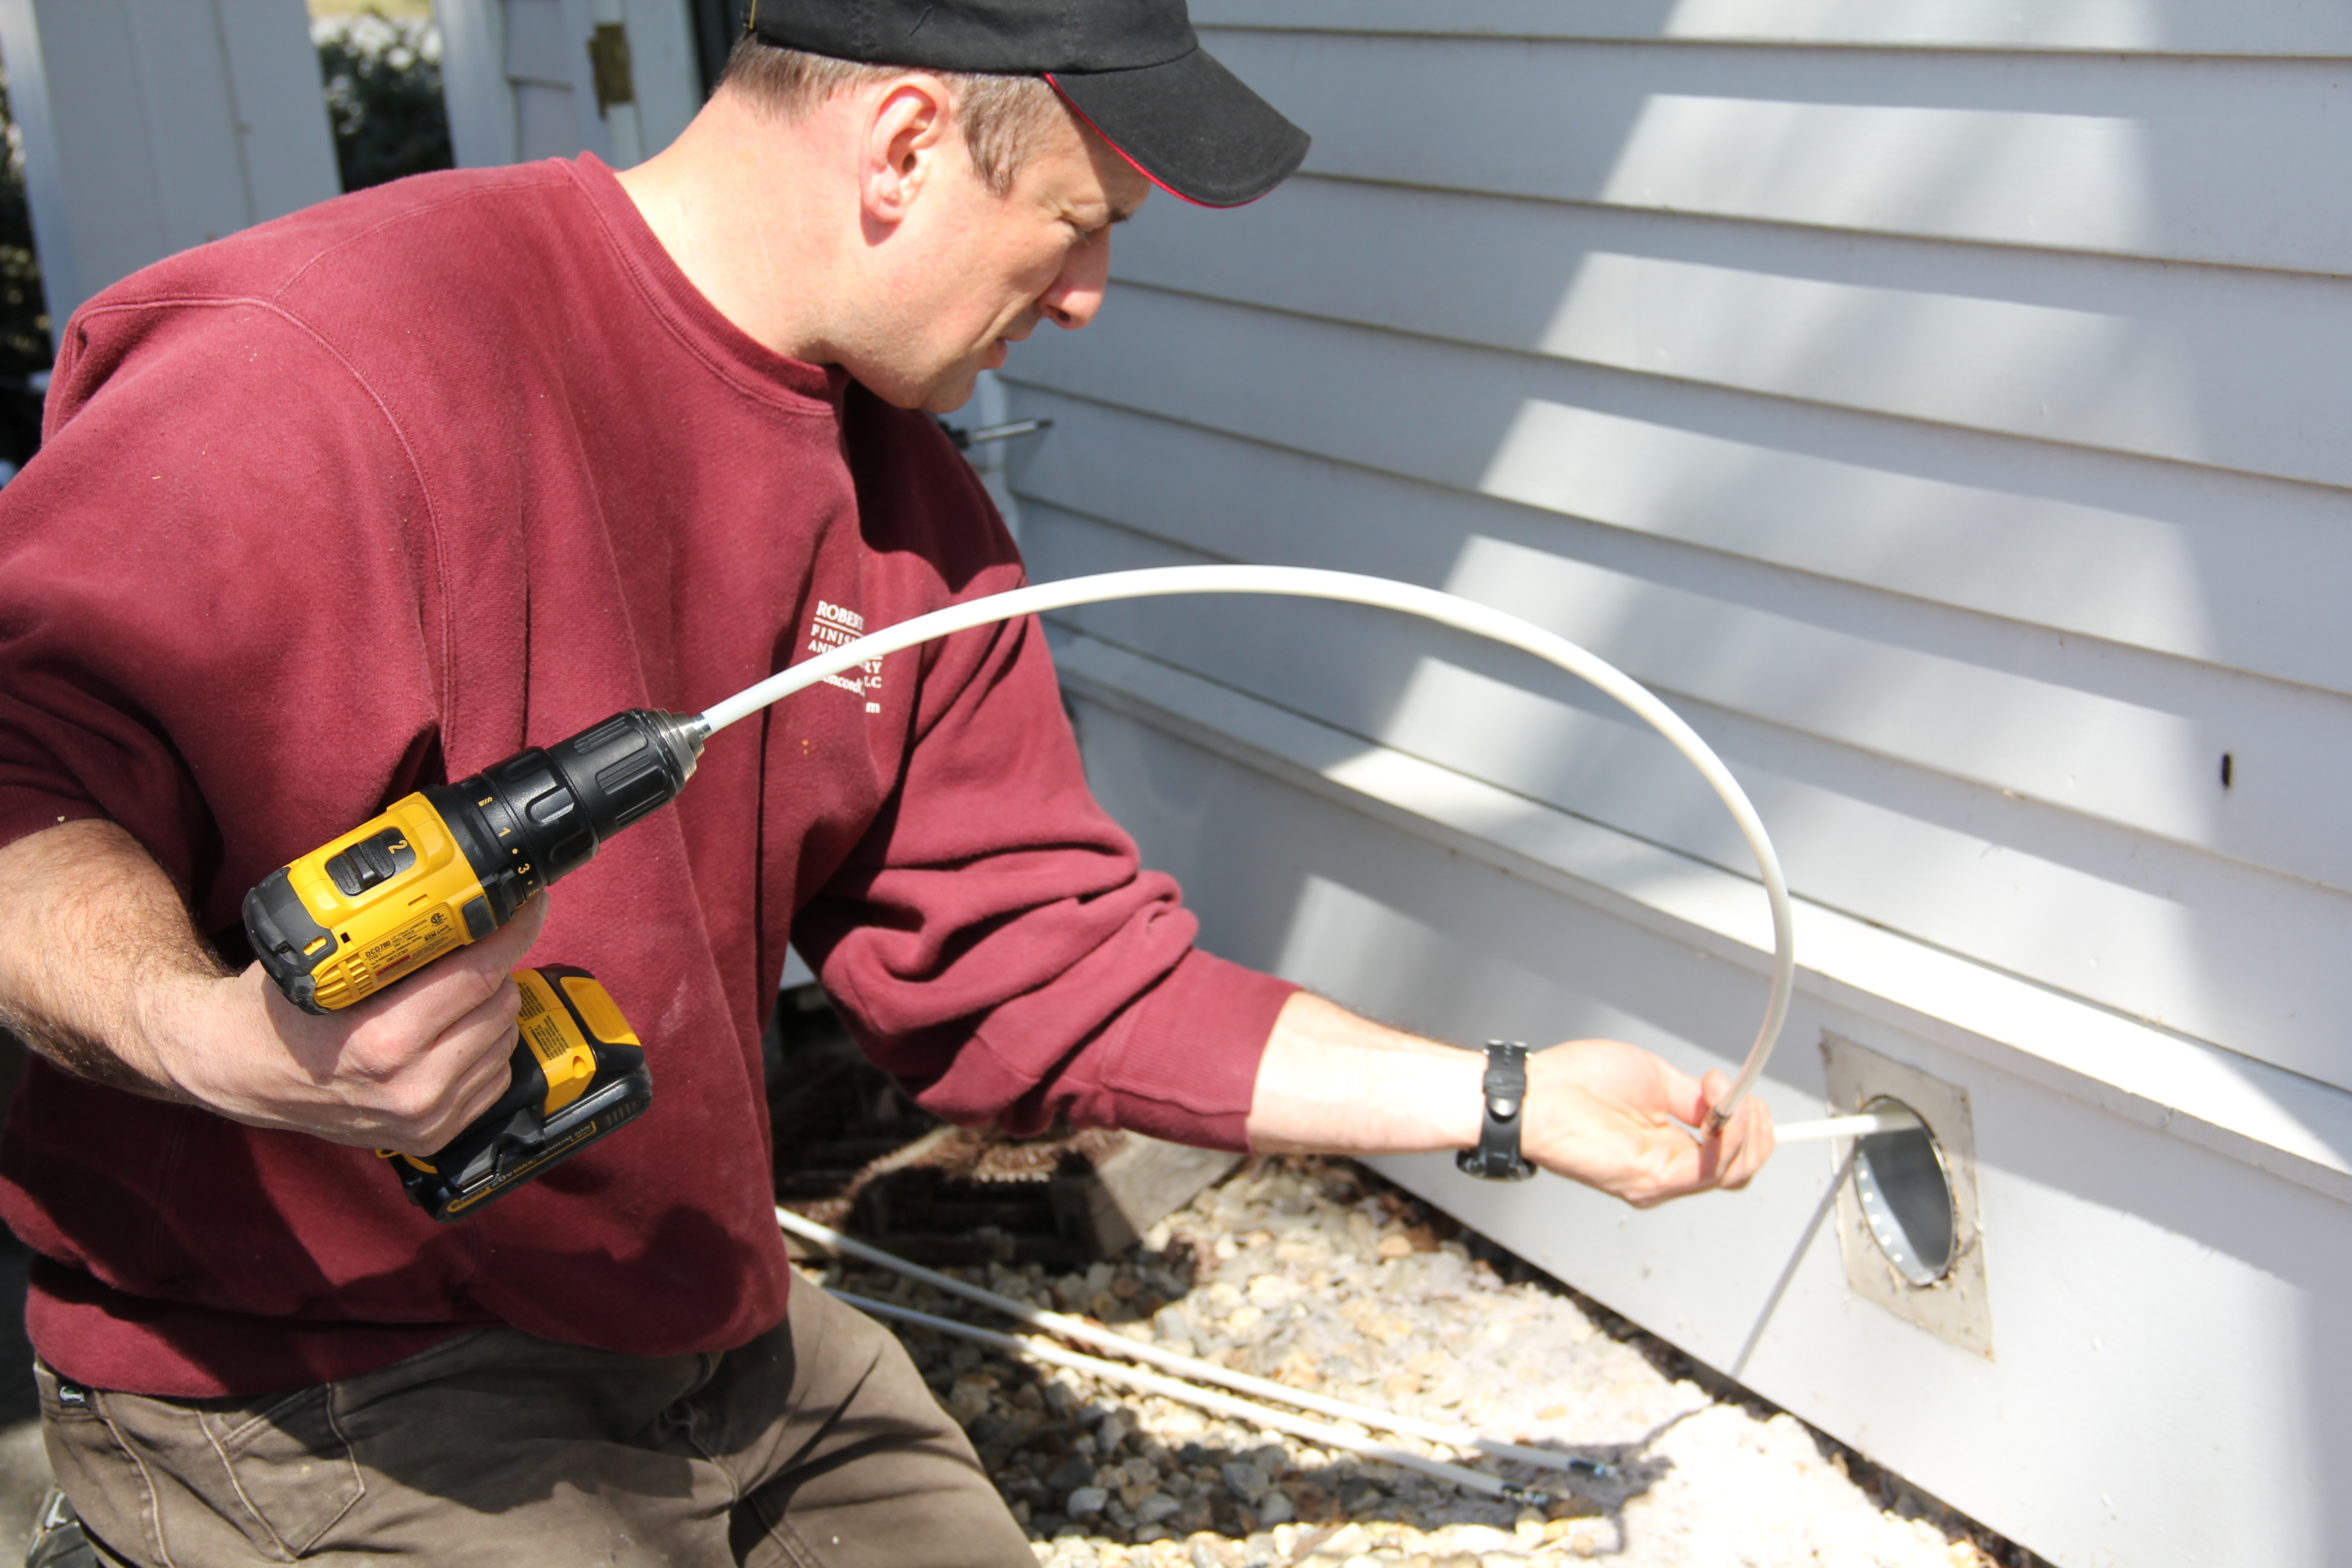
1. Determine if it is easier to clean the dryer duct from the inside of the house or from the outside. If the duct is on a second or third story you may want to clean it from the inside.
These caps fit into the dryer duct and prevent the lint dust from entering the room.
TIP: Unplug the dryer from the power source and pull it out from the wall and the dryer duct connection. Use care with gas connections.
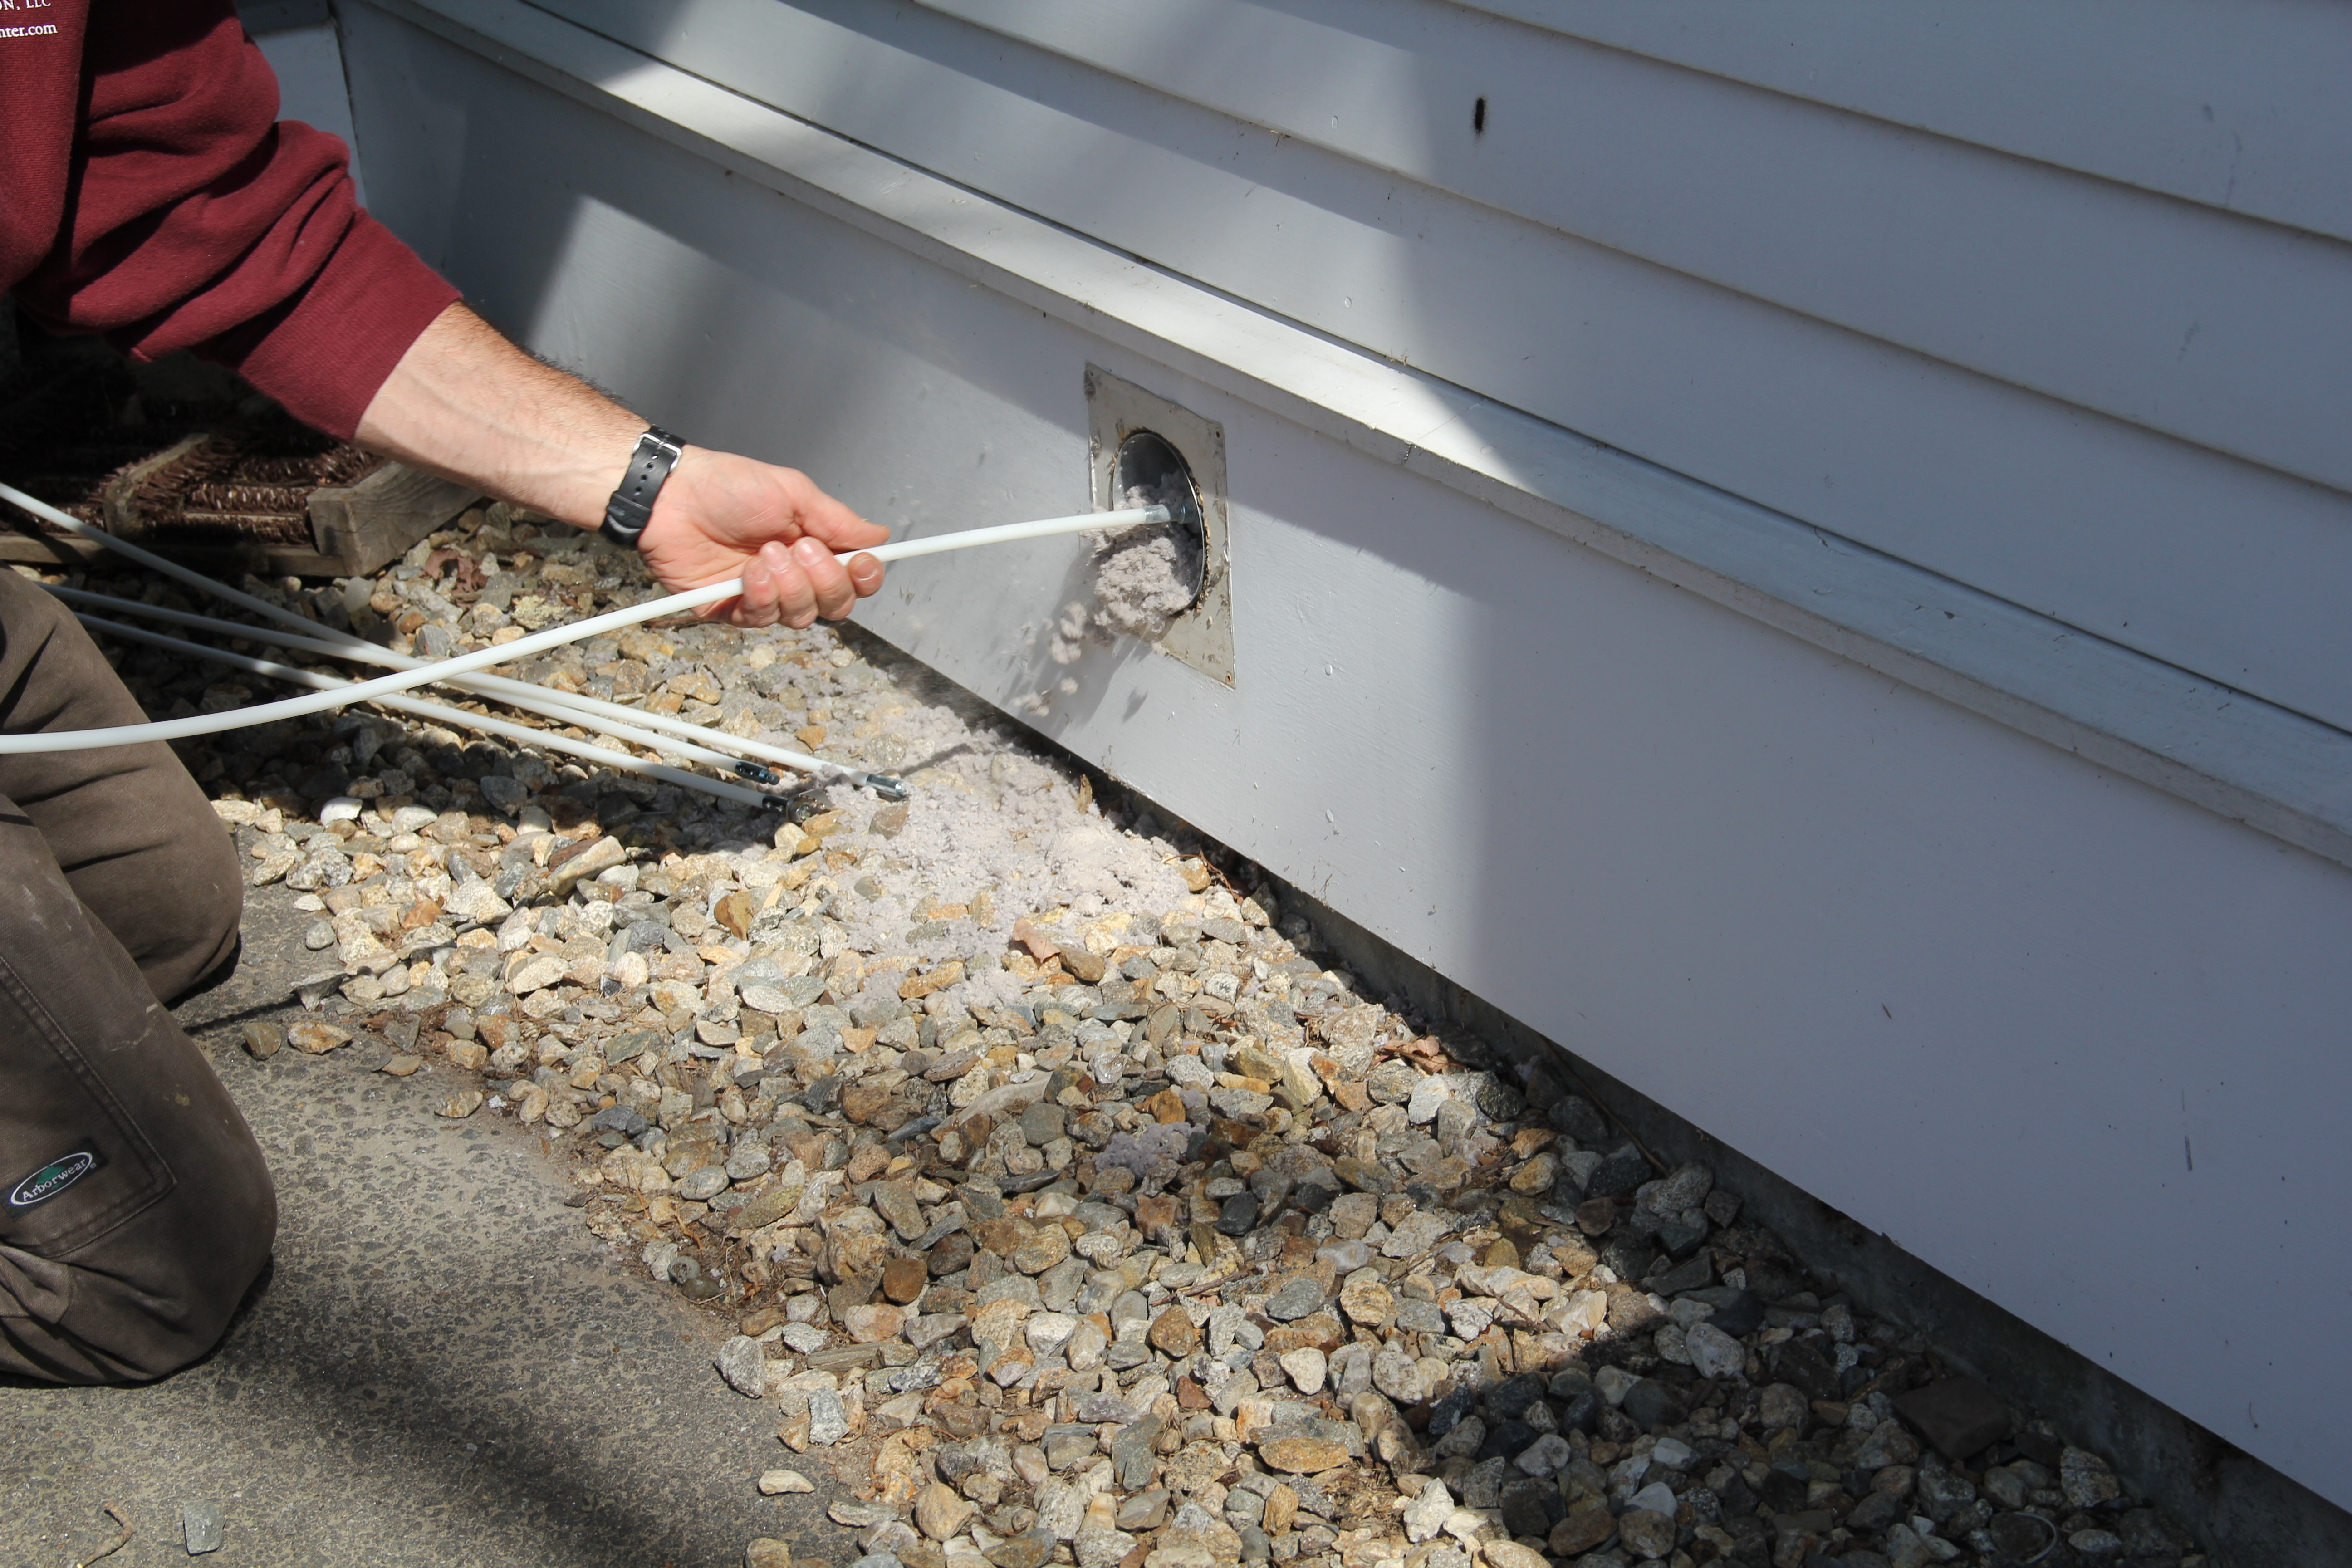
4. If you are cleaning the dryer duck from the outside remove
the dryer hood if possible. If not possible use a paper clip to hold open the flapper.
TIP: When done cleaning the entire dryer duct turn on the dryer and allow all of the loose lint debris to exit the pipe. Run the brush through the pipe once or twice with the dryer running. Wear a dust mask!
5. After cleaning the duct work re install the dryer to the duct or the dryer hood to the pipe. Replace and repair any damaged or worn parts.
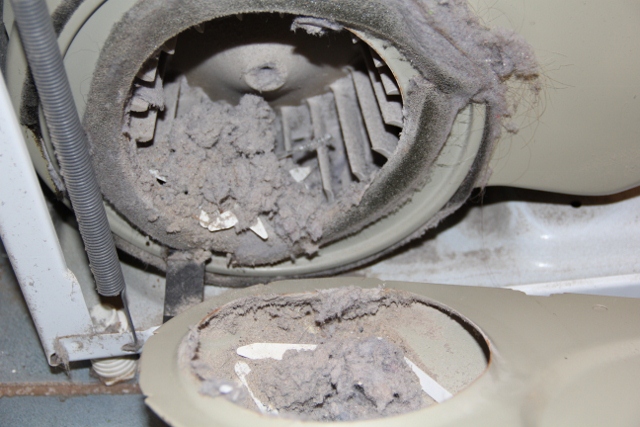
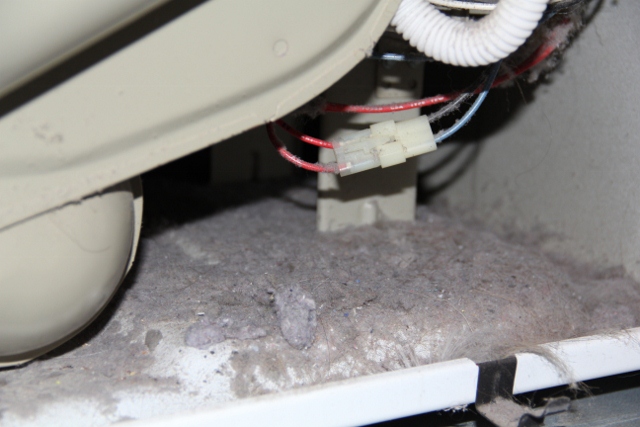
Cleaning Lint From Inside The Dryer
4. Run your brush and vacuum into the lint screen area.
5. Vacuum the squirrel cage blower fan. [photo above]
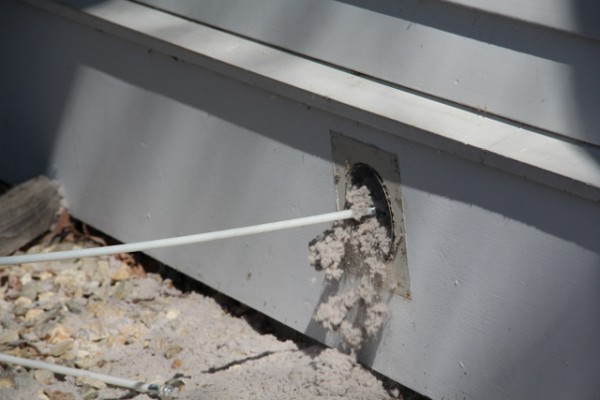
Clearing Dryer Duct Obstructions
Reconnect everything and test dryer. It is normal to see visible lint flying out of the exterior hood after doing this procedure.
Sometimes a dryer duct develops an obstruction whether it is from a rodent or a bird nesting inside the pipe. Most dryer duct kits come with an obstruction attachment that replaces the brush.
The Blockage Removal Tool can be used to dislodge and clear animal and bird nests in the exhaust vent prior to rotary brushing and also clears debris from clogged gutter downspouts – without stepping foot on a ladder.
RELATED POST:
Dryer and Bathroom Duct Cleaning
How to Clean A Dryer Duct and Vent