

Trailer Charging Wall
I’ve been using cordless tools for some time now and am probably close to being 95% cordless. That means that I have a lot of cordless batteries to deal with.
On most jobs I start my work with my cordless tool and have a charger working getting the next battery up to charge. In the winter, I have additional concerns as ALL of my batteries take a hit in the super cold temperatures.
This got me thinking that it would be nice to start the day with ALL of my batteries fully charged, as well as, have my batteries ready to go in the winter.
My thought was to get power to my tool trailer while it was parked in my driveway or at the jobsite.

Wall-Mounted Charging Wall
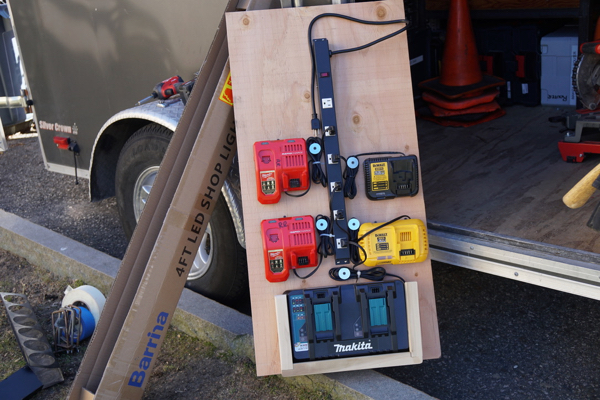
Instead of running an extension cord to my trailer and having a bunch of my chargers on the trailer floor, plugged into a power strip , I decided to make a permanent battery, charging wall.
I Used some scrap plywood to make a charging wall board. Most of my chargers have wall hanging slots on the rear. My Makita double charger is the only one that did not have mounting holes. For this charger I had to build a wood cradle to hold the charger in place.
I also purchased a 24” Opentron OT2063 Metal Surge Protector Power Strip with six outlets. This powerstrip had a three-foot, power cord which I cut and wired directly into my junction box.
My cordless tool chargers were mounted onto the plywood, on either side of this power strip. Once complete, I installed this charging board onto the side wall of my trailer.

Installing Electrical Power with a Marinco Charging Inlet
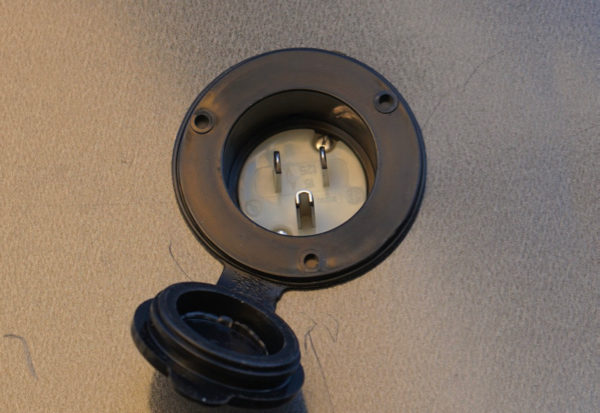
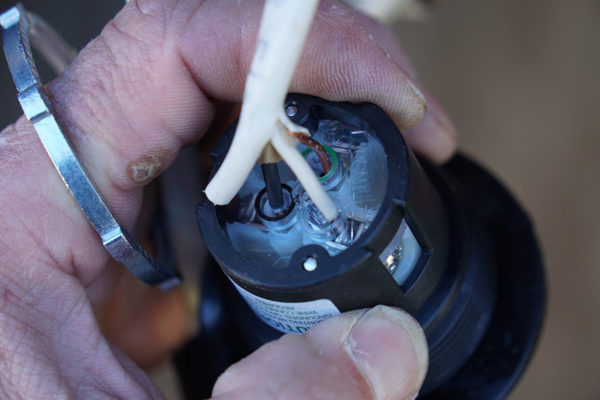
The Marinco charging inlet is what some folks call a “shore-line” plug. You see these types of plugs on RVs and boats. The premise behind using this plug is that it has a rating of 15A, 125V AC and used a standard straight blade plug style.
The inlet has a UV resistant, weather proof plug, and mounts easily to fiberglass and aluminum hulls. The rear of the plug has perma-lock terminals and color coded wire entrance holes make wiring a snap
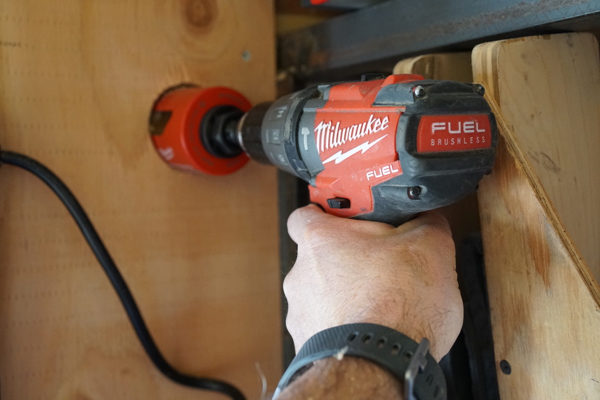
I drilled through the aluminum skin, and interior plywood wall of my trailer and
Installed this plug. I positioned this plug high to keep it out of snow and rain. It is located just above the area where I attached my charger mounting board.
Adding LED Lighting
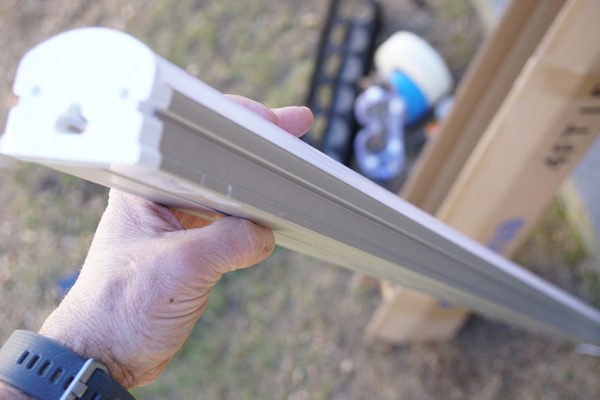
My trailer has lighting but it only works when the trailer is connected to my truck, and the truck lights are on. This always bugged me, so I decided to add some inexpensive LED light strips above the side and rear door.
I purchased a wo pack of Barrina 4ft long, 45 Watt Utility LED Shop Lights. These lights put out 4000K Neutral White and 4500 lumens. They are basically equivalent to a 300 watt bulb.
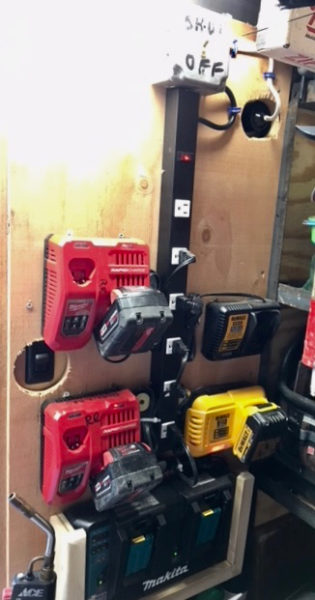
Wiring the Trailer for Charging and Interior Lights
I added a metal electrical junction box with a single switch. I wired the switch to control the lights while allowing continuous power directly to the power strip. Now when I plug in I can control the LED lighting separately and without disrupting the battery charging.
The power strip has its own on/off switch. If power is attached to the Marinco plug, then the chargers are charging 100% of the time, unless I turn off the power strip.