Warmup Liberty Square Towel Heater

 Warmup’s Liberty Square Towel Heater -TW002 Installation Tips
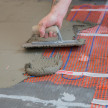
As a contractor that does bathroom remodels, we install a lot or WarmUp towel warmers, which are consider an upgrade feature to most folks. They often go hand in hand with their electric radiant floor heat. Warmup Towel Warmers are made from high quality 304 stainless steel and offer unique designs, their safe, easy to use, and popular with our clients.
Recently we ran into the Warmup Liberty series towel warmer and immediately realized that we needed to make some field adjustments to the product, in order create a better connection and meet code.

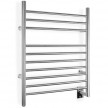
TW002 Liberty Square Towel Warmer
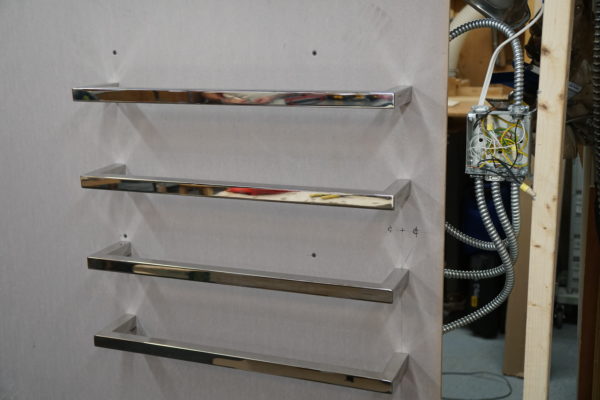
These heaters are single bar rails, and have separate wires and can be mounted horizontally in a ‘landscape’ direction, one on top of the other to create an aesthetic floating ‘ladder’ feature in the bathroom.
Access For Wiring
These towel warmers are BEST installed when you can mount the [non-wired] end to stud, absent a stud, use wall anchors.
It is recommended that all units are protected via a GFCI circuit.

Because all 4 bars have individual wires, and require a mounting bar [provided] on the backside of the drywall you need to have access behind the drywall in order to run wire from these bars to a junction box. This can be accomplished the following ways:
- Install the bars on a small piece of drywall before the rest of the room is installed.
- Open the back side of the wall.
- Open part of the wall up to expose a stud bay for wiring.
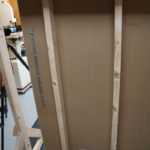
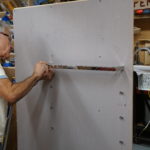
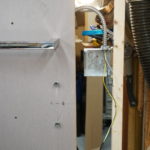
On my mock up I show the wall “opened up,” to expose a stud bay. Here’s a brief description on the installation:
Fastening to the wall
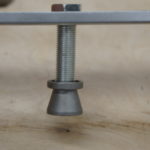
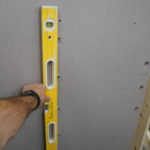
Locate the height and location of the towel bar and level over to locate the wired side. At this location you will need to drill a 3/8” hole through the drywall.
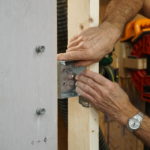
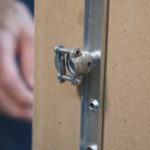
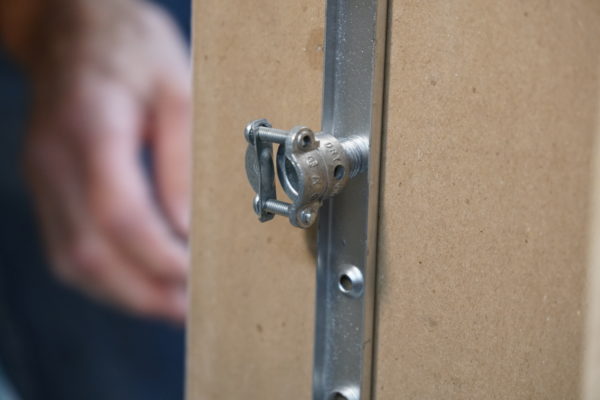
Warmup provides a metal mounting bracket that is used to hold the towel warmers to the wall, from the backside. The mounting bar accepts a 3/8” threaded nipple which is inserted through the drywall and threaded into the mounting bracket, on the backside of the drywall, and a “mushroom” mounting head on the bathroom side of the wall. This mechanical connection, secures the towel bar in place.
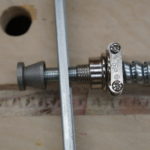
Once all the holes are drilled it’s time to install mounts. I install the left side mushroom mounts, and then the mounting bracket [supplied] with the threaded nipples attached.
Once the threaded nipples are through the drywall you can screw on the threaded mushroom mounts.
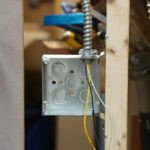
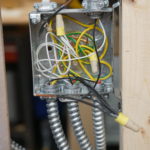
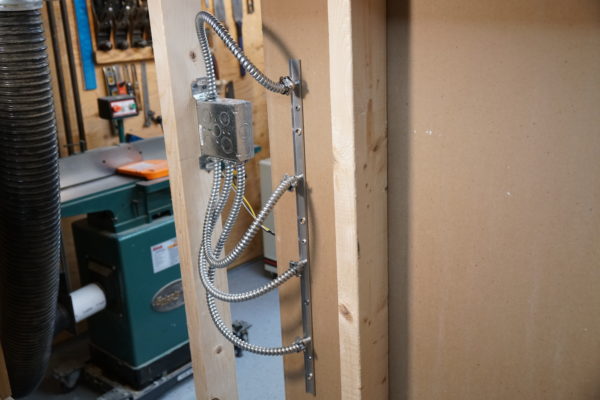
Installing Flexible Conduit and Field FIX
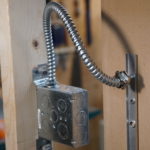
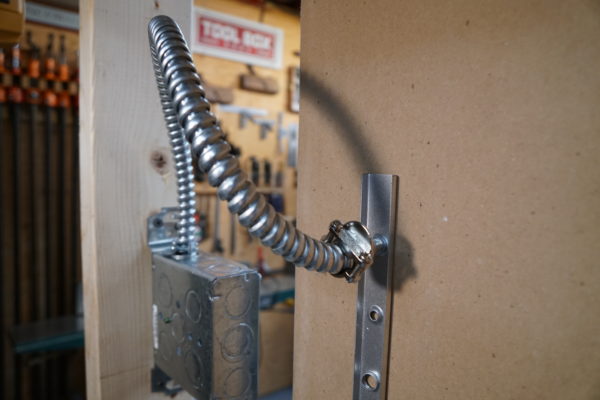
To make our connections we installed a 4” j-box and used a single gang plaster ring to mount a power switch to or t-stat to.
To protect the wire we use UL Listed steel flex cable [Greenfield] and 3/8” red head bushing inserts. The flex cable was connected to the j-box through the ½” knock outs.
Warmup states in the instruction manual to you have a code compliant connection between the mushroom anchor and your electrical connection in the j-box.
The problem is that we couldn’t find anything to make that connection…. Cable connectors don’t fit the 3/8” threaded nipple. Short of using electrical tape and “calling it a day,” there is nothing we can think of to buy, to make a secure mechanical connection.
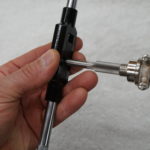
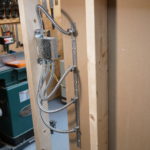
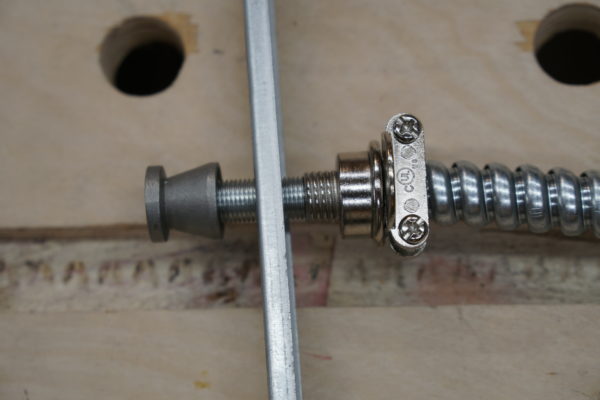
So we came up with our field solution, to connect the flex cable to the Warmup 3/8” threaded nipples we used 3/8” Flex Armor cable connectors and tapped threads into them.
We used a M10 -1 metric tap to create threads inside the cable connector. This allowed us be able to screw the connector onto the threaded nipple and make a long lasting, mechanical connection for our flexible cable.
Wiring the Towel Bars
Once the flex cable was installed we slid the wires through the wall anchor mushrooms and fished them through the flexible cable and into the j-box. Then push your towel bars into place [onto mushroom] and tighten the grub screws underneath each bracket. We wired a switch to control this towel warmer.
Quick facts about these Towel Warmers – and controlling them
Most of the towel warmer models require hard-wiring to a power source they do not require a control. The towel unit heating technology inside the towel warmer ensures the device reaches 145F degrees in 3 minutes.
3 ways to control these tower warmers:
- Manual Switch
- Timer Switch
- WiFi Thermostat
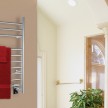
If your goal is to get the comfort of a nice warm towel after the bath or shower, then wire it to your light switch. By the time you’re done, your towel will be wonderfully warm.
If the plan is to dry the towels, and prevent a moldy smell, then wire it to a separate switch or a timer switch and let it run longer. When combining a towel warmer to a Warmup floor heating system you can conveniently connect the device to your 3iE or 4iE controller and have the warmers come on and off on custom times.
Conclusion
This is a GREAT looking product, thats safe and effective to use.
Sometimes we have to make adjustments in the field. I’m hoping this video will help you in the field make a secure and safe mechanical connection when installing the Liberty towel bars.