Warmup Electric Snow Melting Mat System

Outdoor Controllers
Warmup offers “smart” controllers that automatically activate the system based on temperature and moisture sensors, and turn the system on or off as needed – once installed, you don’t need to do anything.
Here’s an overview of the different controllers Warmup offers to suit your specific project size:
- DS2: The DS2 Controller can handle 30 amps and is suited for smaller ground surface projects under 150 square feet.
- DS5: The DS5 Controller has 2 x 30 amp relays that are useful when you are combining two systems, such as your driveway/walkway/stairs or even your roof/gutter.
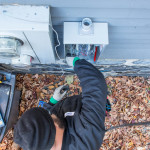
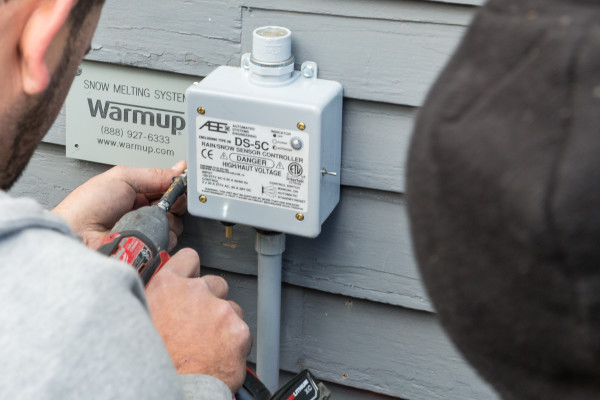
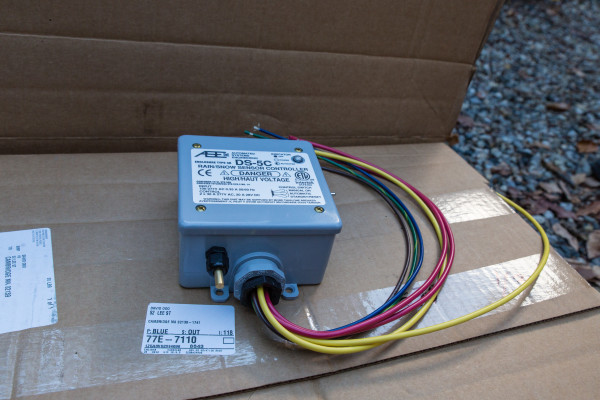
- DS-8: The DS-8 Controller is designed for roof, gutter, and downspout ice melting. This controller is sealed, low voltage, and has a remotely mounted precipitation sensor allows the user to install the small sensor head in a downspout, the bottom of a gutter, or at the end of an antenna boom, up to 10 feet away, while keeping the main controller in a more convenient or protected location, such as under a deck, overhang or porch roof.
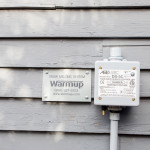
Indoor Controllers
Warmup uses an indoor remote control for the DS outdoor controllers, mentioned above. The indoor remote controller, called the CDP-2, is powered with low voltage wiring and allows you the flexibility to monitor your system if you choose.
From the comfort of your home you can manually override the ON, OFF and AUTO functions of your outdoor-mounted control box. I really like that the CDP-2 fits into a standard electrical single gang box, similar to a room light switch. The CDP-2 can be installed anywhere you need it to be without taking up a lot of real estate.
Sensors:
Warmup offers both ground and roof sensors. Ground and roof sensors can be combined on the same controller. Using multiple sensors is to gather faster or more diversified information to trigger your heating system, such as the north and south side of a building, or areas that receive little sun and melt slower.
One tip is to locate one sensor where the snow and ice will manifest first, and another where the snow is going to disappear last. This will guarantee complete clearing of snow and ice.
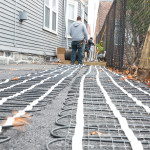
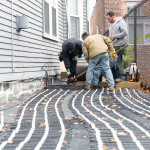
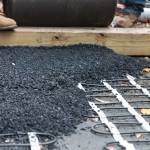
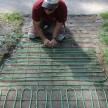
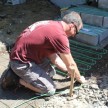
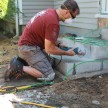
Installing the Warmup Snow Melt Mats
The Warmup mat has a 16’4”-feet section of cold wire. This wire is what you use to connect the mats to the electrical control panel.
The cold lead is not heated and is used to enter into the building or an external weatherproof junction box.
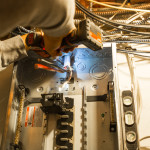
All electrical connections are made by a licensed electrician. The electrician may also run conduit and low voltage wires to any sensors you choose to install.
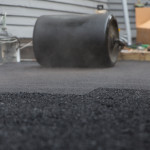
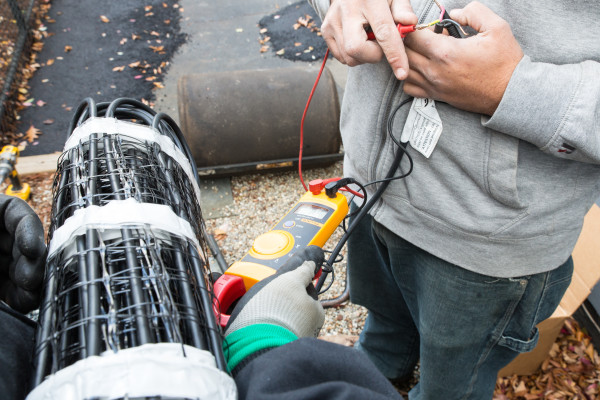
Prior to installation and periodically during installation make sure to check the Ohms, per manufacturers label recommendation, to ensure that the cable is not damaged. All Warmup mats have a label with the factory Ohm reading. A tolerance of 5% to 10% is allowed.
Tips for Installing Warmup Snow-Melting Mats
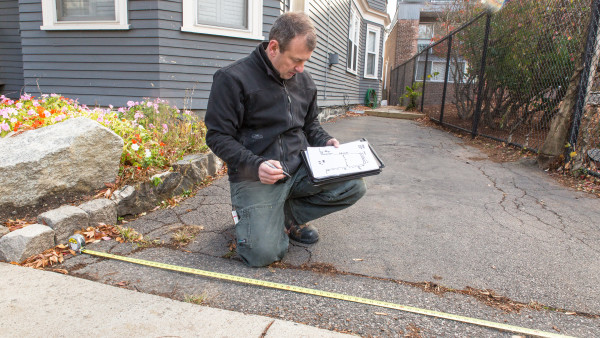
Before ordering your cables or mats, measure the area to be heated. Draw your plan out and allow for obstructions such as lights, poles, columns, handrails or drains.
- The heating cable should not cross or overlap itself at any point. This could cause the cable to overheat, requiring replacement.
- The heating cable should not be cut, shortened, or lengthened. Trying to alter the length of the cable may cause overheating, resulting in damage to the cable.
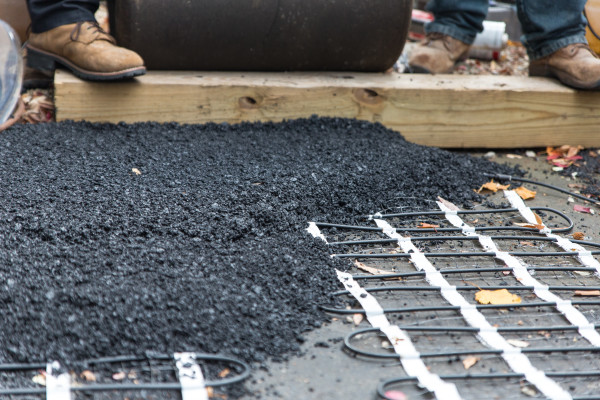
- Take precautions to avoid damage to the heating cable during installation. Do not drop sharp objects or drive on the cable. Take care when pouring concrete or asphalt onto the cable.
- Do not install snow-melting mats and cables below 14°F (-10°C).
- Don’t bend the cables more than 2-inches [radius]
- The cold lead, normally 16’4” long (5m), can be cut or extended to suit the location of the electrical power connection box.
- Sensors should be located in open areas, away from overhead obstructions.
- Check the voltage and wattage of the heating cable to ensure you have the right products for your installation. Details are marked on the product box.
- A qualified electrician should connect the heating system.
- Check the continuity and resistance of the snow-melting mat before installing and also after installing. Resistance value should match the value shown in the sizing guide that comes with the product. A tolerance of 5% to 10% is allowed.
- Separate high voltage power wire from low voltage wire in different conduits.
- Use a GFEP protected breaker in the panel.
- Allow sufficient drying or curing period of the concrete/asphalt/sand before energizing the heating cable.
- All outdoor embedded installations must include the application of a nameplate provided by the manufacturer under NEC 426-13.
- Complete the installation in accordance with all enclosed instructions and in compliance with local and national electrical codes. (See manual for additional details.)
Summary
A Warmup electric snow melting mat system provides the right heat at the right time, keeping driveways and paths free of ice and snow automatically. The Warmup mat system is simpler to design, and considerably less expensive to purchase and install than boiler fired glycol-based hydronic systems.
The Warmup system requires no maintenance and comes with a 10-year warranty.
Warmup offers a wide range of snow melting systems for driveways, pipes, roofs and gutters. I like the Warmup system because it’s a “smart” system that does everything for you automatically.
Probably the biggest advantage of all is this is the safety of family and visitors to your home. If your walkways and driveways are heated, ice and snow will be melted, and there will be no danger of slips and falls. And did I mention – no more shoveling?