Warmup Electric Radiant Heat

Choose Your Thermostat Location:
Warmup electric radiant heat mat systems are designed to be used with a UL Certified programmable thermostat. Programmable thermostats operate an electric radiant system efficiently and make it more cost effective by only heating the floor when you want it heated.
Thermostat Install Tips:
Here are some thermostat tips that have helped me in my installations of programmable thermostats with radiant floor systems:
- Locate your thermostats approximately 5 feet off floor and always on an inside wall.
- Try to avoid placing it near heat sources, excessive sunlight from windows, skylights or heat generating appliances [i.e., a towel warmer] that could affect its temperature.
- On my projects I always have my electrician run a 20-amp, dedicated GFCI protected circuit to my thermostat location to operate the floor heat. For smaller areas, you may be able to use an existing circuit. In most cases, the mats only pull about 1 amp for every 10 sqft, you will need a separate dedicated 15-amp circuit to power the Warmup heating mats.
- Prior to closing up any walls, I install a wire pull string from the thermostat box, down the wall cavity, and through a notched section of the 2×4 wall shoe plate. After the wallboard is installed the string will be used to pull the 10-foot cold lead and floor sensor wire up the wall to the thermostat location.
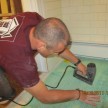
Pressing down WIBs underlament
Warmup Electric Radiant Heat – Cable Information:
The Warmup heating mat consists of a twin conductor resistance-heating element woven onto a fiberglass mat. The heating wire measures less than 1/8” and is insulated with Fluoropolymer (FP) with high dielectric strength and high temperature properties.
The conductors are covered by a metallic sheath providing additional mechanical strength and a ground path. A final outer jacket of Fluoropolymer is given to make it sturdier and provide corrosion protection.
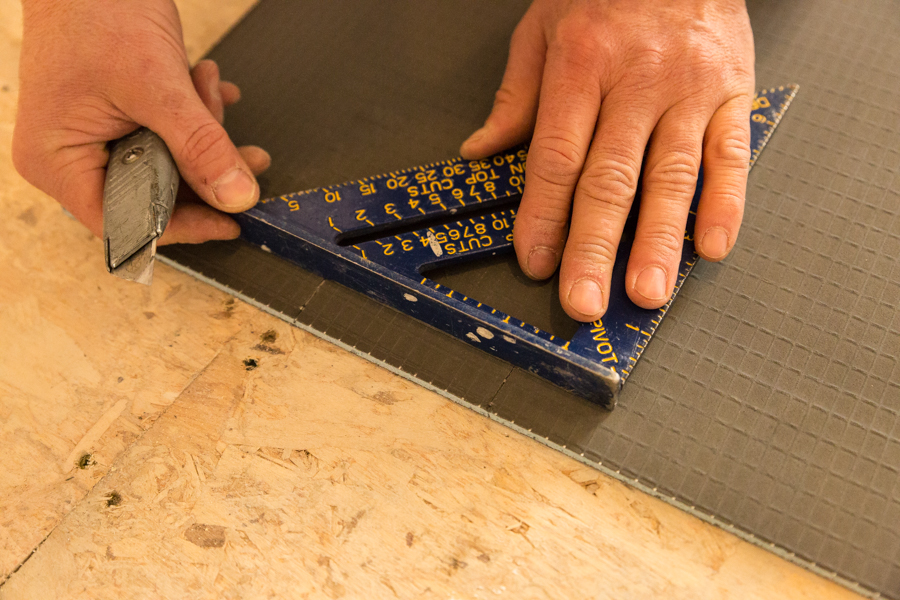
Cuts easily with utility knife
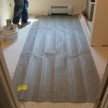
Prepare the Sub-floor:
It’s super important that you inspect your sub-floor for damage, debris, or sharp objects. All nails and screws should be countersunk and the floor thoroughly cleaned.
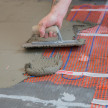
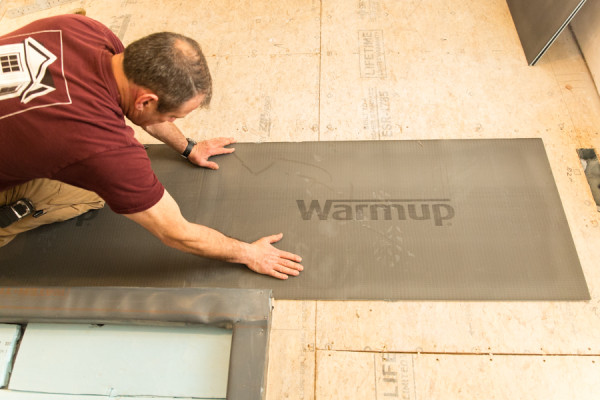
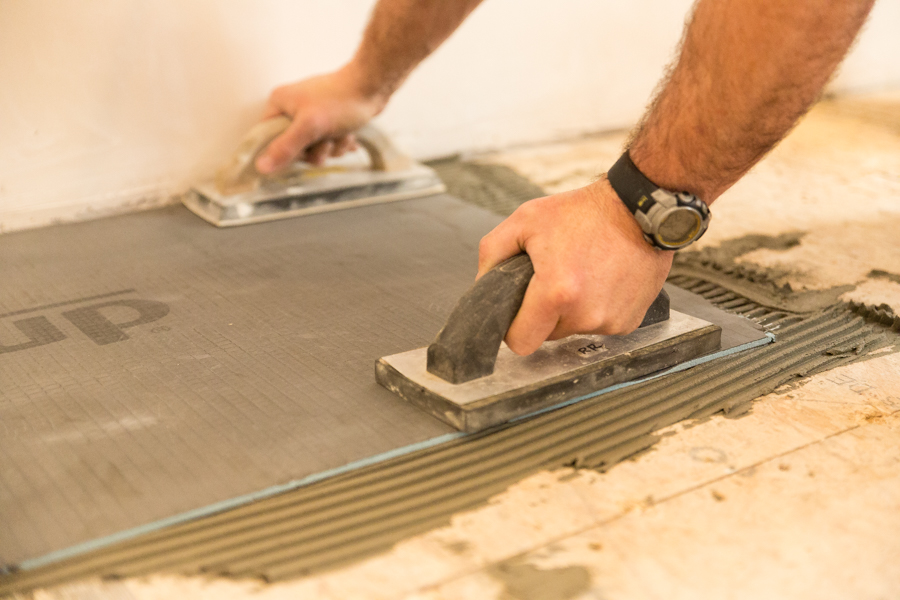
One major benefit of installing the Warmup StickyMat is that will not dramatically change the height of your flooring. Floor height concerns come into play at doorways or when your room meets another room. In most cases, with the addition of a 1/4 underlayment, the Stickymat heating mat, thinset, and 3/8” tile, you are usually pretty close ¾” height, which is perfect for meeting hardwood flooring or carpeting.
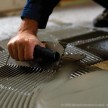
Fastening down WIB underlayment
Tip: If the floor heights are off, chamfer the higher flooring material, or install marble thresholds at the doorways.
Ensure that the sub-floor is smooth, dry and free from dust. If re-using an existing sub-floor I take the time to refasten the old sub-floor with screws to ensure a solid attachment, and to resist squeaks and movement.
Visually check that there are no objects on the floor, such as popped screws or nails that might damage the heating mat.
Tip: If you plan on using a level compound to deal with slanting floor, ensure that the compound has properly cured prior to installing your StickyMat system.