Steel Drum Fire Pit – How to Build


Steel Drum Fire Pit
There is Something Primal About Fire
Sure, it completely changed human evolution and for so many years it was the primary source of heat for the vast majority of the world’s population.
While indoor fire places and pot belly stoves are still good sources of single room heat, they have gone by the wayside as the primary heating source. With the whole outdoor living craze, more people are looking to extend indoor comforts to the backyard. As such, there are a number of outdoor fire options available.
From digging a shallow pit with a stone rock ring to a fully landscaped brick patio with a gas-powered fire pit with decorative glass stones, there are many options only limited by ingenuity and imagination.
First, one should consider the overall layout and functionality of the space. This article addresses many of these options.
Todd Fratzel with Home Improvement and Construction has an excellent primer on building an awesome outdoor space complete with a fire pit kit that looks totally custom-built.
For my space, I don’t have the luxury of building an elaborate burning area as my yard is only 25 feet wide by 30 feet deep beyond my wood deck and, with two dogs, grass is a premium. So, I opted for a small, portable fire pit.
In the past, my wife would be shopping a big box hardware retailer and purchase one of their fire pits that usually include one tool for removing the screened lid and a cover. They usually cost about $100 and last about one season. Yes, they could/should last longer but, I burn about two cords of wood a year and this is way too much for these types of fire pits.
So, this year I decided to take a different tact and set out to build my own fire pit. I originally planned to make a washing machine drum pit but, couldn’t easily find a suitable drum at a cost effective price. For more on building this type of fire pit, House & Fig has a nice article.
As luck would have it, I was on the phone with a friend as was talking about the project and the guy next to him had a 55-gallon steel drum in the back of his pick-up truck. He said he would call me back in a couple of minutes and he did, with instructions to meet him at his shop in ten minutes.
Material Considerations
For $20 we had the perfect vessel for my new fire pit. The drum is stainless steel which offers better corrosion resistance than carbon steel drums that can rust due to exposure to the elements. For these purposes we had to have a tight head drum that features a bung opening. One other major consideration is lined vs. unlined drums.
The inside walls of an unlined drum is usually sprayed with rust inhibitor enamel and baked on prior to filling but, it is not intended to act as a lining. Lined drums have an epoxy-phenolic lining for chemical resistance. Lined drums contain toxic chemicals that can be released under high temperatures and should not be used for fire pits, grills or smokers.
There are basically two ways to skin this cat…one is to cut the top off and use the barrel as a vertical burner or, cutting the barrel in half, from top to bottom, and creating a “trough” style pit. I chose the latter.
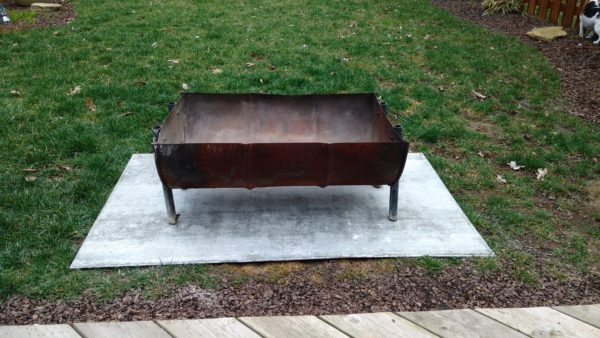
Steel Drum Fire Pit
Before getting started, it is very important to take certain safety precautions before cutting or welding a drum in which the plugs or cover are still secured. If air is trapped inside a drum, a build-up of pressure, when cutting or welding, can lead to an explosion.
Tools needed for this project:
- Cutting Tool (See Below)
- Drill Driver
- Drill Bits
- Angle Grinder
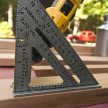
- Line Marking Tool
- Wrenches/Screwdriver/Sockets; OR
- Welder
- PPE (Safety Glasses, Gloves, Respirator)
- Random Orbital Sander
For cutting, it is pretty much a pick your poison proposition. There are multiple options:
- Jig saw
- Reciprocating saw
- Circular saw
- Angle grinder
- Power cutter
- Nibbler or Shear
While any of these will work, I recommend using an angle grinder or a power cutter with an abrasive wheel. Using a marking crayon or a chalk box will help establish a straight line for cutting. As most people don’t own a power cutter, the angle grinder will do the job either by eyeballing the line or, if possible, using a dust shroud that has a flat base will make it much easier to keep the line straight.
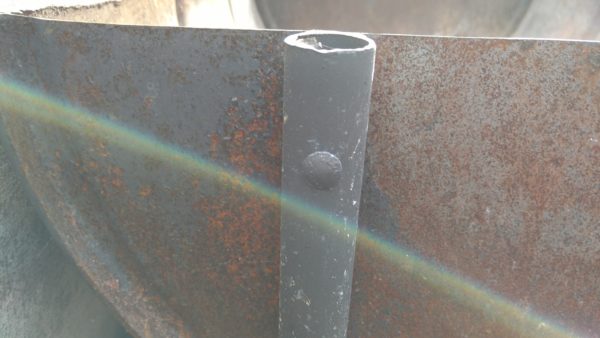
To elevate the barrel from the ground or deck surface and to provide a stable foundation, it is necessary to construct a solid base. Steel is preferable and there are a number of options including solid angle, square tube and round tube hot rolled steel that is non-plated for welding. Since my welding skills are limited I opted for a round tube that I secured to the side of the barrel using stainless steel carriage bolts anchored with washers and a nut. To drill the holes it is best to use a cobalt drill bit with a 135-degree split point. This will help reduce “walking” when starting the new holes.
The unlined drums with a rust inhibitor can be easily burned out with a propane torch or while removing the original exterior paint with the random orbital sander. While it is not entirely necessary to sand down the interior of the barrel as it will quickly burn off after a few fires but, it is better to control the burn. As for the outside, I decided to spray paint over the existing coatings and after two fires most of the barrel was covered in rust. It was supposed to handle heat up to 2000-degrees. Doubt I was putting out that kind of heat….
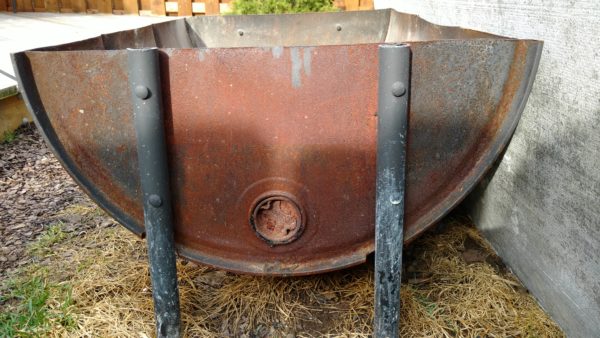
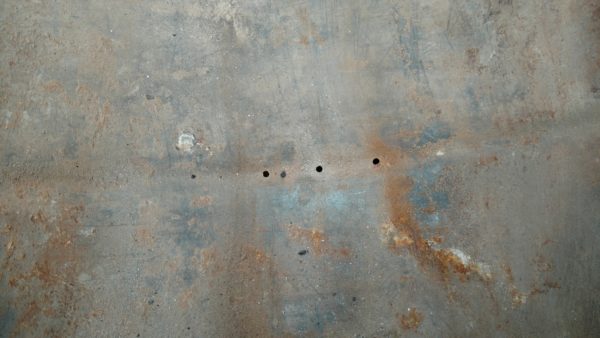
I drilled holes in the bottom to increase ventilation and, since I store outdoors all year, they also act a drains for snow and rain.