Repairing Irrigation Pipe
By Robert Robillard on Home Repairs And Remodeling
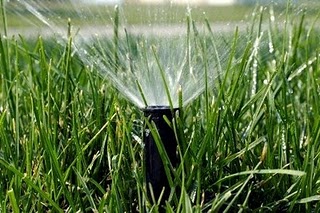
How To Repair Lawn Irrigation Pipe
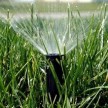
Lawn irrigation is something most people install and then forget about. Leaks in these types of systems sometimes show up as puddles or geyser’s of water shooting from the ground. Possible causes for damaged irrigation pipe include frost and frozen water damage, cracks or holes caused by lawn equipment or edging, damage from deep-growing roots, bad installation or defective pipes and fittings.
Repairing irrigation pipe is often necessary and easy to do.
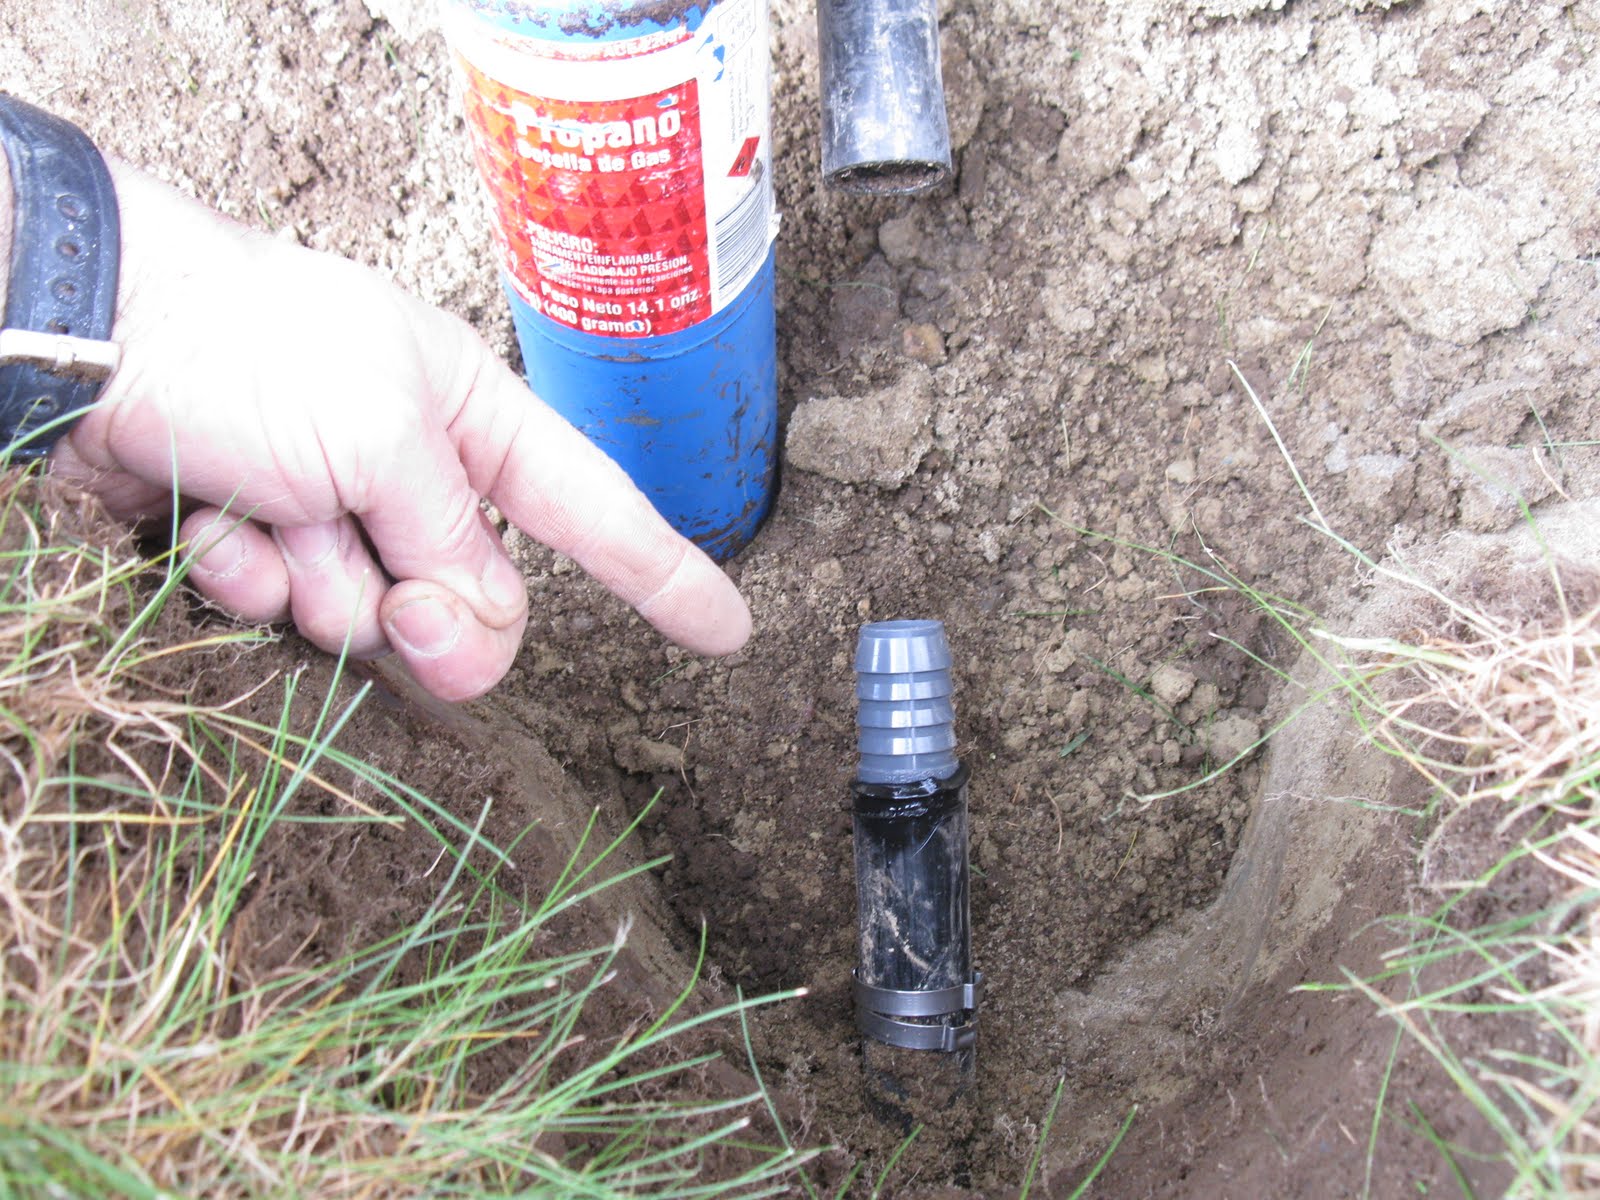
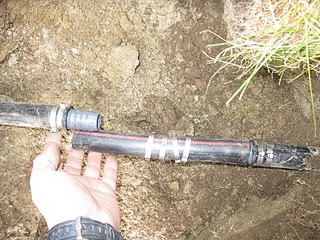
Recently on a sump pump installation where I was digging a trench, I punctured a lawn irrigation pipe, and needed to repair it before filling the trench back in.
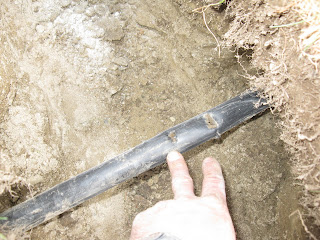
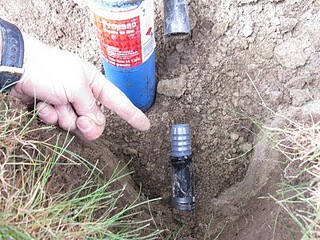
The first step in repairing irrigation pipe is to turn off the water and expose the pipe past the damage, six inches on either side is more than enough.
Once this is done I cut the damaged pipe out with pvc pipe cutters.
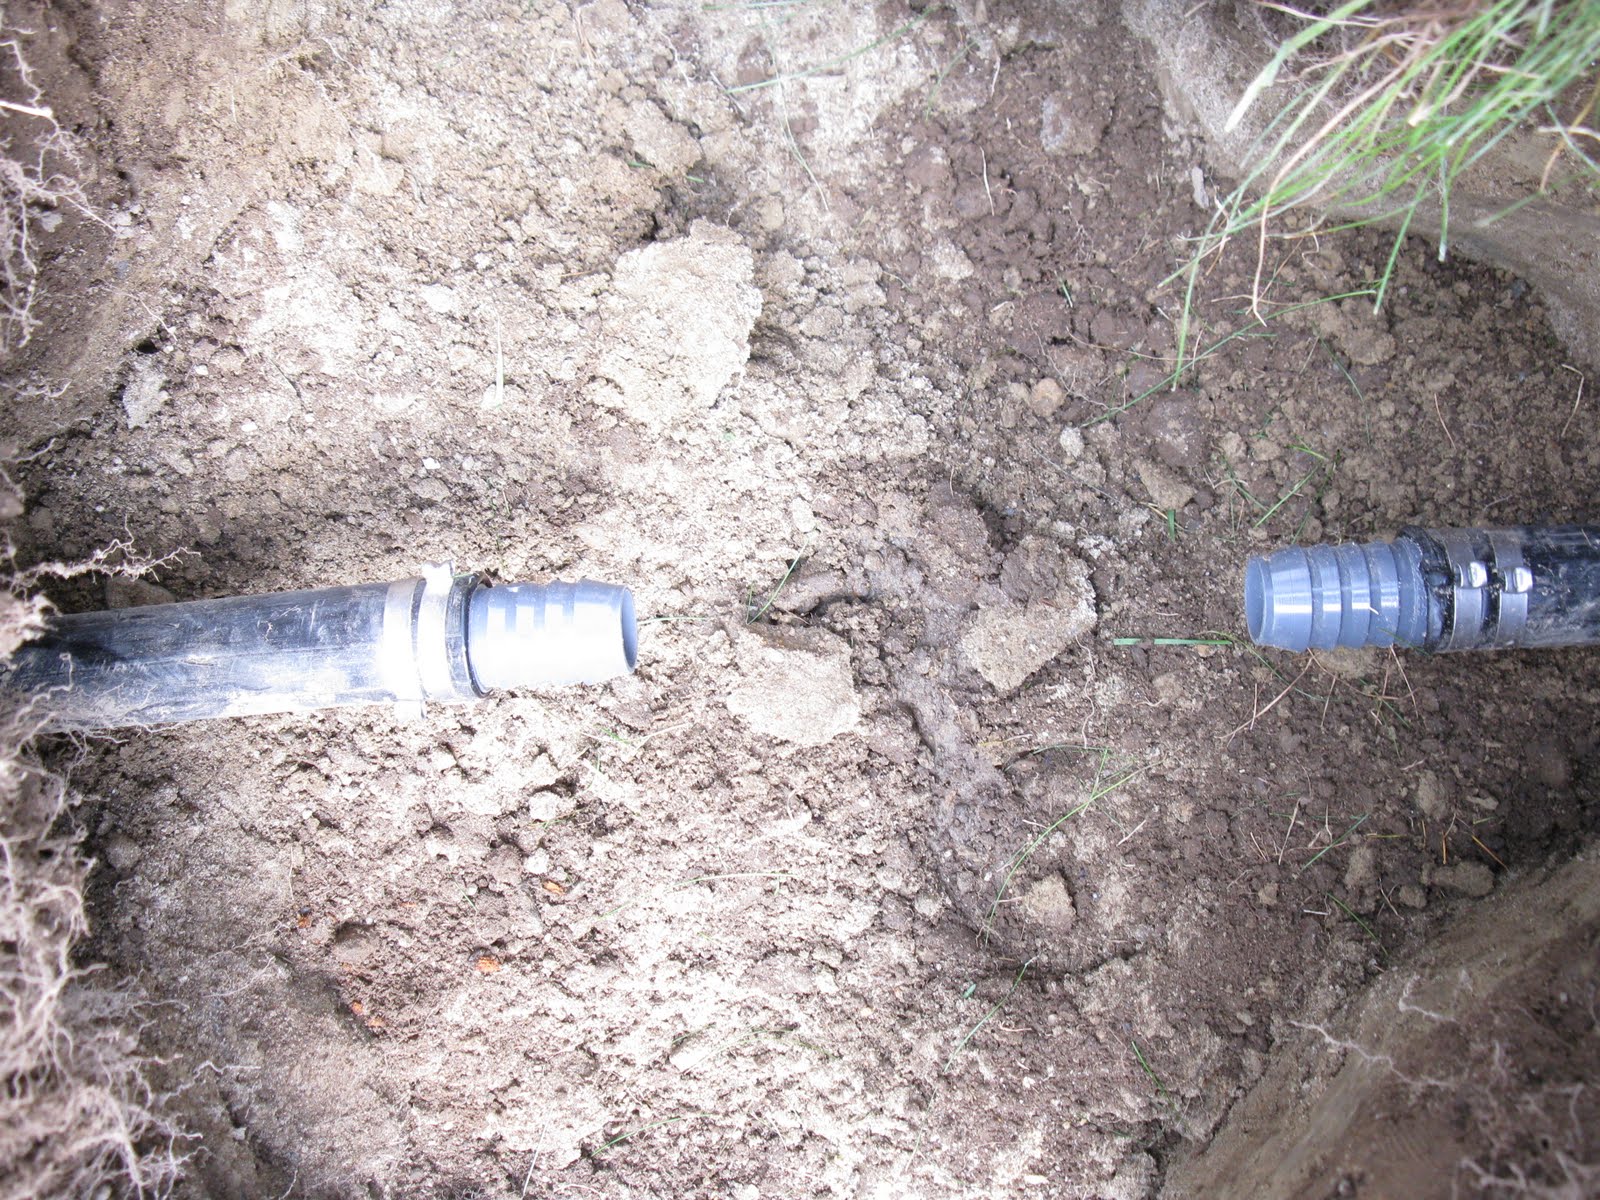
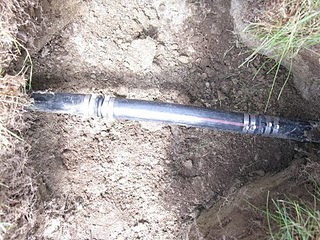
This 1″black “poly pipe” is flexible irrigation pipe which comes in rolls in sizes from 1/2″ to 2″.
Advantages include light weight, flexibility and easy no-glue fittings. The main drawback is that the pipe is simply not as rugged as PVC, and poly systems generally will not last as long. Contractors like using it because it can be “pulled” or plowed easily and quickly with a specialized machine and is cheaper to install.
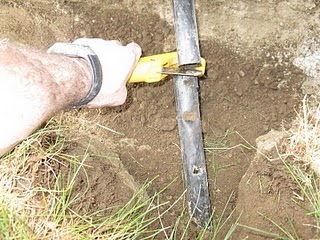
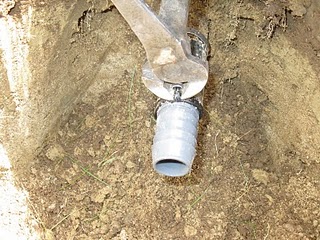
I use 2 stainless steel crimp type clamps on all my lawn irrigation connections. I’ve learned the hard way to put these connectors on first so you don’t forget later when it’s too late.
Using a small propane torch I heat up the irrigation pipe and then slip in a poly pipe, barbed coupler connector. Avoid touching the heated end as melted poly will stick to and burn your hand – wear gloves or use a rag.
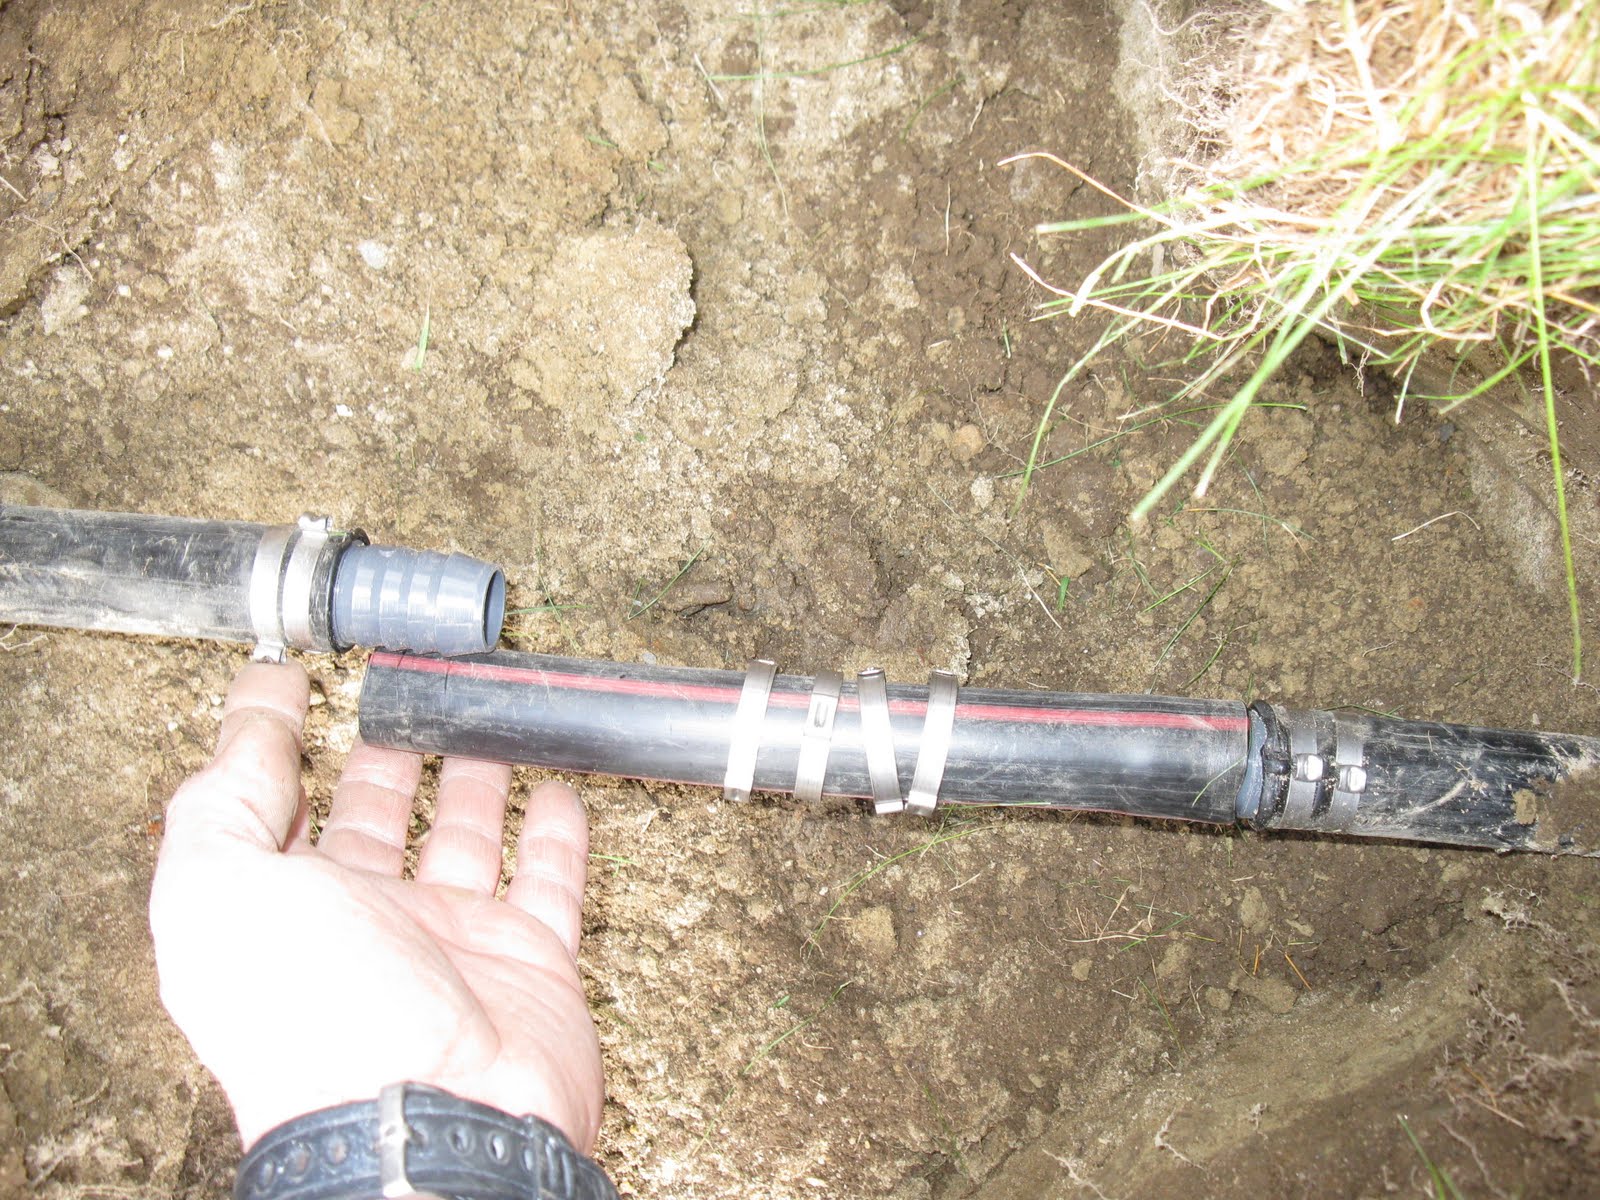
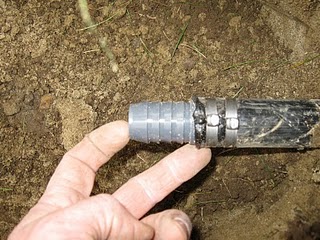
Using end cutting pliers I crimp both clamps tight at the end of the pipe and on the pvc fitting.
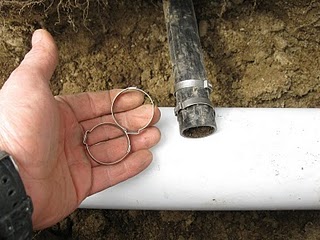
This fitting is ready to receive a new section of pipe. I now have to do this to the other side as well.
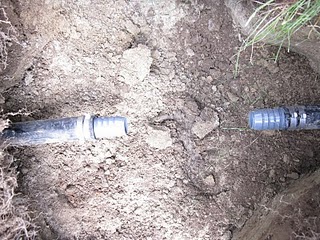
Measure the distance between the two sections of pipe and cut a replacement piece to fit in.
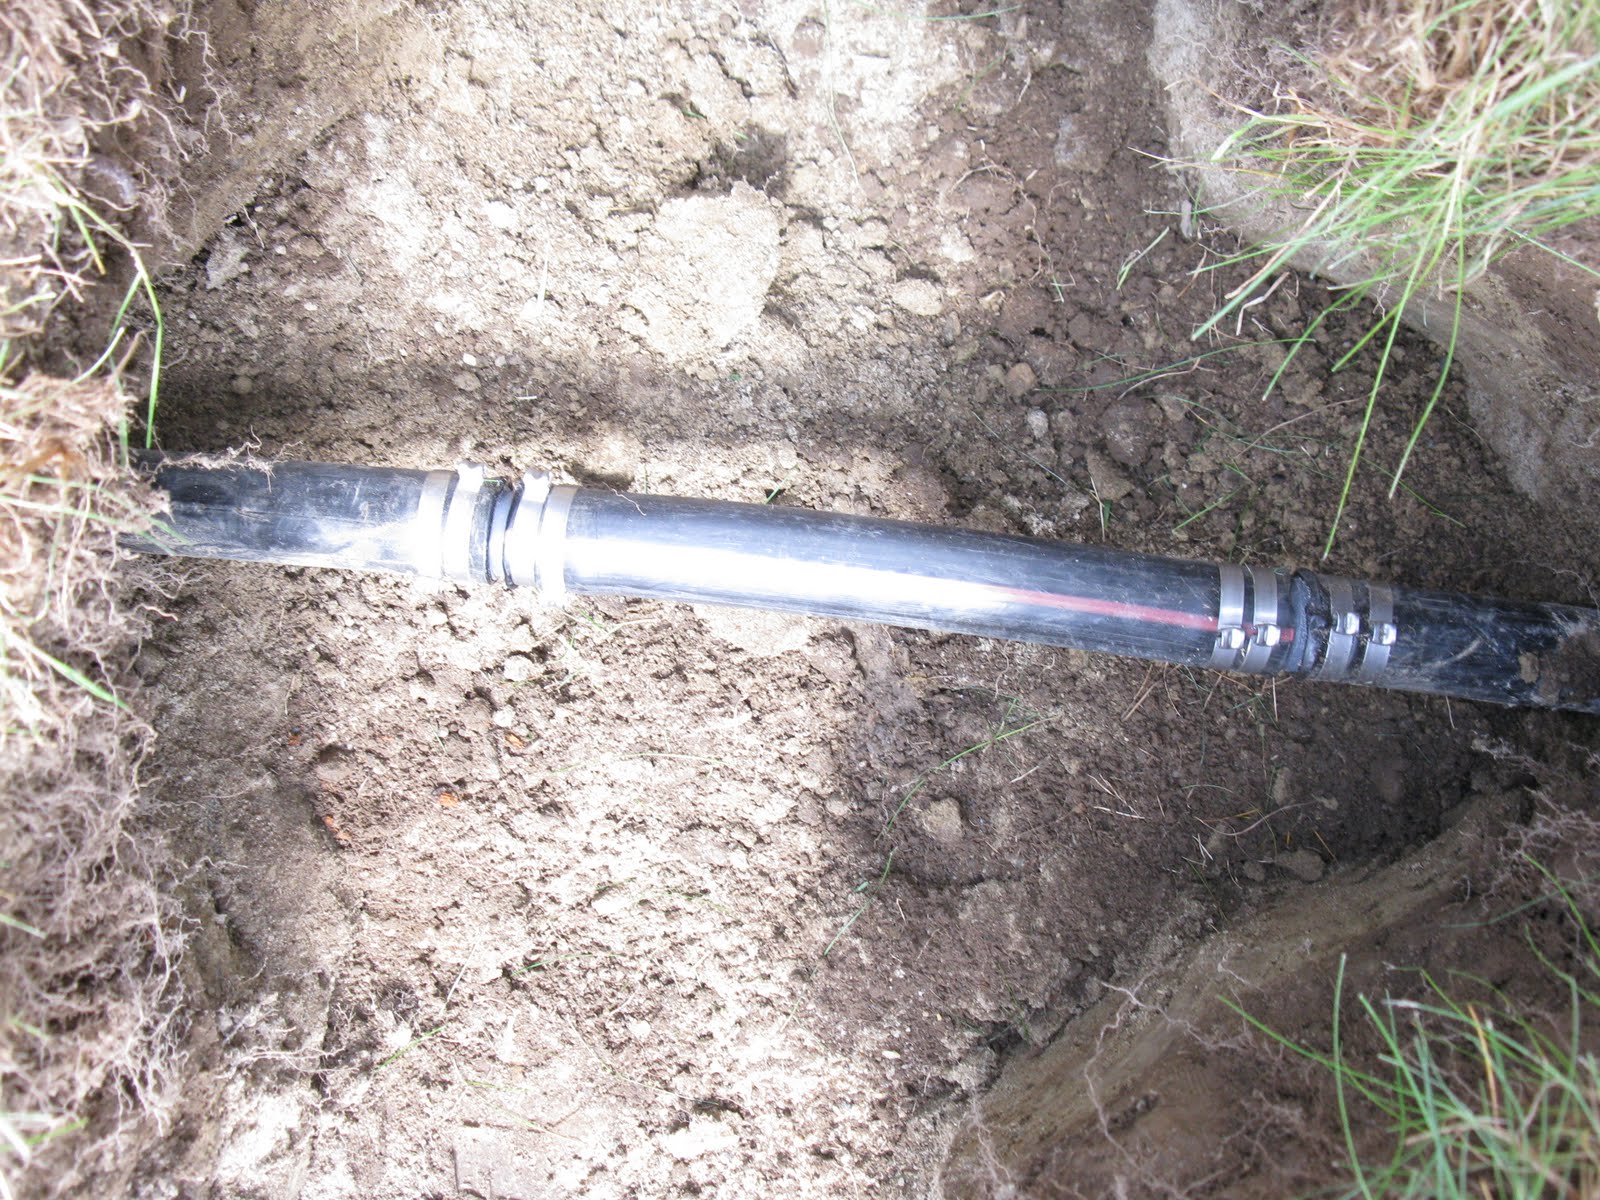
Remember I told you to make sure your clamps were on the pipe? This is where it is critical.
Heat one end of the new repair pipe and slide it onto the barbed connector. Clamp it to secure it.
To make the final connection you may need to pull the pipes up or to the side to create enough clearance to get them to mate. Sometimes undermining the dirt under, above or on the side of the pipe helps with this.
You also may need to trim your pipe a bit to do get them to fit.
Once the repair pipe is attached crimp all the clamps and pressure test your system. Repairing irrigation pipe is that easy!
If you enjoyed this post, please consider commenting or subscribing to receive my future posts via email