Repairing A Mahogany Deck

Repairing A Mahogany Deck on a Historic House:
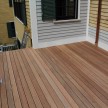
Today my main goal was to finish screwing down the 1×4 mahogany decking. I have been using 2 1/2″ self drilling stainless steel screws and pre-drilling all the butt joints. The downspout drain pipe shown in the corner runs through the deck and into a dry well pipe below. It never lined up properly because of the distance between the two pipes.

To make the downspout drain better and more efficient, I added a 4″ plastic drain pipe below the deck to connect the two pipes. The dry well drain pipe is shown below the decking.

Pipe installed.

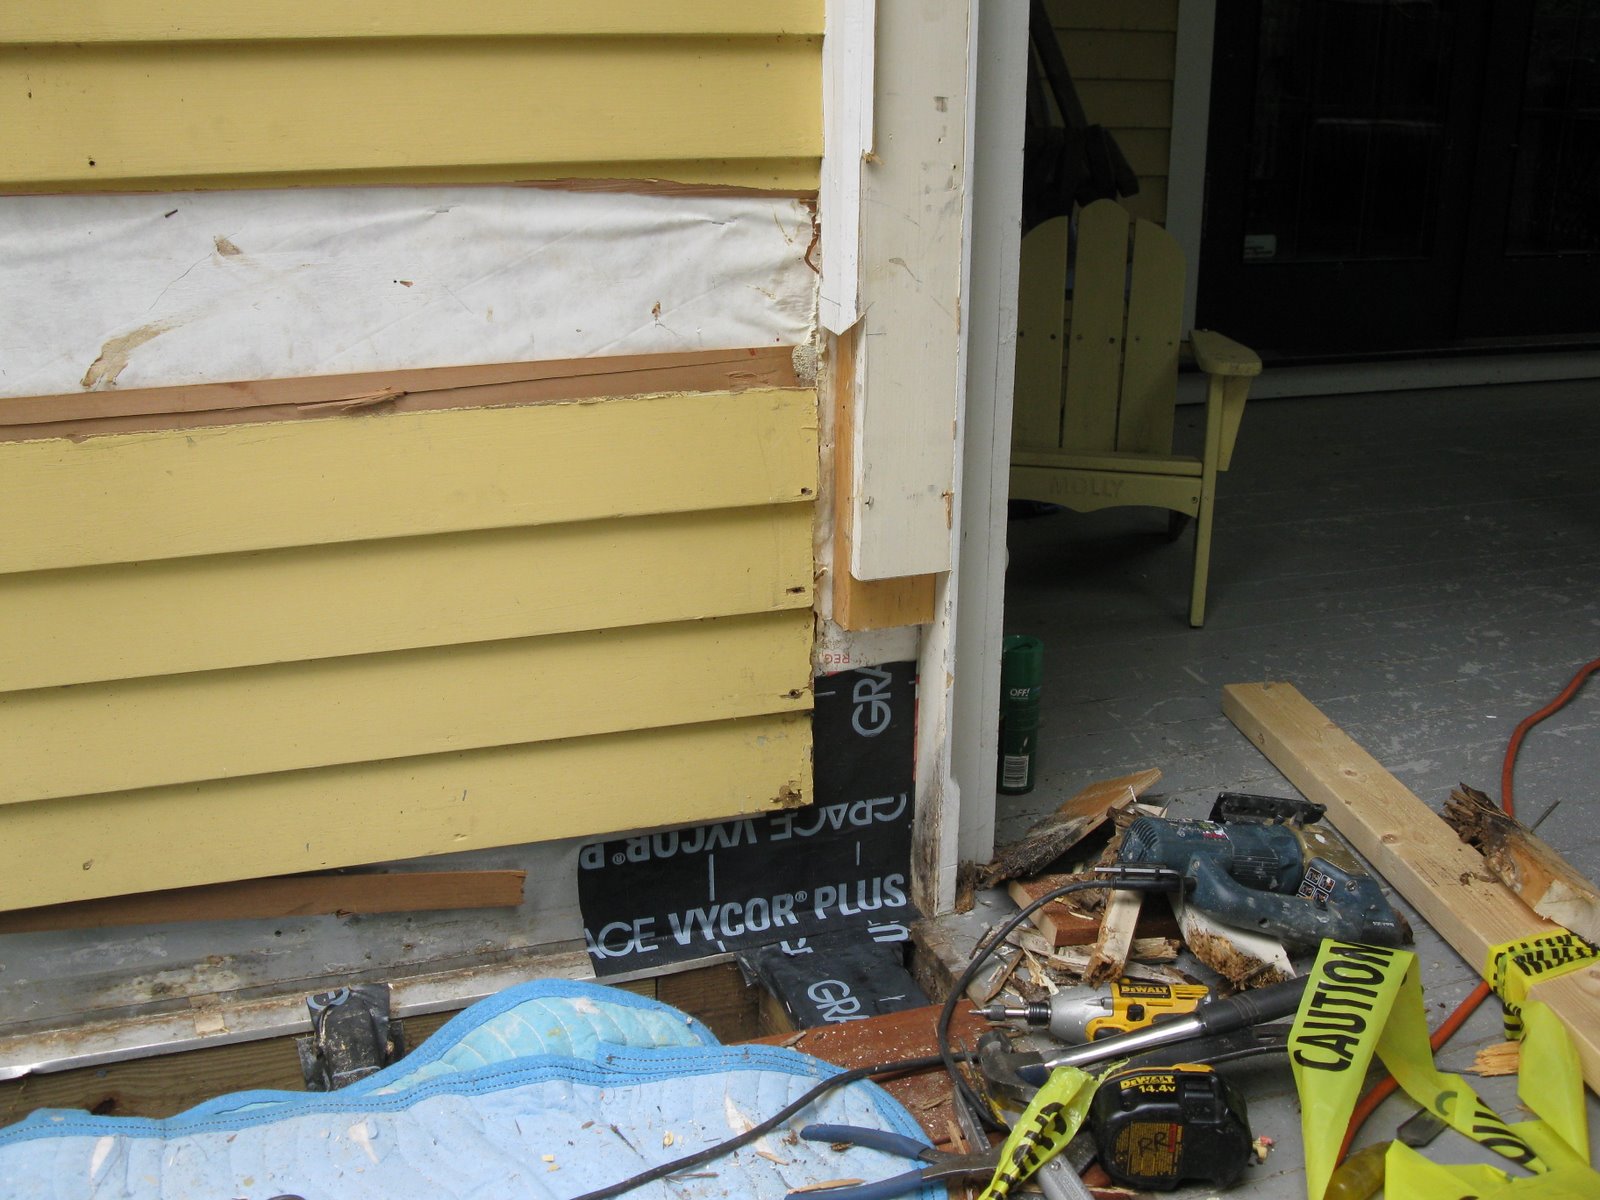
The Tyvek vapor house wrap and clapboards were replaced. We used pre-primed, clear, vertical grain, cedar clapboards and installed them with stainless steel ring shank nails.

Care was taken to prime all the exposed end grain to seal the board from moisture.
We installed a new horizontal ground – along the deck surface. [Click on photo to enlarge] We used pvc trim for the ground and flashed it before installing the clapboards.
Steps were taken to match the “yellow” clapboard courses on the back of the house and to the right of the door.

Below: all the skirt, lattice and scotia moldings are applied. Most of the decking is now installed and fastened.

The next step in repairing a mahogany deck is to install the horizontal ground along the back of the house and install the last two deck boards.

Both left and right screen door jambs and door trim were rotted at the bottom. The screen door will need to be replaced.
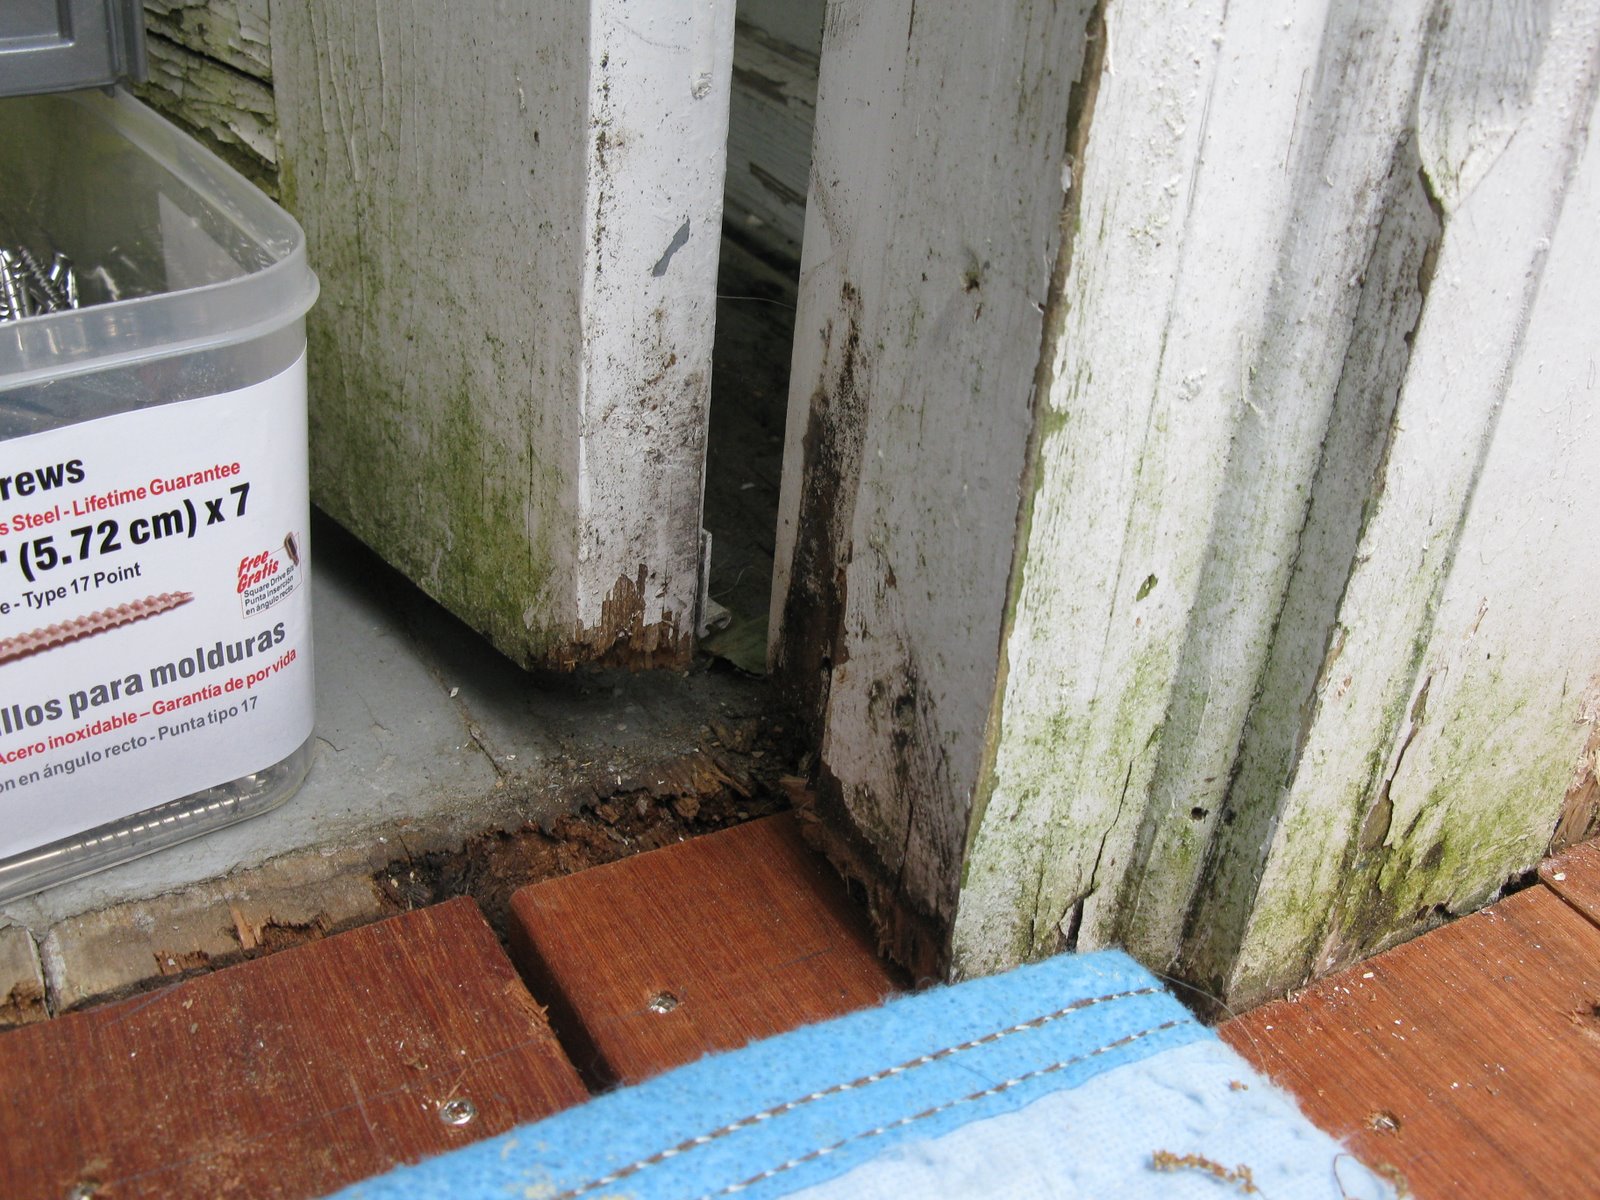
The rot was pulled off so flashing could be applied below and behind it.
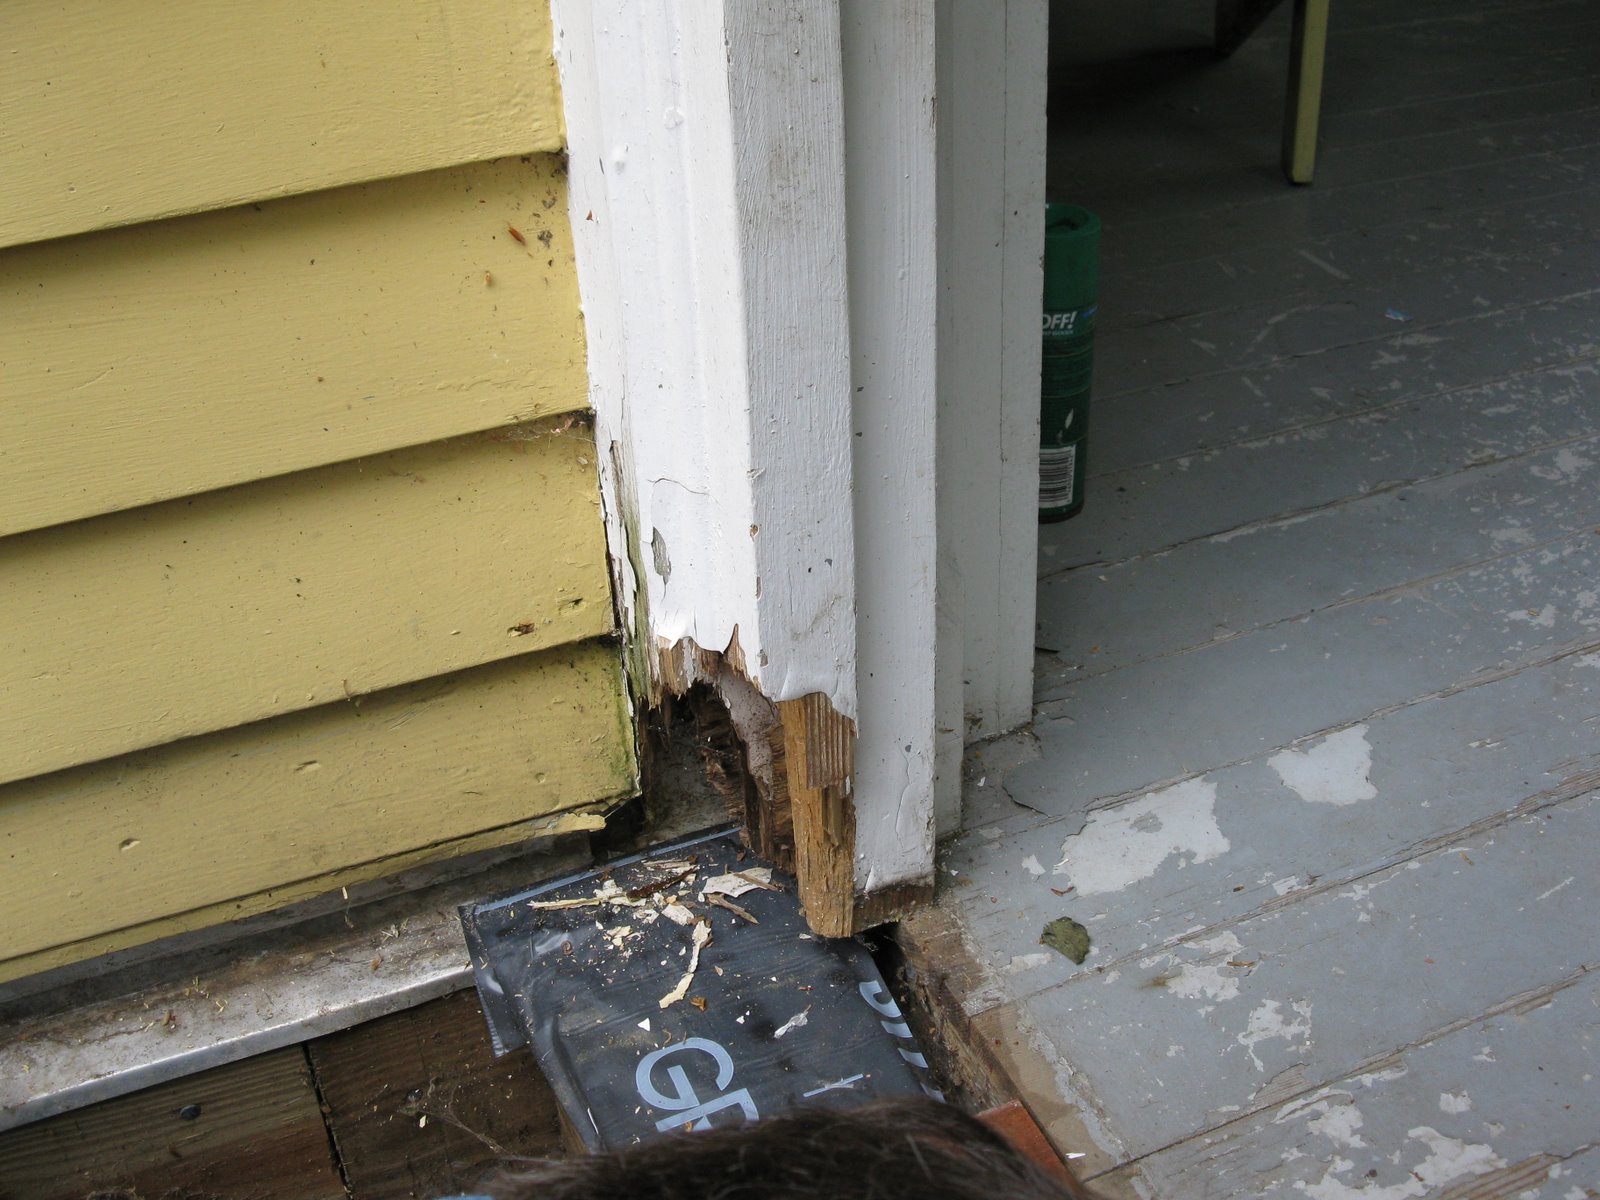
The rot extended deep; through the sheathing and 2×4 framing. All of the rot was cut back and removed.
Rubber was installed behind the clapboard and trim joint, behind the 2×4 framing and over the ledger board flashing.
The framing and sheathing was replaced with pressure treated material. The door jamb was replaced with a cedar board.
The door frame and trim will all be replaced with back primed, cedar boards.

Tomorrow should be the last day.