Making And Using A Door Buck


Using A Door Buck To Fit a Door
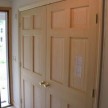
When working installing hinges on doors one of the challenges is how to hold the door firmly on edge, the answer is a door buck.

What is a Door Buck?
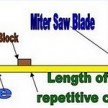
A door buck is a simple site made jig that many carpenters use to hold doors securely on edge while planing them or routing the hinges.
Making And Using A Door Buck
Many a carpenter use whats called a “door buck.”
A door buck is a jig that holds the door securely on edge and prevents it from moving while you are planing, routing for hinge mortises or lock installation preparation.
“Buck” was an 1800’s term for sawhorse. So a door buck is basically a door sawhorse.
I had to install a few closet doors in Wellesley, Massachusetts and knowing that I had some left over plywood from a job I decided to replace my old rickety door buck jig with this new one.
Making And Using A Door Buck started out by cutting some scrap birch plywood into approx. 4″ wide strips.

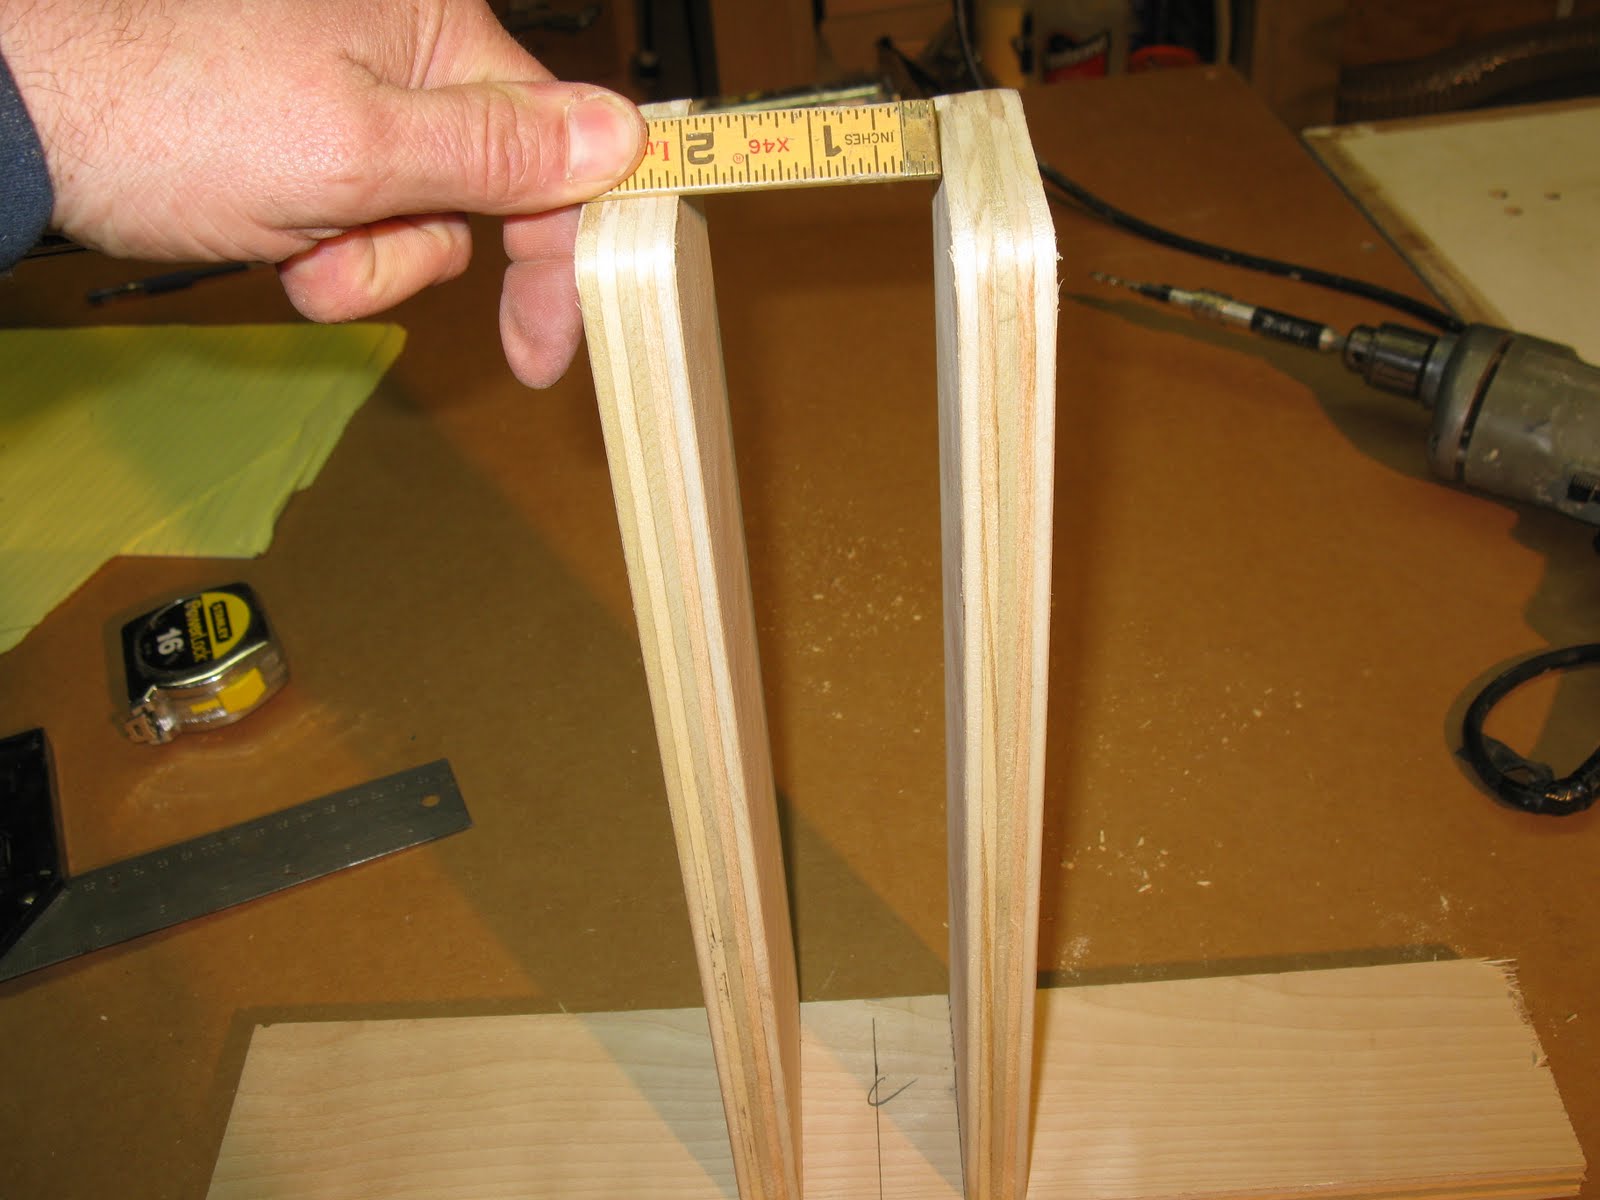
The base is approx. 18″ and the two vertical legs will be approx. 14″ high.

After marking the center I measured an inch in each direction. This gave me a 2″ wide mouth to side doors into. Most doors that I deal with are no wider than an 1 7/8″.
This all wood door holder will use a few shims to wedge the door firmly in the jig. Being made of all wood you never damage an expensive door by scratching or gouging it from metal parts.
I measured the height of the vertical leg and from the leg to the base edge and cut a few scrap plywood squares.
I then cut the squares diagonally in half to make the jig sides.

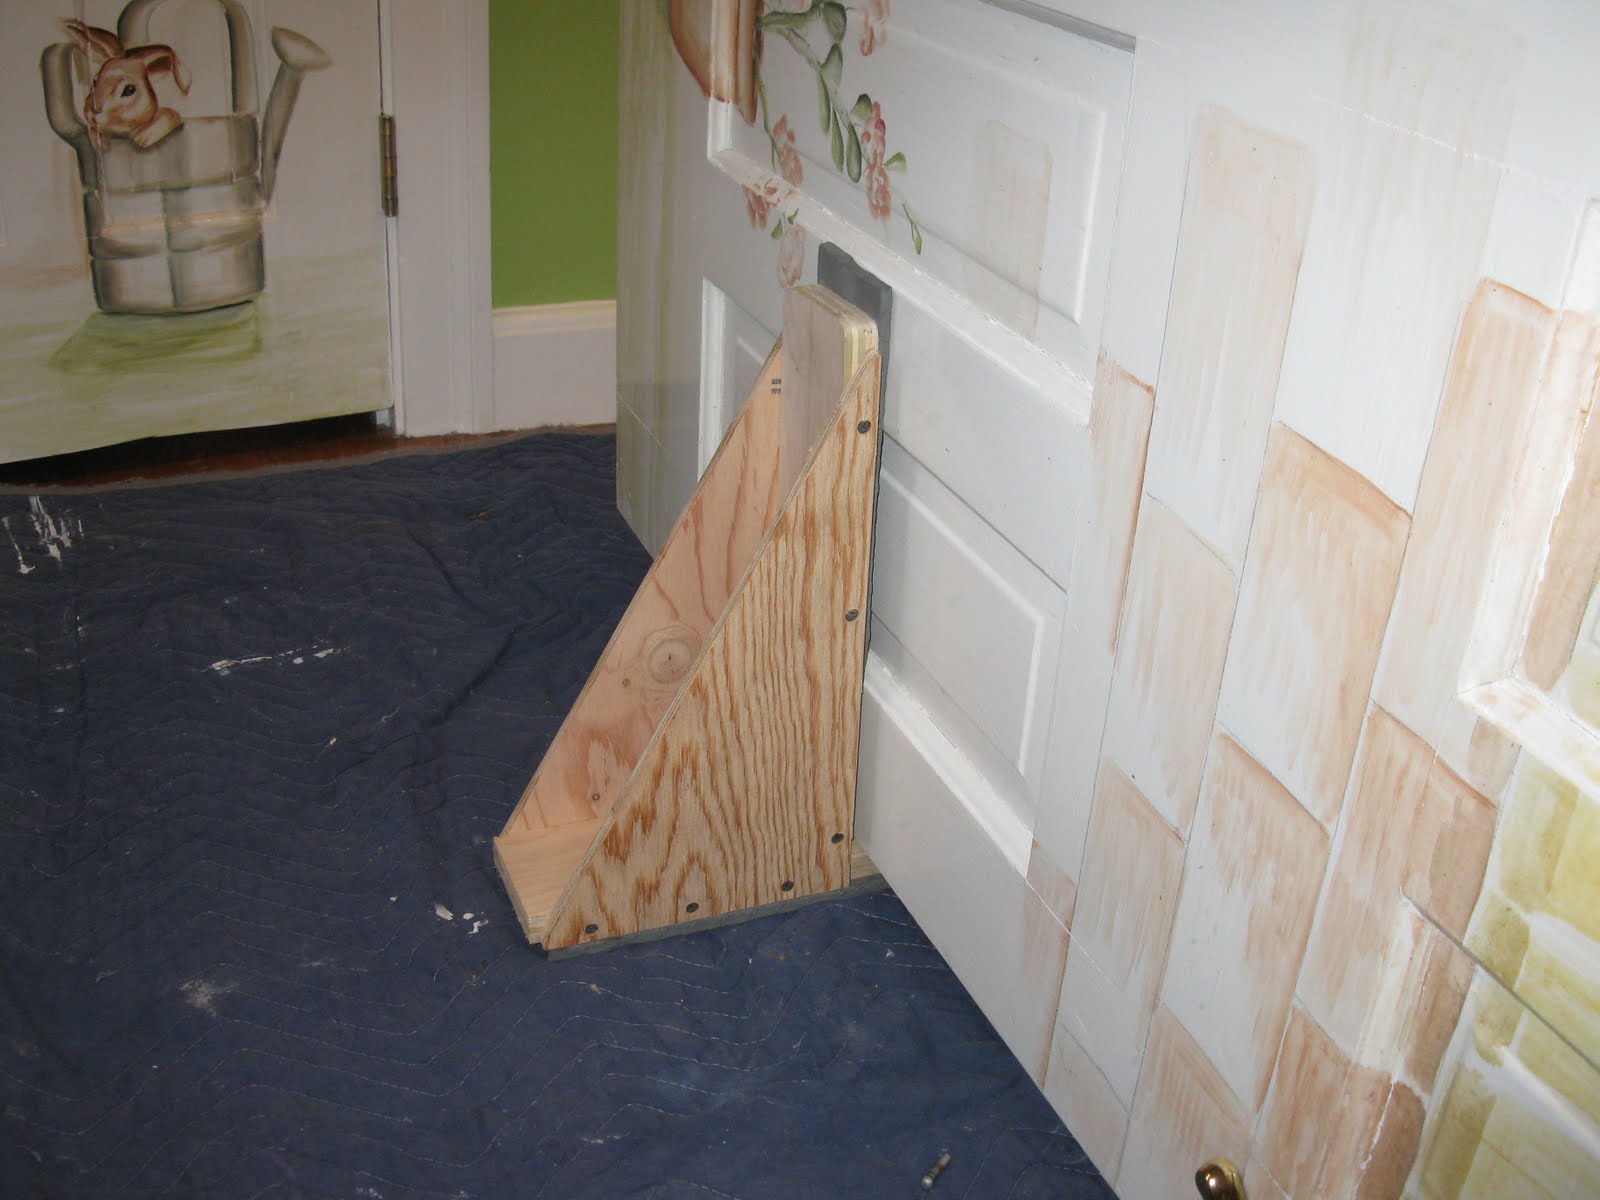
The plywood sides provide the jig it’s rigidity and strength as well as assure that the door will not tip over while you’re trying to insert a door.
The goal here is to get the door steady and secure so I can work without having to hold the door.

I squared out the jig and screwed all the pieces together.
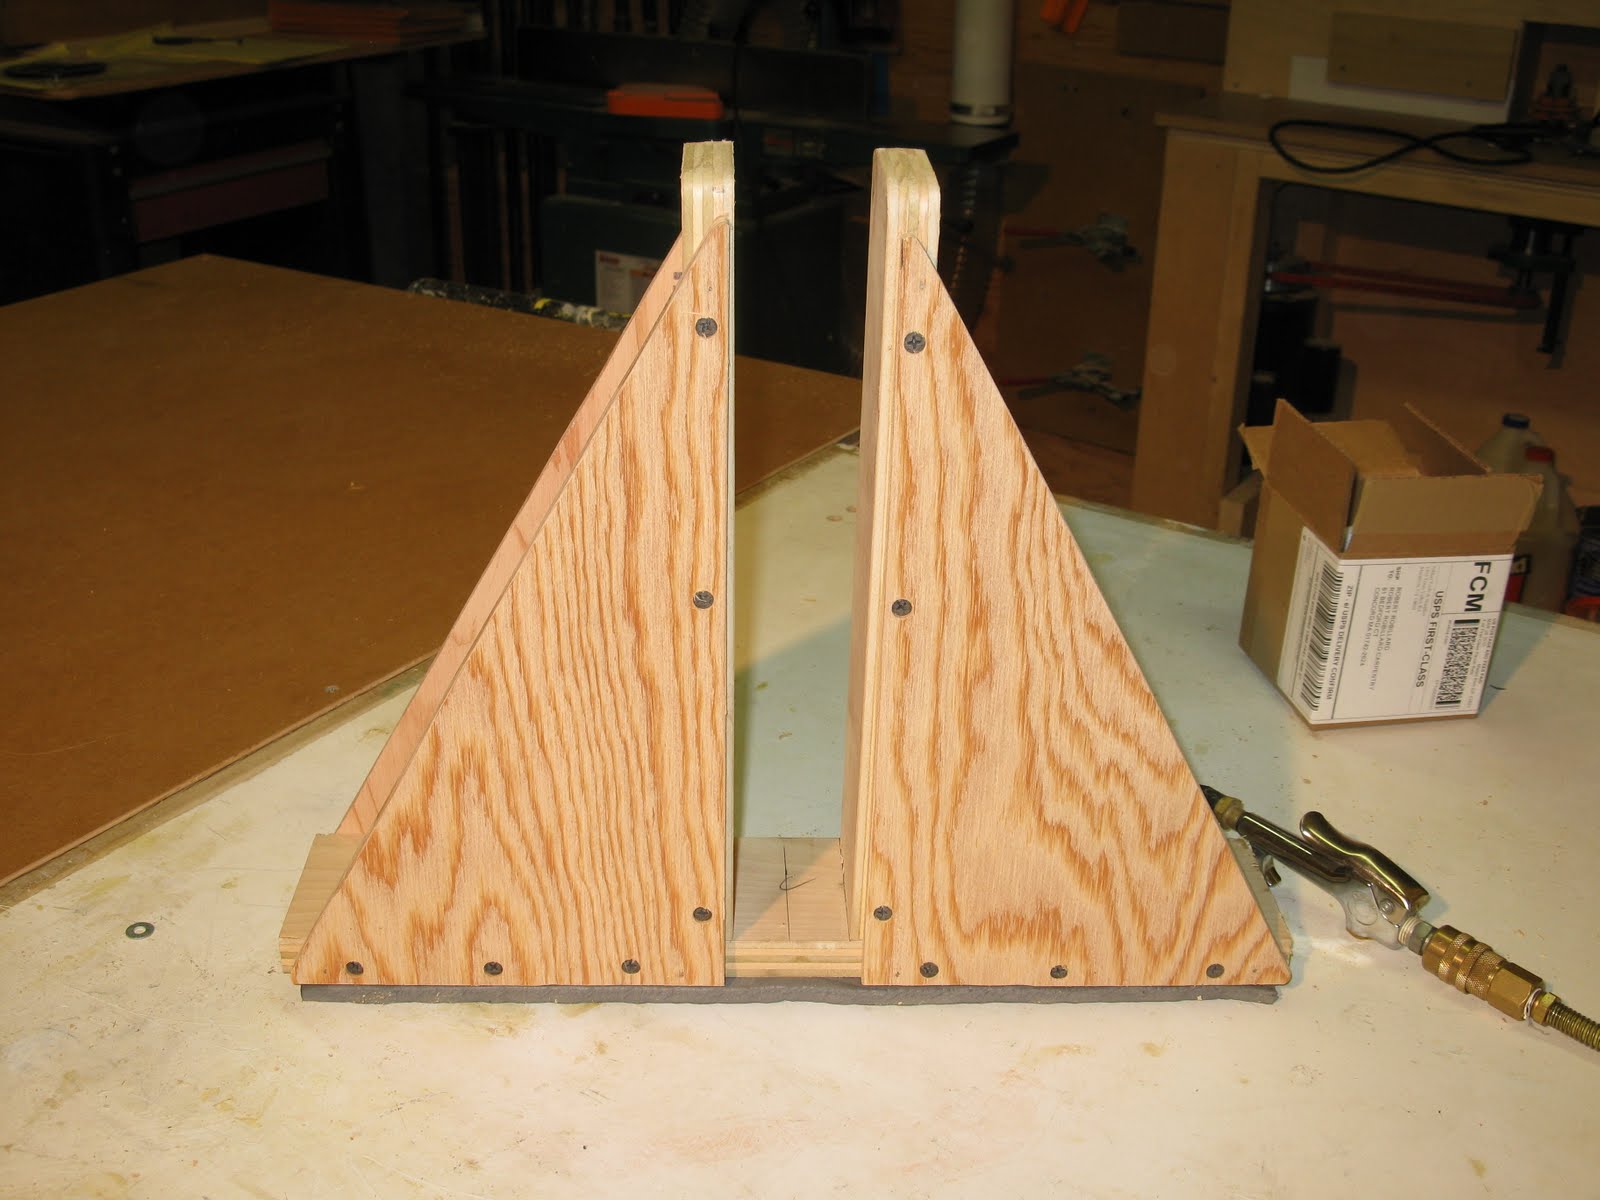
I had some scrap rubber flooring left over and cut some to fit on the bottom. I’m hoping that this gives the jig extra grip on the floor.
Optional: I had some rubber flooring left over and cut some to fit on the bottom. I’m hoping that this gives the jig extra grip on the floor.
To hold the rubber onto the jig I used screws and washers, making sure to recess the screws to avoid scratching any floor. I always protect the floors where I’m working but it can’t hurt to take these extra precautions.