


How to Make A Box Joint Jig
A box joint’s exposed end grain can be an attractive detail. Box joints are a simple, economic way to produce a strong joint. They can be built on the table saw with a simple jig made from remnants from your scrap pile.
A box joint jig is not a new idea. It has been around for a long time and a simple plan to build one can be found on the Internet.
Common box joint spacing dimensions are ¼, 3/8 and ½-inch. Box joints look and work best when the width of the joint is divisible by the width of the individual joint fingers.
Making A Box Joint Jig Steps:
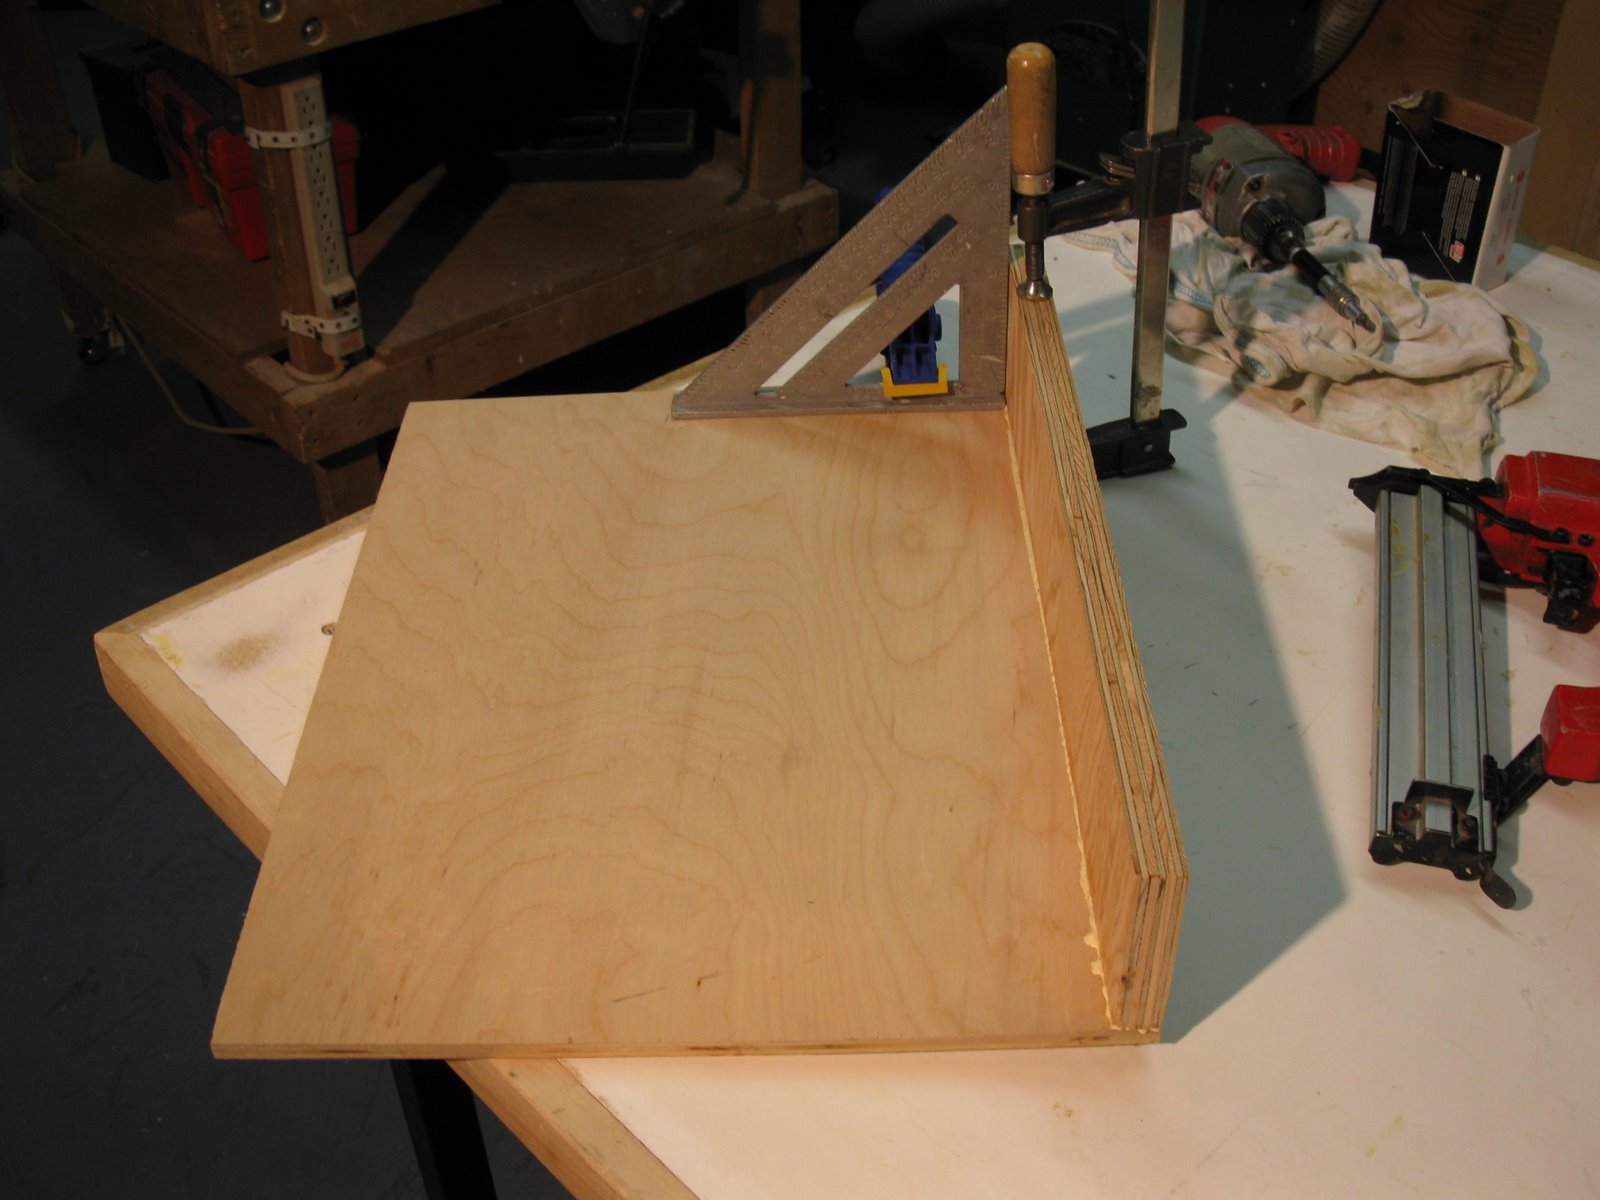
The material for the box jig fence is ¾-inch plywood because of its strength and resistance to warping, but any solid, straight lumber will work.
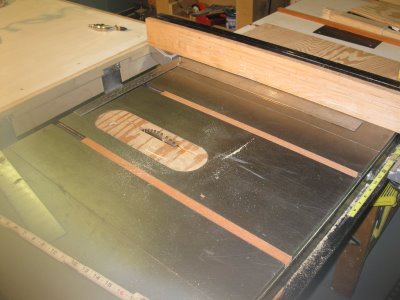
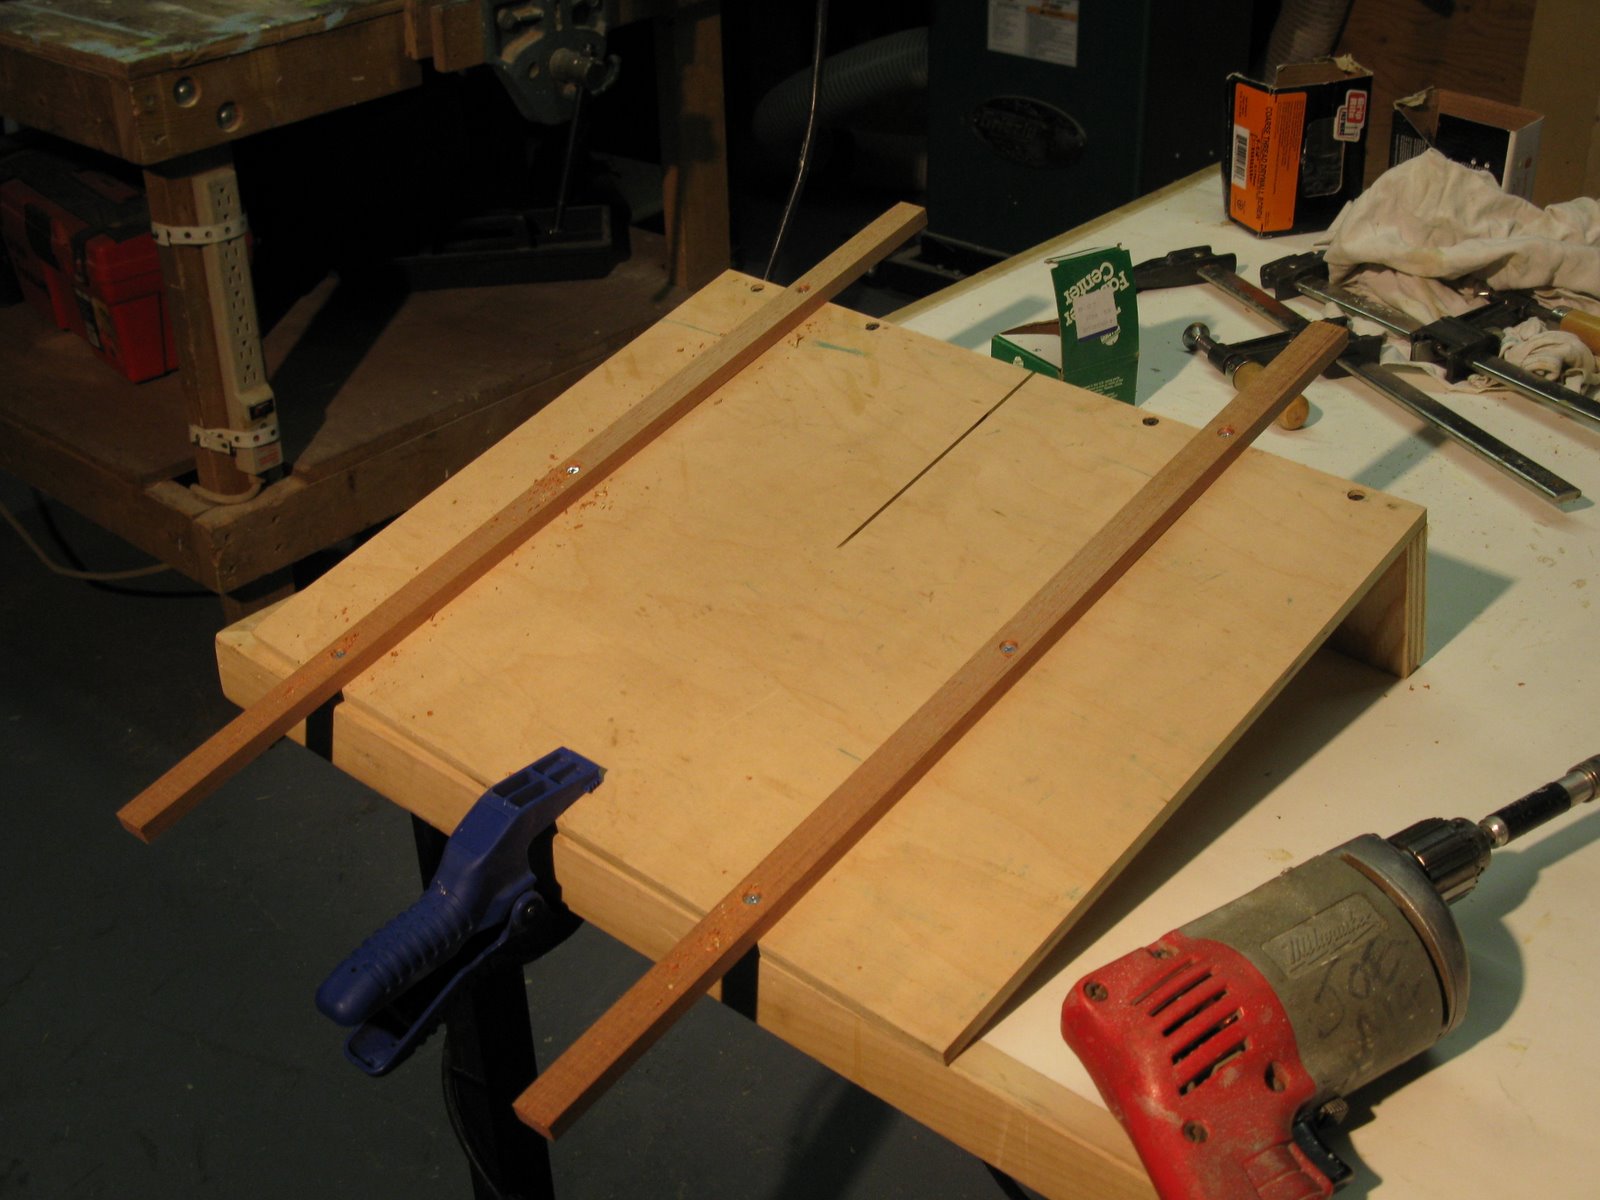
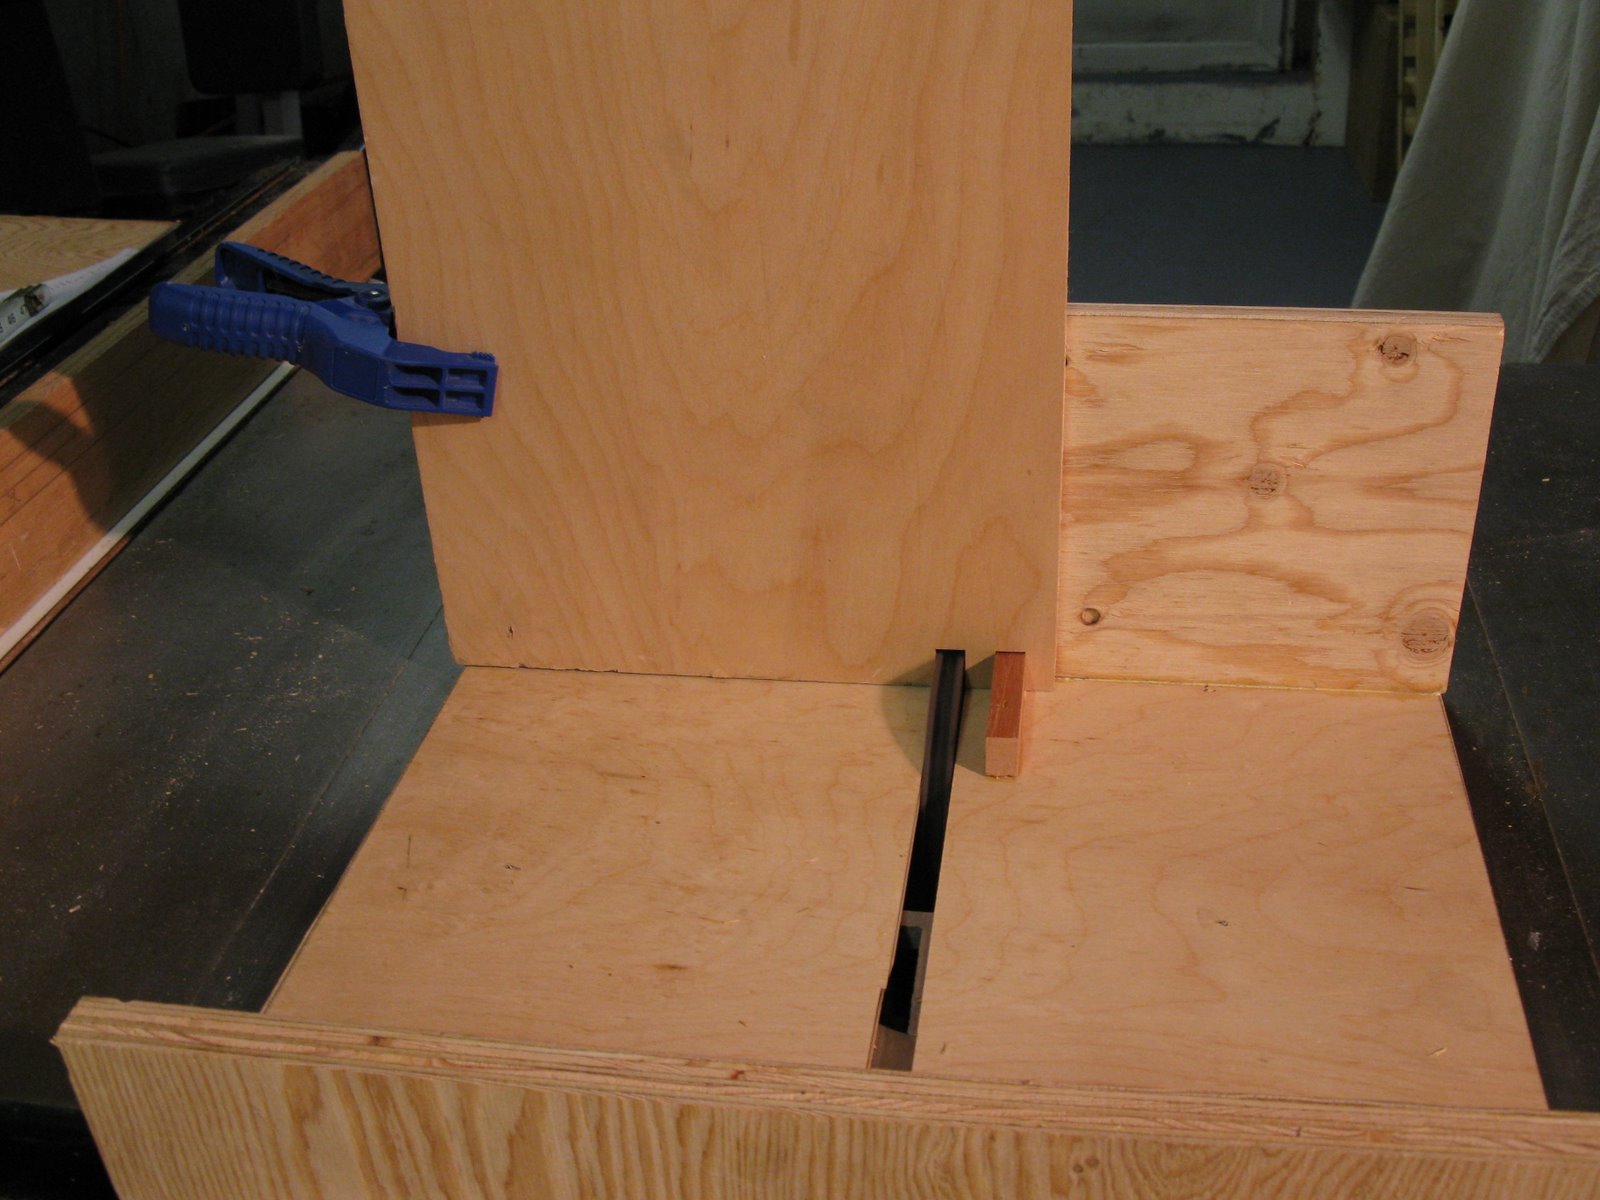
Instead us using the table saw miter gauge I decided to make a sliding sled. When making A box joint jig sure the rails of the sled extend beyond the blade a few inches on either side to support the sled when sliding.
Photo: Sliding rials were cut to fit snug in the slots in the table saw.

Take care to keep the sled, rails and fence square with the blade.
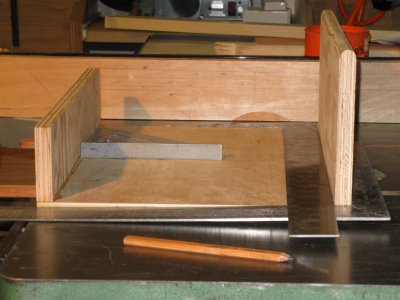

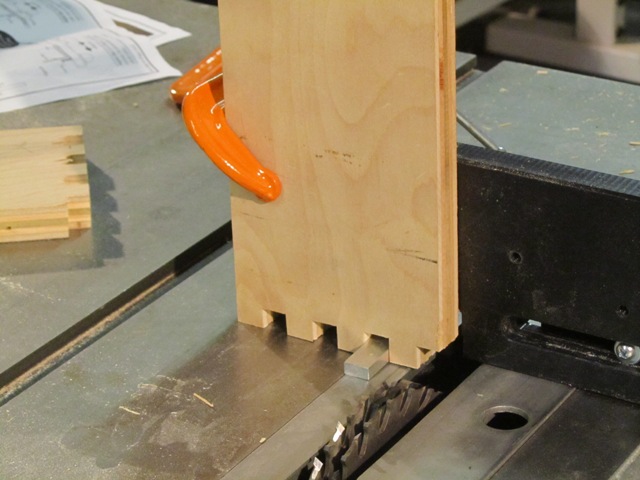
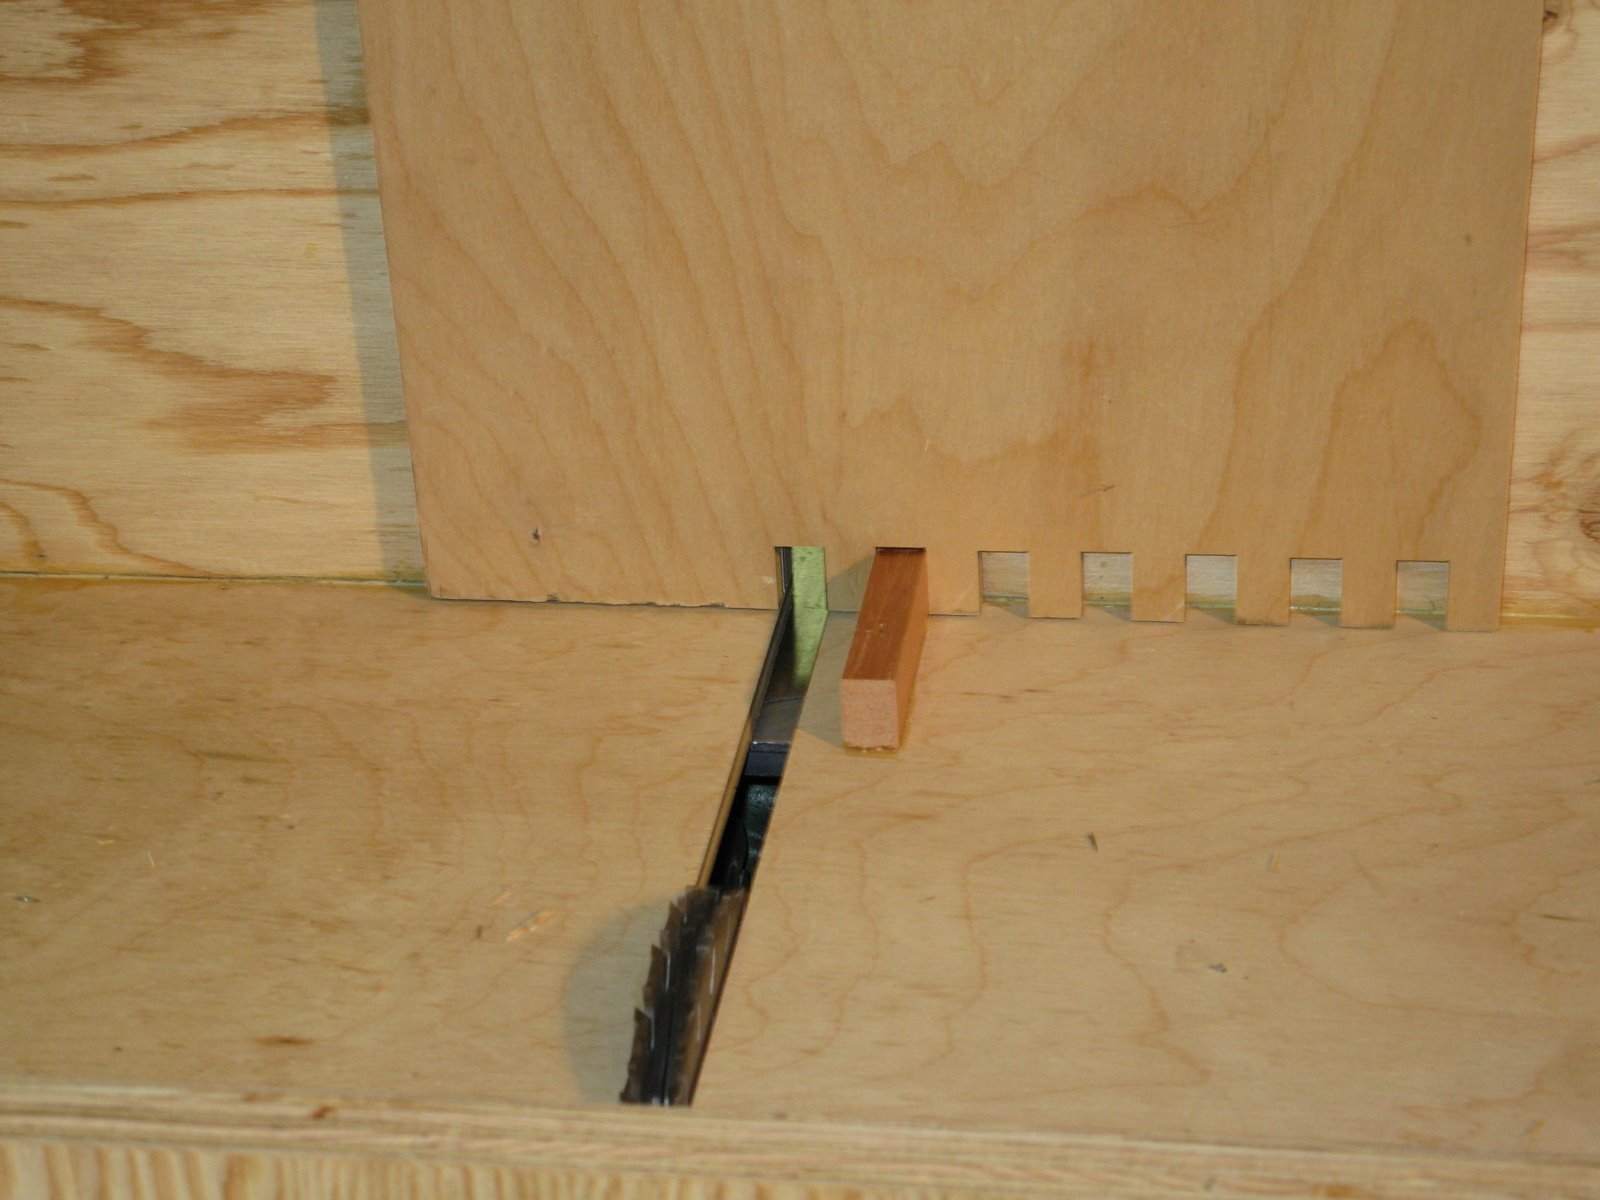
Setting the blade a little high for the material being used cuts 90-degree fingers that protrude slightly when assembled. It is much easier to sand the pins flush than shave down the sides of a project. Start the saw and carefully pass the jig over the blade to make the initial cut.
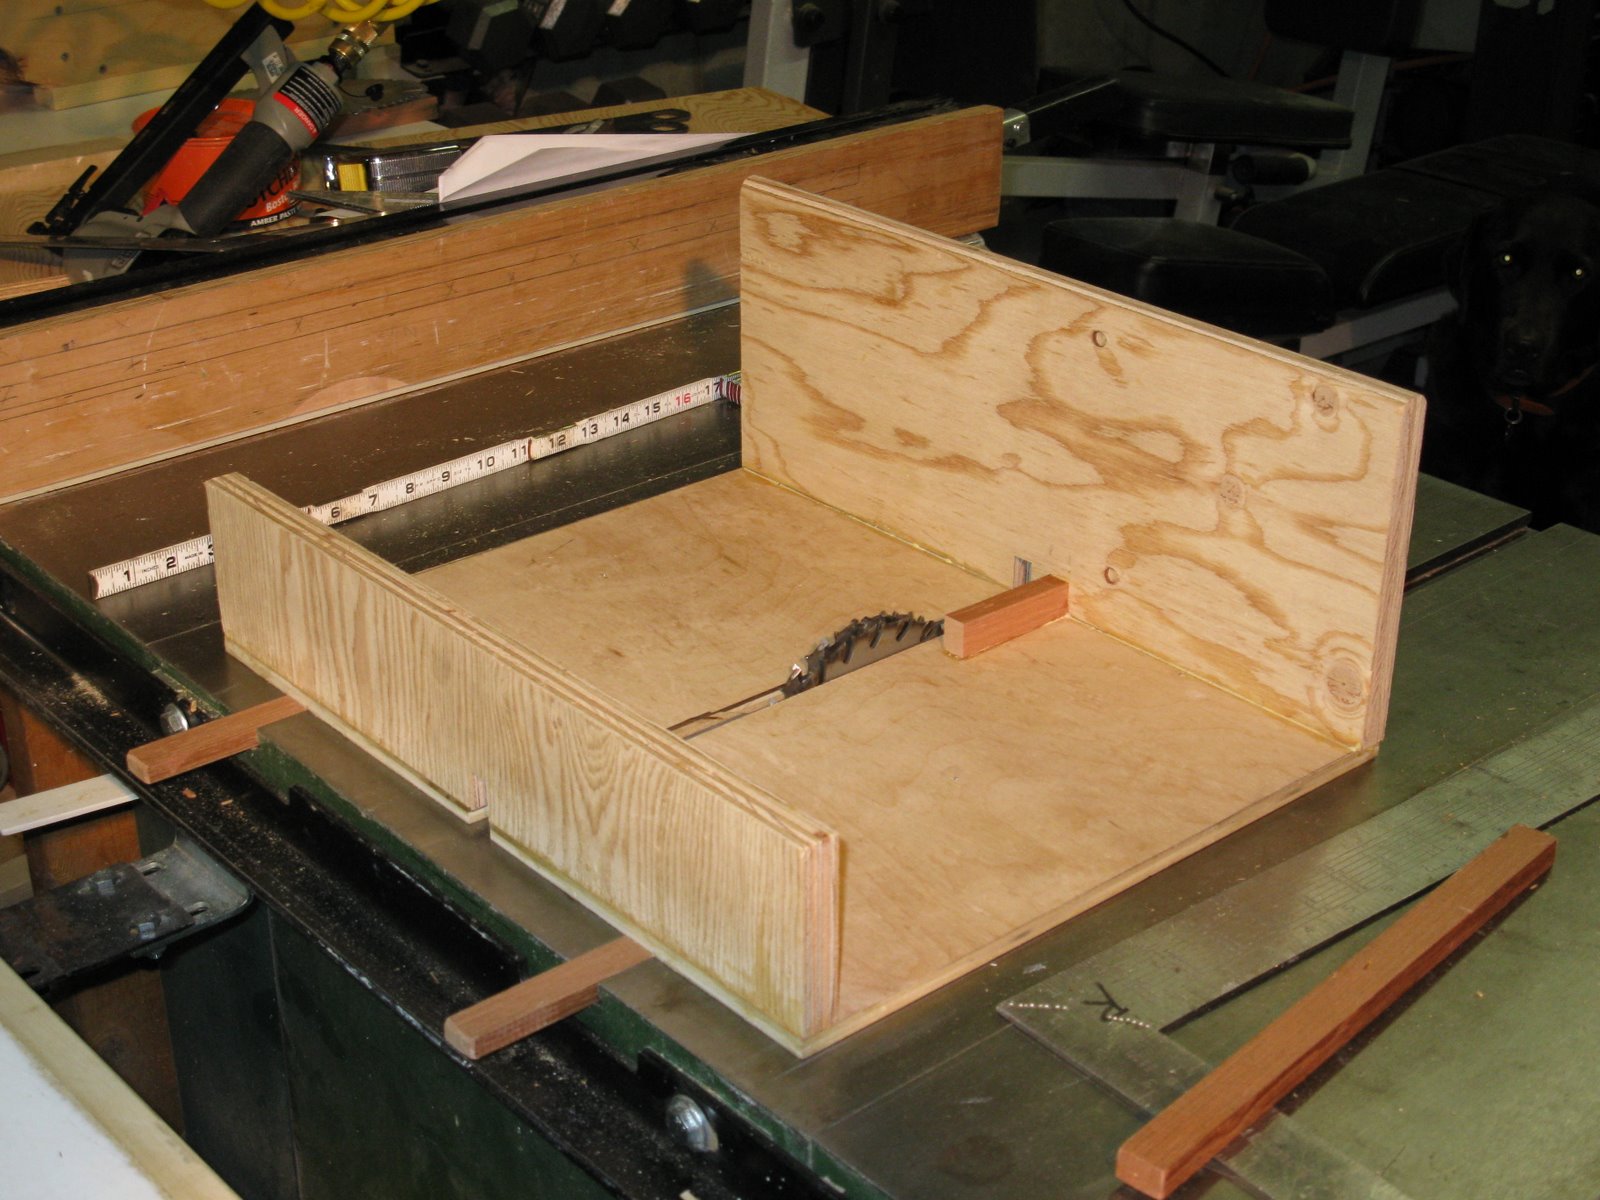
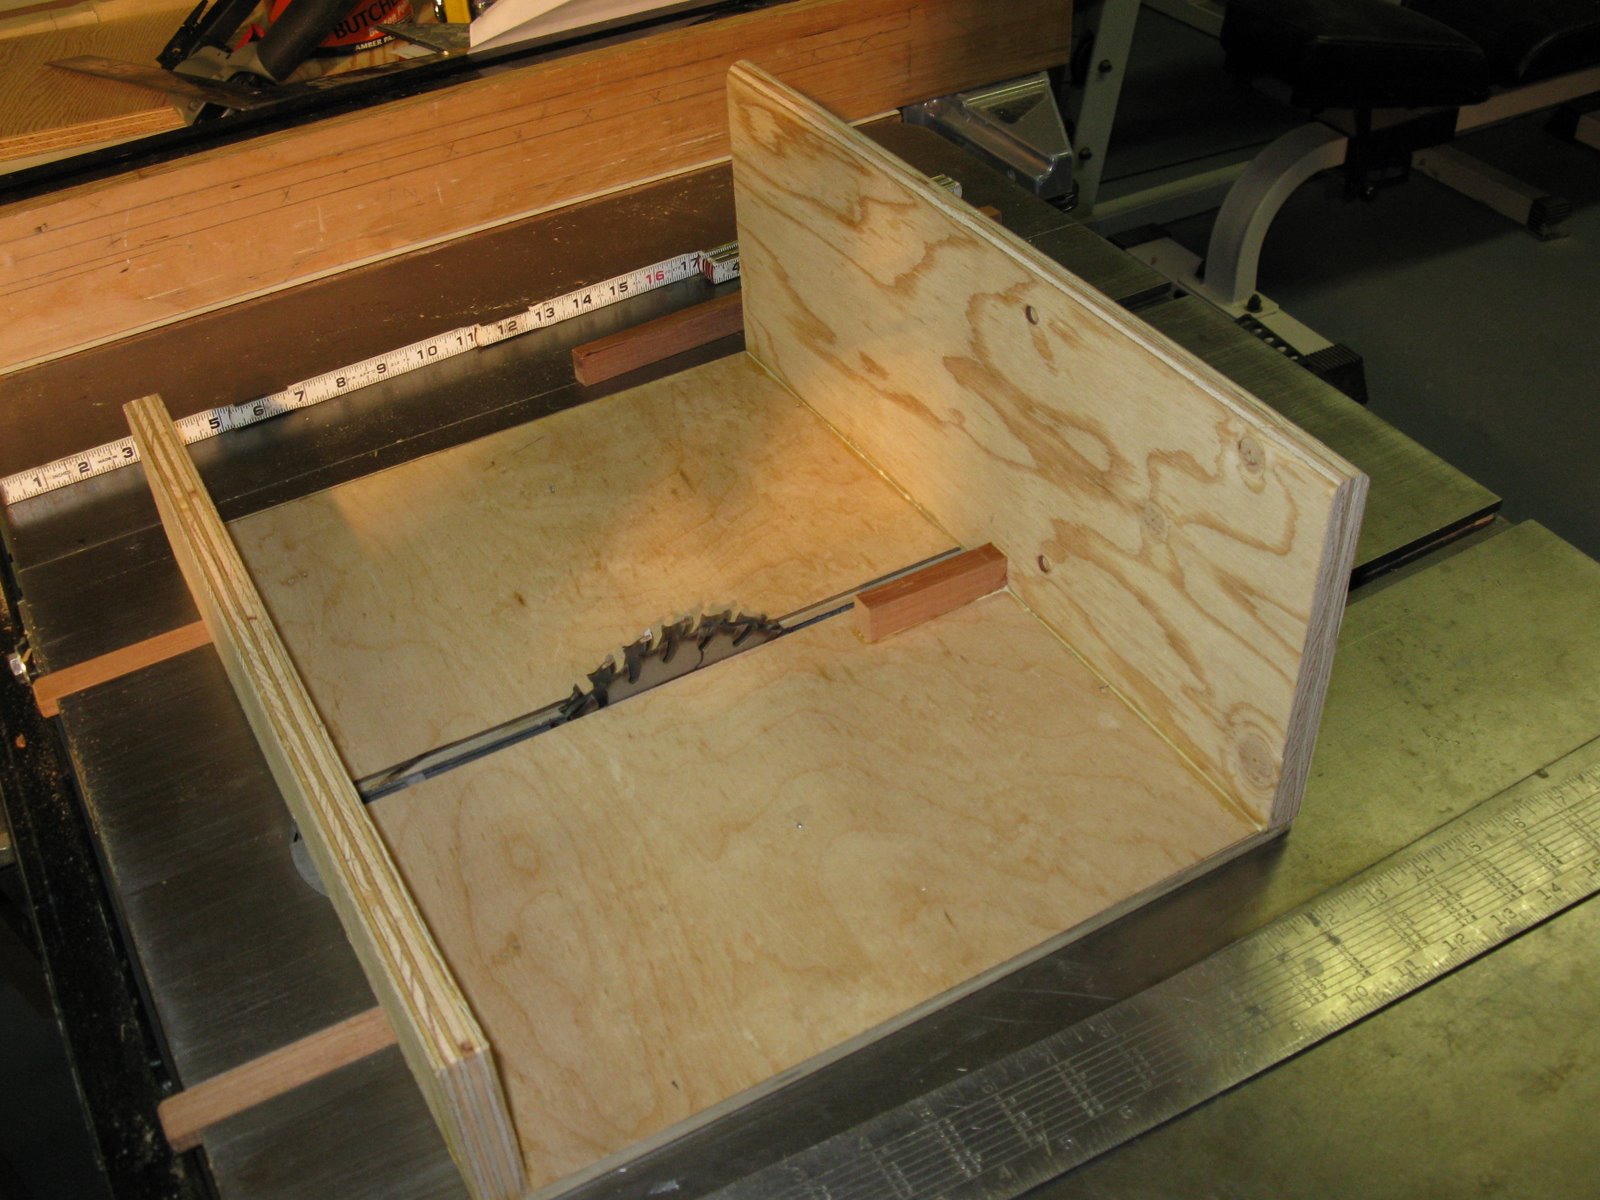
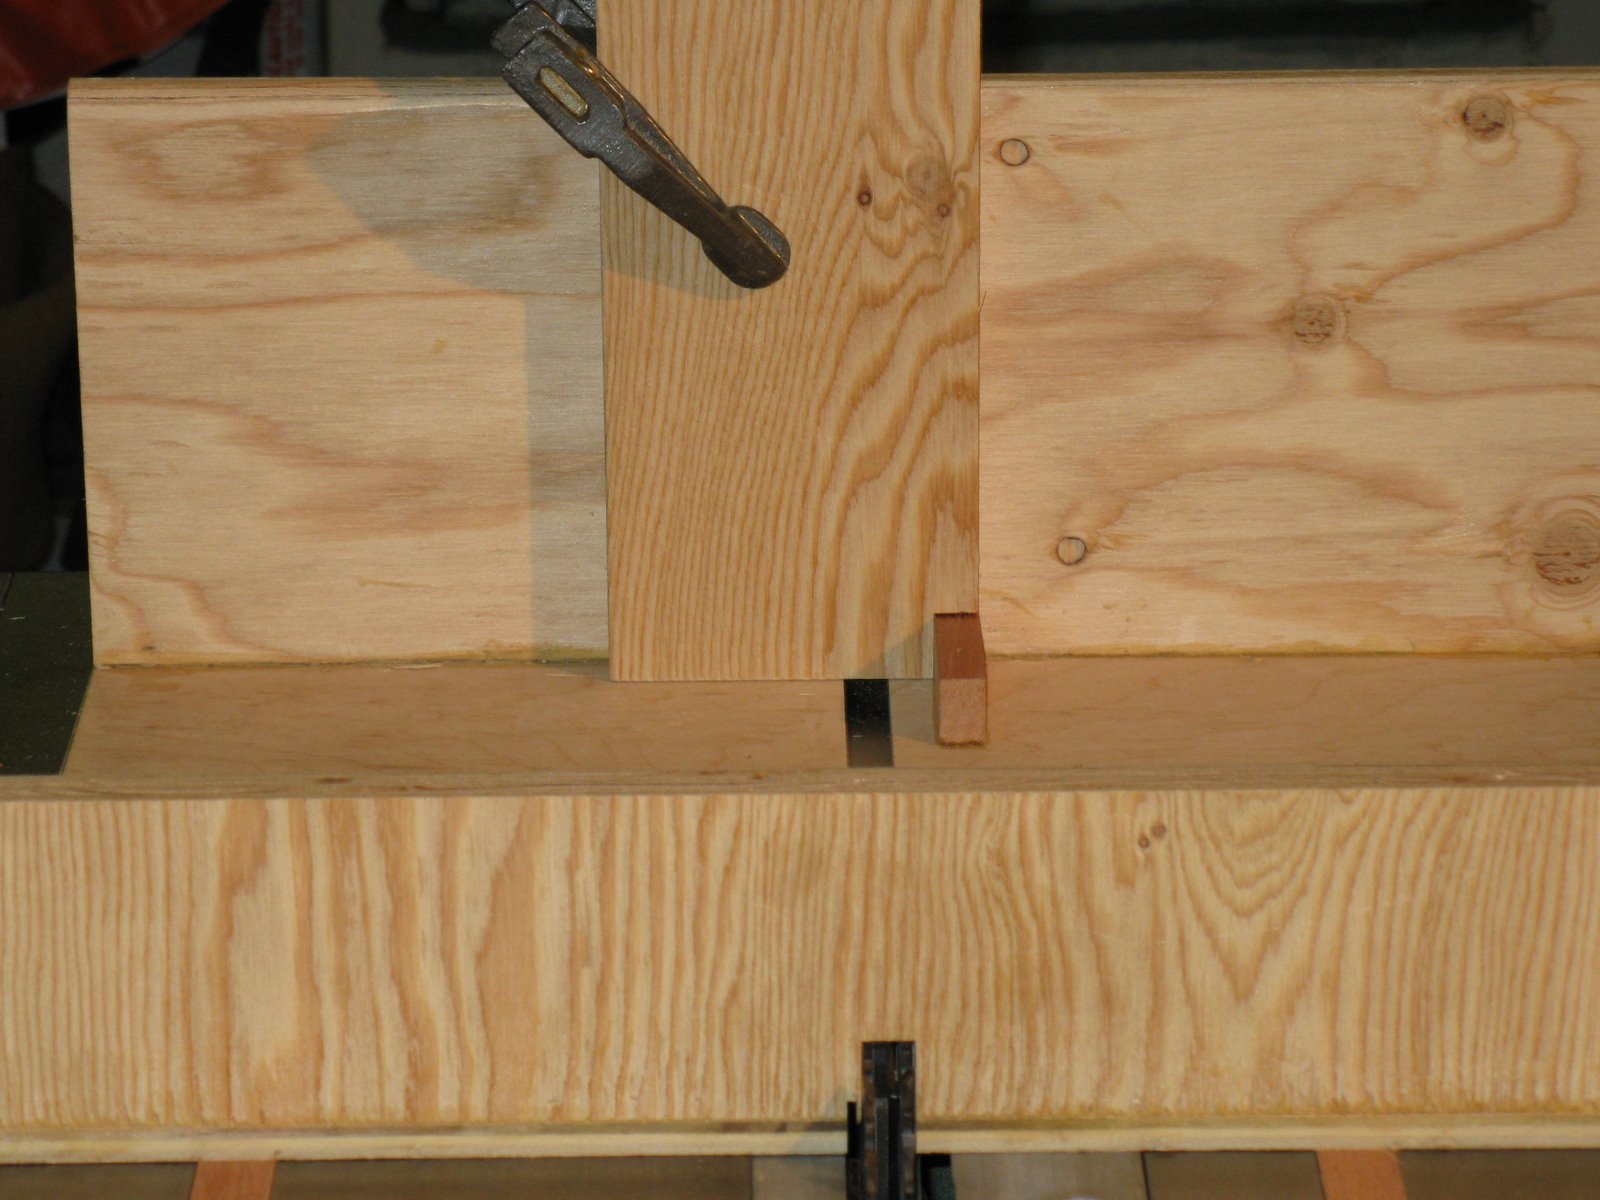
Another way is to cut both pieces at the same time, spacing one off the pin. [similar to below]
Spacing the second piece can be accomplished buy using scrap wood, with a dado cut in it, as a spacer. This allows the second piece to be spaced away from the index pin, which allows both pieces to have opposite cuts and interlock together.

After the spacer is removed the cut fits onto the index pin.
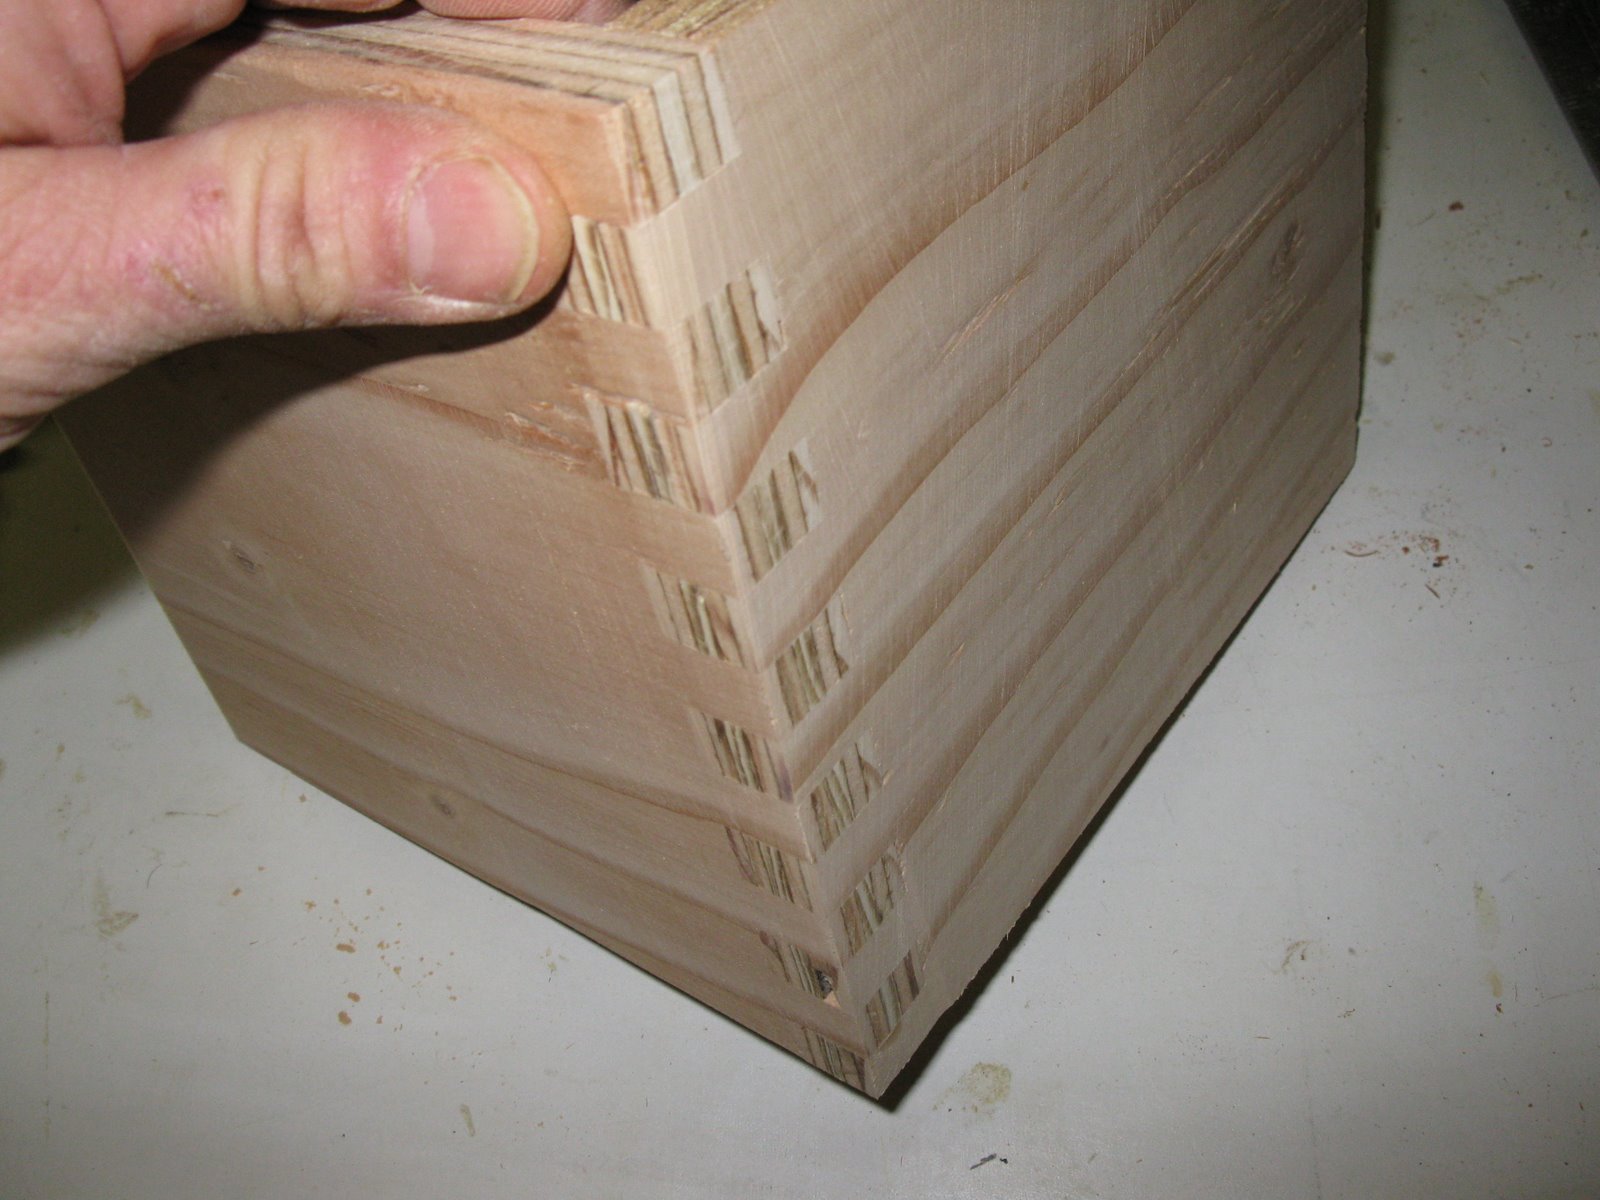
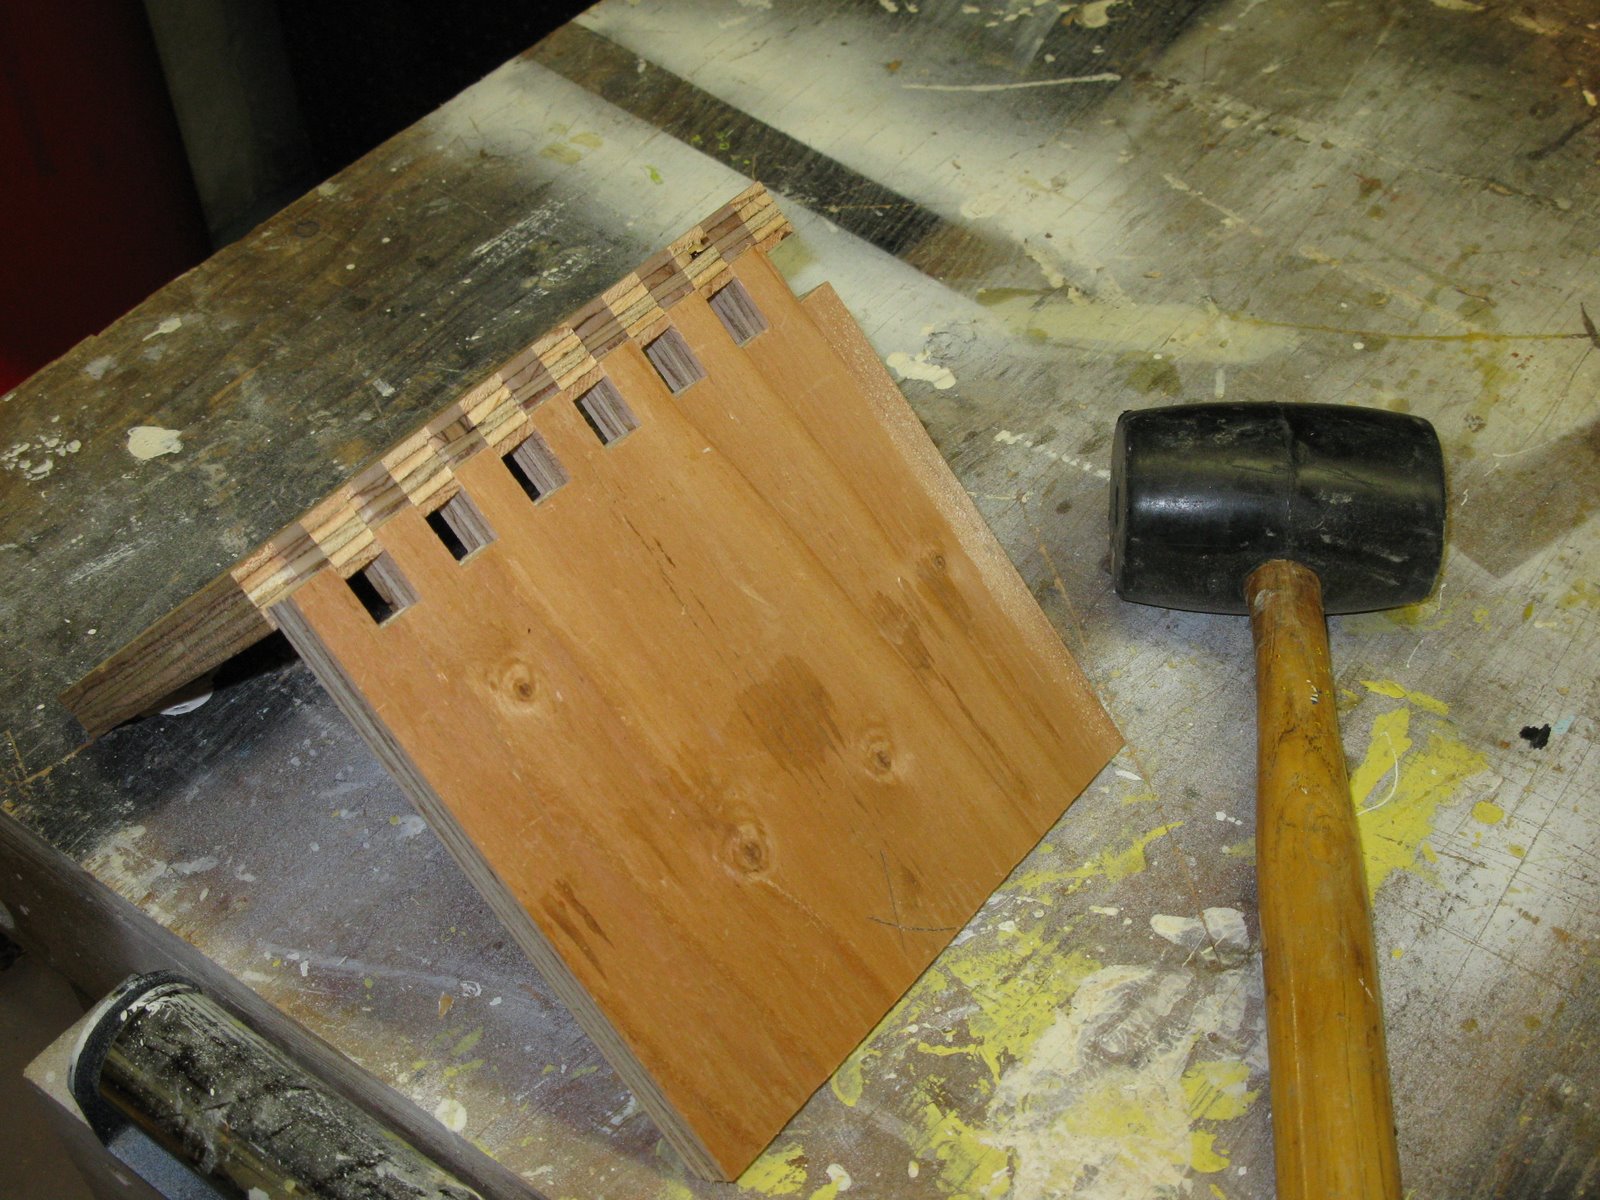
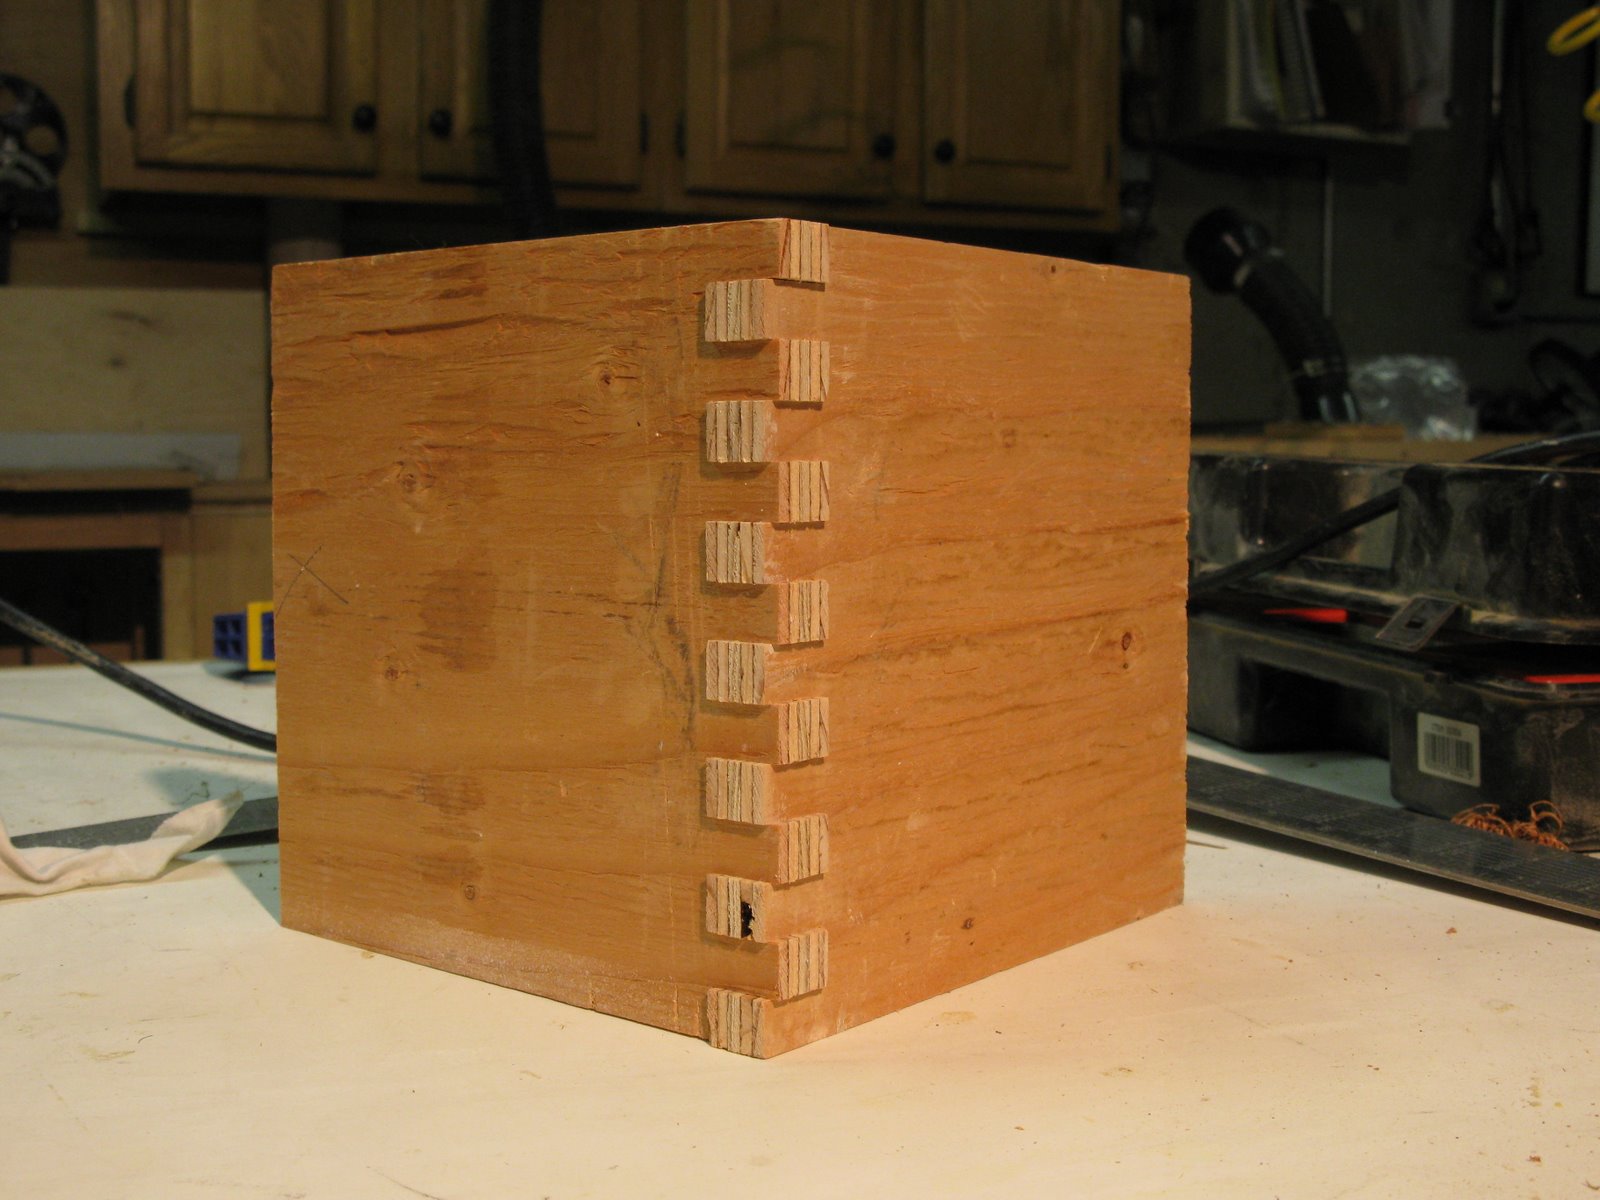
The fingers of a box joint are called “pins” and the notches are called “sockets” The box joint lacks the mechanical locking of the dovetail joint. It derives it’s strength from the glue. The glue must be spread evenly on all mating surfaces.
~ a concord carpenter