Installing Wood Clapboard


Installing Cedar Clapboards:
When Western Red Cedar clapboards is properly installed and finished, it will give years of trouble-free service and will give your home a character and distinction that other clad-dings cannot achieve.
Benefits of Cedar Clapboards:
Western Red cedar clapboards contain natural oils and resins that protect the wood from insects and rot. Cedar is known for its durability and ability to withstand weather.
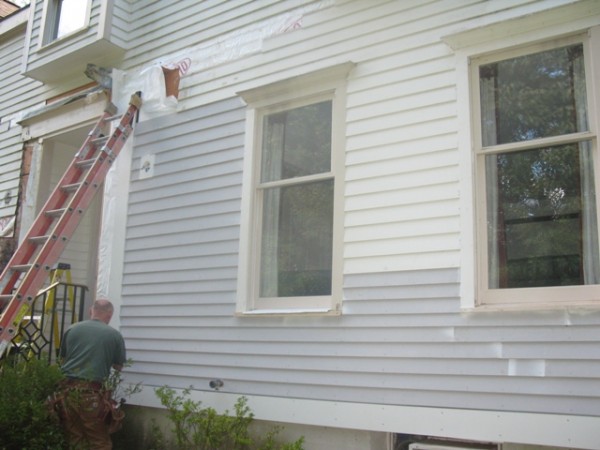
Problems that arise on homes is not usually attributed to the type of siding but to the installation and lack of proper flashing and drainage planes.
Here are a few tips if you plan on installing your own cedar siding:
1. Purchase good quality Western Red Cedar clapboards and prime and back prime them or purchase quality primed clapboards. Avoid finger jointed clapboards for a high quality job.
2. Prime all cut ends and edges of the clapboards. The end grain of all wood products absorbs liquids up to 250 times more rapidly than other wood surfaces.
3. Properly prepare the home exterior walls: Install building paper or a vapor barrier. Seal doors, windows and other joints with rubber flashing, sill pans and special tapes.
4. Use the proper nails: Stainless steel nails are the best quality nail you can use. Use No. 304 stainless for general siding applications and No. 316 for seacoast exposures. Hand nailing is better than using a pneumatic nailer. Hand nailing allows you to determine if your nailing into the studs and is easier to control the depth of the fastener.
5. Spacing for the siding should be laid out beforehand. Many people install 5-1/2″ with a 4″ exposure to the weather. Spacing can be changed or tweaked in order to get the siding to land on top of doors and windows.
6. Install clapboards by face nailing them to the house studs with 1-1/4 in. penetration into solid wood using one ring shank nail per stud spaced at a maximum of 24 in. on center. Place nail just above the overlap. Take care not to nail through the overlap of two pieces. Keep nails in 1″ from edges.
7. Clapboards are installed with butt joints. I suggest using tar paper roll tape to flash behind all vertical butt joints. Make sure your tar paper overlaps the clapboard installed below so water or moisture can drain out and on top on the lower clapboard.
8. Butt joints between boards should be staggered and made on studs. Fit siding snugly to other pieces and to trim. Install clapboards level.
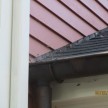
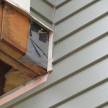
9. Flashing: Before installing siding, make sure that flashing’s are installed to prevent moisture from entering wall and roof
spaces. Flashing are an important in controlling moisture in wall assemblies. Flashing intercepts and directs the flow of water away from the building to designed drainage paths.
Areas that receive flashing are: doors, windows, skirt / water table boards, fascia, sidewalls meeting roofs.
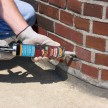
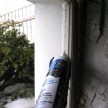
10. Caulking: Use high-performance acrylic-latex caulk to seal gaps around windows, doors, corners, and other exterior joints that are exposed to potential water intrusion. Caulking will eventually fail and need maintenance. Caulking can never replace proper flashing.
11. Roof and ground clearance: Keep siding a minimum of 6″ or more off the ground and 3/4 to 2″ off roofs to prevent moisture from wicking into the end grain.