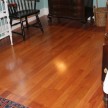
Installing Cherry Hardwood Flooring

Installing Hardwood flooring

In the typical Rob Robillard fashion I got WAY into this project before I remembered to take out my digital camera. I really hate when I do that but in the remodeling industry things sometimes move quickly.
On this project we were Installing Cherry Hardwood Flooring. Read more on this project here: Installing Hardwood Flooring
Removing the Carpet:
We moved all the furniture out, ripped up the carpet and tack strips, put the cherry flooring in the middle of the floor and left for two weeks. Yesterday and today was installation day.
Allow Hardwood Flooring To Acclimate:
Hardwood flooring needs to acclimate in the rooms where it is going to be installed for several days to allow it to adjust to temperature and humidity otherwise if installed without acclimating it can cause gaps and/or buckling.
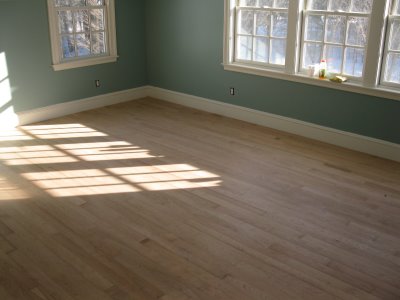
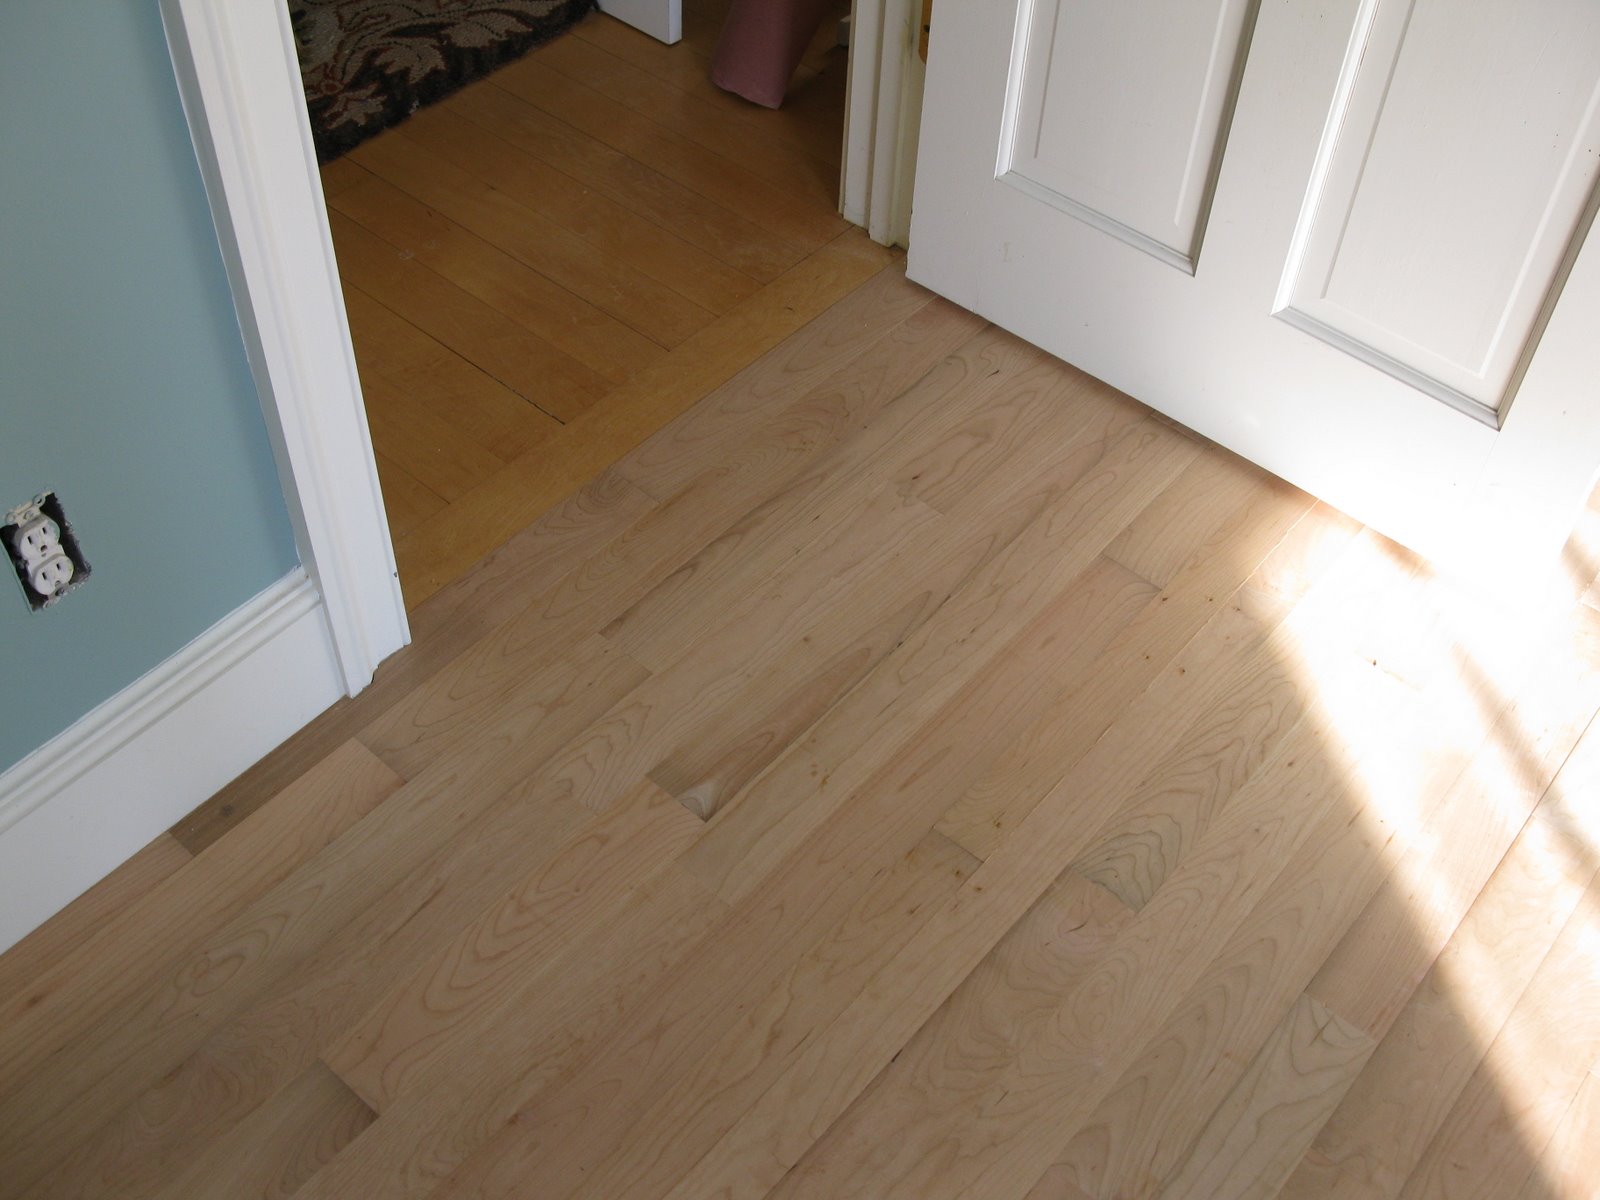
The floor we chose was 3 inch wide Cherry flooring. We bought Select Grade hardwood which is the second highest grade available. Select differs only from Clear grade.
Personally we prefer the Select grade as it allows more of the full range of color/grain found in a species and includes some Clear grade that develops in the production run.
The select Grade wood was free from knots, splits, checks, worm holes, excessive mineral streaks or contrasting sapwood a great looking batch of wood!
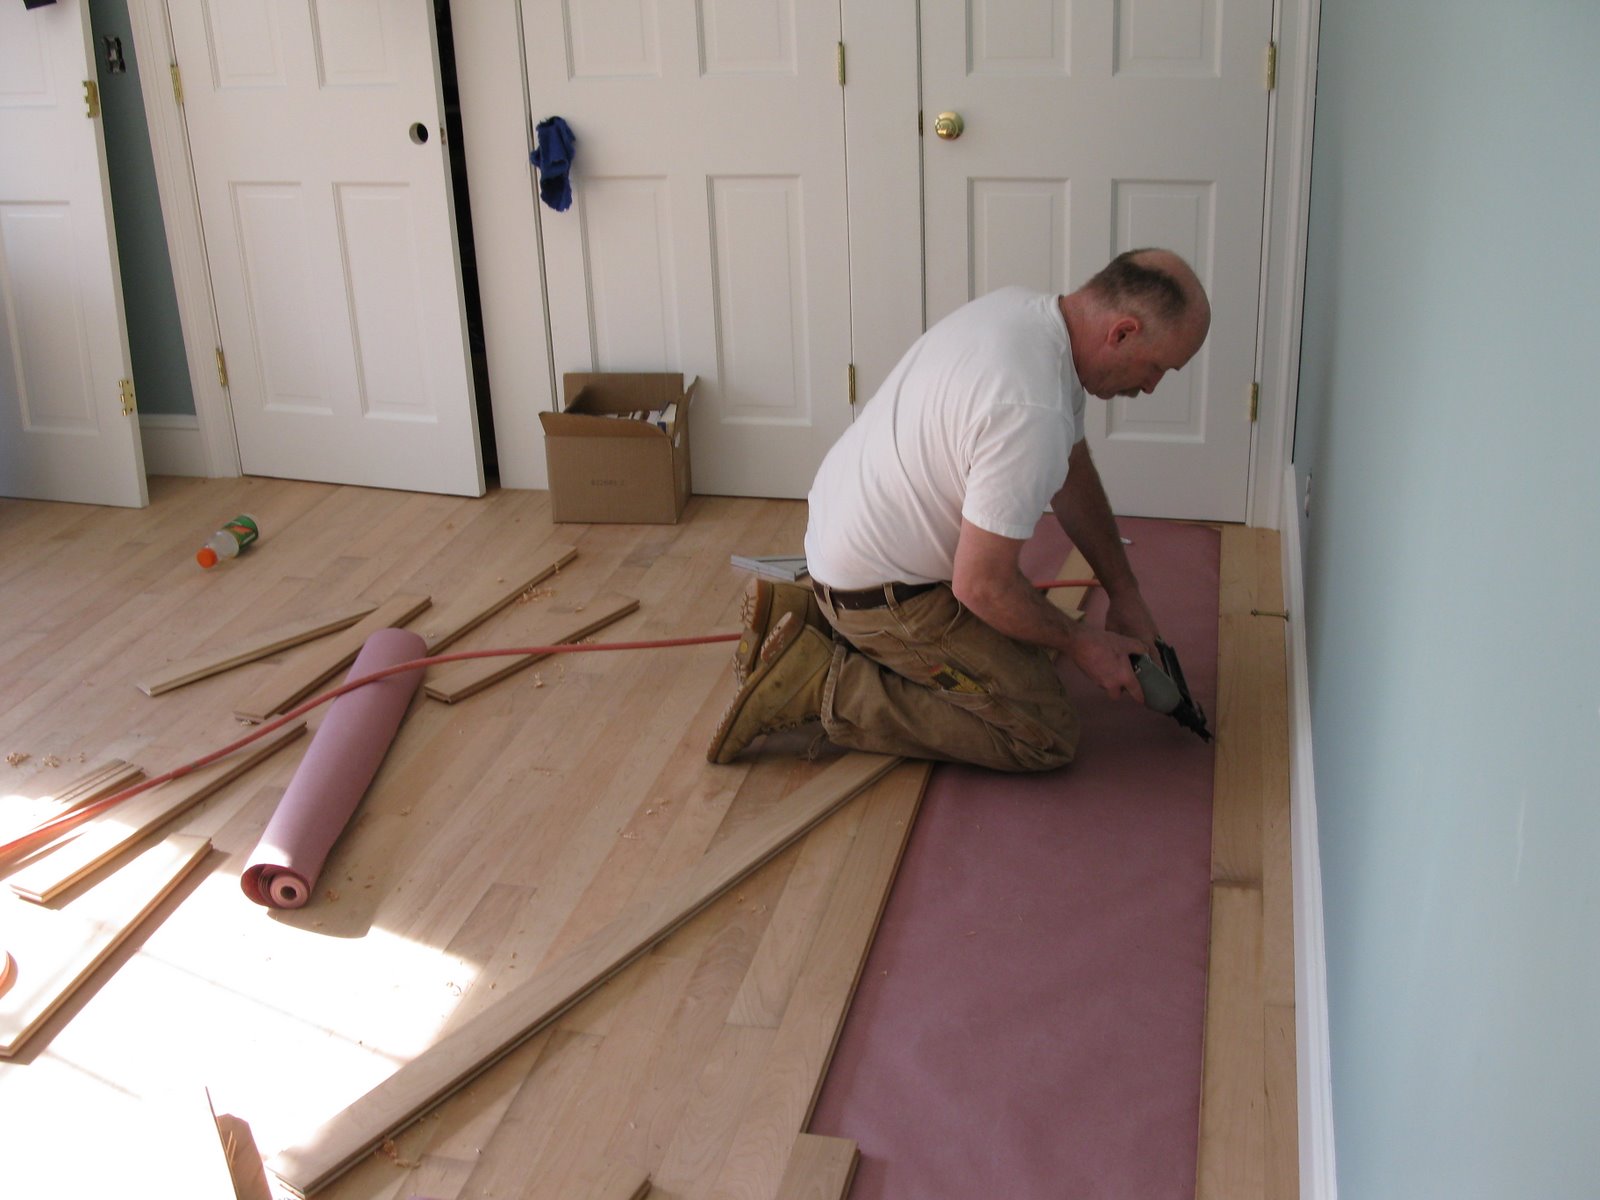
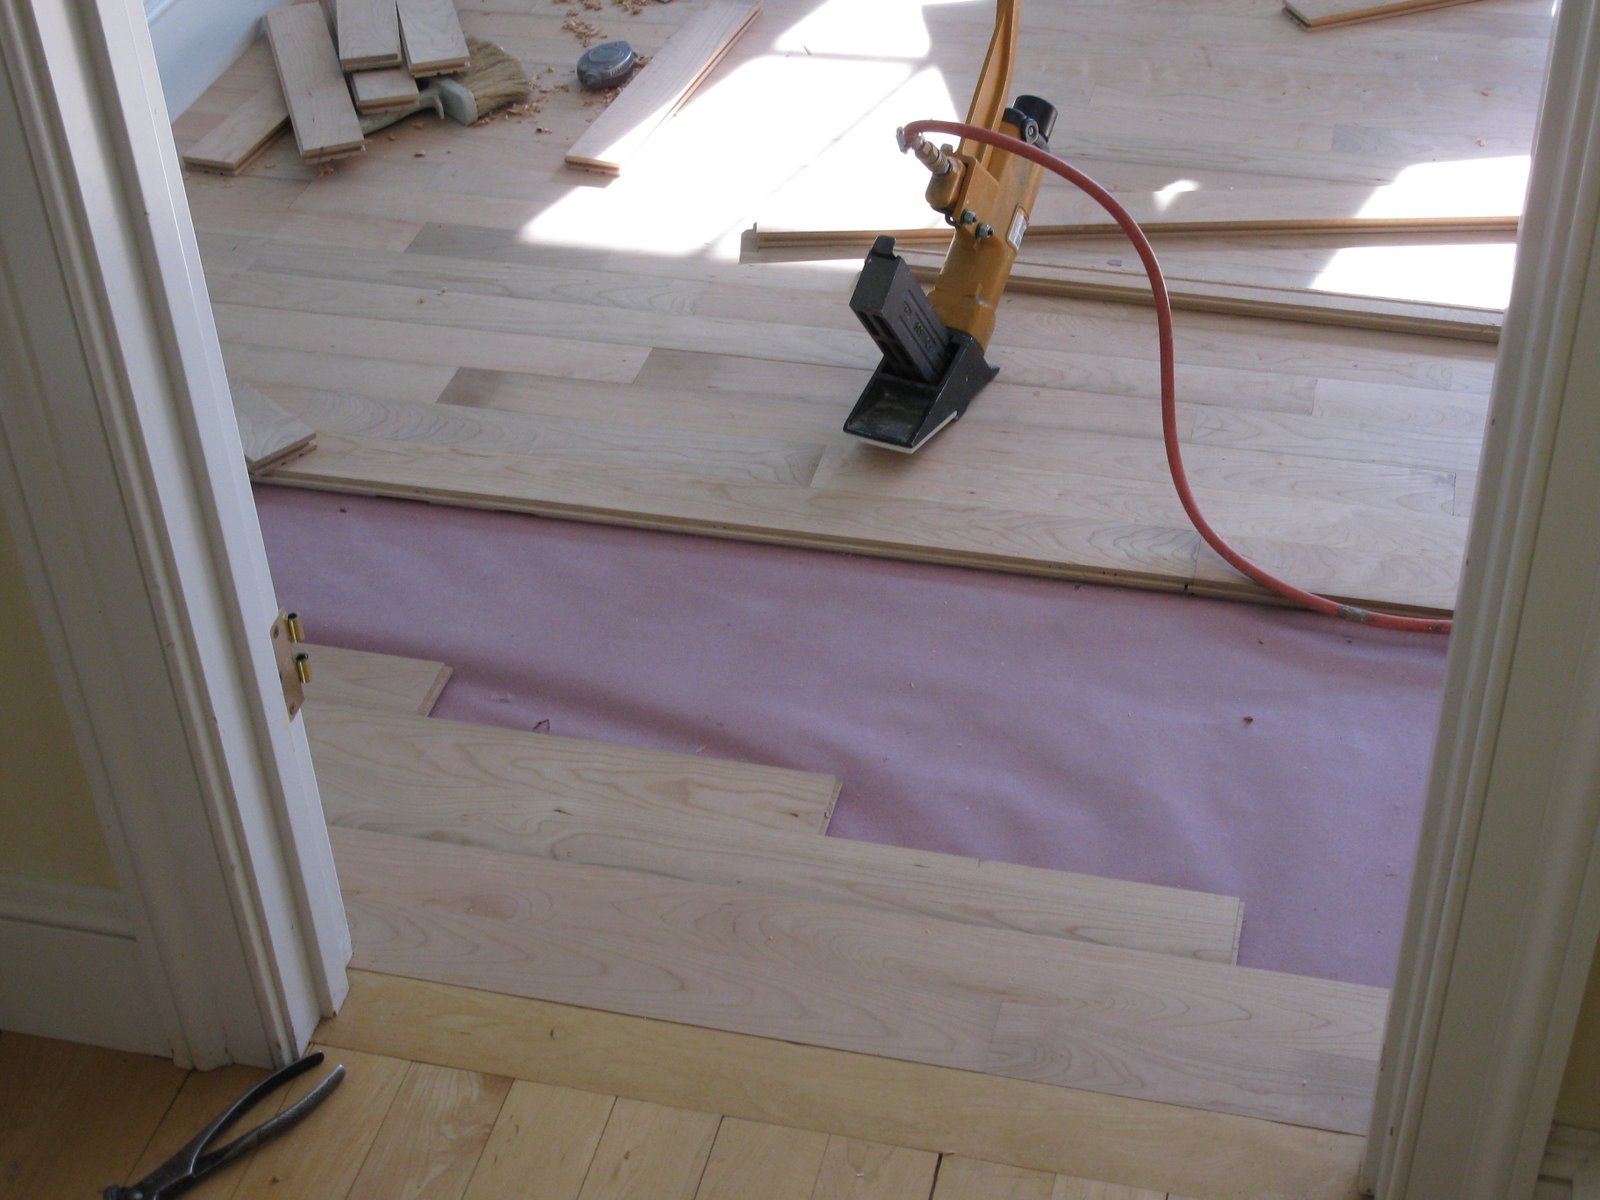
Installing the Flooring:
We try to install our flooring perpendicular to our floor joists.
Using a stapler install 15-pound Kraft paper underlayment on the entire floor, overlapping the roll edges 3 inches. The Kraft paper acts as a vapor barrier.
Measure and snap a layout chalk line a few feet out from the wall to determine if the room was square or not. This measurement will determine what to rip the hardwood starter courses to. Most likely you will be ripping a starter course at a slight angle.
When we were almost at the other side with the flooring [flooring tongue facing wall] we turned the flooring around and installed from the other wall [tongue facing away from wall] out making the final two “cut” boards well into the floor. Can you see them? [photo below]
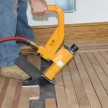
Even with the pneumatic nailer, my back was aching! Read how we install a hardwood border and darker species feature strip.