Installing A Newport Fireplace Mantle

How To Install A Fireplace Mantle
Almost a year ago I posted that the best referral sources are the businesses that sell to the same target customer.
This mantle job was a referral from my friend and fellow contractor Mark O’Lalor from O’Lalor Painting.
Non-competing businesses like your sub-contractors; electrician, plumber, painter, decorators, architects, lumberyard sales people, landscape contractor, etc., are your best chance for continual referrals.
I get more jobs from referrals like my painter friend , Mark at O’Lalor Painting, than almost any other source! I in turn refer him as well. Just as we try to attract the end user of our services we should be educating, motivating and soliciting referrals from our fellow tradespeople.

Installing A Newport Fireplace Mantle Project

Newport Fireplace Mantle in a Box

Below is the left leg of the mantle.


Assembly Takes Minutes
Mantle assembled on the floor prior to install.
 .
.
Dry Fit First
Dry fitting the mantle to the wall to determine what I needed for granite coverage. I decided on a 12″ granite surround. This gave me about 2″ more than I needed but ensures that there is an overlap behind the mantle as well as overlapping coverage at the fireplace opening.

Removing the Old Fireplace Surround
This is the old blue stone fireplace surround and hearth.

After taking precautions for dust I began using a hammer chisel to take off the 2″ thick stones ~ they were heavy!

Most of the stones came off relatively easy.

The hearth in the floor was more difficult to remove. I wanted to get it out in one piece so I could recycle it. But ended up breaking approx 10″ off one edge.
I squared off and cut the broken edge side so that it was a straight piece.
Here’s how I recycled the stones, check out my post: Recycled fireplace materials.

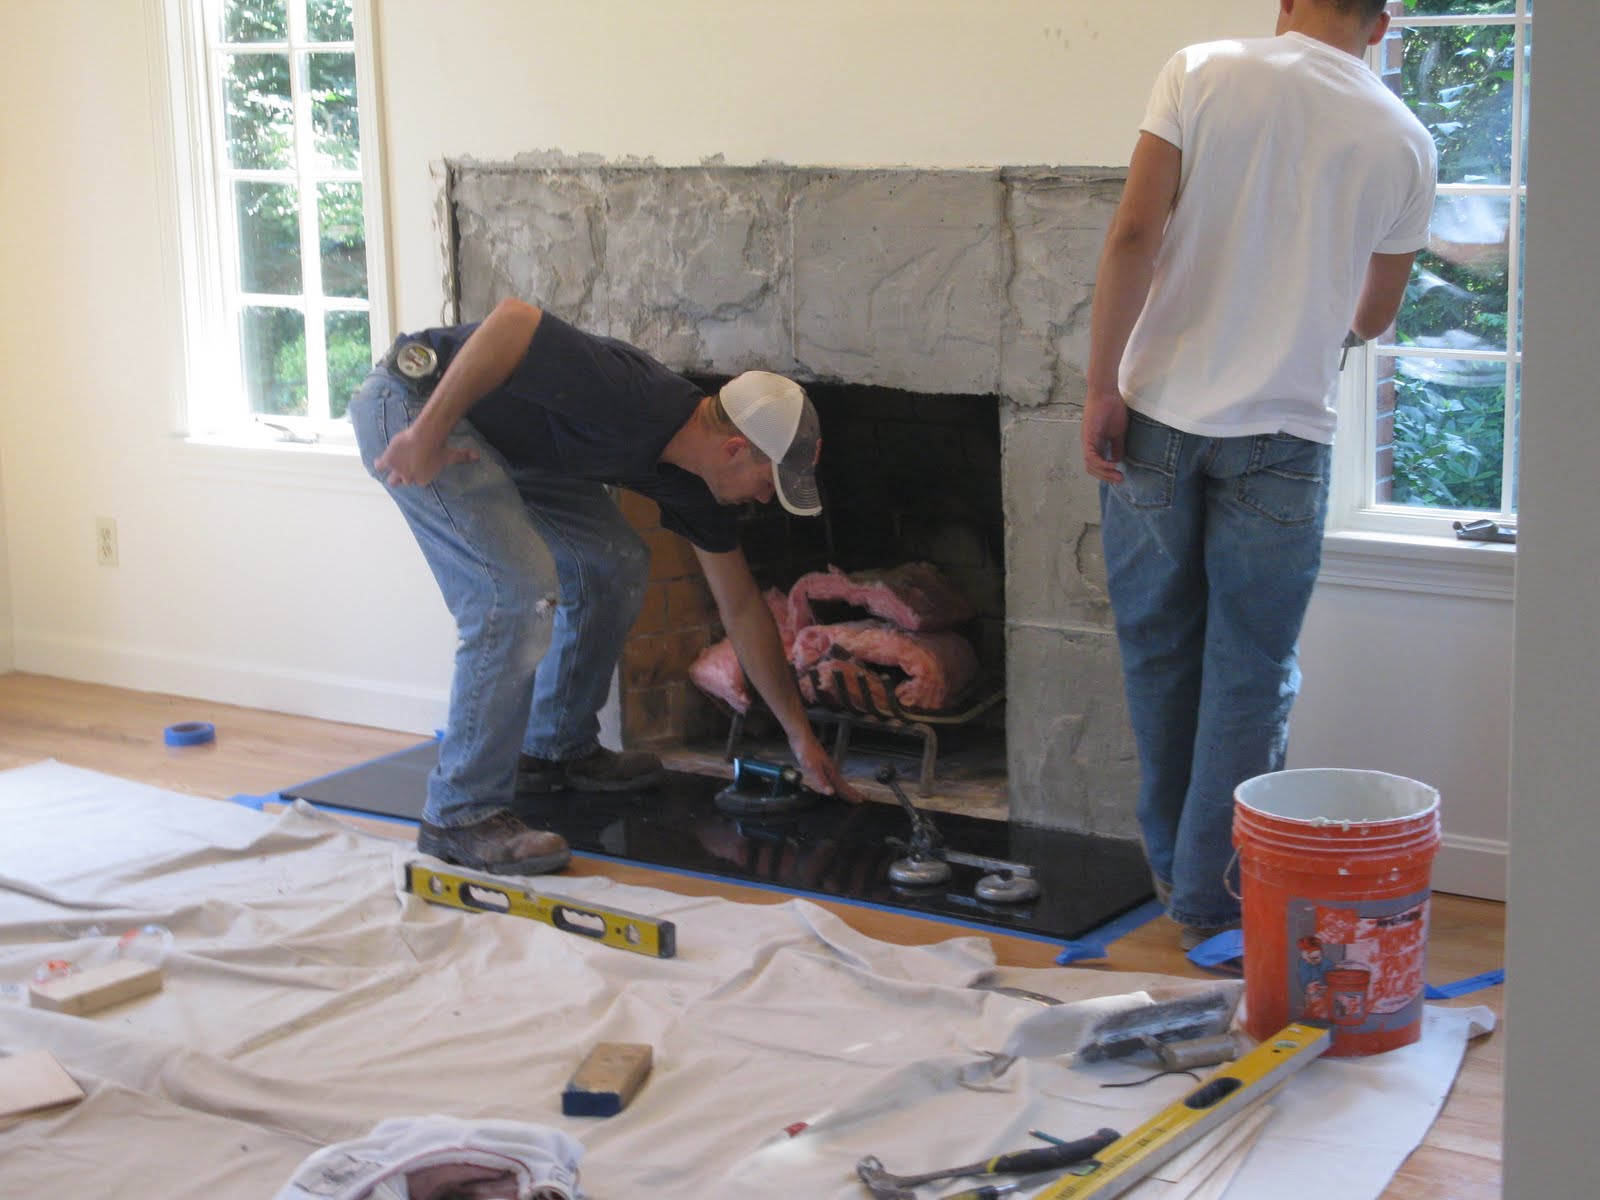
New Fireplace Surround and Hearth
Today the granite company showed up. I use Interior Stone and Tile out of Waltham, Mass. They do nice work and have a great showroom for sending customers to.

Cory is preparing the hearth stone. It was a bit to big and had to be trimmed on one edge.

The hearth stone receiving thin set mortar prior to being dropped in place.

The opening in the oak floor is approximately 1″ deep. Here Cory is troweling in thin set mortar for the hearth stone.

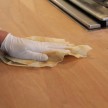
I had to trim the outside oak edge a bit with a block plane prior to setting this stone, but once done it fit like a tight glove!

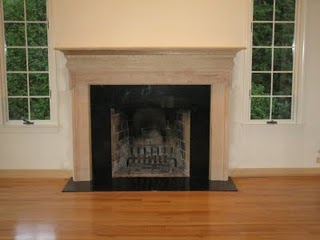
A Completely NEW Look
Setting the hearth.
The vertical legs to the surround were applied with thin set mortar and plumbed on the wall.

Setting the head piece on the surround granite. This top piece is also mortared to the fireplace wall but the vertical legs hold all the weight.

Here Cory is plumbing the legs and making sure the leg and head piece seams are flush. Later he will add black epoxy to all the seams and more thin set to the back side, where the granite meets the the the fireplace opening.