How-To Repair Exterior Cinderblock Walls with Stucco
How-To Repair Exterior Cinderblock Walls with Stucco
Since the early 19th century Stucco has been used to cover less appealing construction materials such as concrete, metal and cinder block. Designed for outside use, it wasn’t until late 19th century that builders started to use it on interior applications as well.
Old decaying walls can really be an eye sore. More often than not they become the focal point of your yard, even if you have the nicest property in your neighborhood. It is like driving by an accident on the highway, you know you don’t want to stare, but we always do!
Recently I had a customer who had some serious issues with some patio walls in their backyard. They love to entertain but shied away from barbeques and parties due to a couple ugly cinderblock walls. With their son’s birthday coming up they decided to stucco over the walls to make them more appealing.
Step 1 – Prep
The first step in stuccoing walls is to prep them correctly. You need to make sure you remove any crumbling blocks and loose debris. Chip away and piece that may stick out further then others to ensure you have a nice flat service. Clean off the walls with a brush removing all the dust and dirt. In cases like mine the walls had some pieces of block that were completely missing due to poor drainage. Fill them in with some mortar and let it dry. You want to make sure you are as close to level / flat as possible before you start applying the Stucco.
When applying new stucco to an existing concrete you need to apply a bonding agent. In our case we used Quikrete Bonding Agent that we picked up at the local Home Depot. Instead of roughing up the pre-existing concrete, you simply roll or brush on the agent. The directions indicated to apply new stucco within three hours of applying.
Step 2 – Mixing Stucco
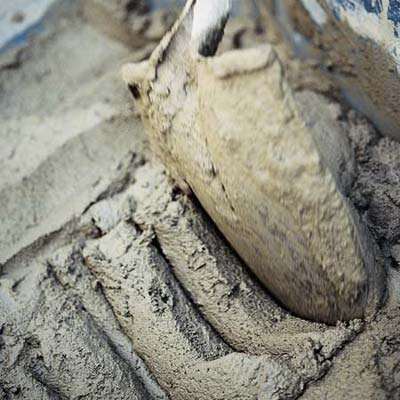
Now that your walls are prepped and bonding agent is drying, you need to start mixing your stucco. Stucco is made of four major components: Portland Cement, sand, lime and water. The mixing ratio may vary depending on who you ask. For our walls we used three parts sand, one part lime and one part Portland cement. We add water until it is the consistency of brick mortar.
You want to be care when mixing mortar as it can dry out quickly. My rule of thumb is only mix about 90 minutes worth. Anything more than that dries out too quickly and you are constantly adding more materials to it to get it back to workable consistency. Another thing to consider is the temperature. Hot and humid days will speed up the drying process and typically slows down your work speed. On hot humid days, I typically will only mix small a amount at a time.
Step 3 – Applying the Stucco
First Coat
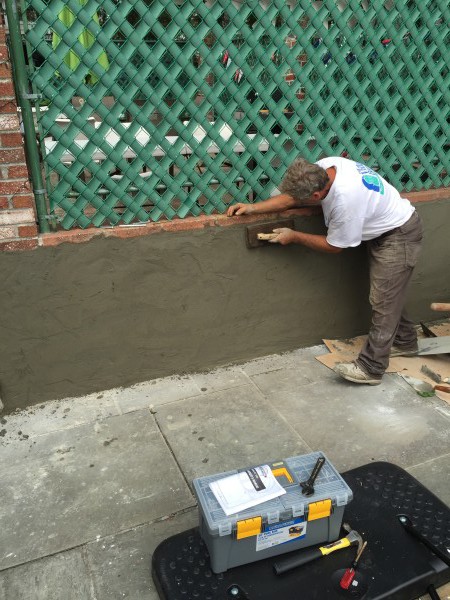
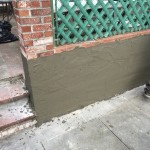
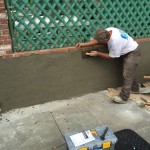
Typically I like to apply 2 coats of stucco on the walls I am covering. First coat is my filler or skim coat and the second coat is my finished coat. Work your stucco over the big cracks and gaps first filling them in before you start applying the stucco to the whole wall. If you just start applying it and ignoring the large gaps or cracks you are going to have an issue when you trowel over them. The stucco will not stick well. So I recommend hitting those first.
Once you have your first coat applied, take a Stucco Float and knock down the rough edges. It doesn’t have to be perfect. Save that for your finished coat. Be sure to clean up your work area once your first coat is complete. Stuccoing is a messy job, be sure to clean up while the stucco is still wet, it will avoid a lot of scraping later.
Finished Coat
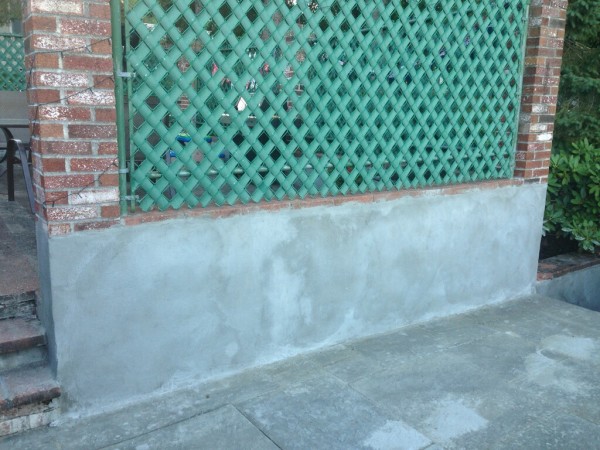
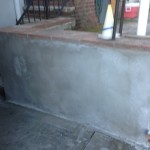
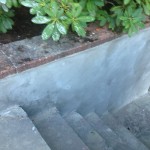
After the stucco is dry, you are ready to apply your finishing coat. With this coat, you want to pay attention to making it as smooth as possible. I find working from the bottom up works best for me.
Once I get the stucco applied, I allow it to set just a bit before I use my sponge float to smooth it out. With the sponge float, use plenty of water, smooth out the stucco making sure you pay close attention to your seems if you have any. The seems are going to show if you do not feather them properly. Just like mud and tape on drywall, your seams are critical and usually the first place that fails.
DIY or Not?
Is Stucco easy enough for the DIY’er to tackle? Absolutely! There is little you need to know when stuccoing. Make sure you have the correct materials and the right tools and you should be all set. Besides, can you make the wall any uglier than it already is, right?!?!
Stucco can be done in a weekend, or if you are really good, you can nail it in a day. Take your time, make sure your mix is perfect, your seams are smooth and your area is kept clean and you will be a Stucco pro before you know it!
- Old Decaying Wall
- First Coat
- First Coat
- First Coat
- Stucco Float your first coat
- Stairway – First Coat
- Sidewalk with finished coat
- Stairway – Finished Coat
- Finished wall


