


Ice dam damage is not only costly it can become a health problem if the leak continues and mold grows.
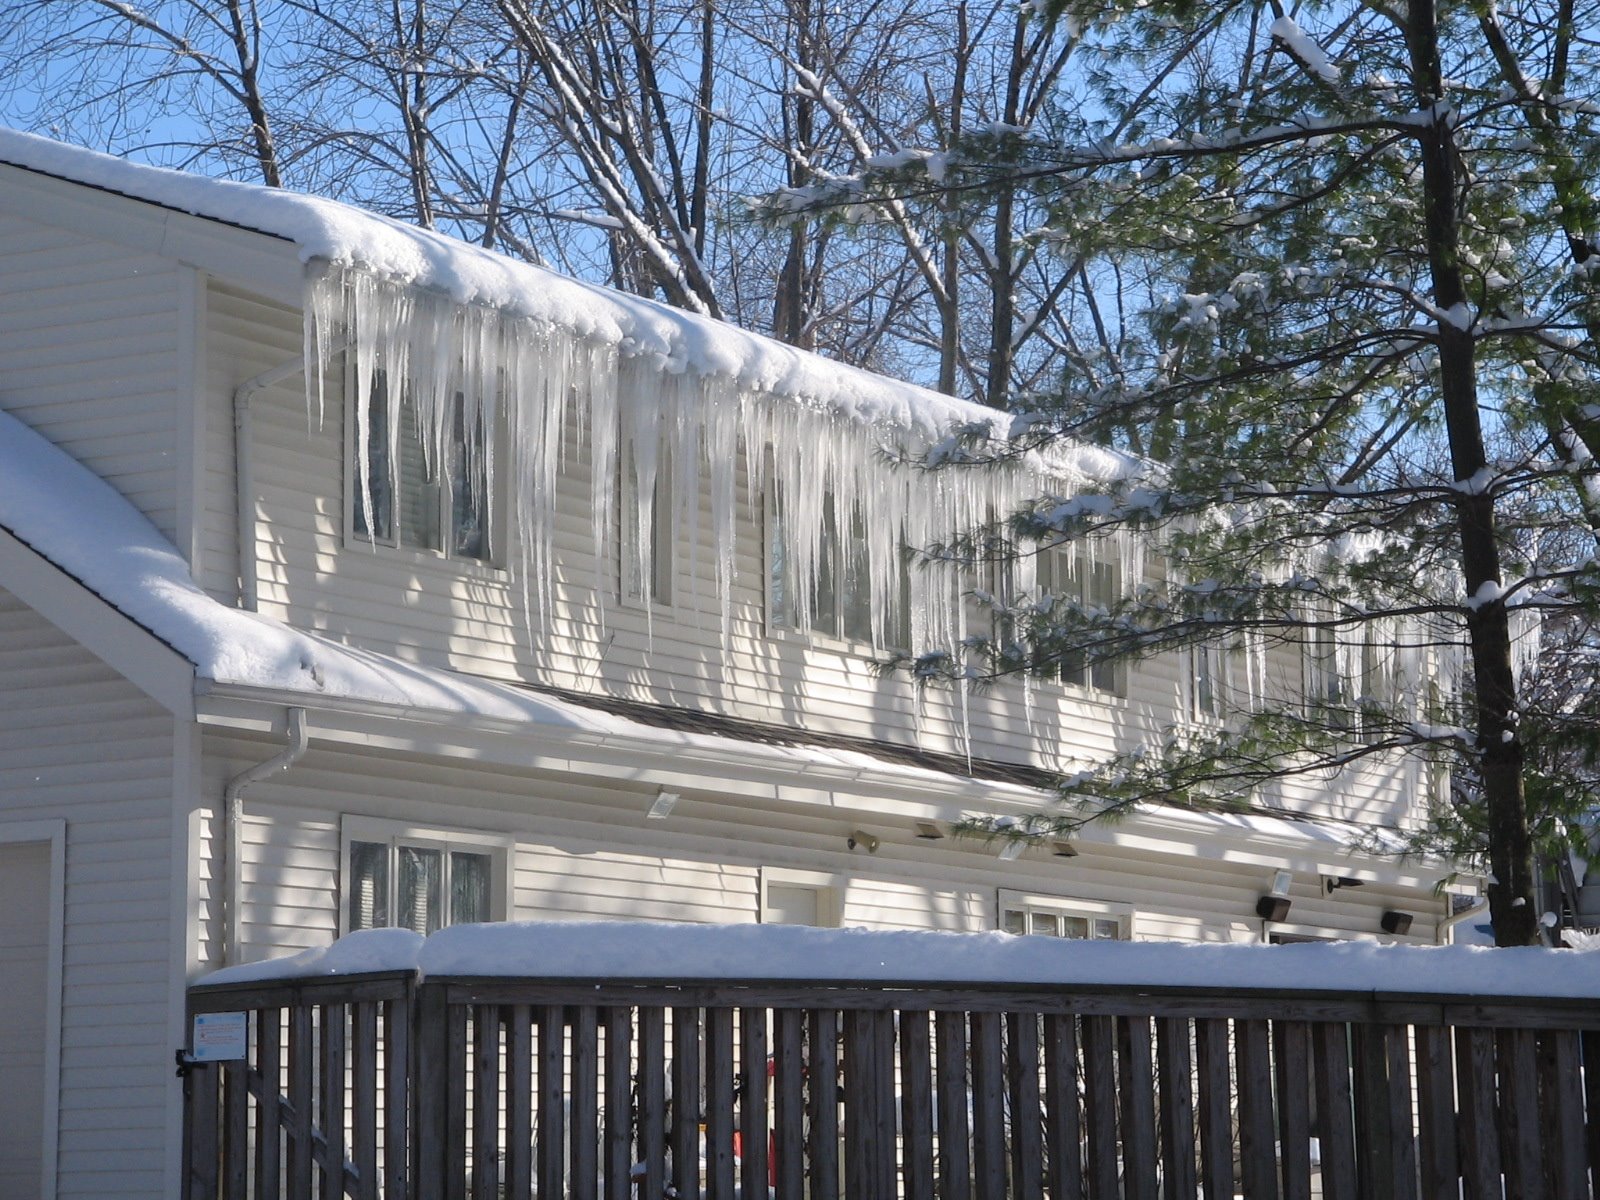
An ice dam is a ridge of ice that forms at the edge of a roof and prevents melting snow (water) from draining off the roof. The water that backs up behind the dam can leak into a home and cause damage to walls, ceilings, insulation, and other areas. Figure 1 shows a cross section of a home with an ice dam. This article will address how to prevent ice dams.
How Ice Dams Form
Ice dams form when there is snow on the roof and freezing temperatures.
Ice dams usually occur after a heavy snowfall and several days of freezing temperatures. Warm air inside your home leaks into the attic and will warm the underside of the roof causing snow and ice on the roof to melt.
The most likely causes of ice dams are due to heat loss, air leakage and the general warming of the house structure due to conduction from the heated building.
Image: extension.umn.edu
The melted water will drain along the roof, under the snow, until it reaches the cold overhang. The overhang tends to be at the same temperature [below 32 degrees] as the outdoors and the melted water will refreeze and form an ice dam and icicles. The ice dam can cause damage to the roof, which will result in water leaks to the inside.
The water back ups and finds cracks and openings in the roofing and then flows into the house. The result is water spots or dripping water on the ceiling under the roofing, resulting in ice dam damage inside the home.
Immediate action:
1. Remove snow from the roof. This eliminates one of the ingredients necessary for the formation of an ice dam. A “roof rake” can be used to remove snow.
2. In an emergency situation where water is flowing into the house structure, making channels through the ice dam allows the water behind the dam to drain off the roof. Snow melt can also be used to facilitate these channels. DO NOT walk on any snow covered roofs!
Read my article removing ice dams
Insurance Claims:
Many folks do not realize they can make a claim for water damage. The question to ask; does it make sense to make the claim or just fix the issue?
To make a claim you need to contact your insurance provider and speak with the adjuster, be prepared to provide:
- Photos of the damaged area claimed.
- A written estimate, from a contractor, for the repairs needed. Estimates should include a description of the work needed, and a breakdown of the costs by materials and labor.
- Materials should be those of the same like, kind and quality of those being repaired.
- If contents damage is being claimed, photos of the damaged property should be provided as well. Provide them with the replacement costs for each item claimed. A description should be provided and include; make/model, size, material and what the item is.
- If you find evidence of mold they will want you to contact them immediately and most likely will assign an adjuster to inspect the site to assist you in moving your claim forward. You will have to look at your homeowners insurance to see if it will cover mold. Be careful, a mold claim can have a permanent effect on your ability to get insurance later.

Many times ice dam damage results in wet ceilings, walls and insulation. Extensive leaks can also damage hardwood flooring. Once the leaking has stopped, use airflow from fans to dry out walls, ceilings and floors. Drywall and plaster will dry quickly but hardwood floors may take longer.
Solid hardwood floors react to water in three ways, they cup, crown or buckle.
- Crown: means the boards raise up in the middle.
- Cup: means the boards raise up along the edges
- Buckle: means the boards come apart and need replacement.
According to my flooring contractor, R.C. Mckinnon from Hyde Park, it can take anywhere from 3 weeks to 4-5 months for a hardwood floor to settle down after getting wet and crowning or cupping.
If there is no staining and the floor settles down your “good to go,” if not, you’ll need to sand and refinish or replace the flooring.
Here’s some guidelines assuming you hire a contractor:
- Sand and Refinish: Plan on spending $2.00 to $3.50 a square foot. The higher range would assume staining to match an existing floor color.
- Replacement and Finish: Plan on spending up to $10 a square foot for 2-1/4” Red Oak flooring.
- Removal and Disposal of Old Floor: this all depends on the contractor but a good rule of thumb is to budget $3 a square foot for demo and disposal of the damaged flooring.
Should You Open the Wall?
The problem is, how do you dry wet insulation located inside a wall / ceiling cavity, or the backside of the wall board?
The BEST solution with wet insulation is to replace it. Wall board can be dried in place if there is no obvious swelling and the seams are intact, and if you can get adequate airflow to the wet surfaces. If not, remove and discard it. Very wet wall cavities should be ventilated.
I’d be lying if I said I never violated this best practice principle. Several years back, I had two simultaneous, ice dam leaks in my house, prior to installing a new roof with full-coverage ice and water shield. Luckily, I was able to stop the leaking within 1 hours of noticing it.
I did not open up the wall because I have extensive wainscoting and crown molding trim on the wall, and I didn’t want to tear it out. That does not mean some mold did not grow in that wall cavity, I’m sure it did.
Mold Concerns
How long it takes mold to grow after a recent water incident? Molds are microorganisms and can be found everywhere. They can grow on almost anything if it is moist enough. Mold will start to growwithin 24 to 48 hours after a leak, under ideal conditions. Carpets get moldy very quick, many older carpets with dirt as a food source start smelling moldy after being wet just a short time.
It may be a week or two before it grows to the extent that it is visible to the naked eye as spots on drywall or carpet pads.
In my experience most leaks that are stopped fast enough, and dried out properly do not develop into mold issues. It’s the longer term, constant leaks that you have to be concerned about.
Mold spores needs three things for growth and thrive:
- Food (i.e. cotton, leather, drywall, wood, paper products and others).
- Water
- Optimal temperatures. [temperatures 32 and 120 degrees Fahrenheit. Temperatures from about 70 – 90 degrees are the most conducive for mold growth] Mold doesn’t die when temperatures drop below 32 degrees, they lay dormant until temperatures raise.
The first thing to do is try to limit the “wetting” damage by collecting or catching the water and stopping the leak.
What is most important is how fast, and how well the flooded areas are dried. Many times a person will think that moisture was removed when in fact enough moisture was left behind to allow mold to start growing.
In some cases, mold growth may not be obvious. It is possible that mold may be growing on the back side of drywall, wallpaper, or wood paneling, the top of ceiling tiles, the underside of carpets and pads, inside ductwork, etc. If you believe that you may have a hidden mold problem, you may want to consider hiring an experienced professional.

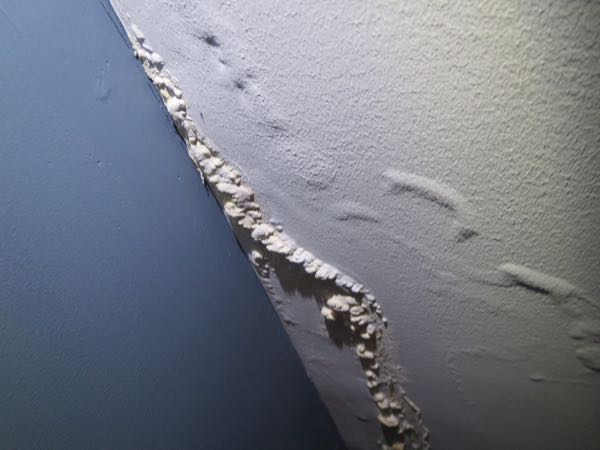
Wet ceiling – ice dam leak
Drying Out
Proper drying often involves discarding wet carpets and carpet pads because they trap moisture and hamper drying. If the flood was extensive, it may be helpful to remove the baseboards, and wall board.
Use a combination of the following:
- Wet vacuums to remove standing waterFans to move air – goal is rapid drying!
- Dehumidifiers to dry the air are helpful, dehumidifiers can dry and maintain air humidity levels between 30%Relative Humidity [RH] and 50%RH it will help everything else in the area dry faster.
- Consult a specialist in mold remediation, flood damage or carpet drying.
- Open walls and ceilings as needed
- Remove and discard wet insulation
- Throw out anything that cannot be cleaned—when molds get inside materials like carpets and mattresses, they cannot be cleaned.
- Molds in bedding, curtains, drapes and clothes can be cleaned.
Mold Rule of Thumb:
Black mold is NOT always toxic. There are thousands of different species of mold and many are black in color and there is no way to tell if mold is toxic just by looking at it. Be wary of any mold remediation company that tells you that you have toxic mold just by looking at it.
The only way I’m aware of determining if you have toxic mold is to sample and have it tested by a qualified environmental lab. There are mold testing kits you can buy and send to a lab for testing for an additional fee. Many hardware stores carry these kits and I’m sure you can purchase them online as well.
Killing Mold:
Bleach has drawbacks, and cannot completely kill mold growing in porous materials. The chlorine in bleach cannot penetrate into porous surfaces such as drywall or wood. The chlorine is left on the surface of porous materials and only the water component of the bleach is absorbed into the material, providing more moisture for the mold to feed on. Bleach is effective at cleaning non-metallic, non-porous and hard surfaces.
Its effectiveness in killing mold is significantly reduced when it comes in contact with residual dirt, which is often present in wall cavities, basements and other areas. Also, bleach water is harsh and corrosive when it comes into contact with electrical components, causing corrosion.
The single best method for eliminating mold in your home is through the use of a certified, mold remediation professional.
I use a chemical called Sporicidin mold remediation which is used in commercial and home environments for cleaning and restoration applications for mold remediation and sewage, and biohazard. It works on plastic, vinyl, latex (rubber), metals, glass, wood, and porcelain products – areas of heavy contamination and staining may be scrubbed with a stiff bristle brush to help speed up the cleaning action and work the product deeper into the substrate. As with any remediation product, follow the manufacturer’s recommendations and instructions.