How to Install a Weathervane


Sometimes, people rise out of your past and surprise you in the most wonderful ways. That happened to me recently.
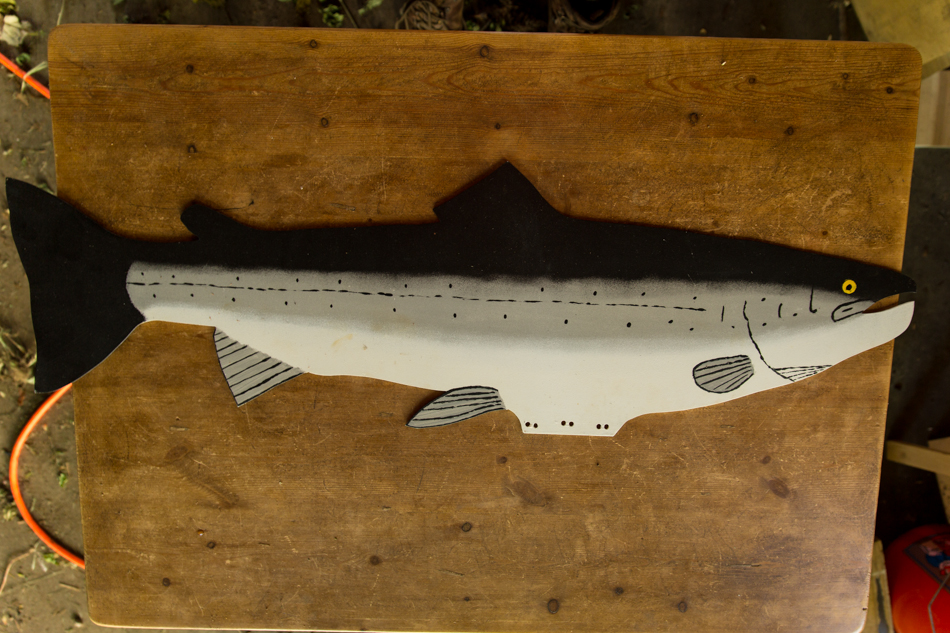
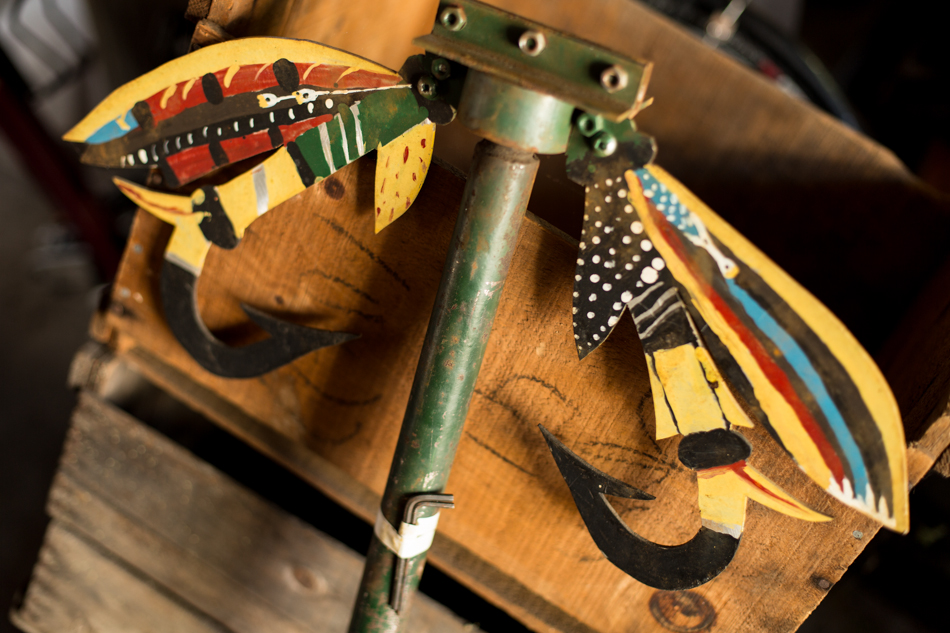
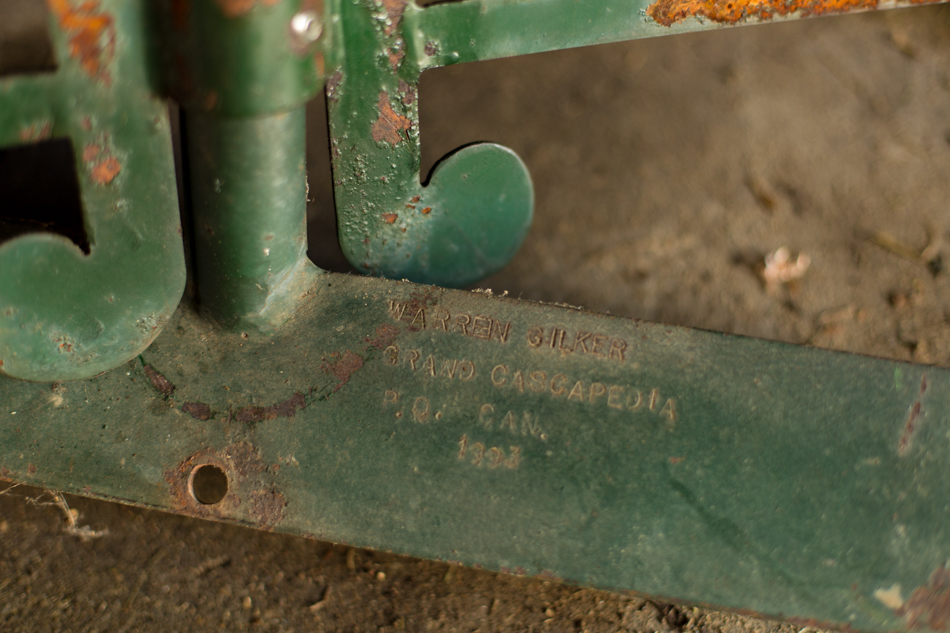
Growing up, I had the privilege of going to a world famous fly fishing river called the Grand Cascapedia with my dad on the Gape peninsula in Quebec. While there, we used to stop in to see Warren Gilker, a blacksmith and camp manager, among many things, whose shop was on the main road through town. His shop was something out of another age and the pliers, whittled by hand out of a single piece of wood, were awe-inspiring to me as a kid. With time, my favorite pieces of his came to be his weather-vanes: sometimes painted, sometimes simply black metal, they adorn some of the camps on the river, including Middle Camp where I was fortunate enough to fish for more than twenty years. My father has one on the barn at his house, but they are rare, and rarely come up for sale.
A few weeks ago, my wife and I arrived home from our honeymoon to find a box the size of a large flat screen TV on our front step. It was a mystery: we hadn’t registered for anything that large. As I began to open it, and It became clear to me what it was, I became more and more excited. When I held it up, my wife said, “I’ve never seen you so excited opening a present before.” She was right; this was an incredible surprise.
It also came with a challenge: I had never installed a weathervane before. How should I go about doing that?
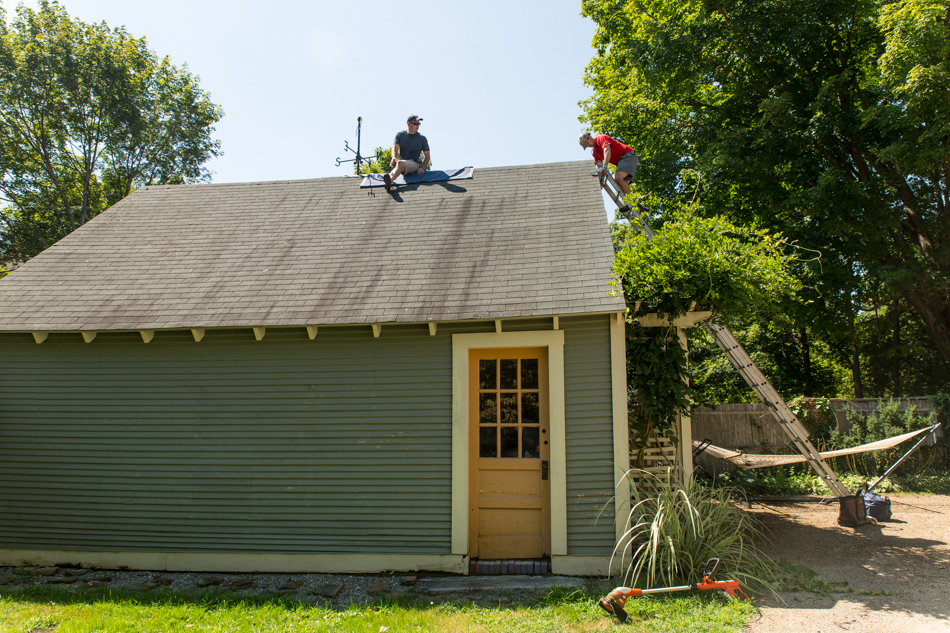
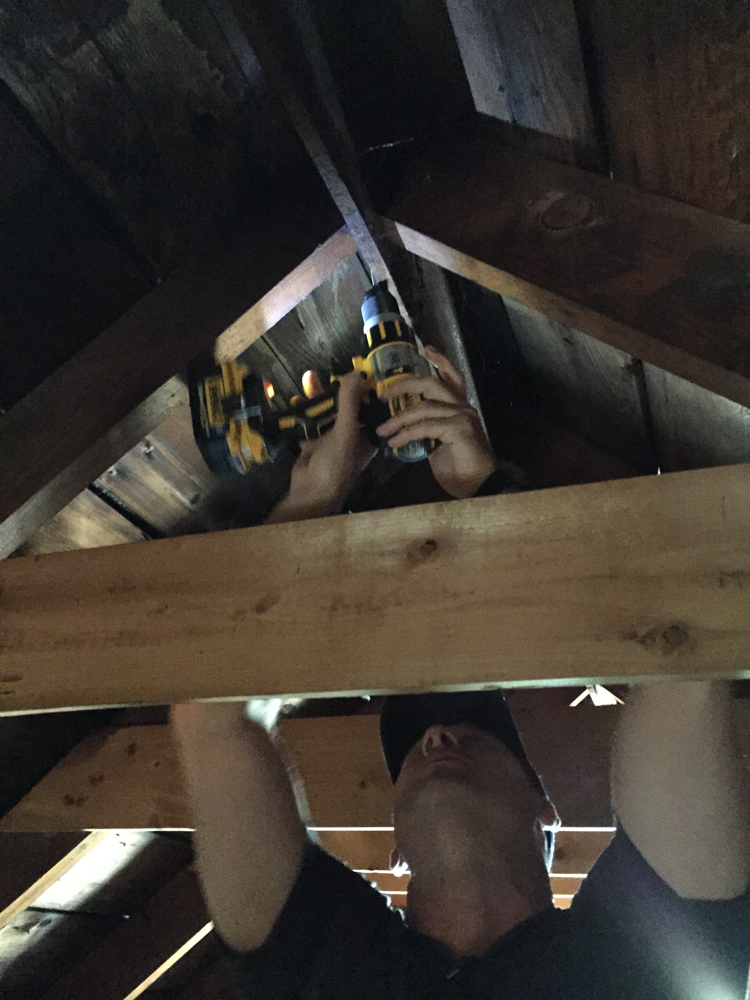
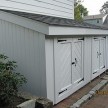
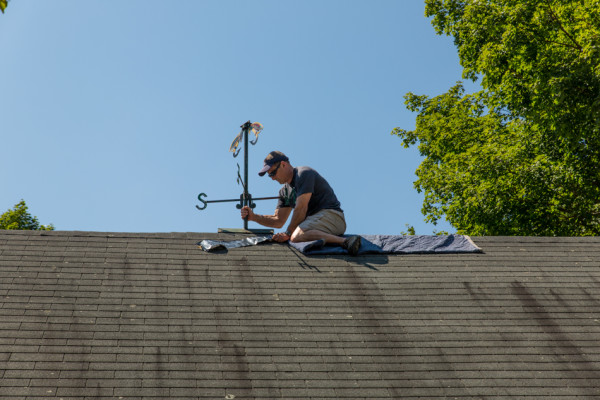
Thankfully, I had Rob Robillard, the founder and dynamo behind A Concord Carpenter, to help. It was terribly hot, but we persevered and got it installed on our garage, where it now stands tall. I couldn’t be happier. (I wrote more about it on my New England fly fishing site, New England on the Fly.)
Instructions On How To Install a Weathervane
- Before you do anything, check to make sure all of the nuts and bolts that hold the weathervane together are clean and easy to screw and unscrew. If they’re not, try cleaning the screws and bolts with a steel brush. If they still prove to be difficult, or if they are rusted, go to local hardware store and buy stainless steel screws of the same size.
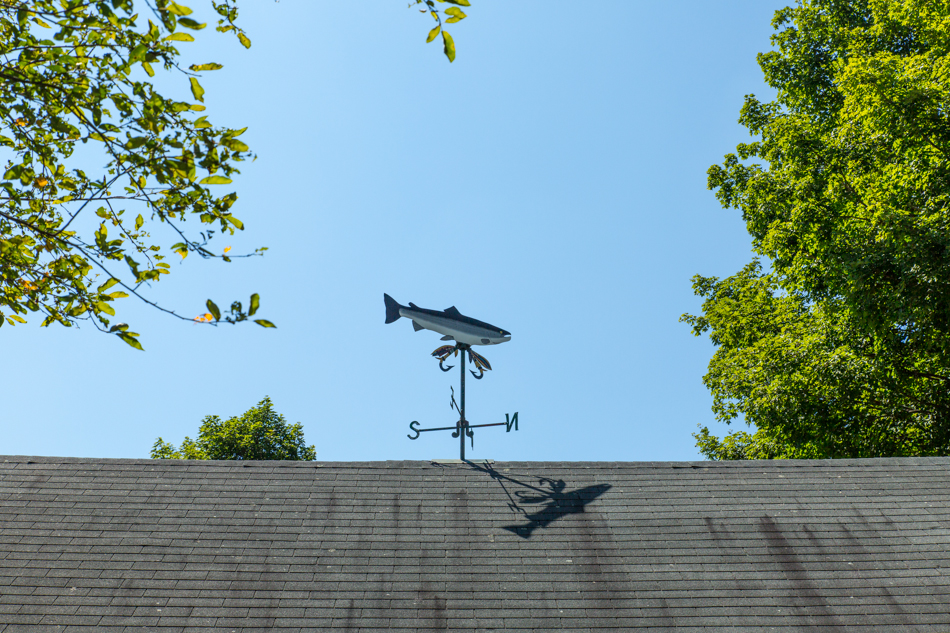
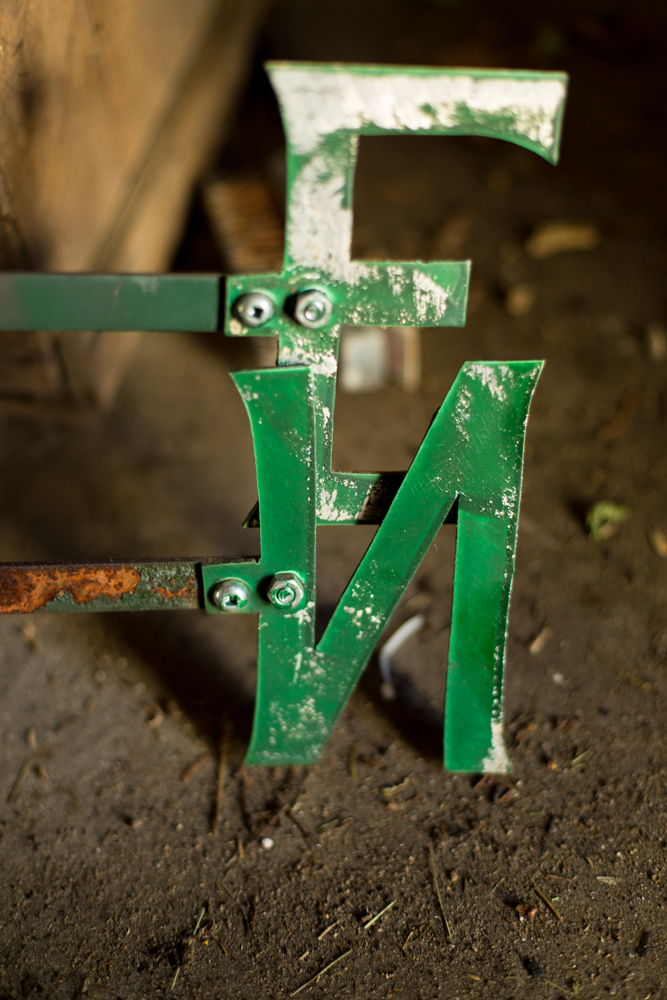
- Also make sure you align the weathervane so that, when it’s installed, the various directions — North, South, etc. — are pointing in the right direction. The last thing you want to do is finish the job only to find out you have to go back up on the roof! To make sure you have the correct alignments, try setting the weathervane on the ground, such that it is oriented as it will be when installed on the roof and, using a compass or a compass app on your smartphone, orient the weathervanes hands so they’re pointing in the correct direction.
- Identify and agree to the location of the weathervane before you install it. Some people install them in the middle of their roofs, other people install them toward the left or right third of the roof. It’s a matter of preference — but decide beforehand!
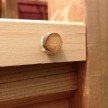
- Once you’ve identified a location on the roof, locate your rafters. We used a tape measure inside the garage to locate the center of the structure. From the inside, drill a pilot hole and put a stiff metal rod through to the outside, next to the stud or the beam you’ll be trying to fasten to. This helps eliminate any guesswork later when your up on the roof. We use insulation rods to do this, but an old heavy wire coat hanger is perfect for this.
- Place a ladder securely against the roof, making sure to safely secure its feet so it doesn’t slip.Read our article on ladder safety tips and our 20 ladder safety tips.
- When on the roof, a fall protection harness is recommended, and considered best practice. An affordable fall arrest harnesses for a small roofing jobs, can be found for $100. The kit comes in a storage bucket and includes; a 50′ lifeline, anchor point, lanyard, and harness.
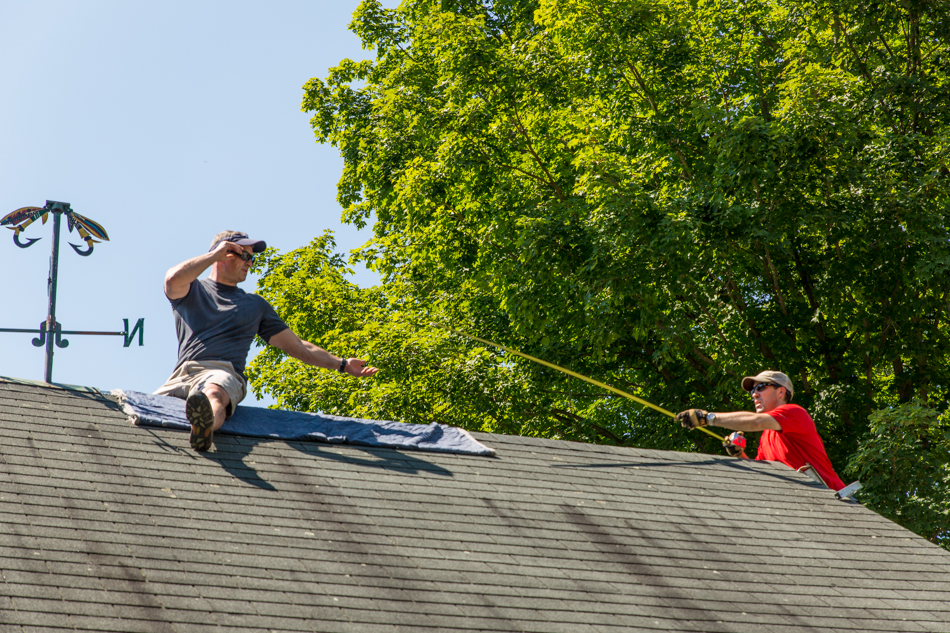
- If it is hot – as it was this day — bring a small blanket or something to set on the roof to protect the skin on your legs from the hot shingles.
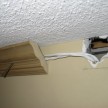
- We installed a layer of Vycor, self adhesive flashing tape, as an added layer of weather protection. This material helps sea around penetrating fasteners.
- Use 3½-inch #14 galvanized wood screws or self driving lag screws to secure the weathervane to the roof, over the shingles. We used self driving lag screws from Fasten Master called, HeadLOK. The HeadLOK is a heavy duty structural wood screw that is ideal for many wood applications including deck framing, stair stringers, fences, kitchen cabinets and more. It requires no predrilling and offers higher design shear than 3/8″ lag screws. We also like the larger head which eliminated the need for washers.
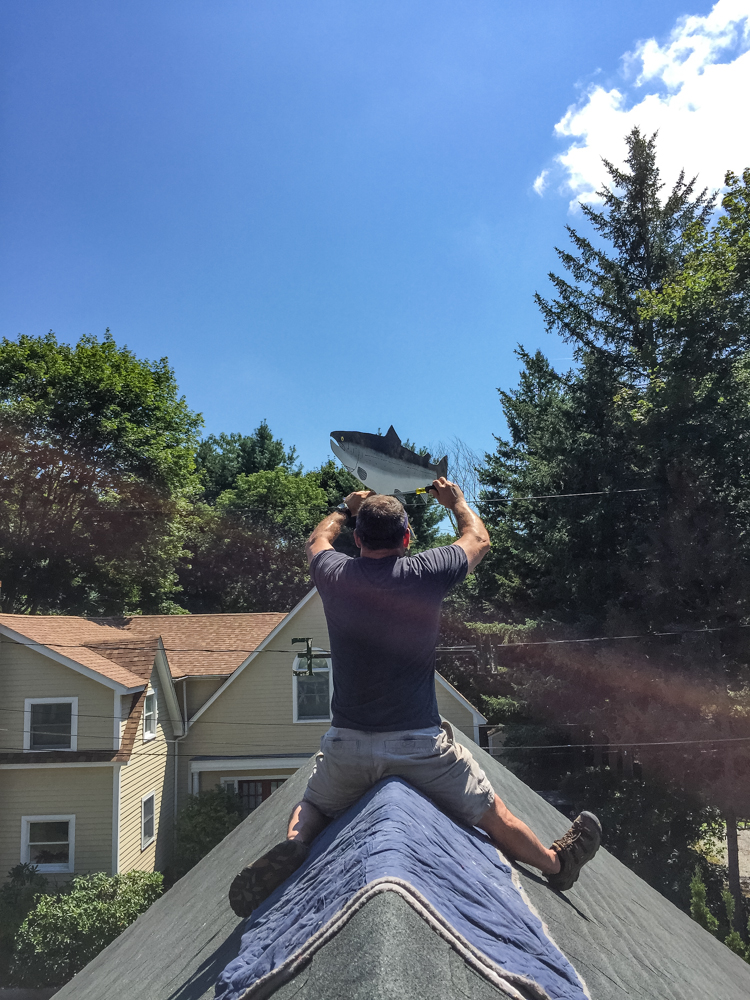
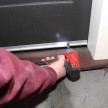
- using an impact driver we attached the weathervane base to the roof with these fasteners, finishing up with silicone over the fastener locations.
- Once the base was installed we attached the moving part of the weathervane, the fish.
- Add a breeze and your ready to go!