How To Clean Lint From A Dryer

Lint Build Up and Dryer Related Fires
The U.S. Consumer Product Safety Commission estimates that over 15,000 dryer-related fires occur each year, causing an estimated $ 97 million in property loss.
Clean Your Dryer and Vent To Prevent A House Fire
Today while emptying the clothes dryer with full intentions to fold and put away the clothes I started thinking of of an article I wrote titles: Preventing Dryer Vent Fires and how it occurred to me that I have not cleaned the lint from my dryer since I bought a new dryer in 2004.
So after dumping the clean clothes on the bed, I decided to practice what I was preaching in the post and proceeded to take apart the dryer and duct to clean them.
My wife says I do this [get side tracked] on purpose, saying that I’d rather be fixing something then doing he laundry. I blame it on A.D.D don’t worry, I’ll fold the clothes, eventually!
How To Clean Lint From A Dryer
The first and most important thing, besides not ending up with extra parts is to unplug the electrical power – Safety first!

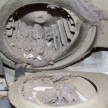
In order to show how to clean lint from a dryer you must first remove the access panel to expose the heating element and blower.

The picture above shows an even layer of lint dust approx. 1/8″ to 1/4″ thick coating the inner surface of the dryer.

Look for Other Problems While There
While the cover is off it is a good time to check for signs or wear or fraying to the belt. Look at the electrical connections for any burn marks or frayed wires.

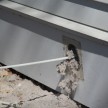
The blower cover to the left of the flashlight was removed.

Hidden Treasures In The Blower Fan
Inside the blower cover revealed a treasure: 35 cents, an earring, a chain, several finish nails and a few screws. [hmmmmm, I wonder who’s pocket they came from?]

The blower chute that leads to the exhaust pipe.

The blower wheel. I vacuumed this but it needed to be brushed to get sticking lint off.

Heating Coils
The heating element. Lint dust can be seen accumulated on the bottom. This is one area where fires can start!

I used my refrigerator coil brush to clean the coils and the metal casing.

Testing the heating element – see the red? [below]

Turned the lights off for this photo. That’s HOT!


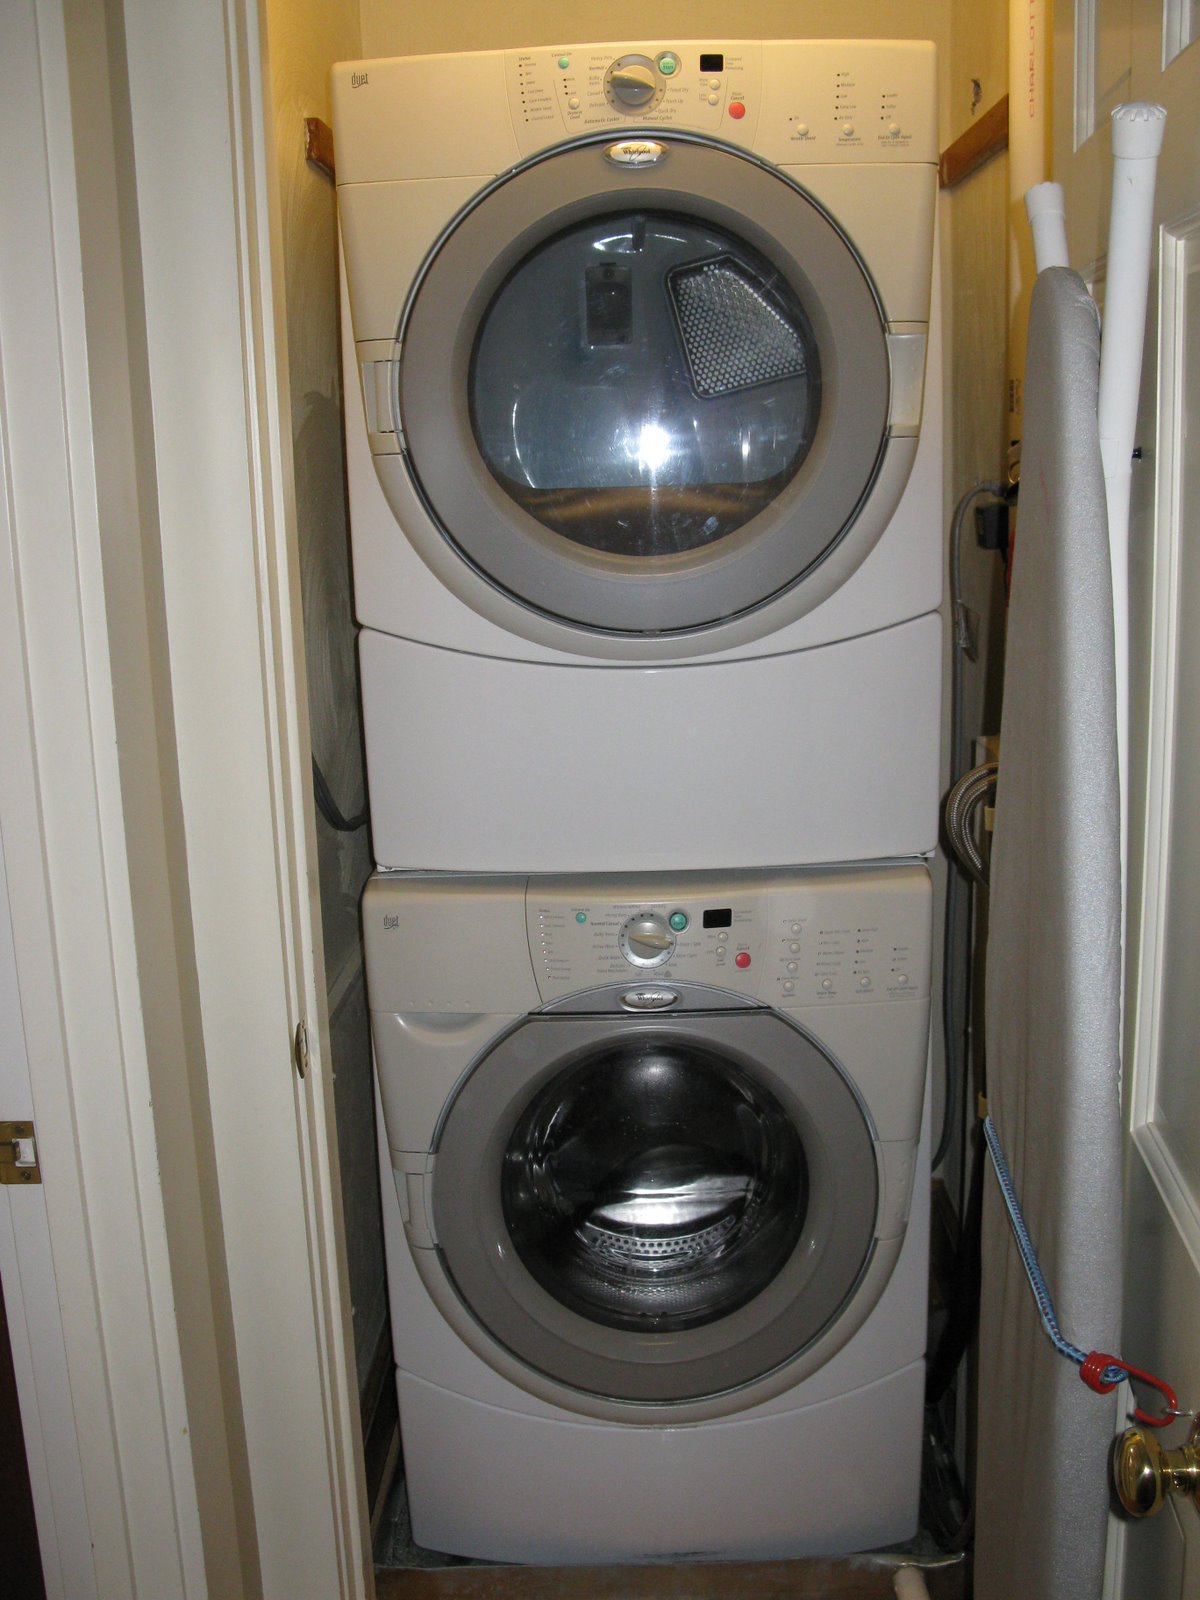
After testing the dryer, I put everything back together [luckily no extra parts left over ] and moved on to the ducts.
Increase Efficiency
By cleaning your dryer vent regularly, you increase airflow efficiency, decrease cost of dryer operation, reduce the amount of time required for clothes drying and prevent plug ups which cause problems.
If this type of maintenance is not to your skill level any appliance company will do this service for a fee.

The duct behind the dryer was a 32″ length of small metal hose and was clean. Make sure you use aluminum foil tape to seal the joints – no screws.
Aluminum Foil Tape is coated with an aggressive, high temperature acrylic adhesive system and are designed for superior conform-ability when vapor sealing of fiberglass duct board, sheet
metal ducts.

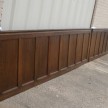
Don’t forget The Dryer Duct-work
This 42″ section of metal pie runs through my sons close and exhausts out a side wall. I removed the elbow, the pipe was clean so I did not run the brush through it.
For more detailed instructions on how to clean long lengths of dryer ducts see: How To Clean A Dryer Duct
Clogged dryer vents cause your dryer to work harder and greatly increase the time it takes to dry your clothes [up to 2 or 3 times more] which wastes energy and increases your operating / energy costs!
I re taped the pipe and all seams to keep small dust from getting out. I recommend checking your dryer every four years.

Finished.
Bathroom Fan Cleaning
Seeing that I had a step ladder, vacuum and tools out I decided to take a peek at the bathroom shower fan.

I removed the fan motor box from the housing and cleaned it with the refrigerator coil brush and vacuum.

The coil brush was able to fit between the fan wheel fins nicely. The fins had caked on dust, most likely hardened and built up from the wet shower mist.

Once brushed clean I vacuumed all debris, vacuumed the exhaust port and flexible duct [not shown] and reassembled.

Those clothes finally were folded 5 hours later, just in the nick of time before my wife got home.
~ concord carpenter