How To Build An Outdoor Shower

How to Build an Outdoor Shower – Steps:
Step 1 – Secure Posts
Layout your shower enclosure. Many times this can be as simple as measuring out from a known point like a house foundation.
Typically the two outside corners of any structure receive support posts and then the middle and sides are filled in as needed. Once you have the footprint determined and marked, lay out the other supporting posts and check for square.
Carpenters often use the 3-4-5 method for squaring corners and ensuring that the projects they are building have a precise 90-degree angle. In residential construction using a framing square and straight edges can help you get there but to check larger you will need to employ a 3-4-5 triangle technique and check diagonal measurements to ensure accurate 90-degree angles.
After the layout is complete drill holes and install threaded anchors and fasten galvanized or stainless steel metal post bases to concrete footings or pads with expansion anchors or threaded road and epoxy.
Set bases, tap in expansion anchors, and secure with washers, nuts, and ratchet.
TIP: When preparing to drill concrete, mark the depth on a masonry bit with tape and use a rotary hammer drill.

Step 2 – Attachment to House
On a wall-mounted shower, you will be building off of an existing structure. Take pains in keeping this structure sound to try to prevent premature rot caused by adding the shower.
Installing the shower head on the wall and pointing it away from the house structure is one method to minimize water spray exposure. Another method to protect the building is to install spacers and flashing to allow airflow and drying of the house siding and shower enclosure.
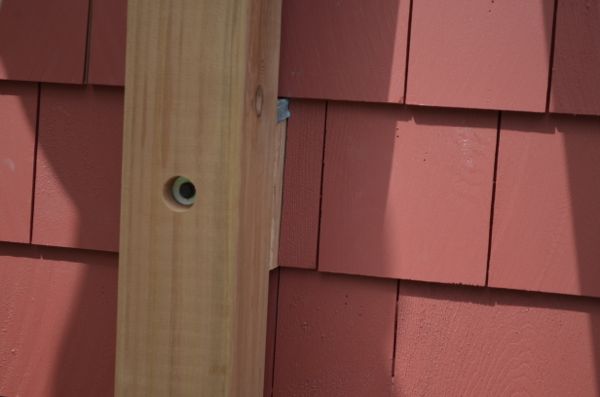
In our project, we installed 2×6 cedar blocking to the house wall, and cut angles on the blocks to shed water left and right of the post. Additionally, we also covered the blocks with flashing that was installed under the siding. [The spacer blocks allow airflow behind the first support post so both the post and house siding can dry out.]
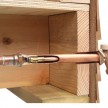
On the house wall support 4×4 post, we bored 1-inch holes in the post and then installed through bolts where we could and timber locks into solid framing, such as the sill beam. Using a 1-inch plug cutter we made plugs and filled the holes afterward.
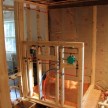
Step 3 – Install Support Post
Almost all structures will have walls and some will have a roof or trellis-type structure overhead.
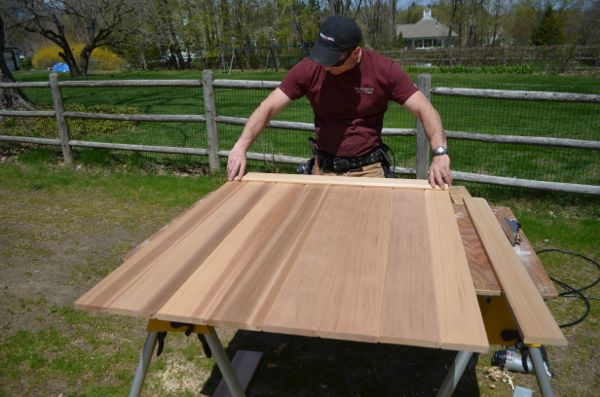
Cut and secure your support posts to the post bases you just installed. Support posts can be 4×4, 4×6, or 6×6 depending on your design.
To hold the posts in place use 1×2 strips of wood or “strapping” and a pneumatic finish nailer or clamps. Finish nailers are great for temporarily tagging shoring in place. Tie posts to one another and to the house wall for support as needed. The goal is to keep them in a plumb position.
Use levels to plumb the support posts and constantly check them. We installed a total of nine support posts and capped each one with lead flashing to prevent water from wicking into the end grain.
Secure the posts to the base plates with approved galvanized or stainless steel 10-penny fasteners.
Continue Reading . . .