How To Build An Outdoor Shower

Plan!
As with any project, a little bit of planning goes a long way. As a remodeling contractor, I have seen many situations where homeowners spent thousands of dollars in remodeling or building new projects with little to no planning, no budget, or unrealistic expectations.
Prior to starting the project, take the time and effort to thoroughly inspect the site, materials available, and budget and come up with a planned approach.
Designing the Outdoor Shower in These Pictures
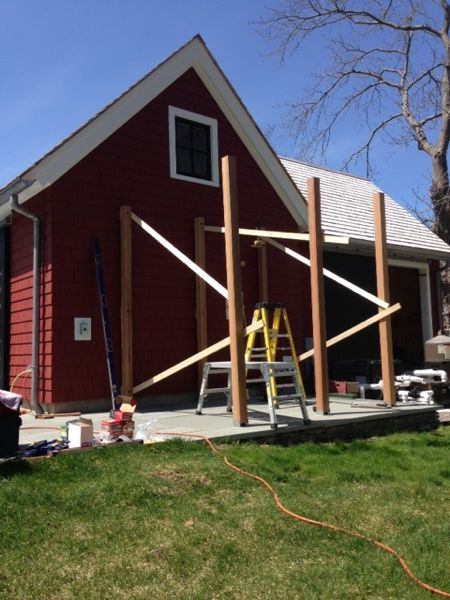
When the homeowner, also an architect, was thinking about how to design his outdoor shower his concern was function first, then about how to best build it.
He designed an outdoor shower about 13 years ago, for a client, that had the same plan layout but no trellis structure above. That structure leaned a bit over the years so he added the trellis top structure to help lock in the posts structurally.
In this current design, he wanted to design a dry entry area to hang towels or clothes. He also wanted the door located so you could open it without exposing a person showering. The homeowner feels that one-room outdoor showers can feel exposed and not very private or cozy.
The shower area has a bench which is usually used for soaps and shampoos, no one usually sits on the bench but it is nice to put your foot upon it. The high posts and trellis structure benefits the structural rigidity and adds an umbrageous element ( like being under a leafy tree).
Another consideration was material selection, the intent was to have the wood weather naturally to a silver grey. Not all woods do that well, especially depending on the location. You need good airflow, sunlight, and exposure to rain. It is nice to have your structure look nice while it is going through this process. Using darker woods like red cedar and mahogany helps.
Outdoor Shower Features to Consider:
□ Location
□ Construction materials: wood, tile, stone, metal
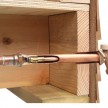
□ Plumbing connections
□ Hot water
□ Drainage: dry well, leach pit, septic or municipal?
□ Privacy and access: wall slats, solid walls, the height of walls?
□ Amenities: bench, towel racks, soap holder
□ Usage: 3-season or year-round use. Shut off and drain valves