How To Build A Wood Shed


Building A Wood shed
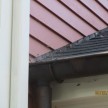
A customer of mine asked me to construct a wood storage shed for them behind their garage. The firewood is currently being stored against the back of the garage and the lack of gutters has rain water cascading onto the wood pile. This is part 1 of a series on How To Build A Wood Shed.
Choose A Location and Size
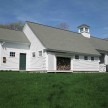
We chose the location to the far left of the garage so as not to interfere with the garage windows.
The storage shed will compliment the garage in trim and siding detail, be approx. 8′ wide by 4′ deep and be able to store two stacks deep of firewood ~ approximately one chord of wood.
Choose A Style and Design
This wood shed will be enclosed on three sides with clapboards on the walls. The front of the shed will be open.

Getting Started
We removed all the grass and organic soil then we dug and poured two 8″ round x 48″ deep concrete footings to support the floor and roof.
After pouring the footings we installed a pressure treated border edging and then filled in the space with six to eight inches of 3/4″ drainage gravel. The stone extends beyond the sheds roof drip line approx. 24″ for rain run off.
The front and two side walls will have approx. 4″-6″ of space above the ground level, to encourage airflow and drying of the wood.

Foundation and Frame
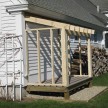
The support posts are 4″x6″ p.t. and the deck joists are 2×6 pressure lumber. The deck was direct nailed and then I added joist hangers and corner braces for added strength.
The ledger is attached to the concrete foundation with 6 3.5″ expanding lag bolts.

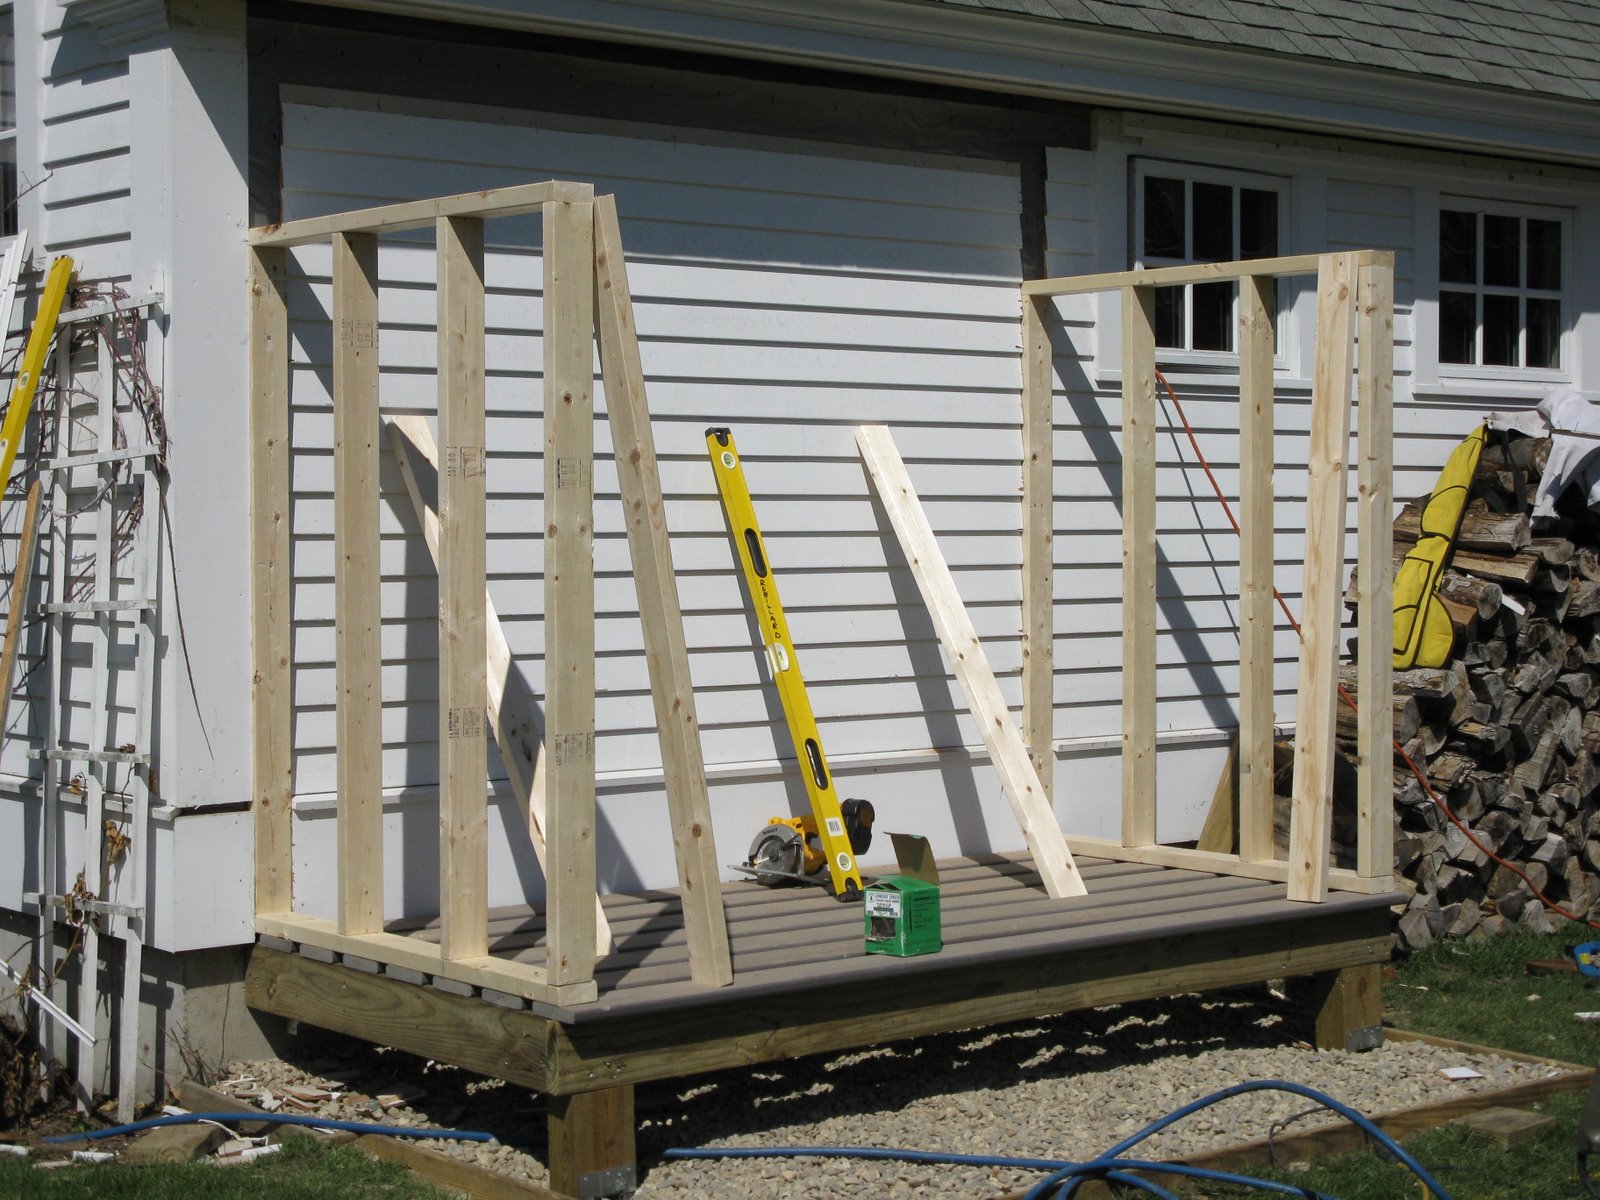
Floor
The floor of the shed is 5/4″ x 6″ synthetic decking, spaced 1-1/2″ and be approx. 10″ off the ground for ventilation.
We cut out the garage siding and water table trim away to expose the garage sheathing. Lucky for us both walls ended on a framing stud.

Walls
The wall studs are 2×4 and the roof and wall sheathing will be 1/2″ CDX plywood.
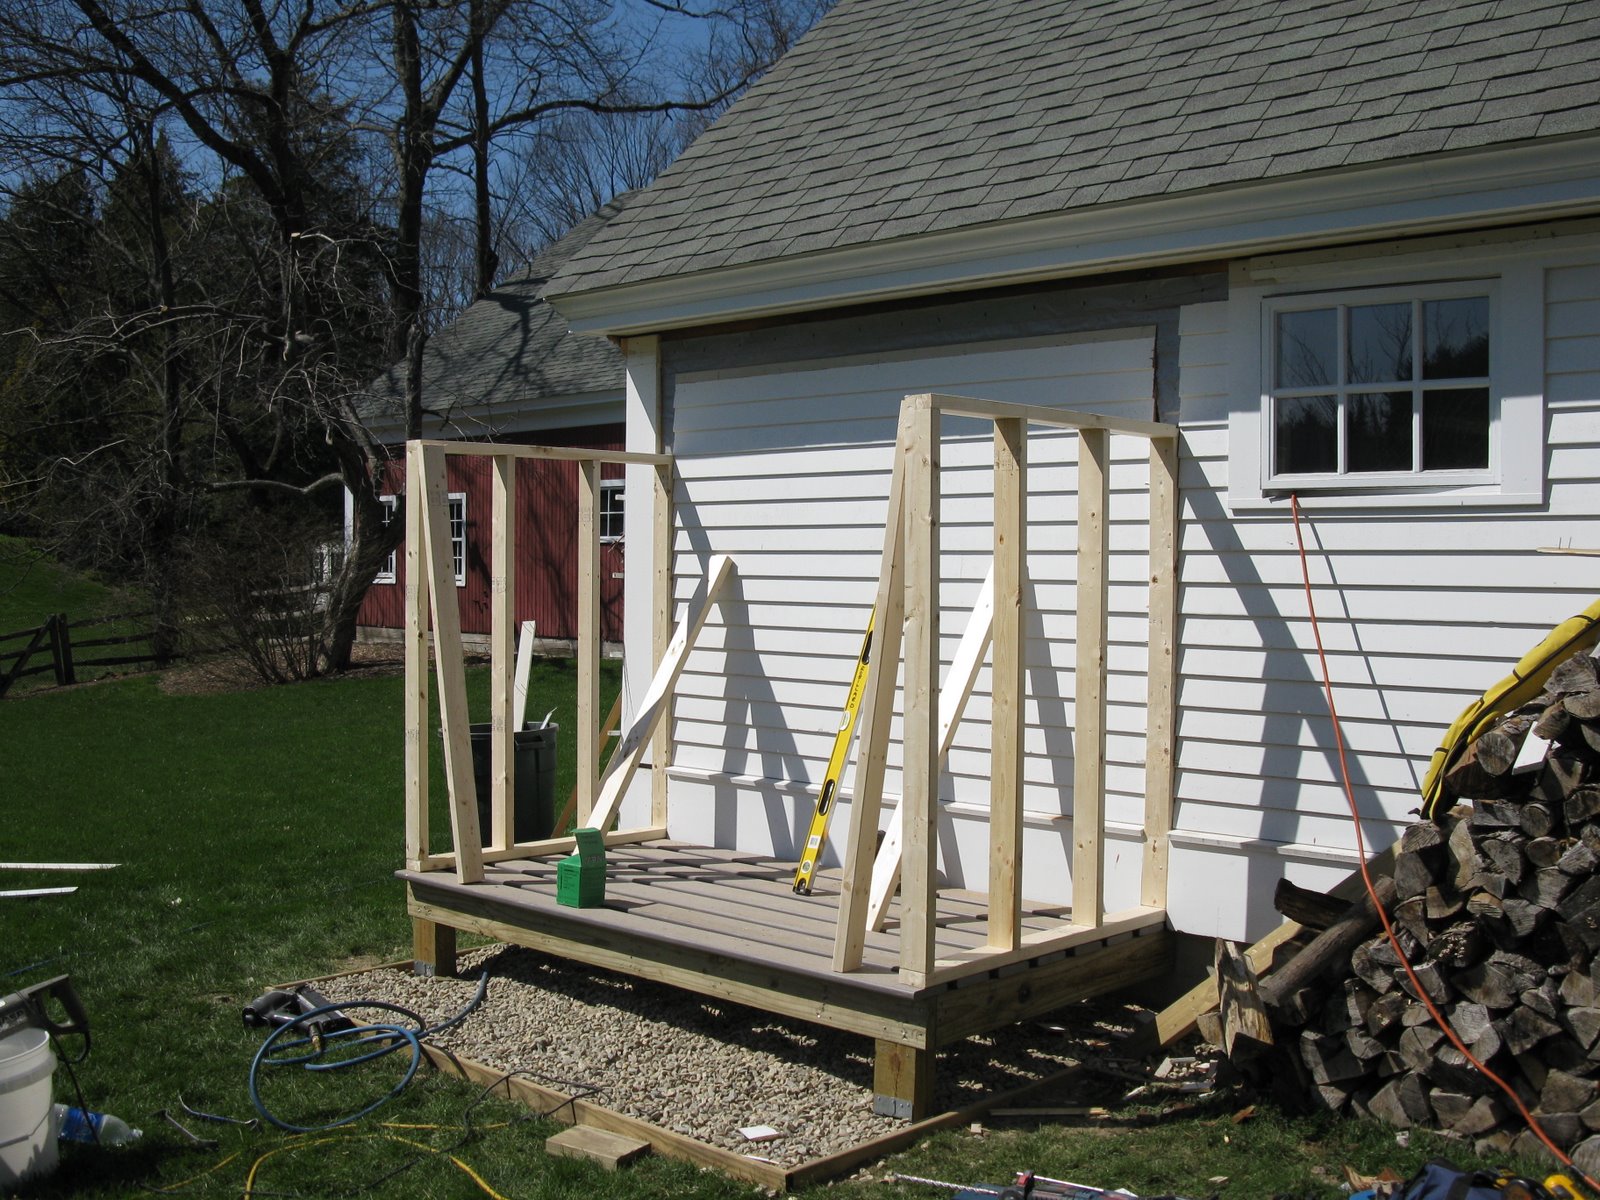
Walls raised, plumbed and secured.
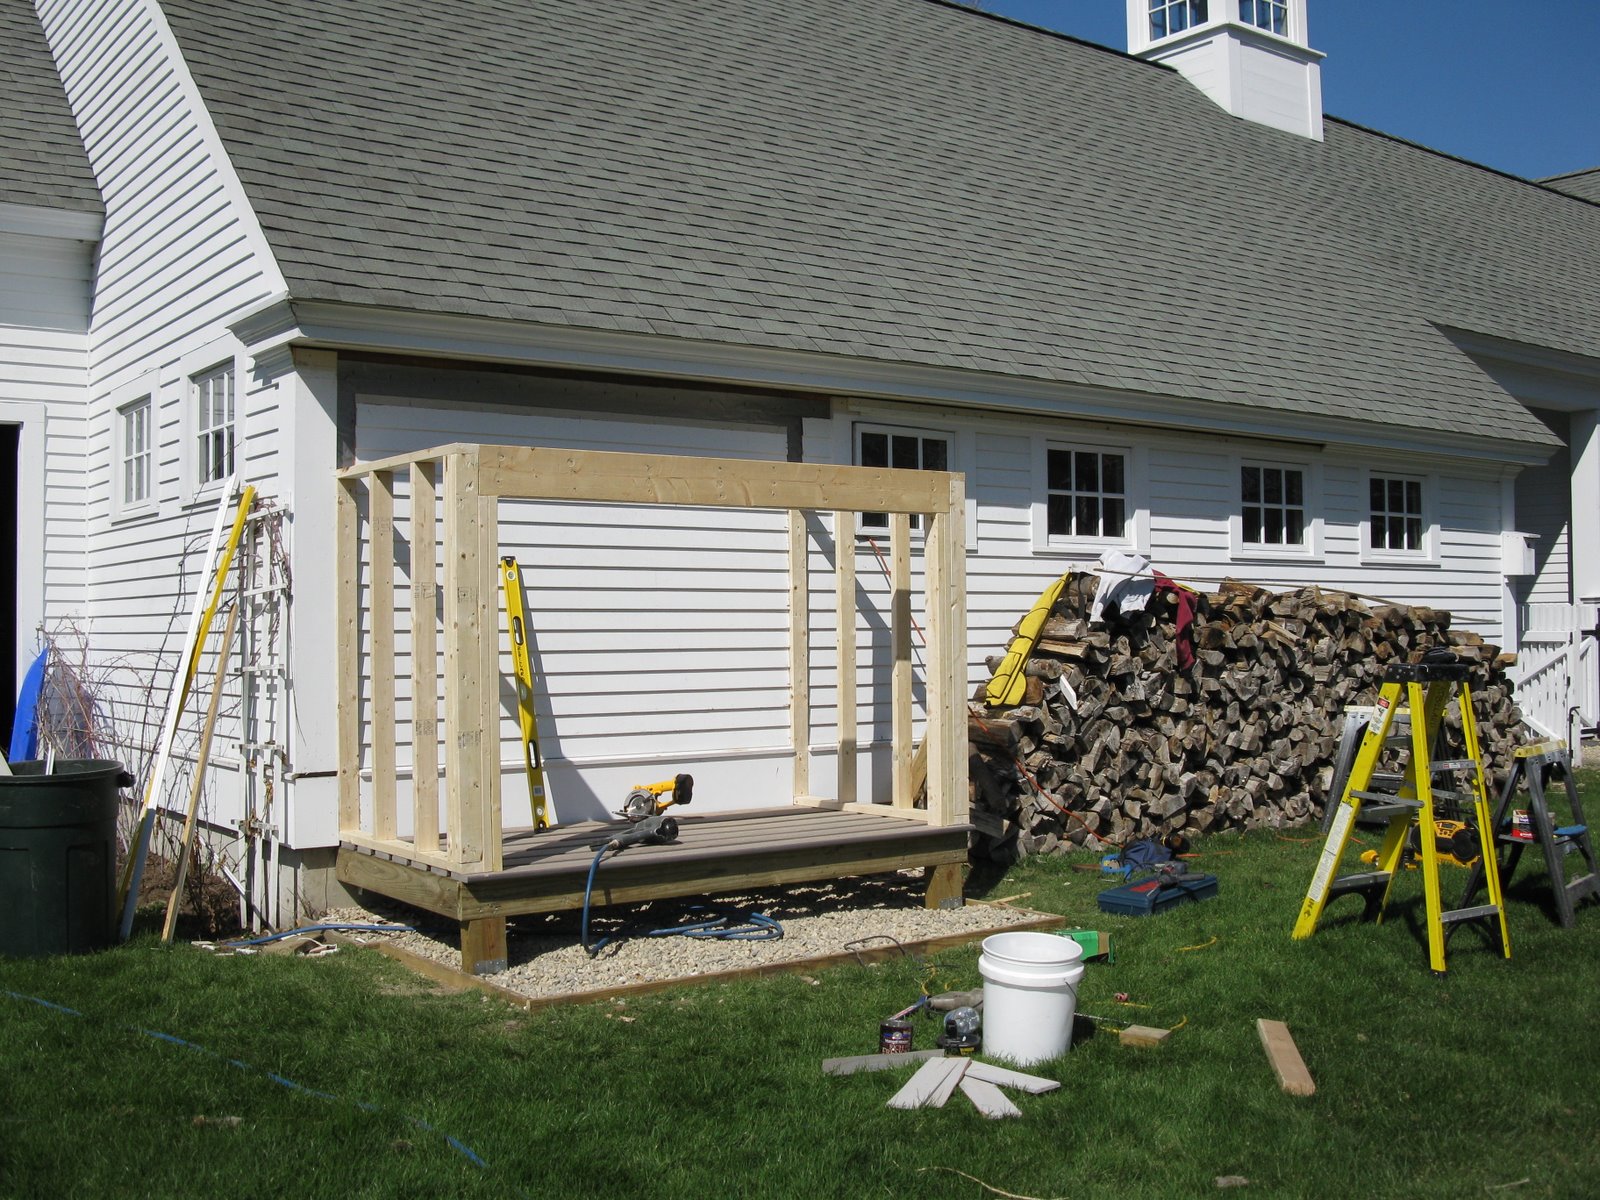
Door Opening
We designed and framed our building to have an open front. We framed a continuous 2×8 double header to span the opening and support the roof.
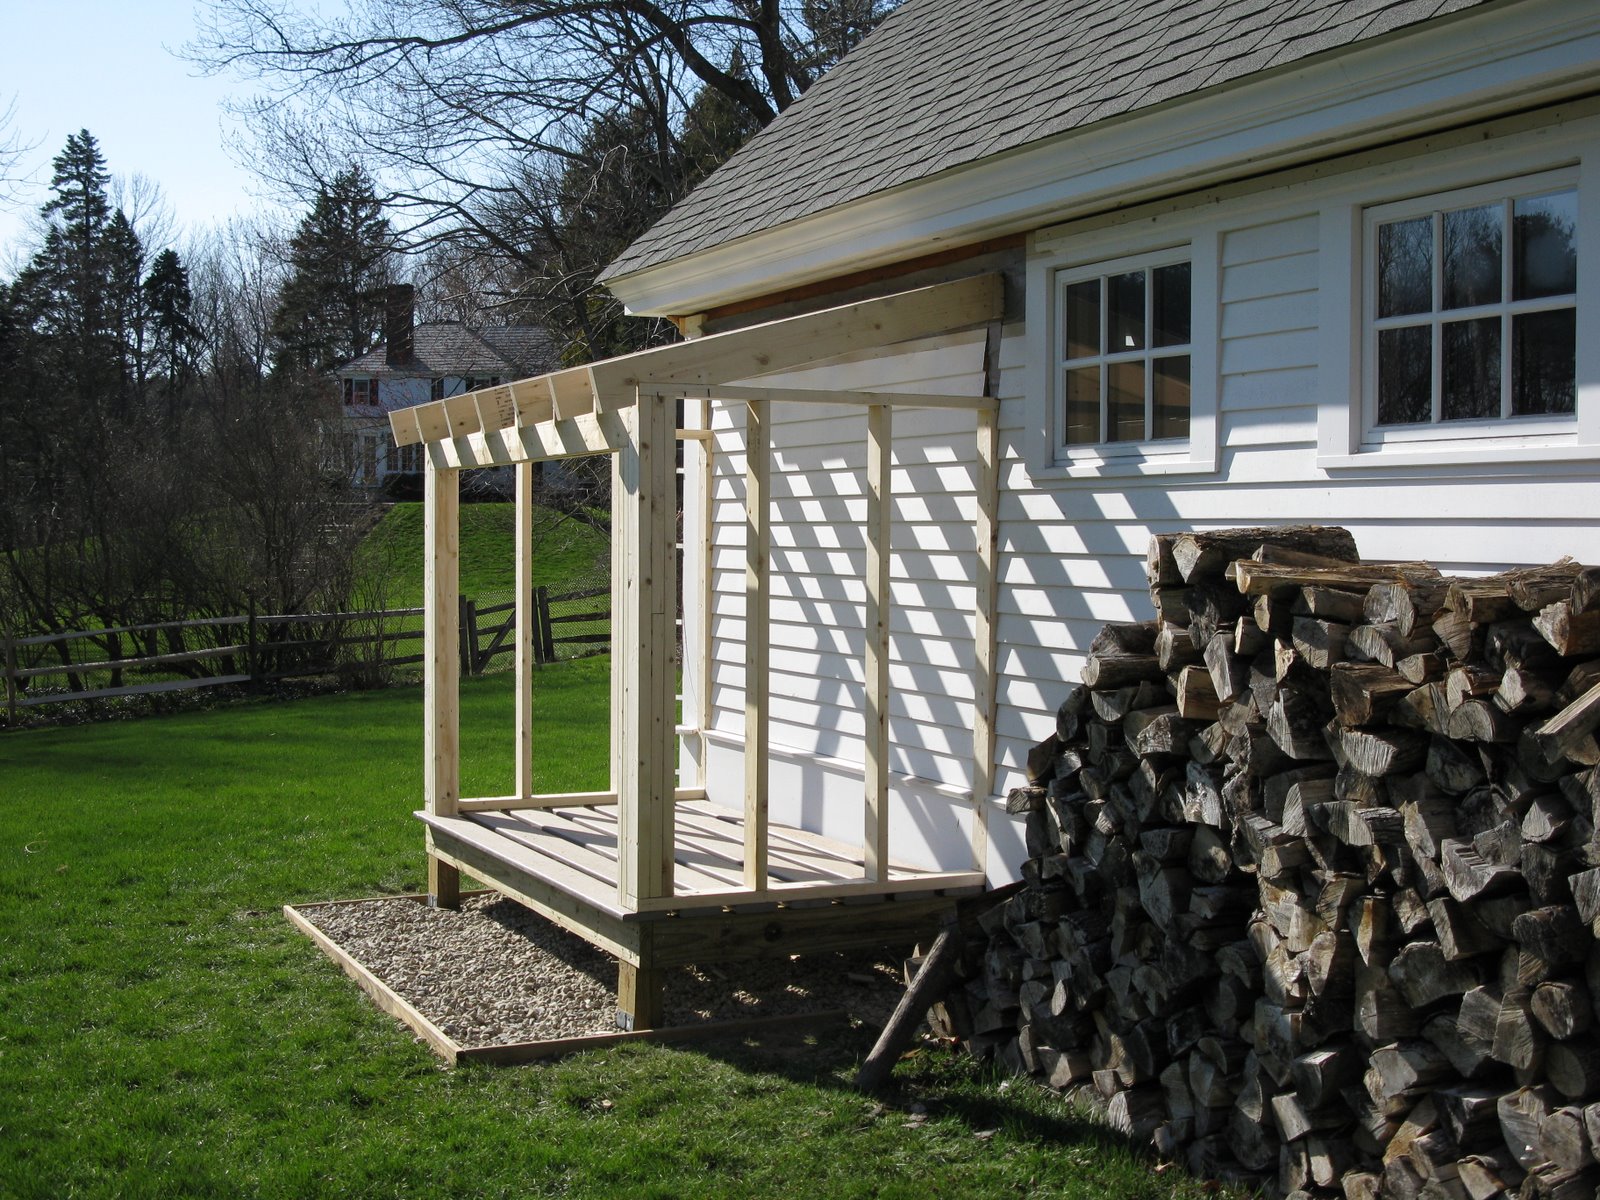
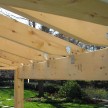
Rafters Installed
Rafters installed ~ it’s a 3 pitch to maximize storage capacity.
See Part ~2 Building A Shed.