Building Board and Batten Doors
In this article we will show you how to build a board and batten door using rough-sawn, ship lap lumber. Building a board and batten door is a task that can be completed in a relatively short period of time and is a project that is suitable for novice woodworkers.
Board And Batten Construction
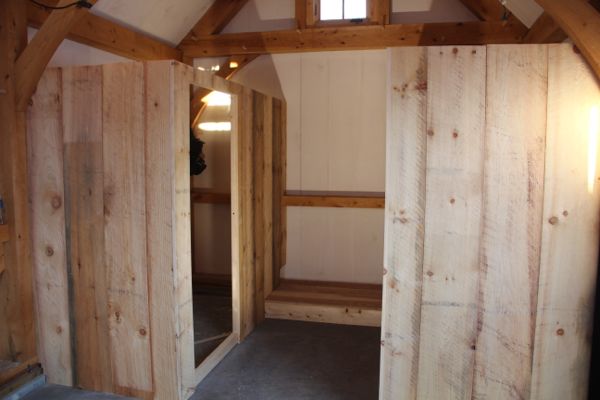
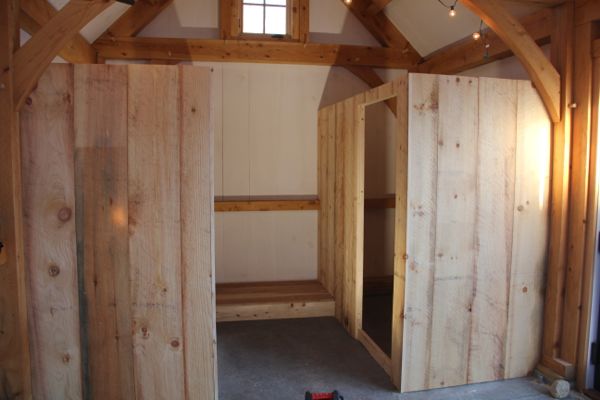
A batten door is a simple door constructed of boards in a row, parallel, throughout the whole of its length held together by perpendicular and diagonal support battens. This kind of a door is secured using battens that are nailed or fastened with screws in a crosswise manner. They are often used on barns and storage sheds.
Batten doors have a historical almost country or rustic look and are famous for their basic design. Because there are many different boards in its design, batten doors are extremely stable doors. There is also no technical joinery in a batten door, and its strength is derived from the fasteners used in its construction.
If you were building a traditional batten door you would want to use the clinch-nail method. The clinch-nail method requires that the nail is driven through the door then the shank is then bent over. Traditionally, handmade wrought nails were the best to use for clinching. Wrought iron nails were preferred since the metal grain runs with the length of the nail, are less likely to break when clinched. Old style “cut nails” tend to break when cinched.
In our article we will be using modern black colored screws.

There are several configurations of batten doors:
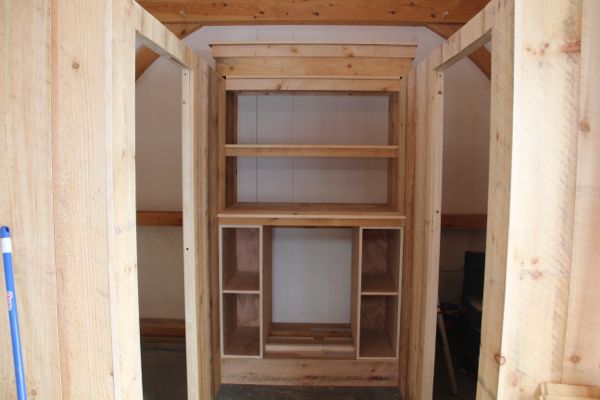
When deciding on how to build a board and batten door you need to consider style, security and door thickness. The four doors below are all board and batten construction but are all constructed slightly differently, look slightly different and may differ in thickness.
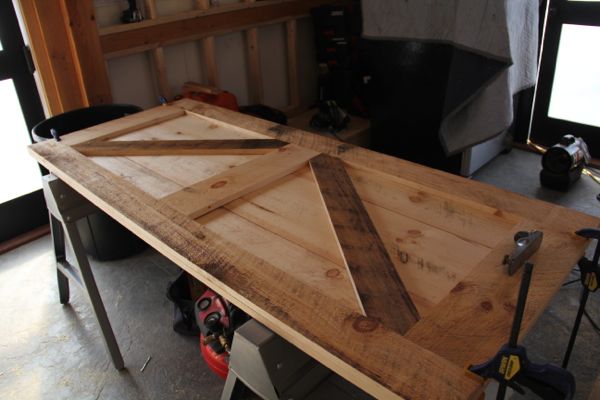
- Two horizontal battens with one long diagonal brace
- Three horizontal battens and two diagonal braces
- Battens and braces on both sides of the door
- Picture framed door with battens and braces
Many a board and batten door today is constructed with screws and that is how we will proceed.
How to Build A Board and Batten Door Video
Materials Used for Board and Batten Doors
Batten doors can be made with tongue and groove doors, ship-lap or simple boards that are typically suitable for outdoor use. Tongue and groove and ship lad doors offer weather resistance by closing the seams off.
Often time’s cedar will be used for its inherent insect and rot resistance but Eastern White Pine will suffice as well.
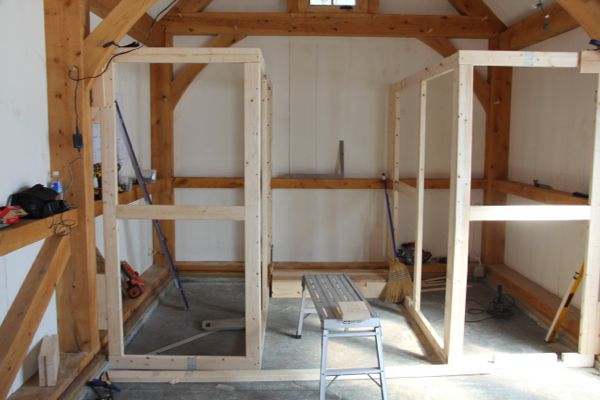
Building a Batten Door
What you will need:
Table saw or circular saw with a ripping edge guide
- Pencil
- Tape measure
- Square
- Block Plane
- Drill
- Drill bits and/or countersink bit
- Circular saw with rip guide or Miter saw
- Table Saw is very helpful but not needed
- Primer and paint
- Fastener Driver
- Fasteners
- Boards
Don’t Use Glue
The boards used in a board and batten door expand and contract in different humidity conditions and the boards will move in directions. People building board and batten doors often error by trying to glue the edge joints or the battens to the boards. Don’t waste your time trying to glue these boards as the joint will fail.
Fasteners
When choosing fasteners, in the case of screws, make sure you choose the proper length of fastener. Choose a length that allows you to securely fasten the battens to the door panel boards but does not penetrate the panel on the opposite side. If you plan on countersinking your screws keep that depth in mind as well.
Steps To Build A Board and Batten Door
The steps involved in learning how to build a board and batten door are fairly straightforward and simple. They are:
1. Select the material to build your door.
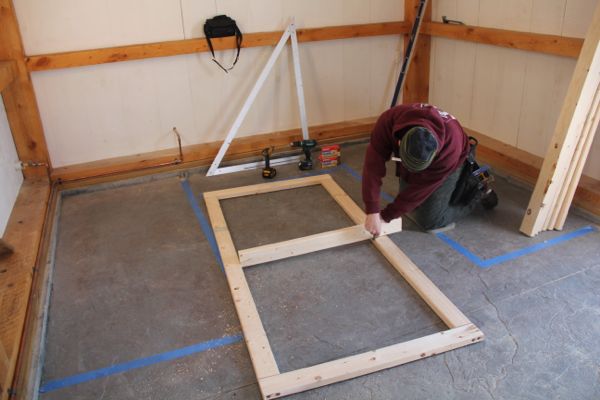
2. Measure your door opening.
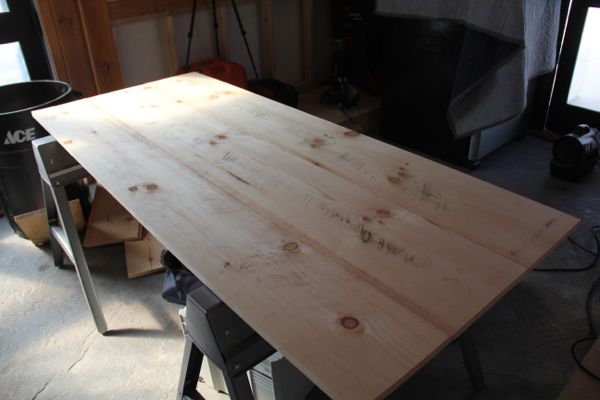
3. Cut your cedar or pine boards to fill the opening as measured above side to side.
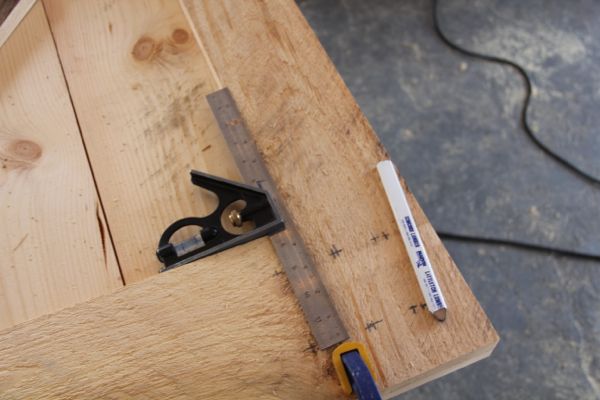
4. Lay the boards on a flat surface and figure out an appropriate starting board width and ending board width. Measure and do the math to get both boards the same size to avoid having one odd size.
5. Rip your starting and ending boards to maintain the size you determined
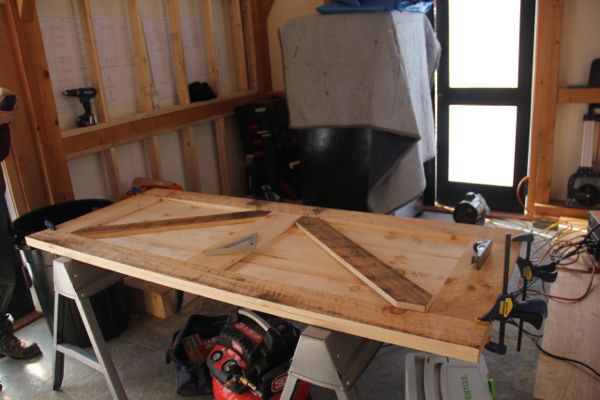
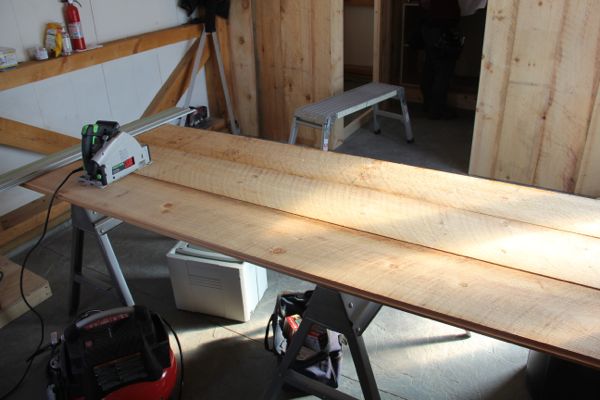
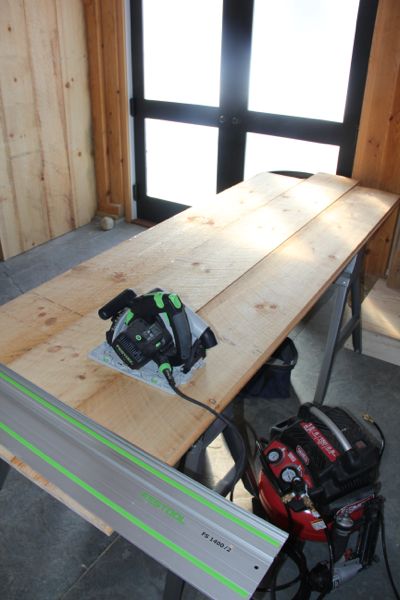
6. Assemble the boards, leaving them slightly wider and longer longer than the finished dimension of the doorway. The door can later be trimmed to fit on installation.
Tip: A track saw is the perfect tool for trimming doors to fit. We use the Festools and track saw in out work. This article, Tracksaw Comparisons, will help you understand track saws and help you select the best one for your needs.
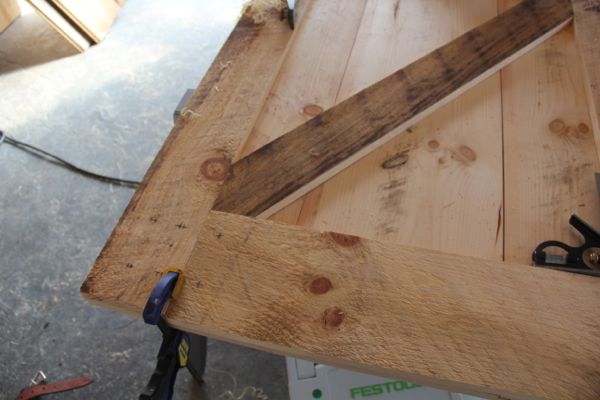
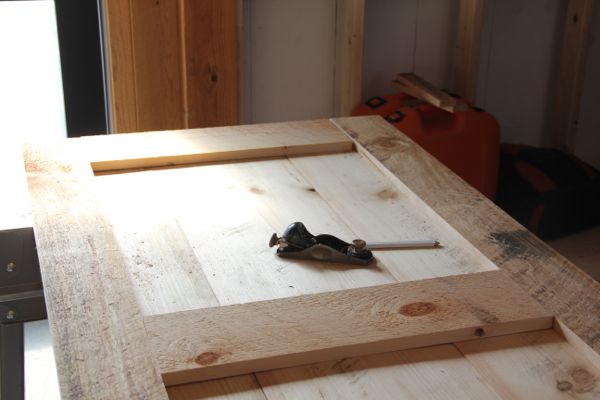
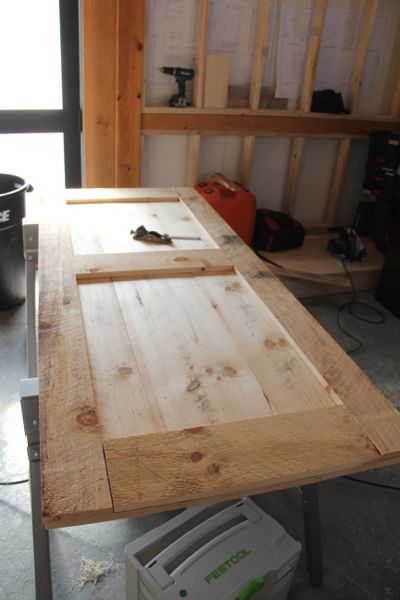
7. With a framing square and pencil, lay out the exact vertical measurements of the finished door, and nail or screw the horizontal battens securely to each board.
8. Prime and paint all edges of all the board to be used.
9. Nail or screw on the battens.
10. Trim the excess at top and bottom, and check for square again.
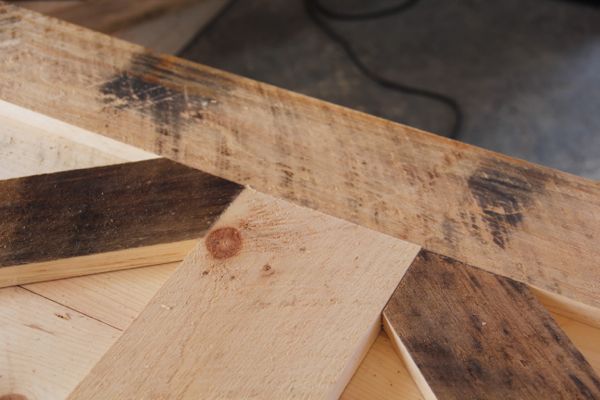
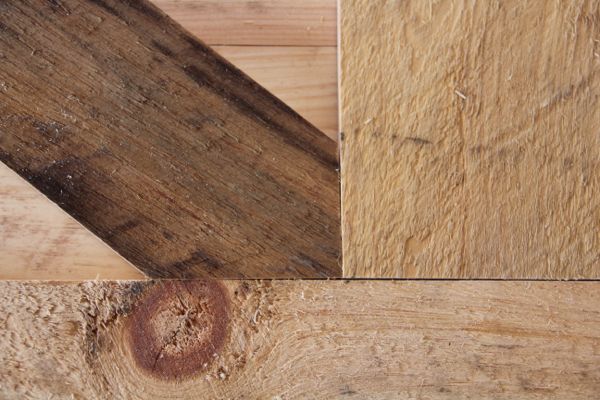
11. Apply the diagonal braces. You can have one diagonal brace and two horizontal battens or two braces and three battens depending on design. The diagonal braces keep the door from racking and sagging.
12. Secure the battens and diagonal brace [s] to the boards. Ensure that the diagonal braces point down and into the hanging [hinge side] jamb. This is important to resist sagging. The weight of the door keeps the joints between the battens and the braces tight and secure.
13. Try to install your fasteners in a “thought out” fashion so they look aesthetically pleasing. Install two fasteners per board in the horizontal battens. Avoid placing fasteners in the tongue and groove joints
14. Check the dimensions one final time.
15. Bevel all outer edges of all the boards, including the battens, slightly with a hand plane.
16. Install hinges and hang the door. Typically board and batten doors are hung on band, gudgeon hinges or “Tee style” hinges
17. Once the door is secure in tits opening and operates properly rip 3/8 to ½” strips of material and apply to the door jamb as a door stop to keep the door closed.
Useful Tips
Tip: If you want to give the door additional l strength, you can duplicate the batten pattern on the opposite
Tip: Always paint all six edges, the inside face of the battens and the joints between the boards before assembly. This will ensure your door is best protected from the weather but will also hide bare wood from showing if the wood contracts during dry weather.
To learn more about the table saw we used in this article click here: DEWALT 10 Inch Job Site Table Saw DWE7491RS