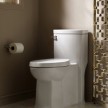
How Fix A Slow Toilet Leak

 How To Repair A Toilet with the Phantom Flush
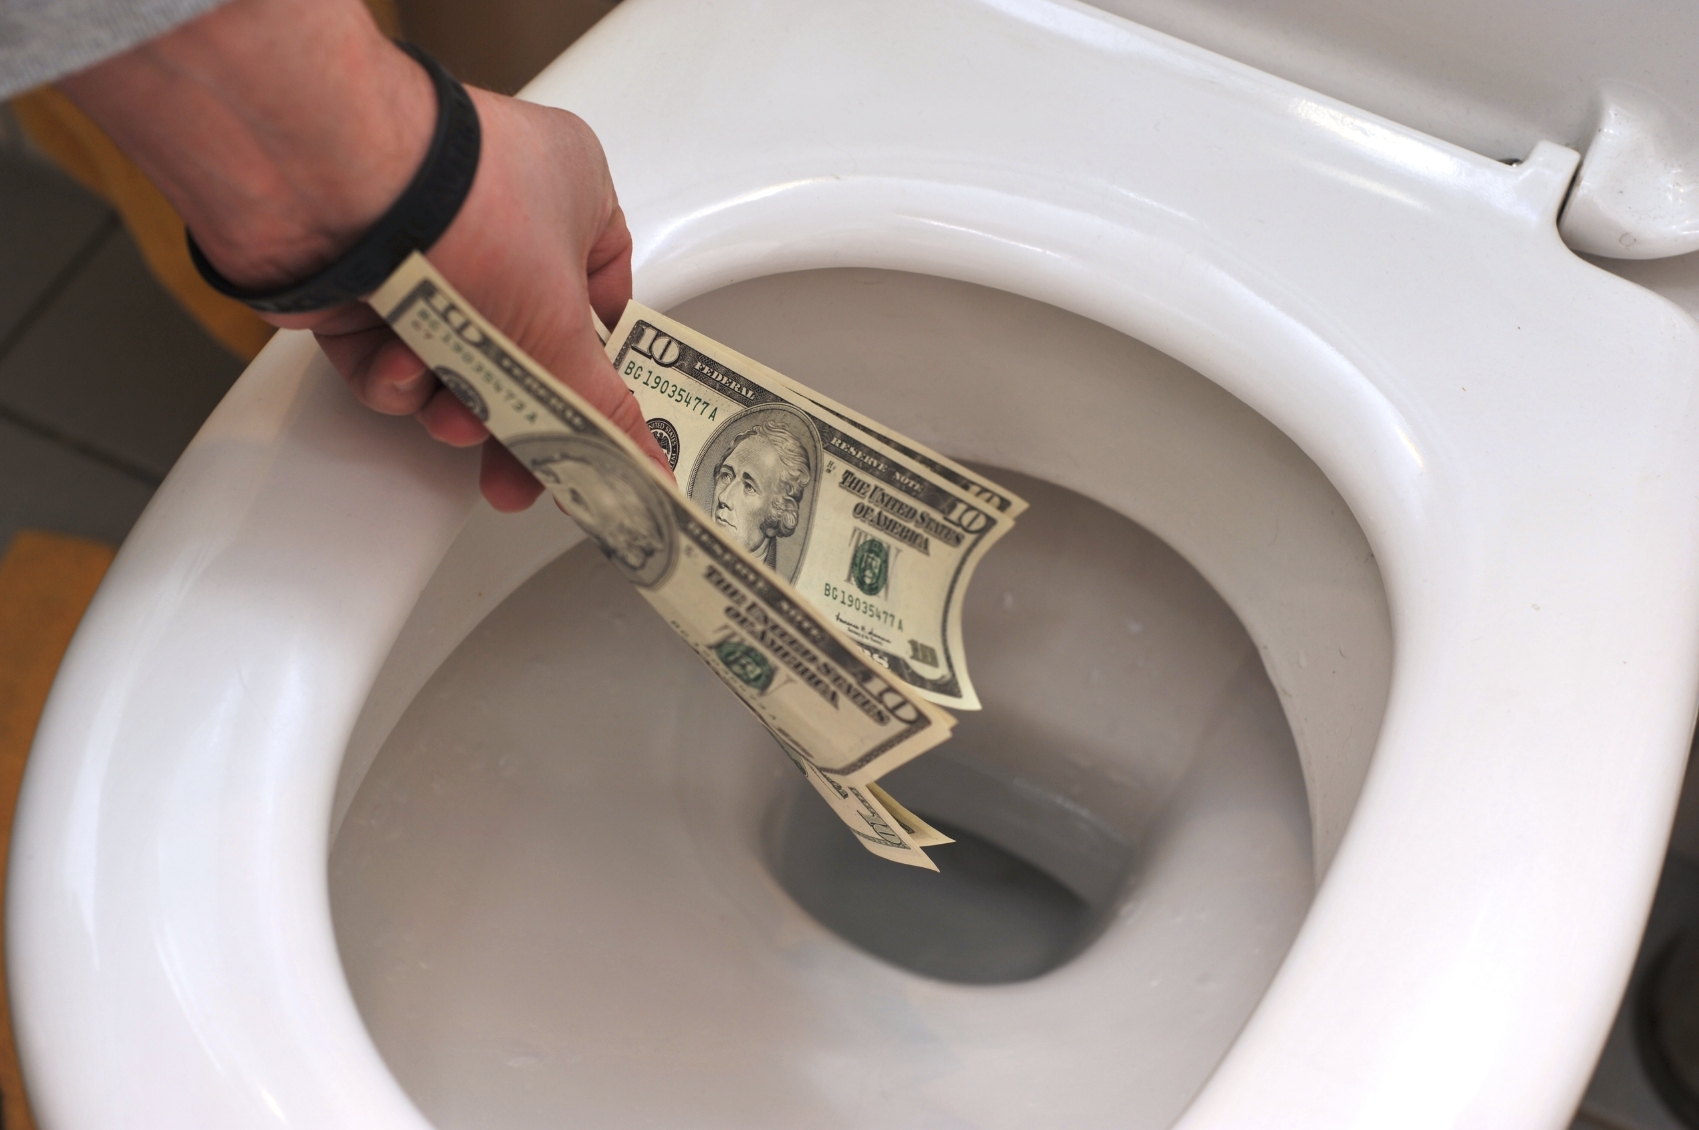
I recently discovered my toilet would add water periodically, every 15 minutes to be exact. This water cycle sounds like a small amount is leaking into the toilet bowl, necessitating the auto-fill to turn on.
My gut told me that I had what’s affectionately called a phantom flush. Phantom flushing occurs when the flapper or flapper seat in the tank is bad. As a result, water leaks out of the tank and into the bowl without someone touching the lever.
The easiest approach is to clean the flapper seat and replace the flapper mechanism to fix the problem.
Tip: Put some vegetable dye in the toilet tank, and keep watch the bowl for the dye leaking in. When you see the colored water go into the bowl, you have confirmed a leak.
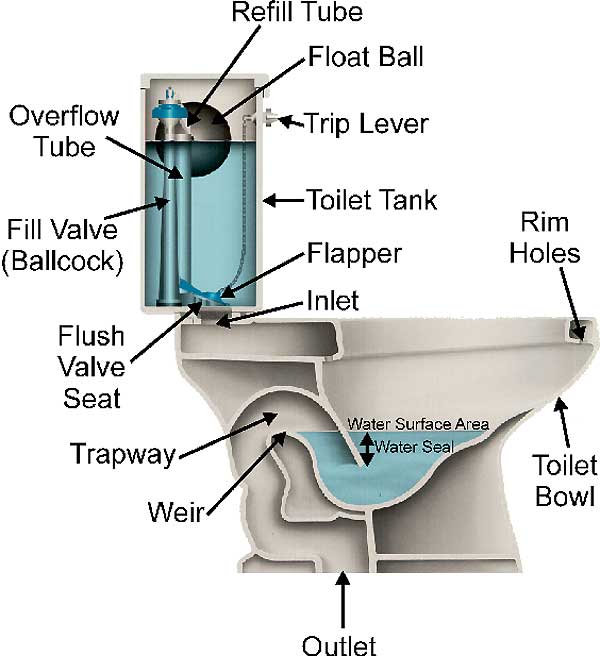
How A Toilet Flushes:
When the toilet’s handle is depressed, it operates a flush-valve chain, which lifts the rubber flapper long enough for all the water in the tank to rush into the toilet bowl. As the water leaves, the tank’s float ball falls downward, tilting a ball-cock lever. The ball cock opens a water-inlet valve, which works a bit like a faucet. Water flows in, refilling the tank and pushing the float ball back up again. When the float ball reaches the correct, preset level, the ball-cock lever switches off the water supply, and the toilet is ready to flush again.
How To Repair The Phantom Flush
There are four things you can do:
1. Check the flapper that it is seated properly. Replace them if they are not.
2. Check the pull chain. If it is too tight, loosen it.
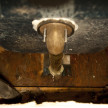
3. Check the rim under the flapper opening for rust or mineral deposits and remove them.
Changing the Flapper
- Shut off the water-supply valve, which is under the toilet.
Flush the toilet and drain the tank’ - Unhinge the chain from the toilet handle rod.
- Unhook the flapper from the flush valve, by pulling each side, or ear, of the flapper out.
- Cut off the ring on the back of the new flapper, if necessary.
- If your fill valve doesn’t have the side hooks for the flapper you will need to use the ring to slide the flapper into place.
- Put the new flapper into place and hook each ear onto the flush valve.
- Connect the flapper chain onto the toilet handle rod.
- Adjust the chain so it’s long enough to allow the flapper to sit firmly in place but not so long that it gets caught under the flapper as the water rushes out.
- Turn the water back on and test by flushing a couple of times
Cleaning the Flapper Seat:
Removing the mineral deposits or rust is easy
1. Shut off the water-supply valve, which is under the toilet.
2. Flush the toilet and drain the tank
3. Remove the flapper
4. Using fine sandpaper, sand the rim clean
5. Reinstall the flapper and test.