Hidden Water Basin


Building a Disappearing Fountain Basin
In part 1 of Building a disappearing water fountain, I detailed the steps in Building a Hidden Water Basin with a glazed pot that was a gift from a friend. Learn how How To Build A Disappearing Water Fountain with this step by step guide.
We chose the spot, shown below, for the disappearing fountain.
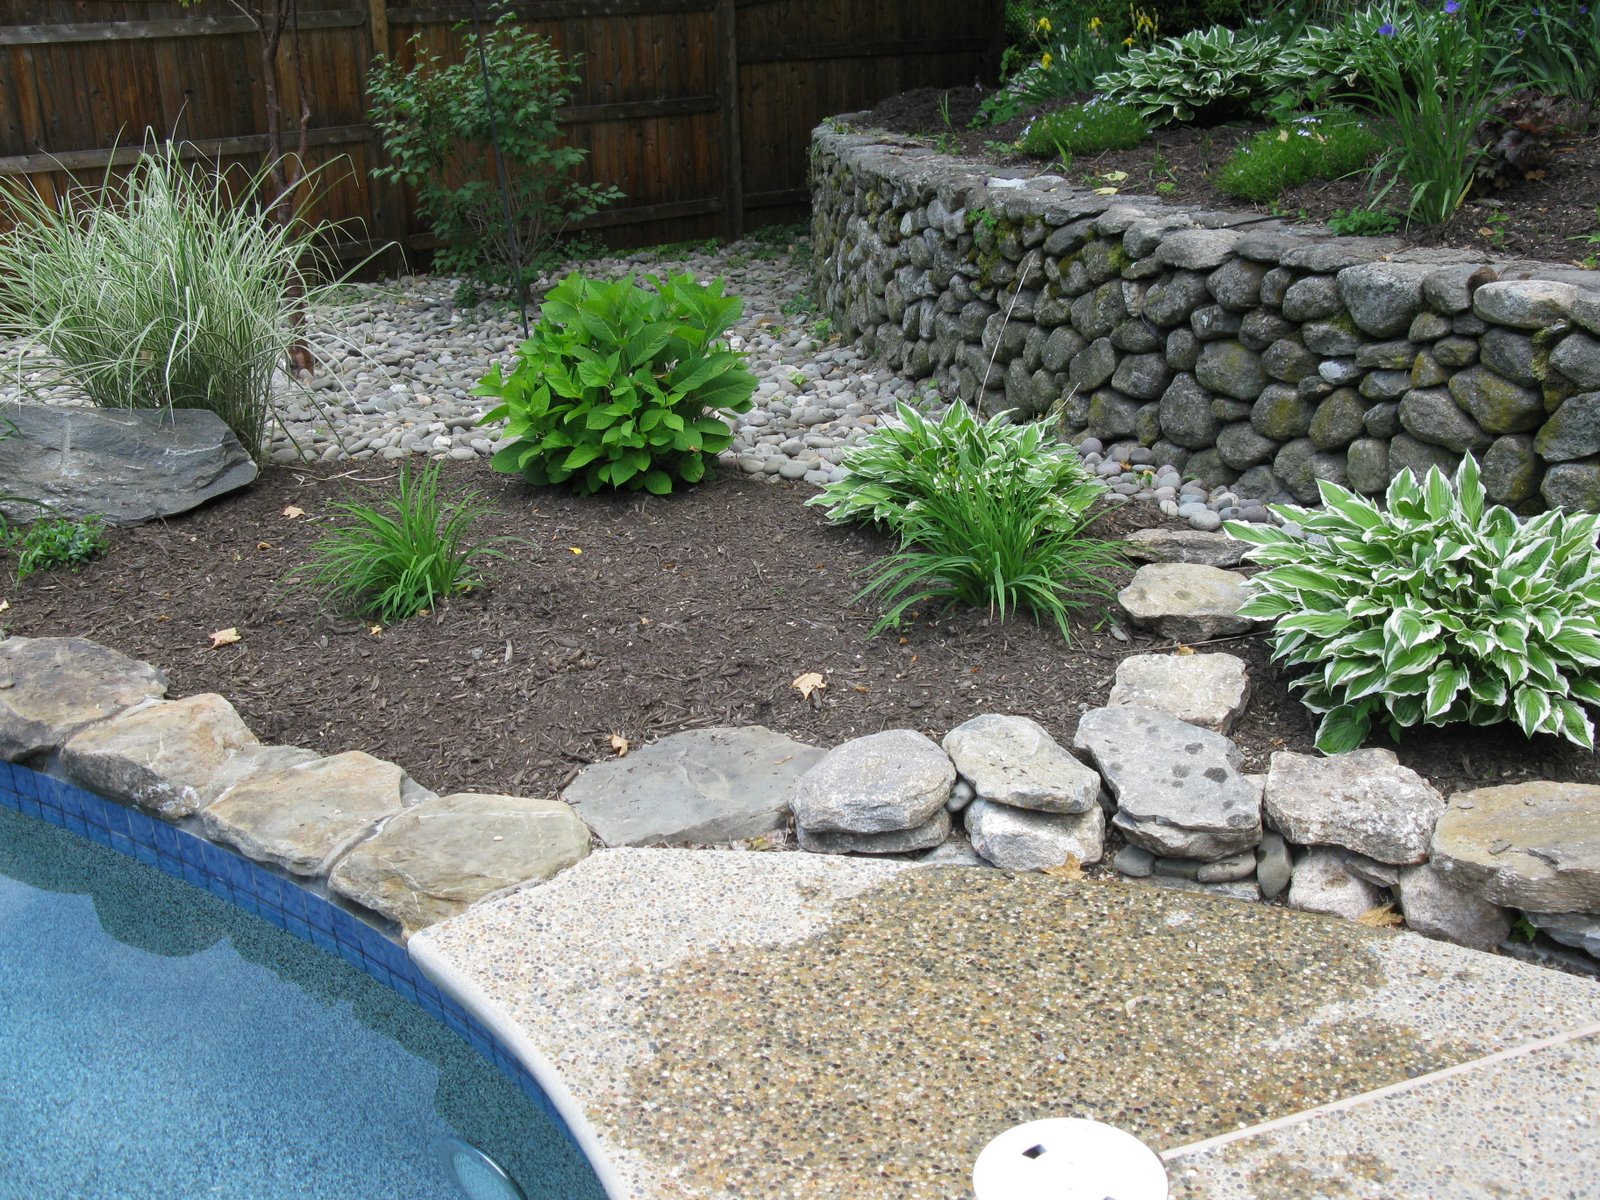
With a disappearing fountain, water is pumped from a hidden reservoir buried in the ground through the fountain piece and then as it overflows, the water seemingly disappears into the ground.
How To Build A Disappearing Water Basin Steps:
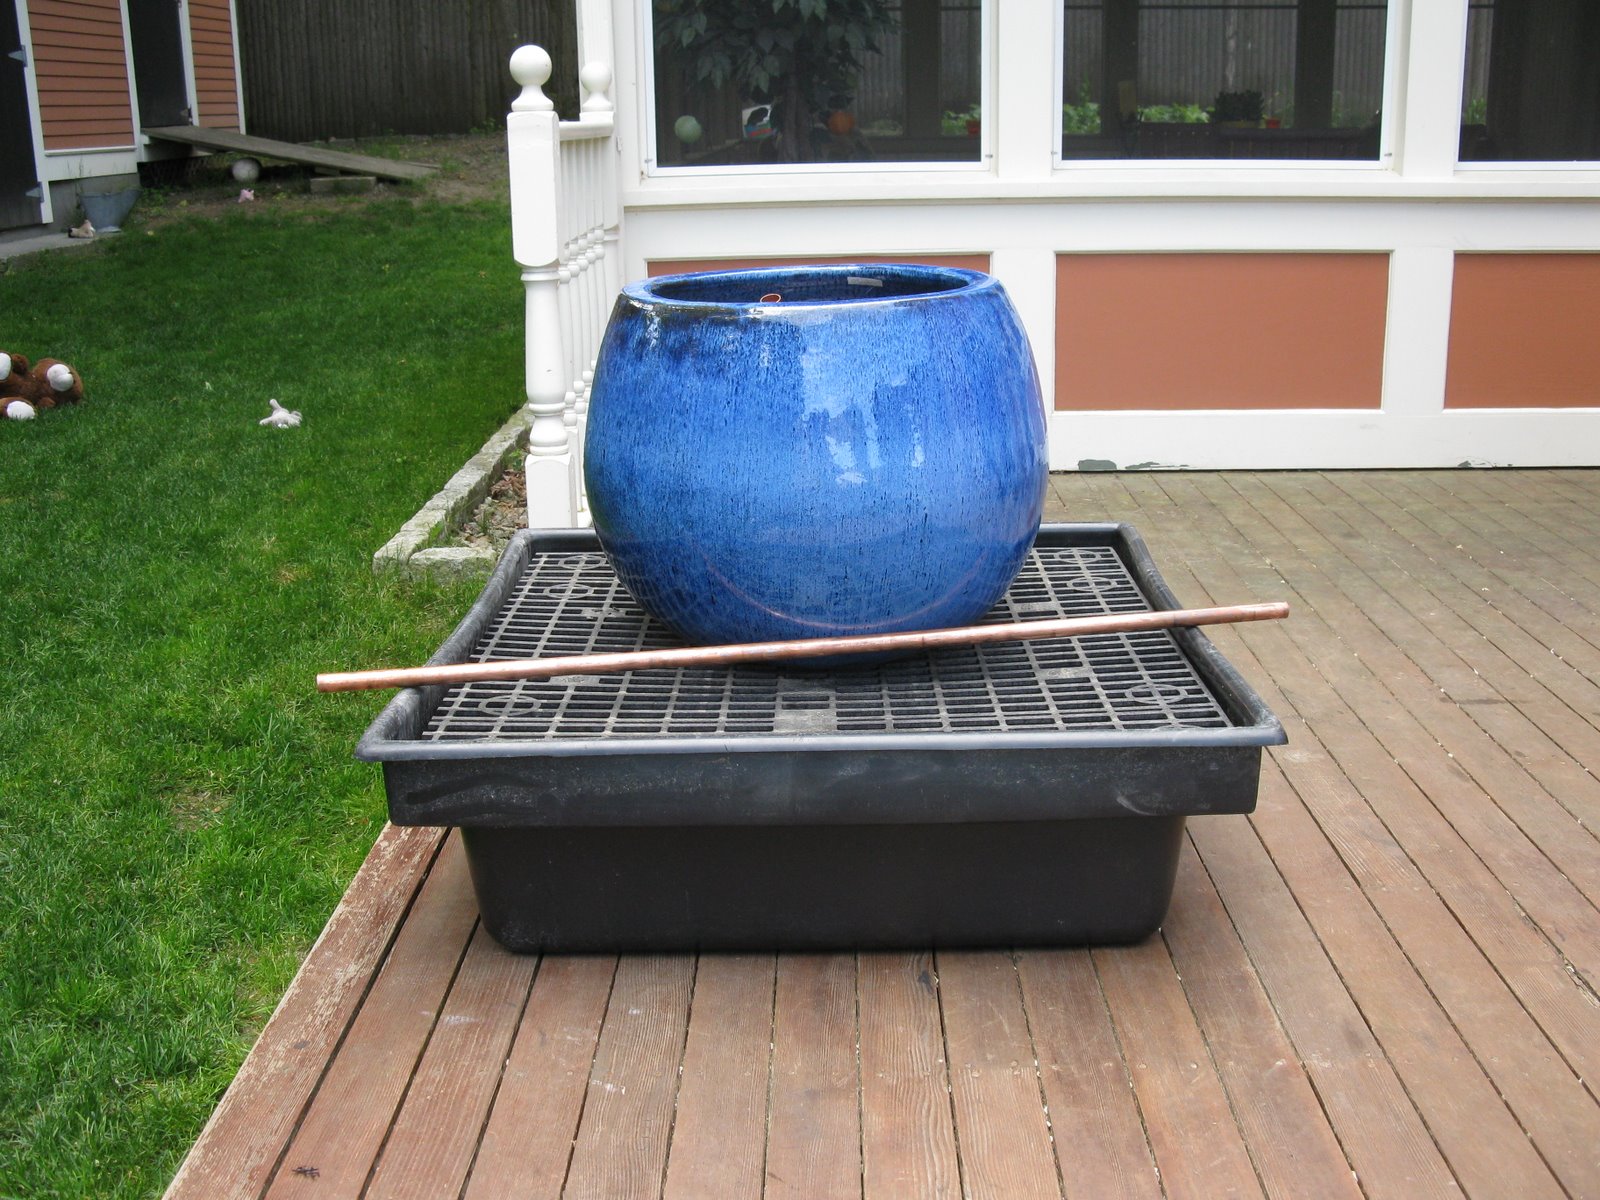
The fountain reservoir is 3′ x3′ square and approx. 14″ deep. It is made of reinforced plastic and has a removable, sturdy, pvc top grate.
Installing the Hidden Water Basin reservoir meant digging a hole about 14″ deep and 3’x3′ square. Note the sprinkler pipe in the hole bottom.
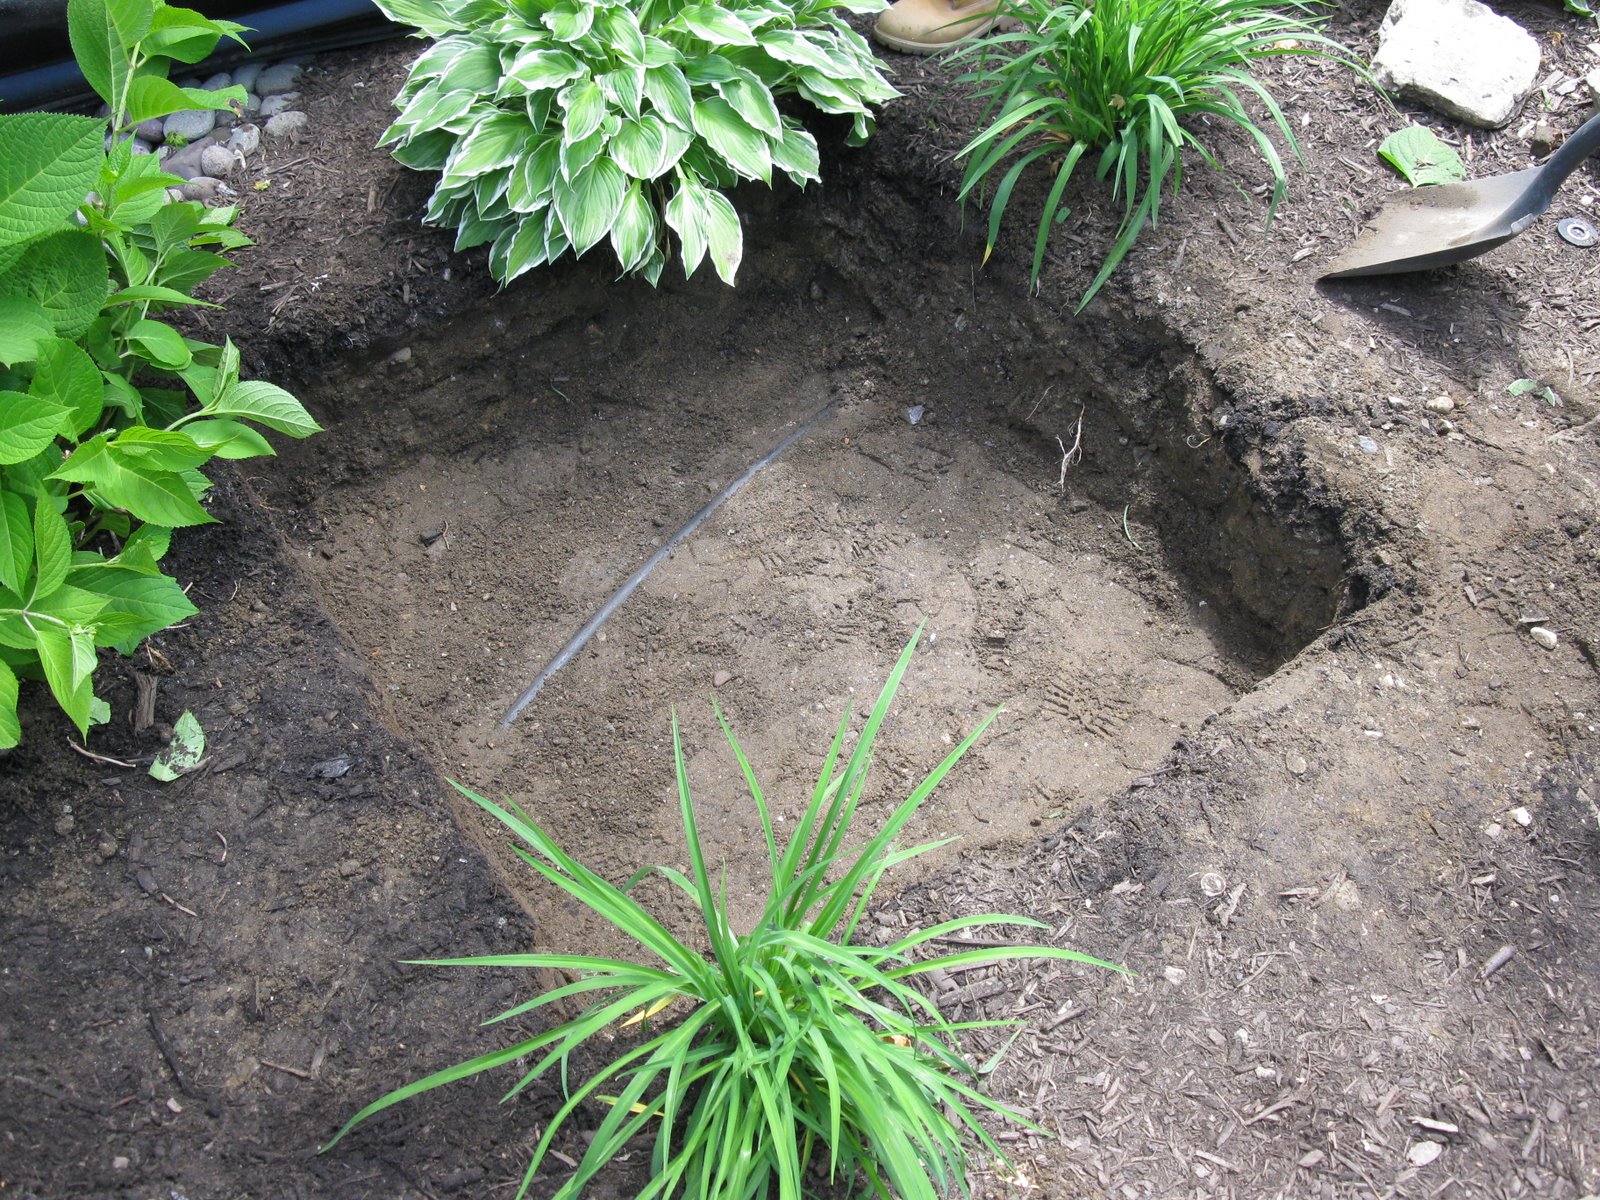
Care must be taken to make sure the bottom of the hole is level in both directions. If not the reservoir will not be able to be filled to capacity.
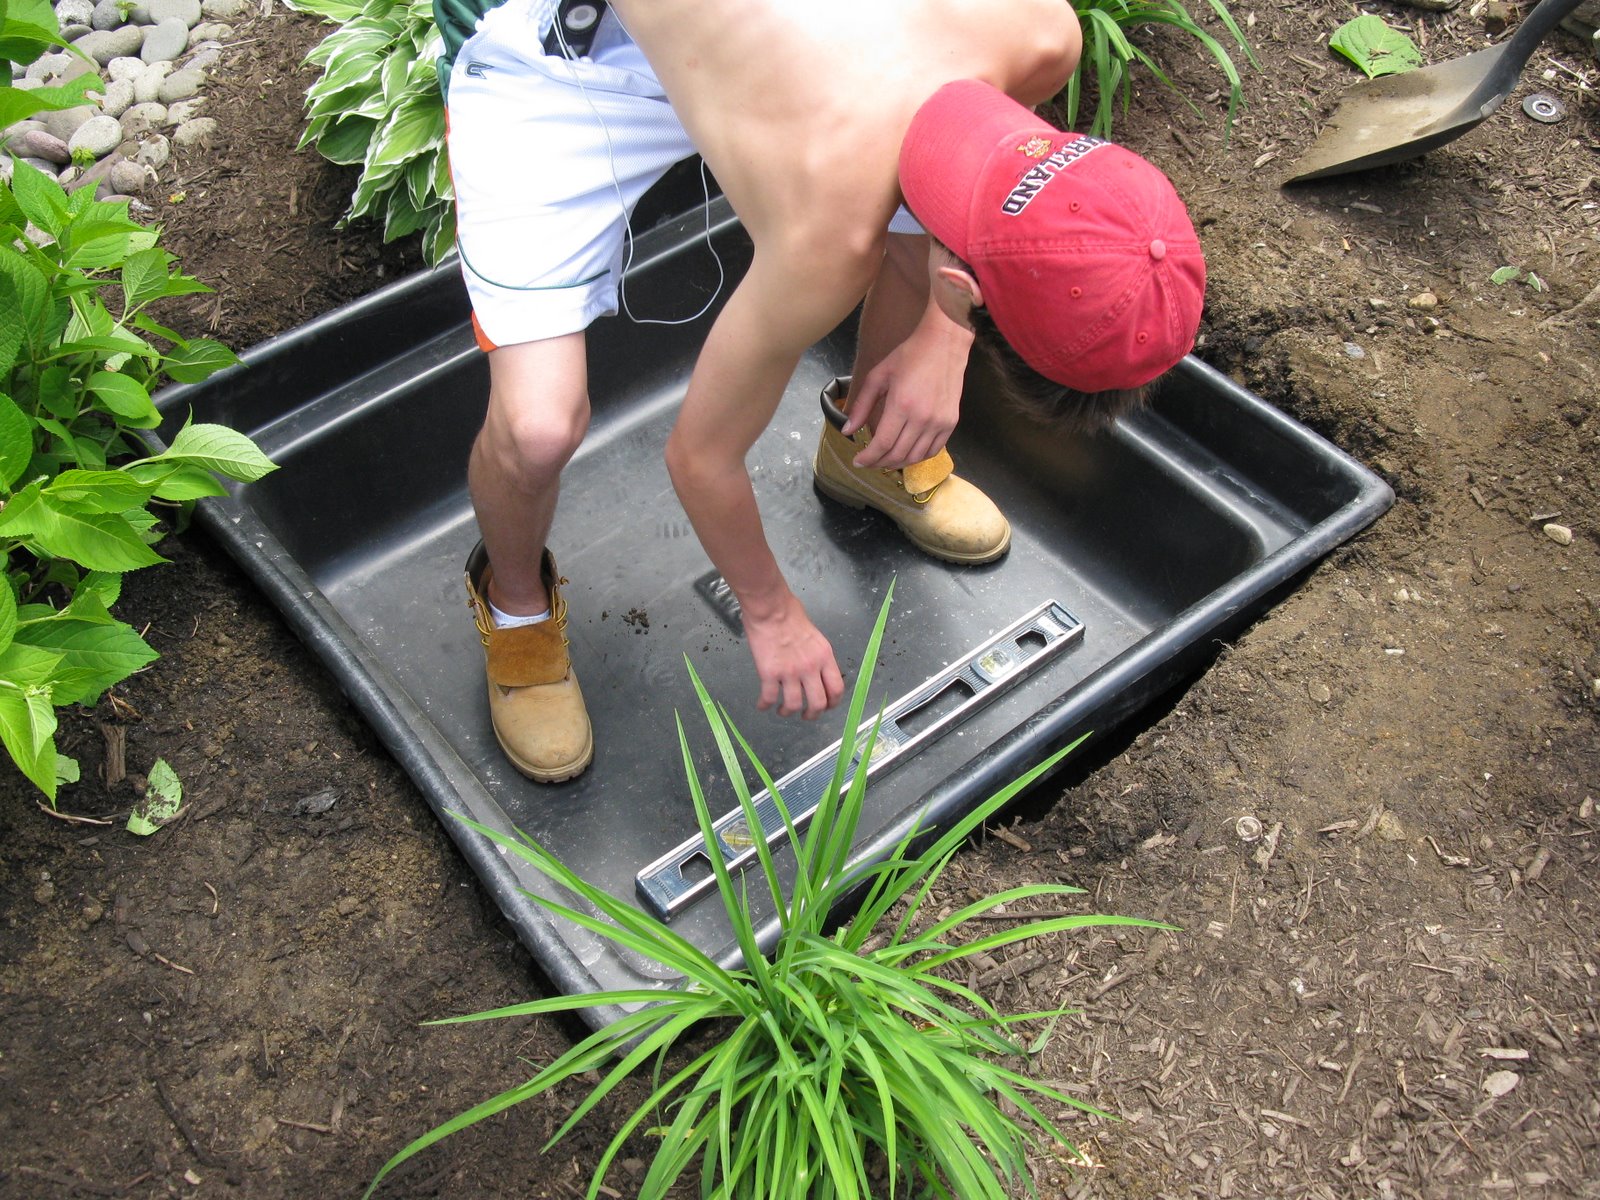
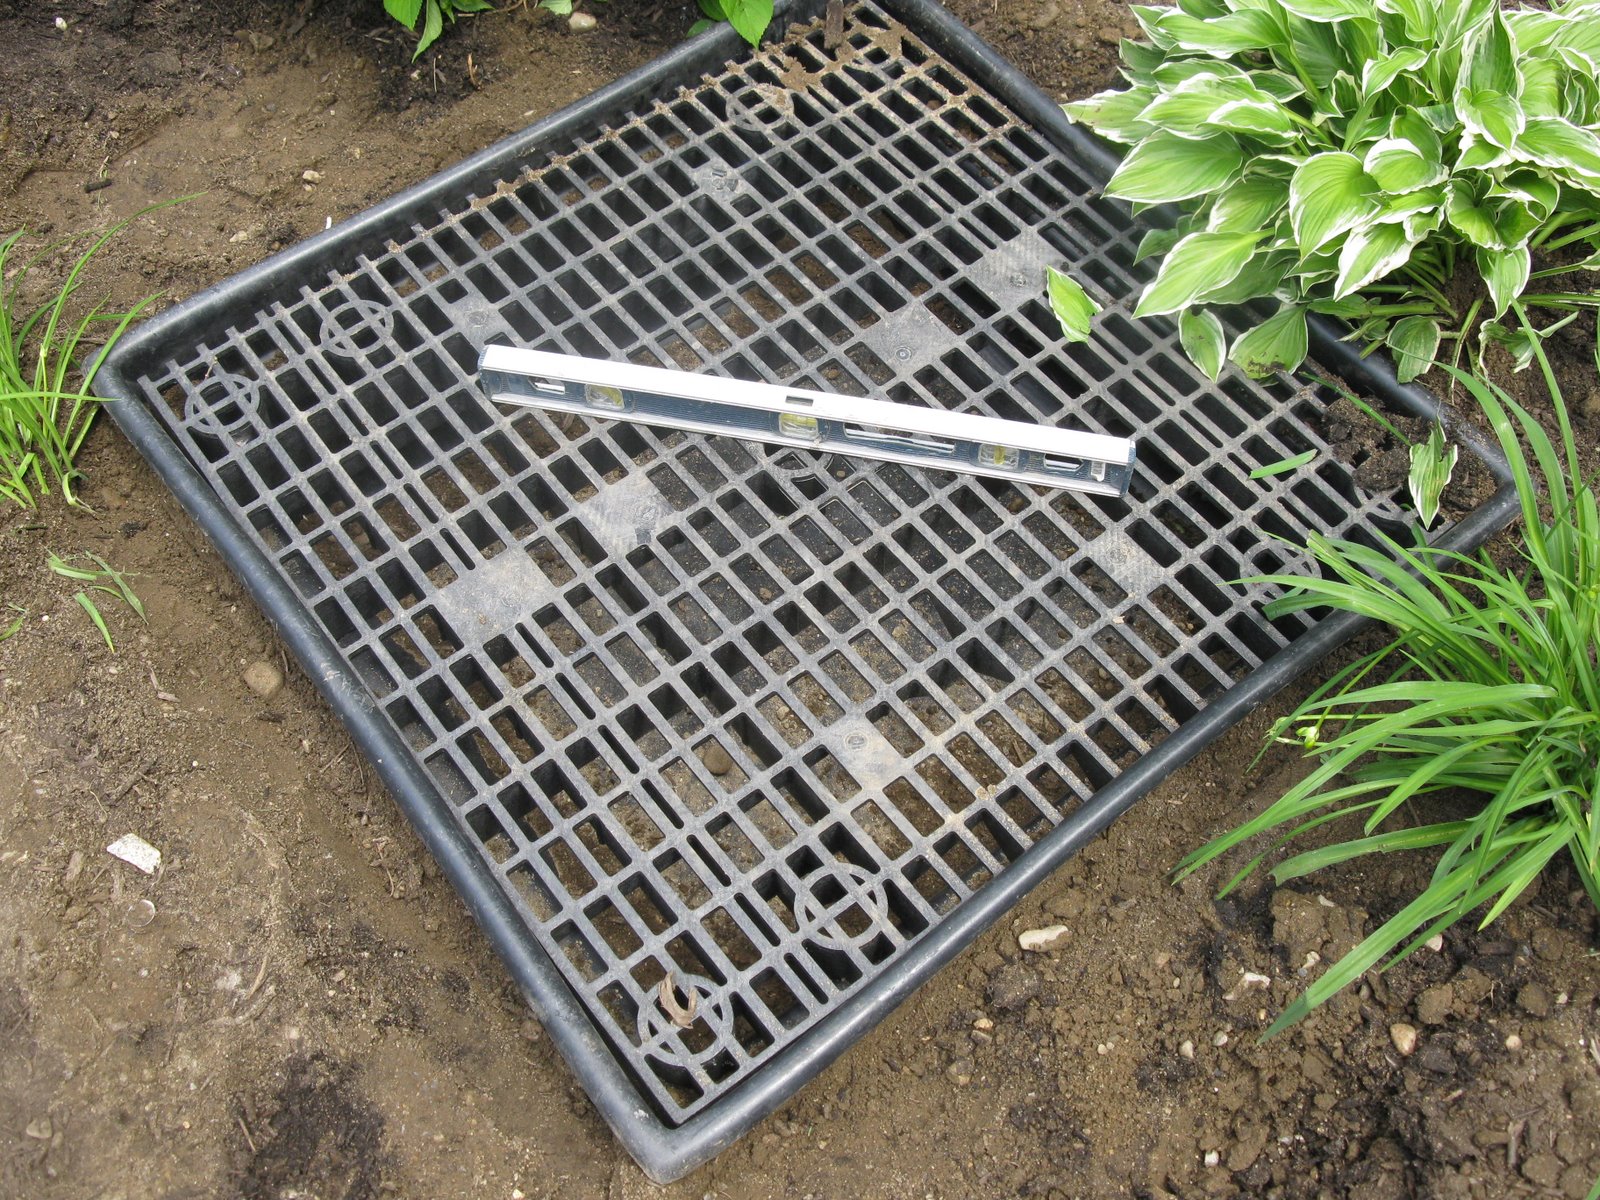
Once the hole was excavated and leveled we installed the reservoir, checked again for level and back filled and tamped.
We left the reservoir approximately 1-2″ higher than ground level to account for mulch and help keep dirt out of the water in the basin.
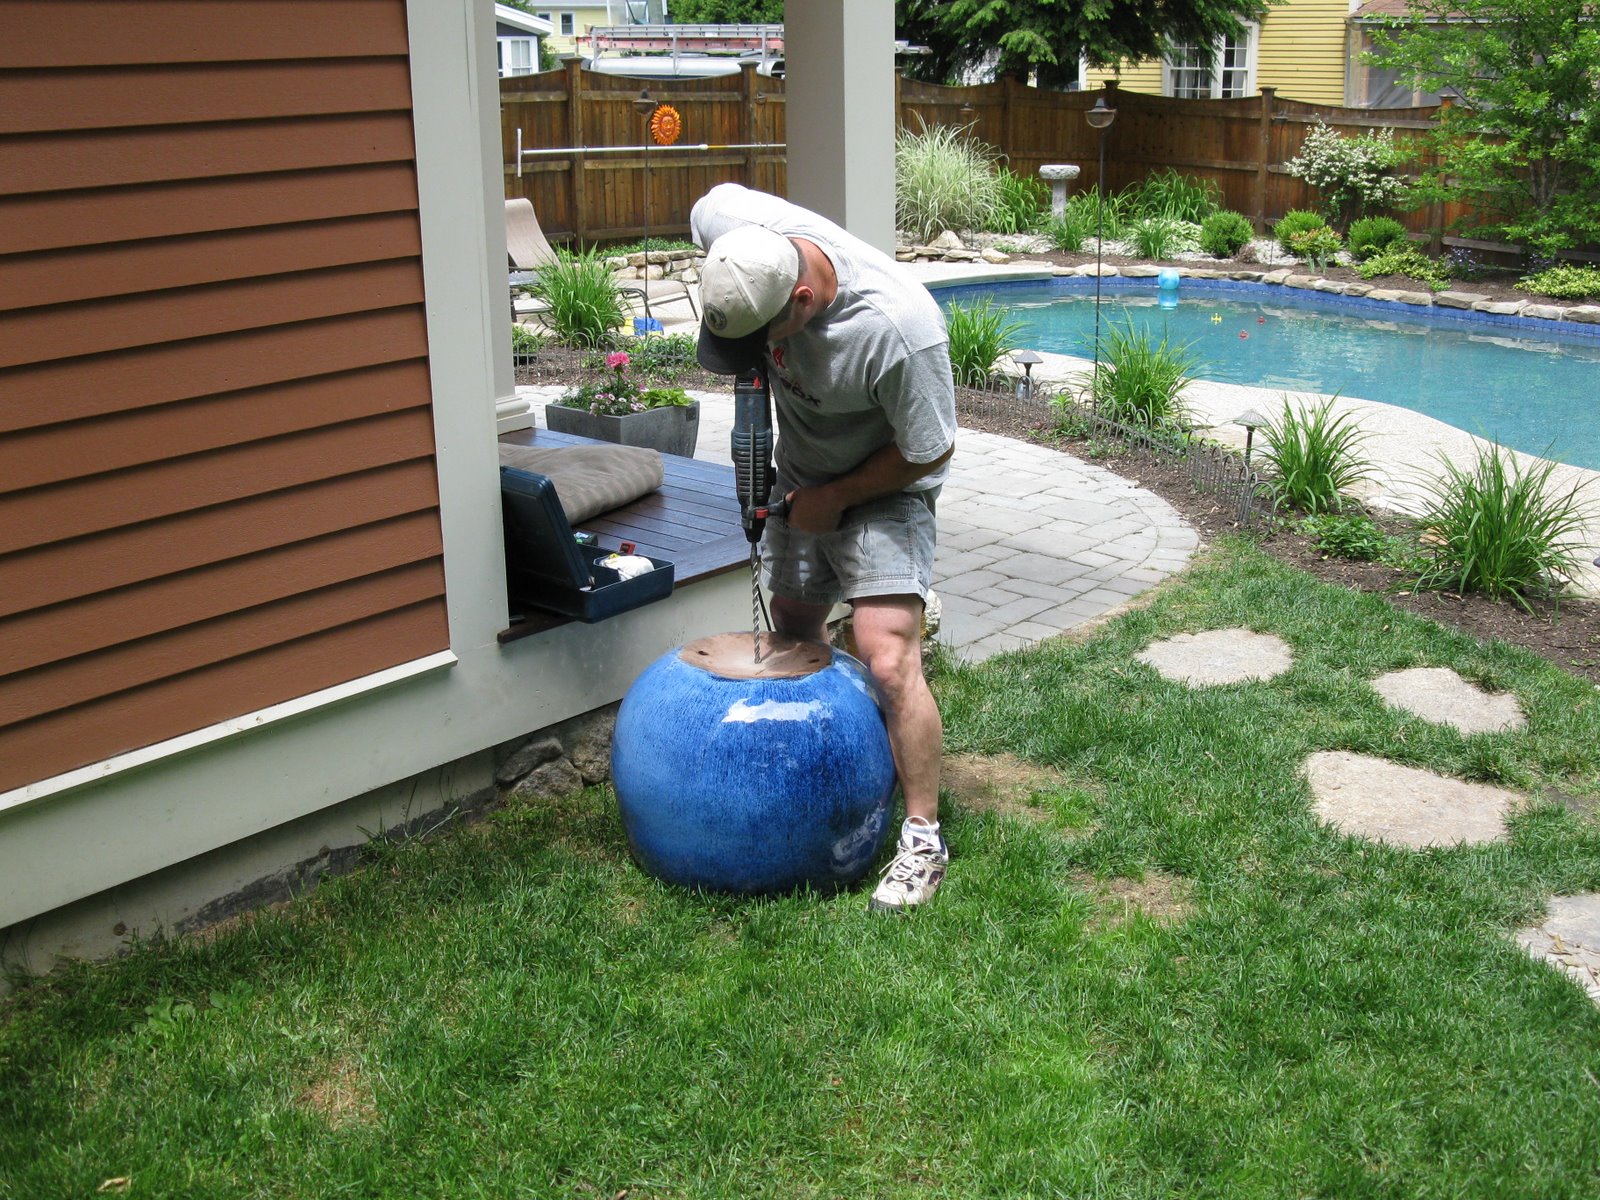
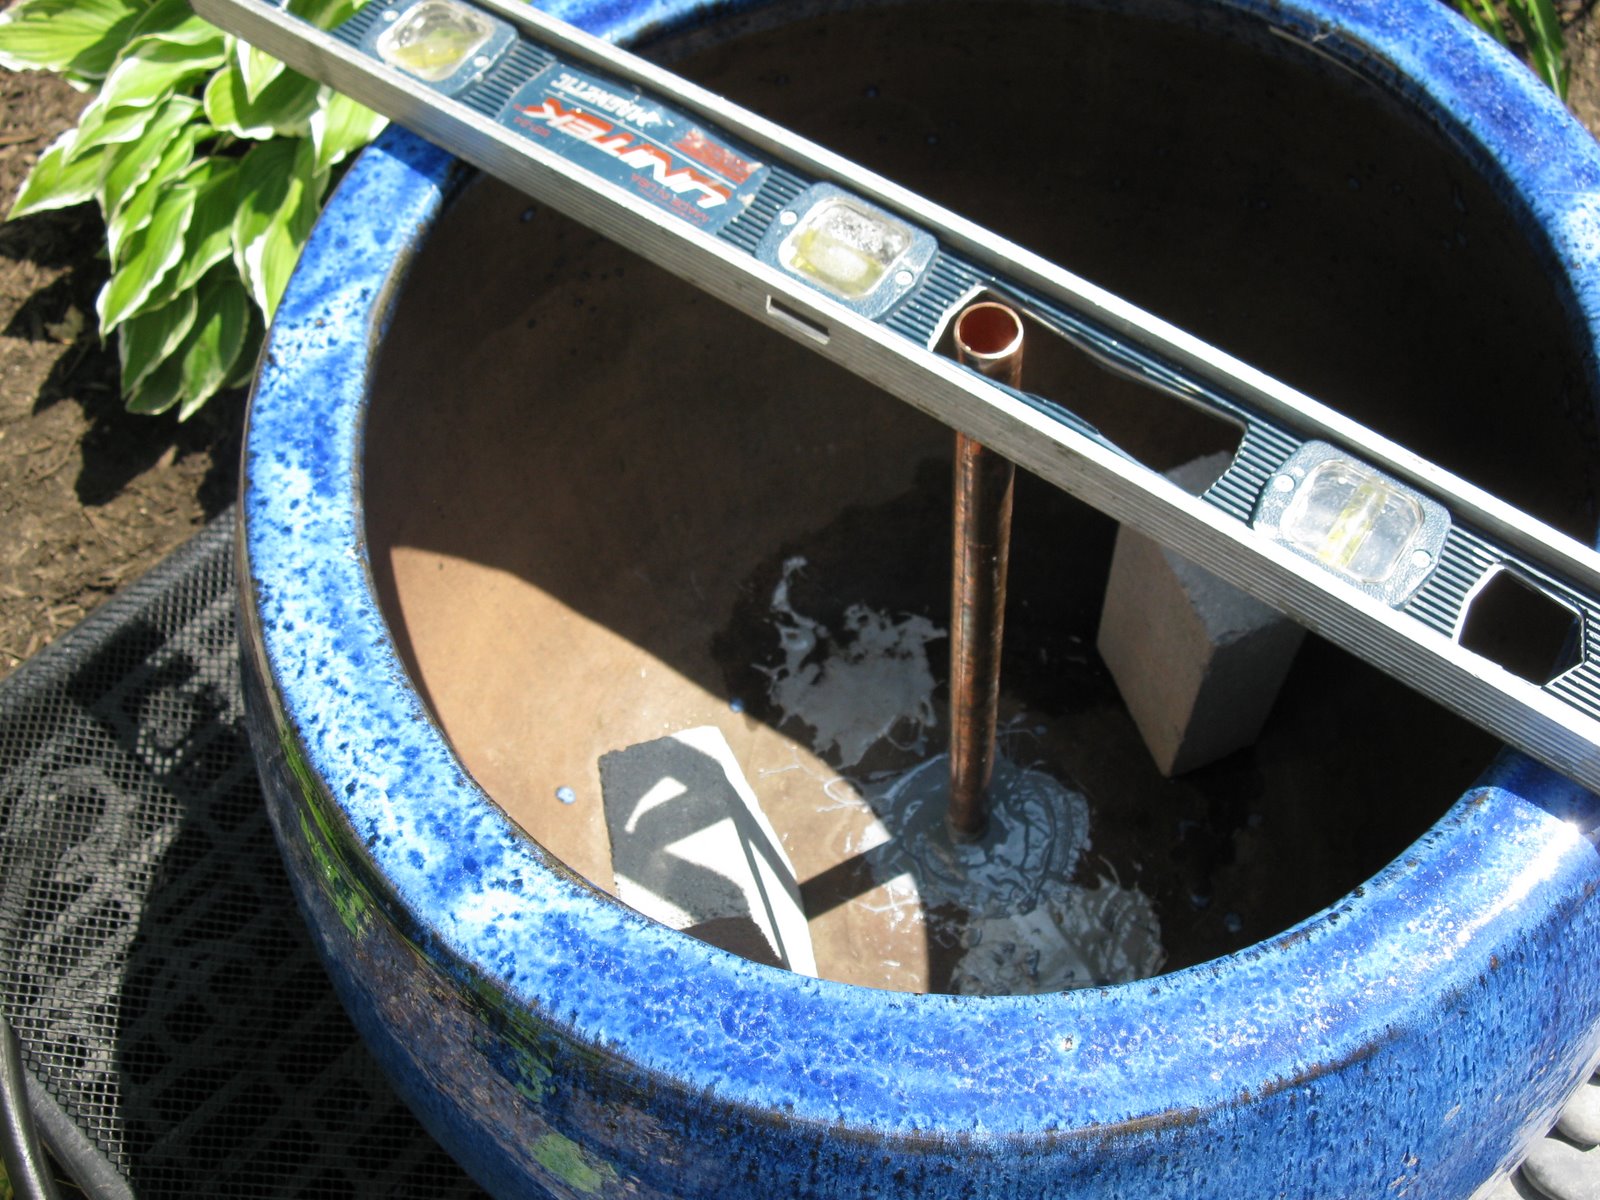
Part of my plan is to install a 3/4″ copper “stand pipe” up through the basins bottom to deliver a plume of water at the top edge of the basin’s rim.
The Hidden Water Basin will hold water and the stand pipe will prevent water from flowing out of the pot when the pump is turned off.
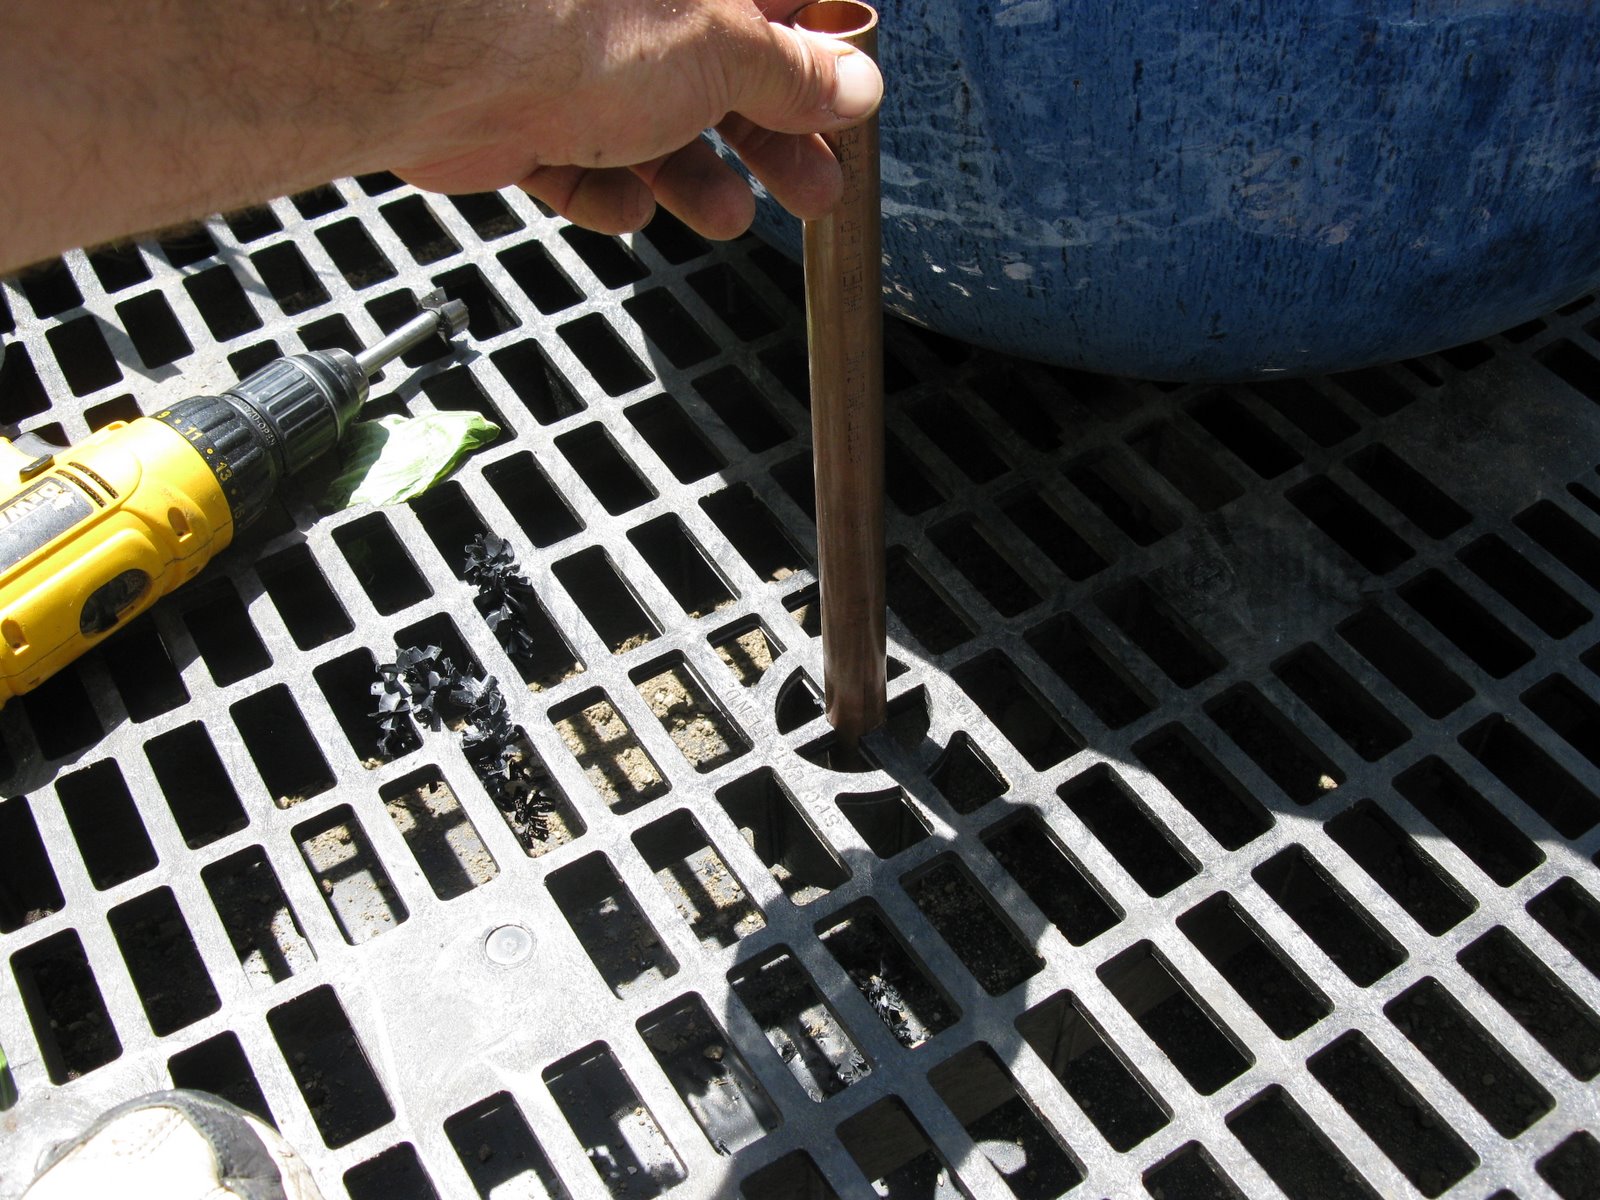
I used a 3/4″ masonry bit to dill a hole through the center of the pot. This hole will allow the stand pipe to reach the pump in the hidden reservoir below.
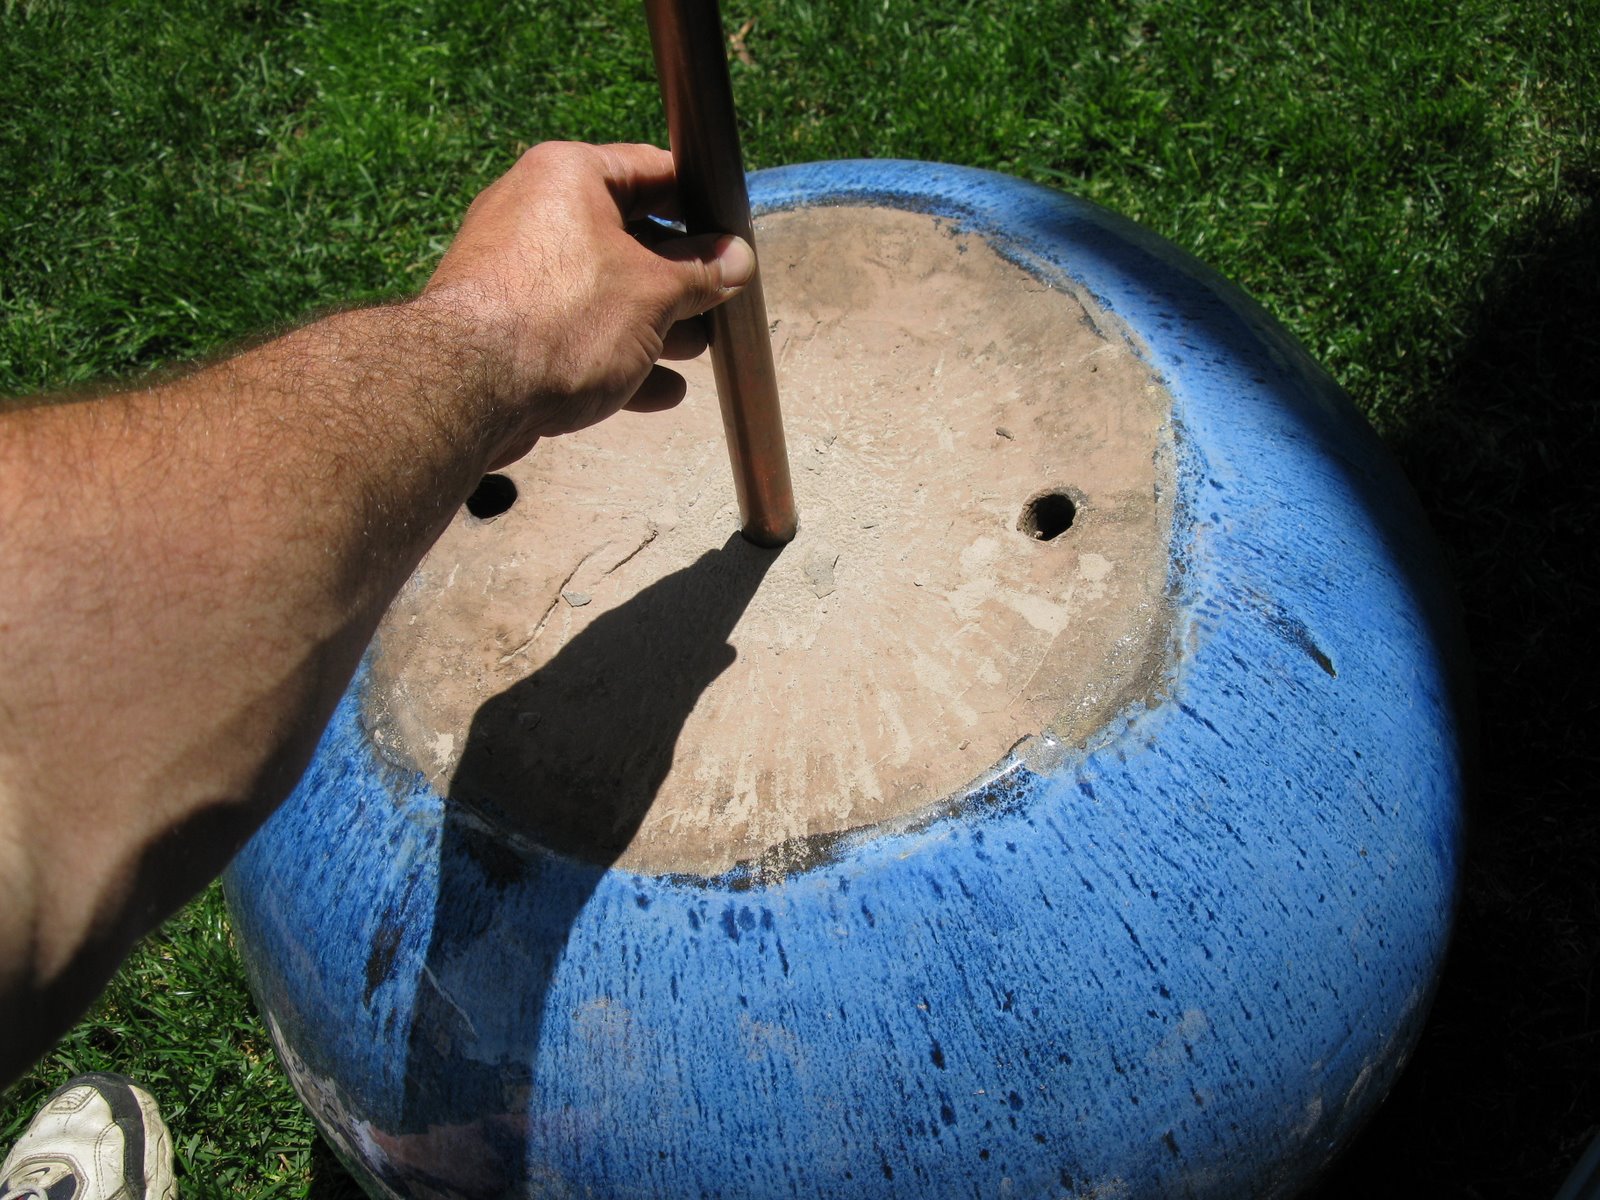
I had to ream the hole a bit for the pipe to fit. Once all of the components are fitted and assembled I will epoxy the standpipe in.
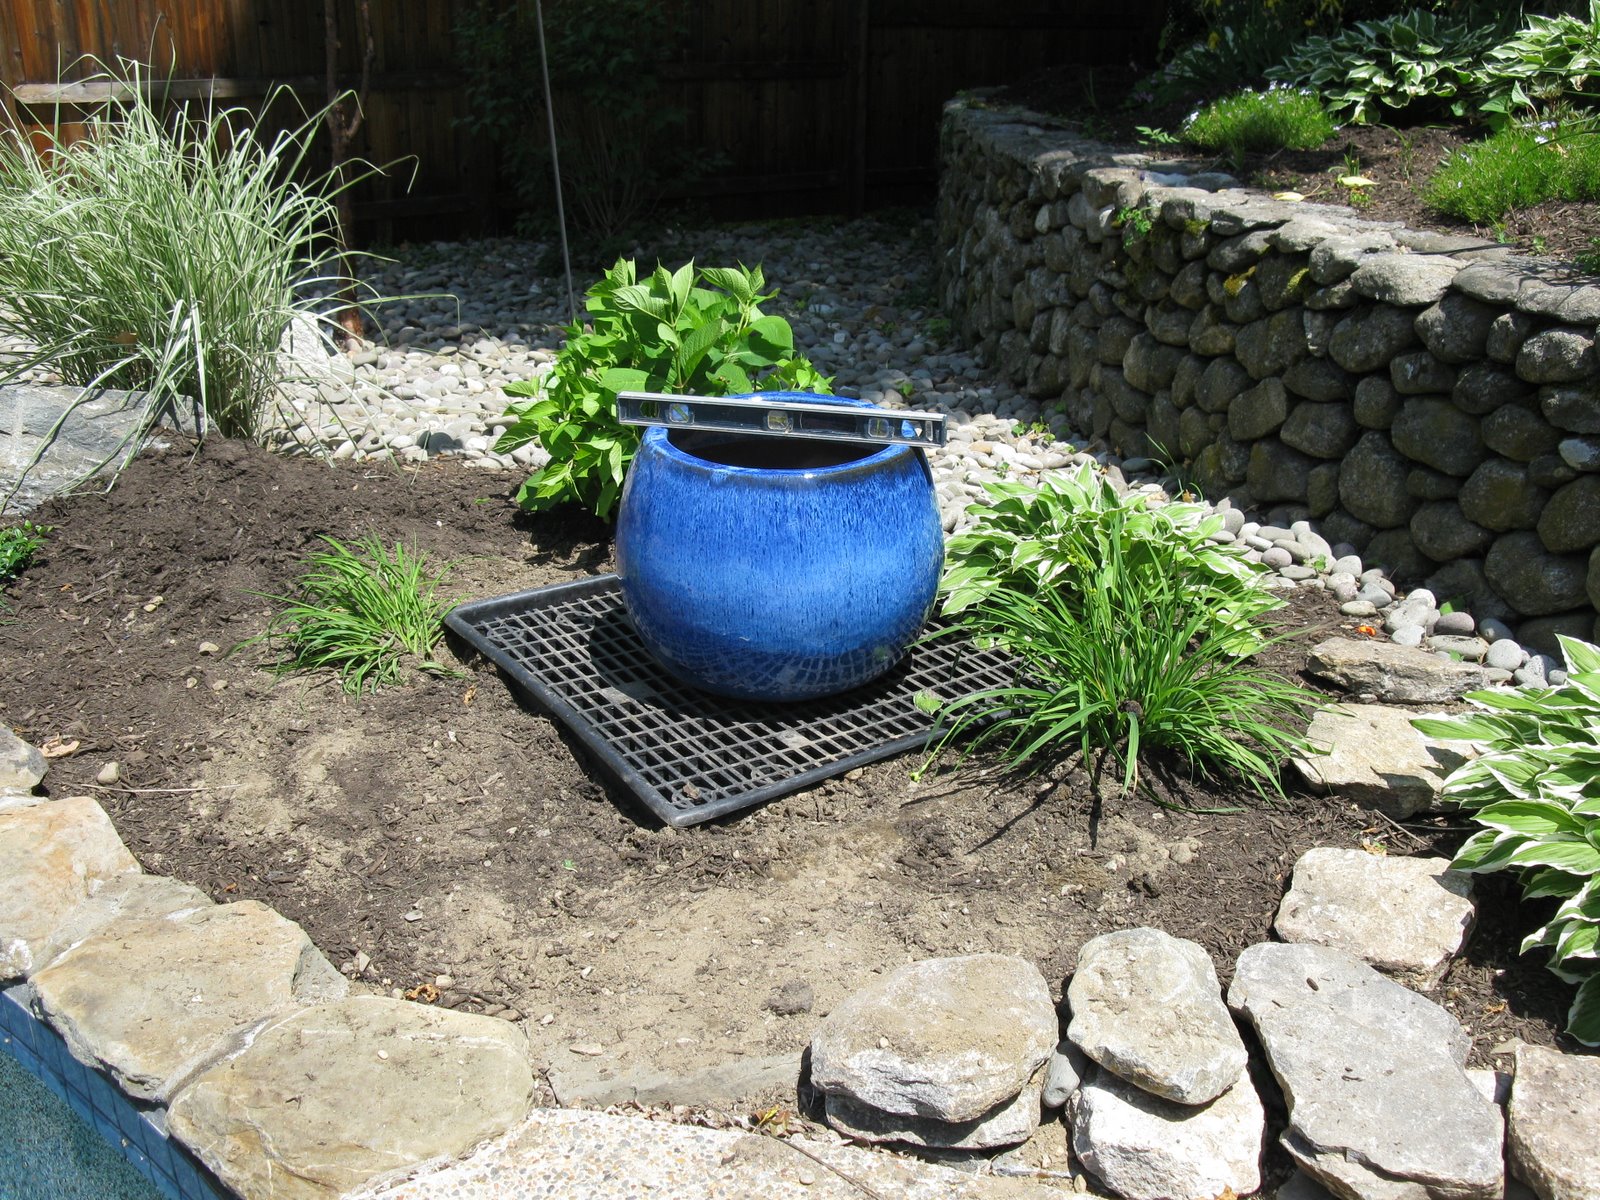
The pot was placed on the reservoir and checked for level. The pot can be shimmed a bit if needed later.
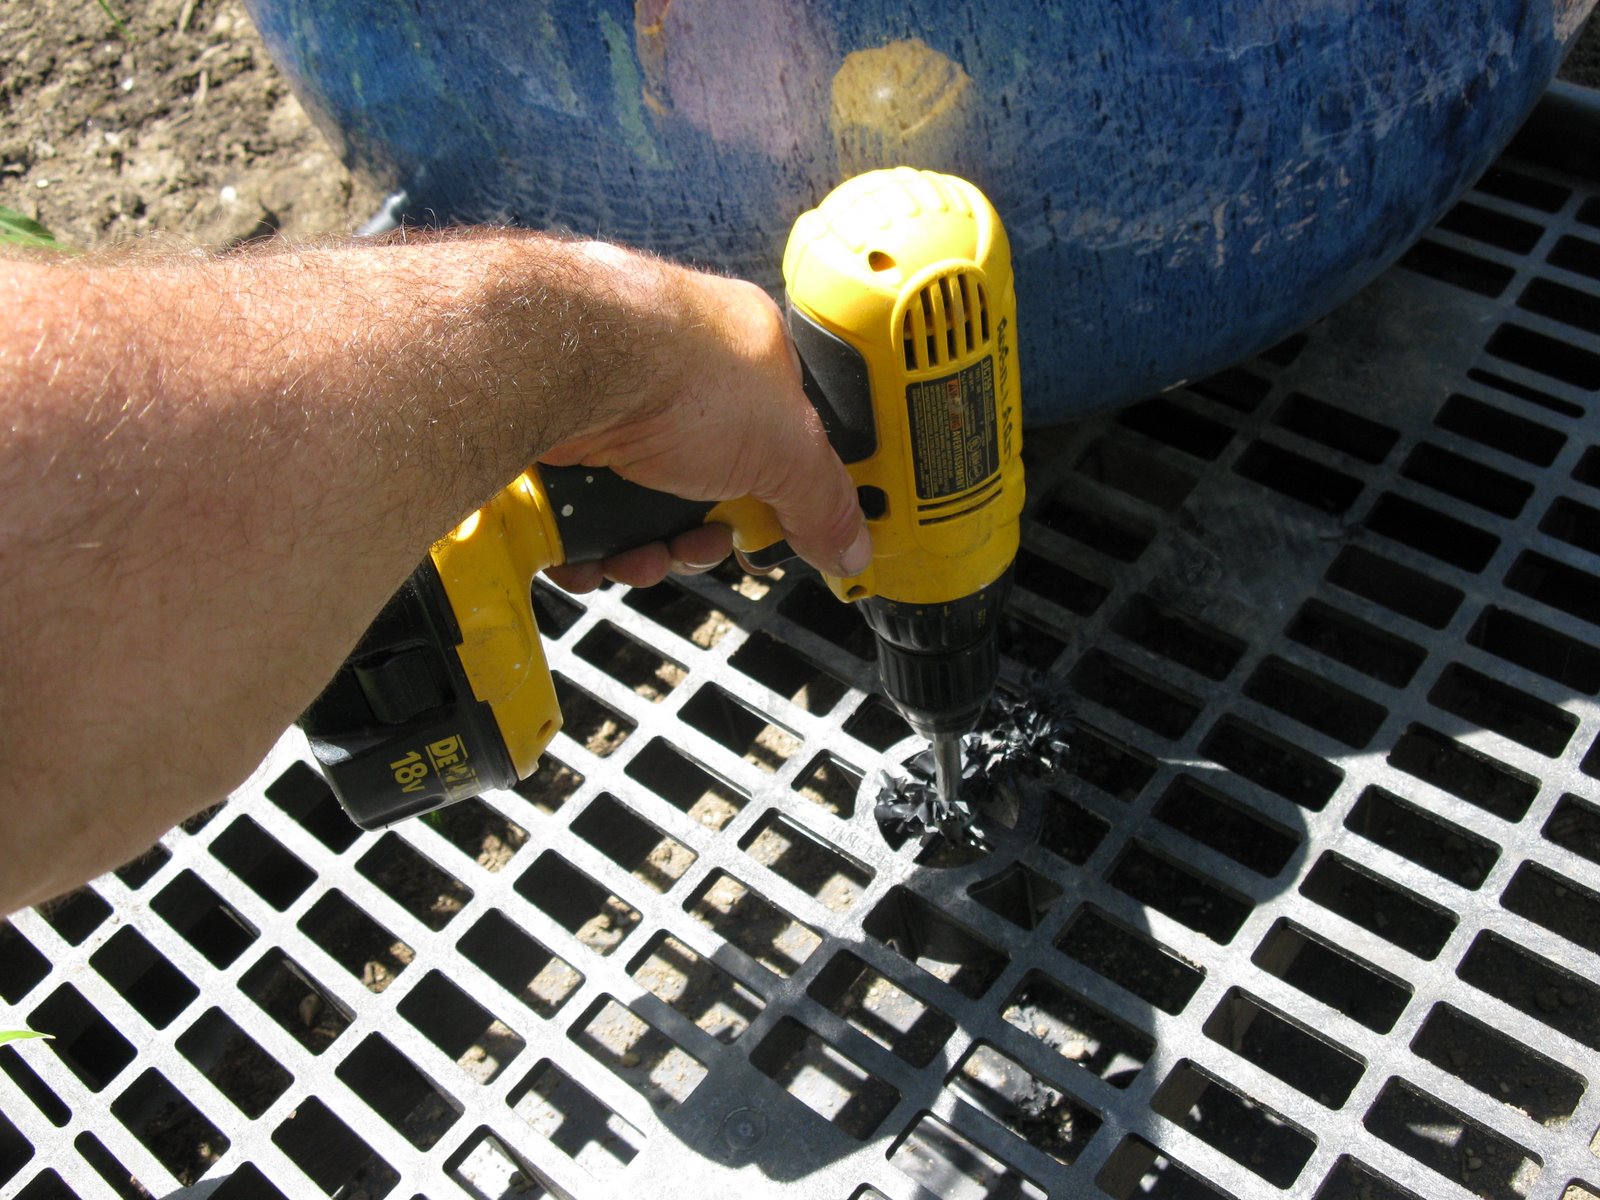
Drilling a hole in the grate for the standpipe to reach the reservoir and pump.
Checking for fit. Below the grating I have included a copper disconnect for removal and draining for winter storage.
I later ended up enlarging this hole so I could remove the pot, if needed, without removing the standpipe.
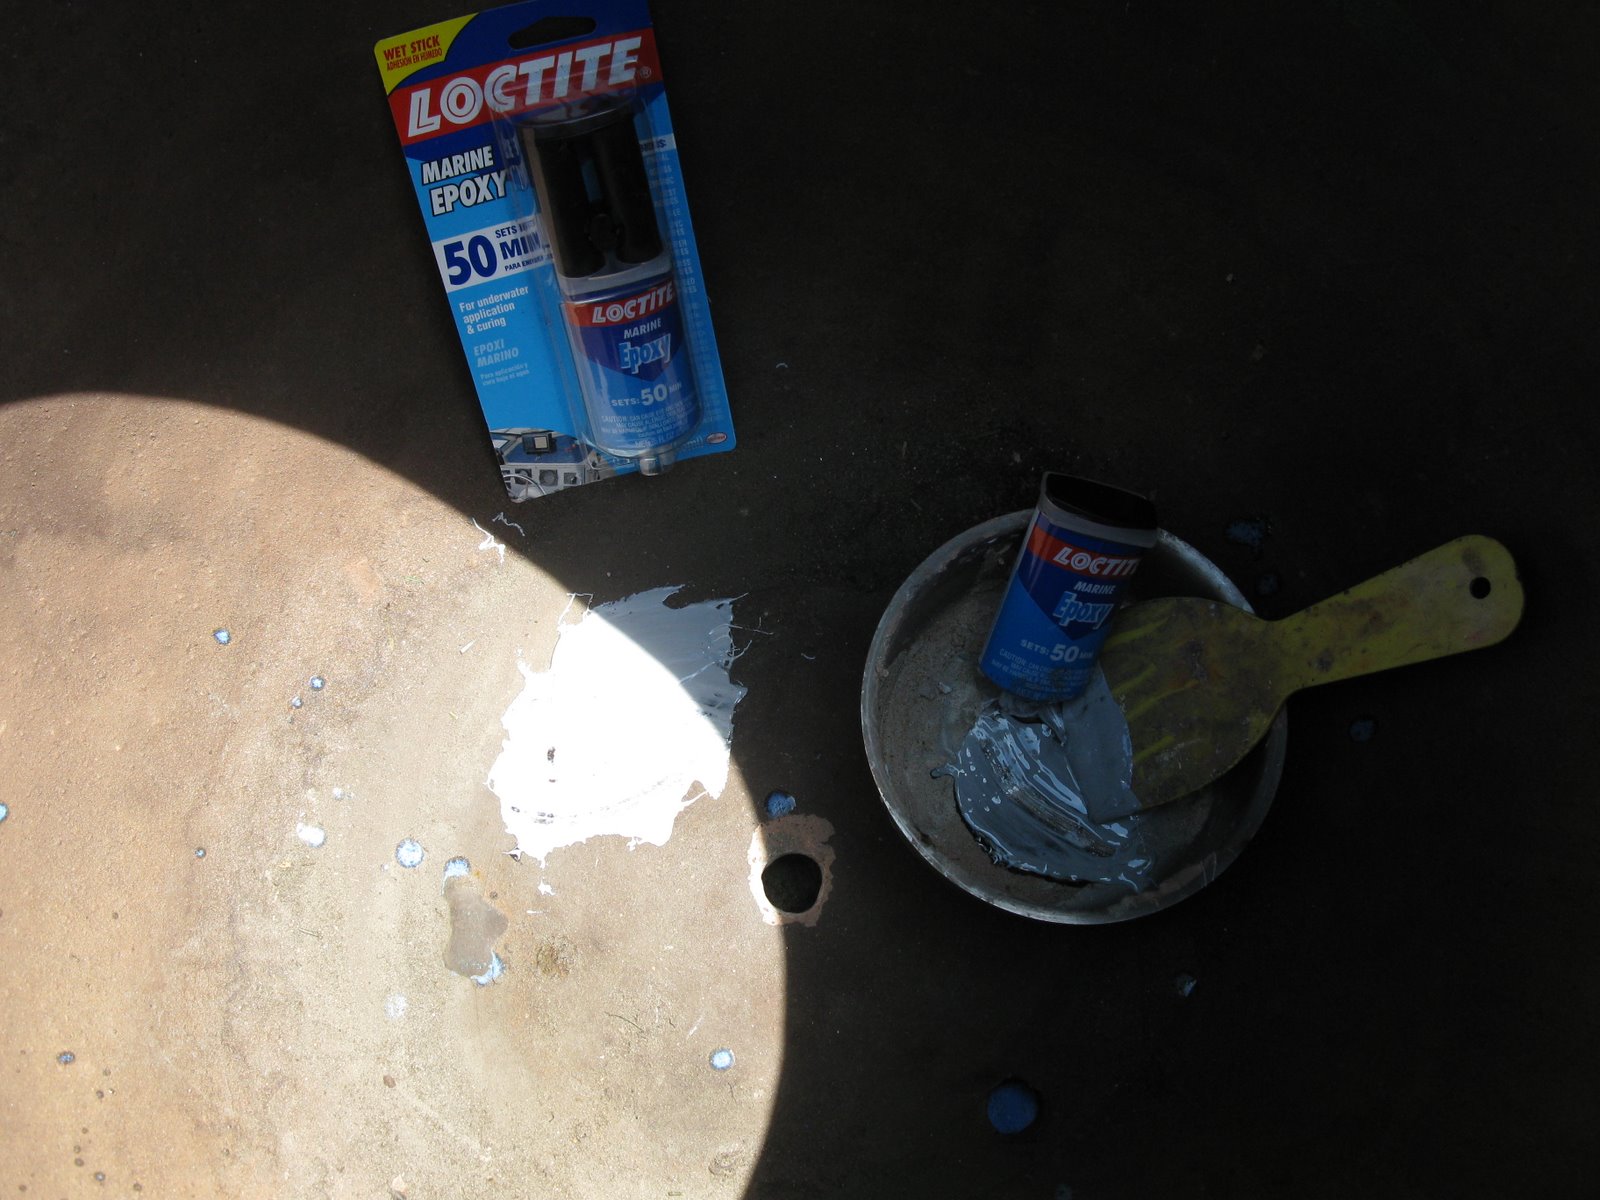
The existing pot came with two drainage holes which I filled in with Marine epoxy. Later, I will use Marine epoxy to secure the standpipe in the center hole.
I cut a 1′ x 2′ access panel into one corner of the grating. This panel will allow me to access the pump and ball valve to control the water flow as well as the standpipe’s copper disconnect for draining and winter storage.

Soldering the copper standpipe and disconnect.
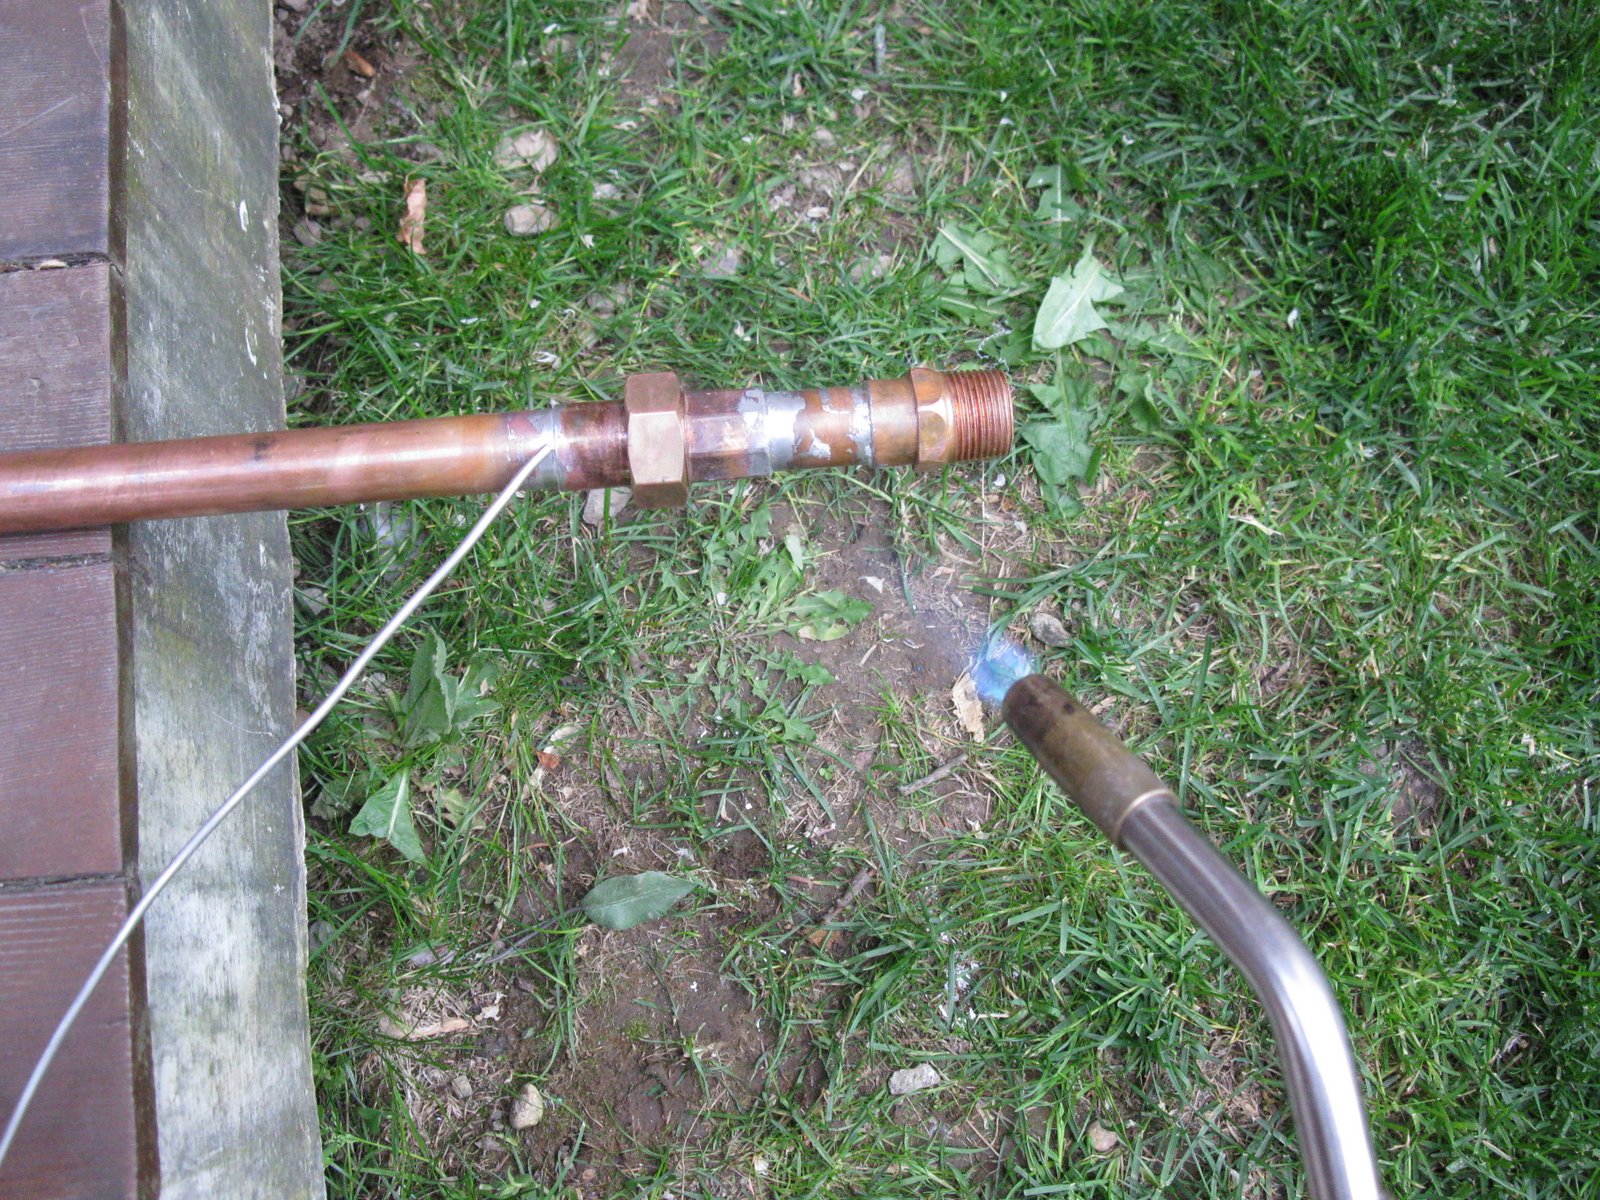
Close up photo of the copper disconnect [large nut]. The threaded end of this pipe will screw into a PVC threaded to barb insert which connects the hose and pump.

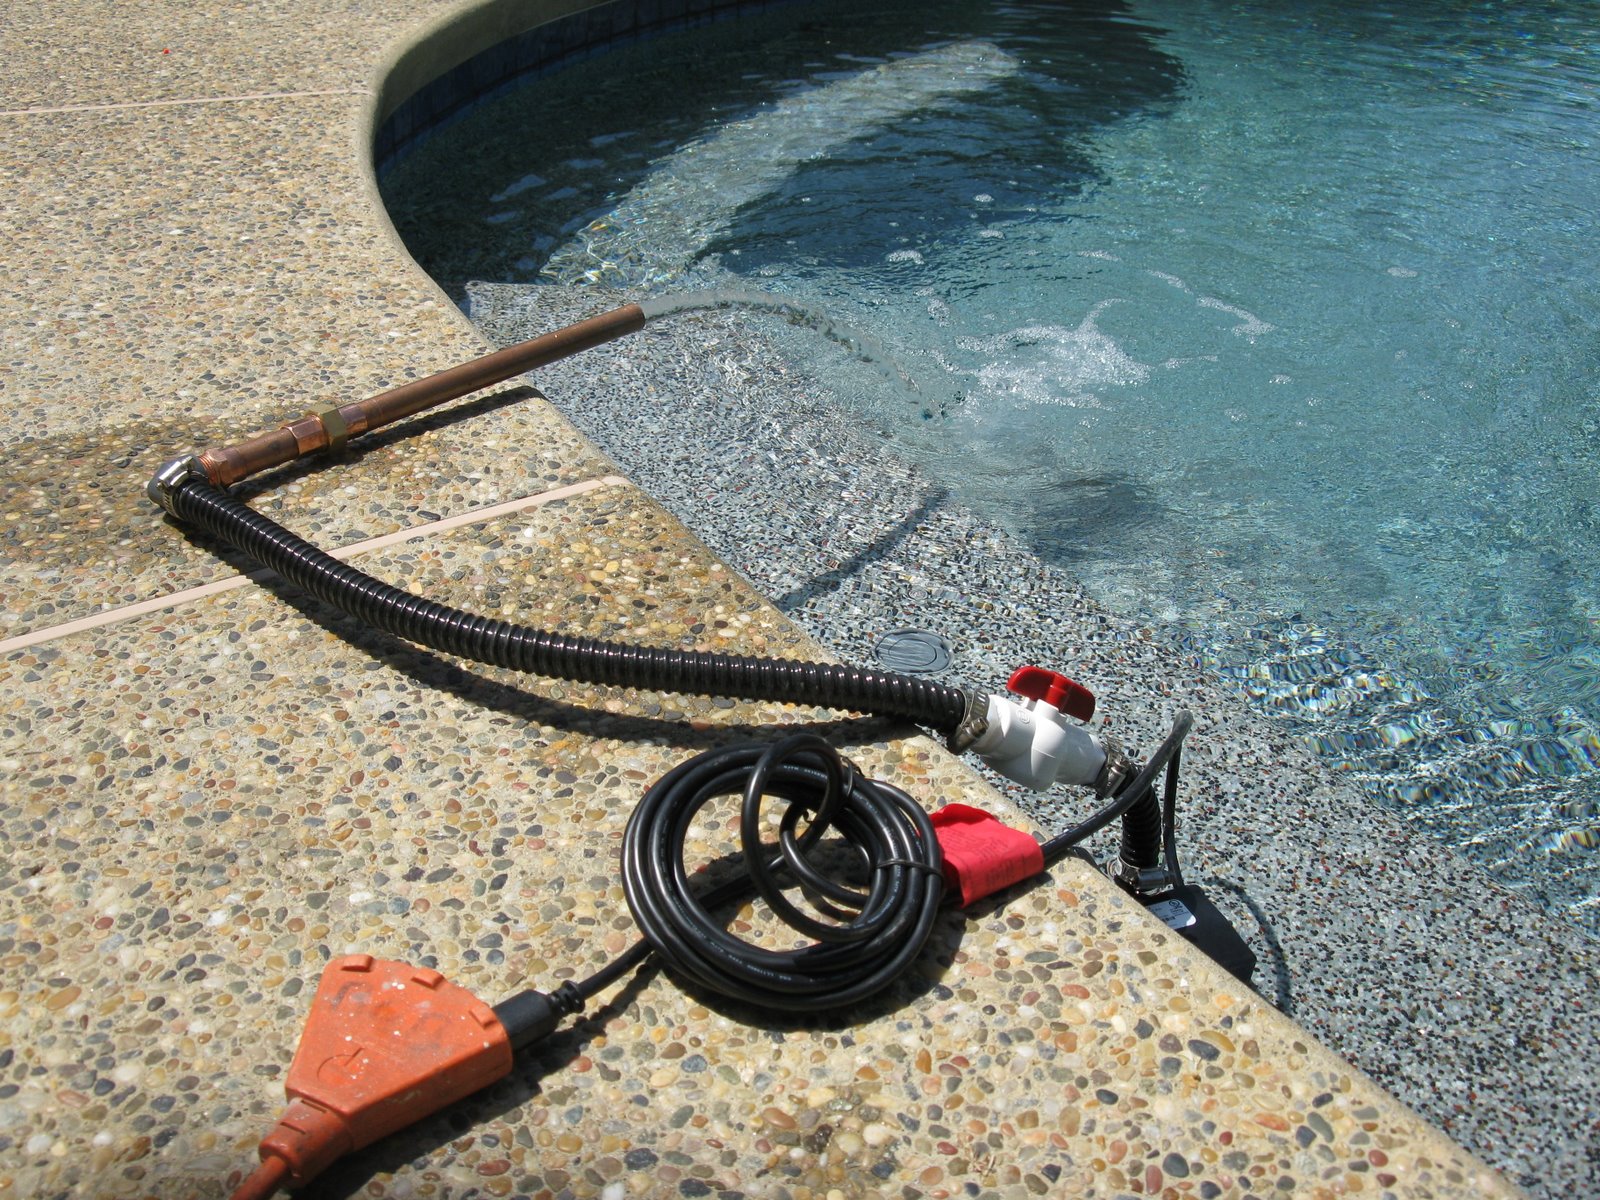
Testing the pump and fittings. The flow was real strong, I’m glad I installed the ball valve to control the flow.
This basin is heavy when empty, adding water to the basin at 8lbs per gallon will increase this weight. As a result, I added cinder blocks directly under where the basin sits. The blocks will take the weight and stress off the grate and to transfer it to the ground.
The pump and hose are installed. The standpipe is awaiting the basin.

A cinder block will also support the access panel. The stand pipe was plumbed and secured in place with epoxy
Mesh netting was placed over the grating to assist in keeping debris out of the basin. [seen in the lower left corner of photo]
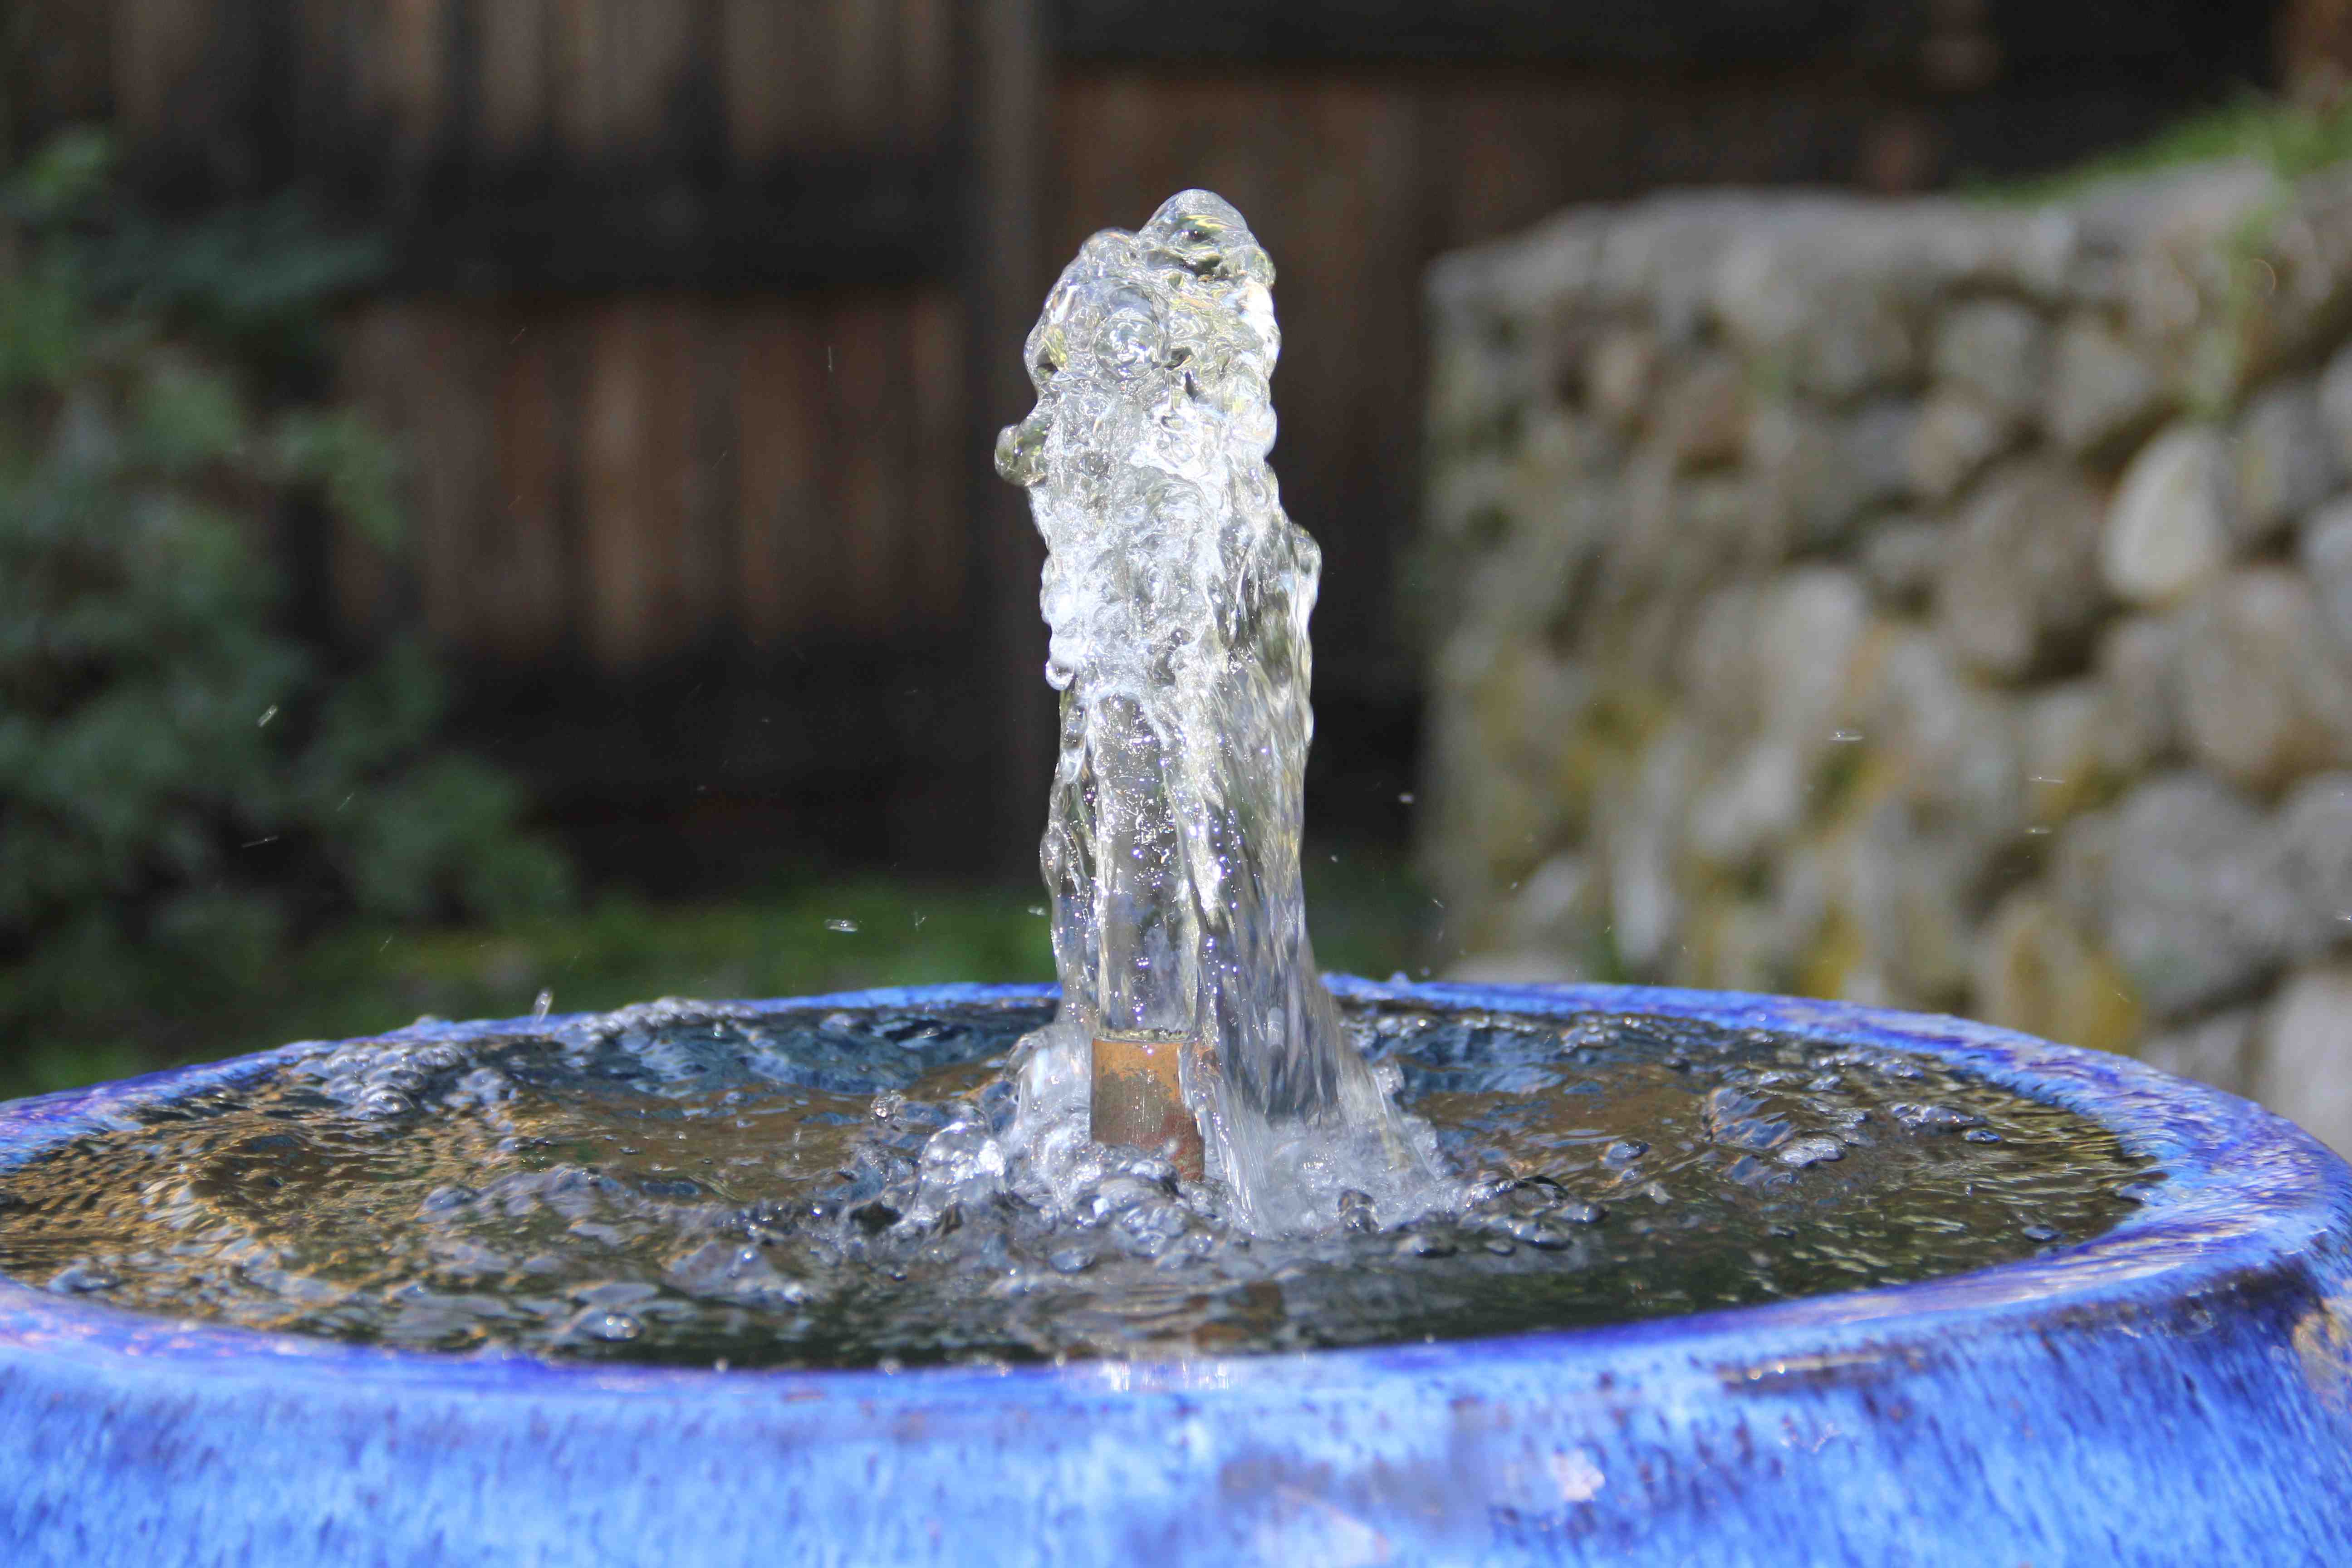
All connections are made. The pot is shimmed level, reservoir and basin filled with water, 1-2″ Mexican pebble rock topping is used to hide the grate and the fountain is tested.

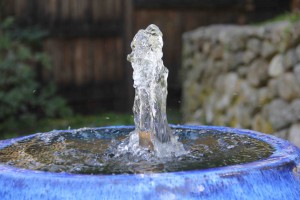
I started my testing with the standpipe installed just above the surface of the water. The pump pushed a 5-6″ plume of water.
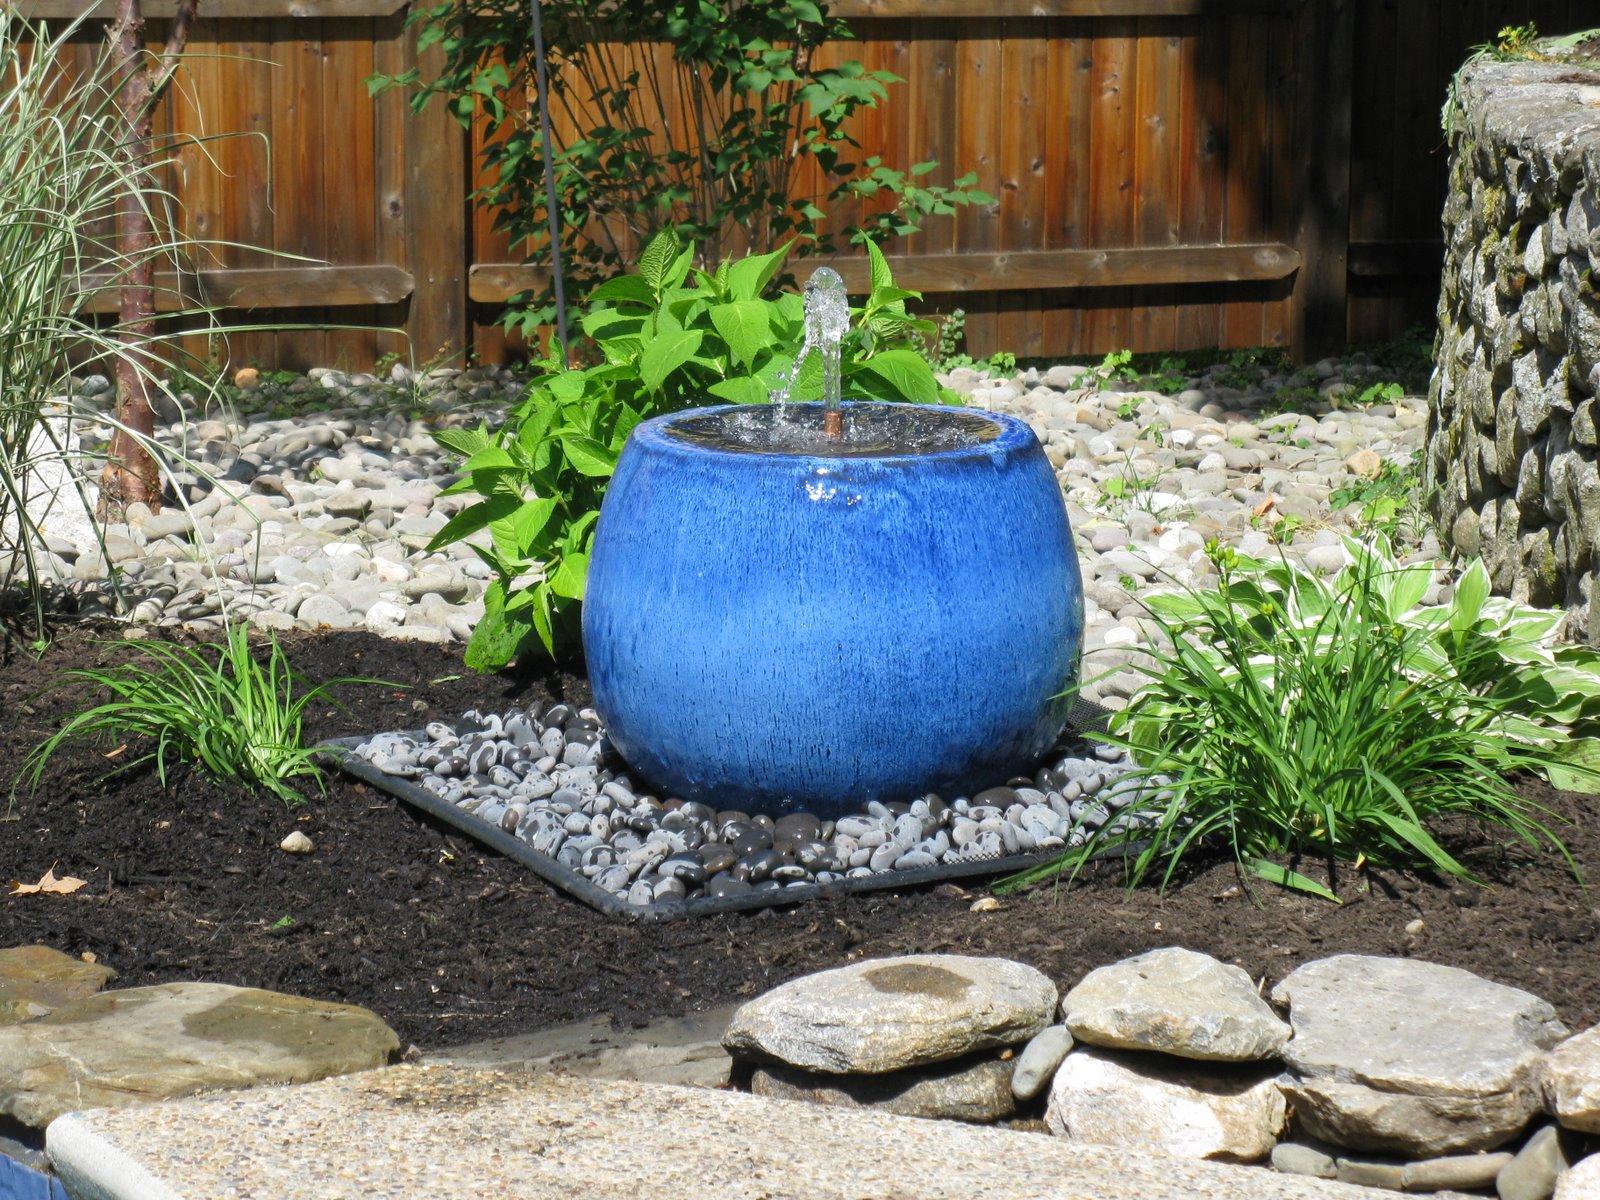
We, meaning she, decided that it might look better if the copper pipe was not visible. So after the epoxy cured for 24 hours I cut the pipe just below the water line.

As the pot over flows the water follows the contour of the basin and drains back into the hidden reservoir.
I added additional rocks to hide the square edge of the reservoir.
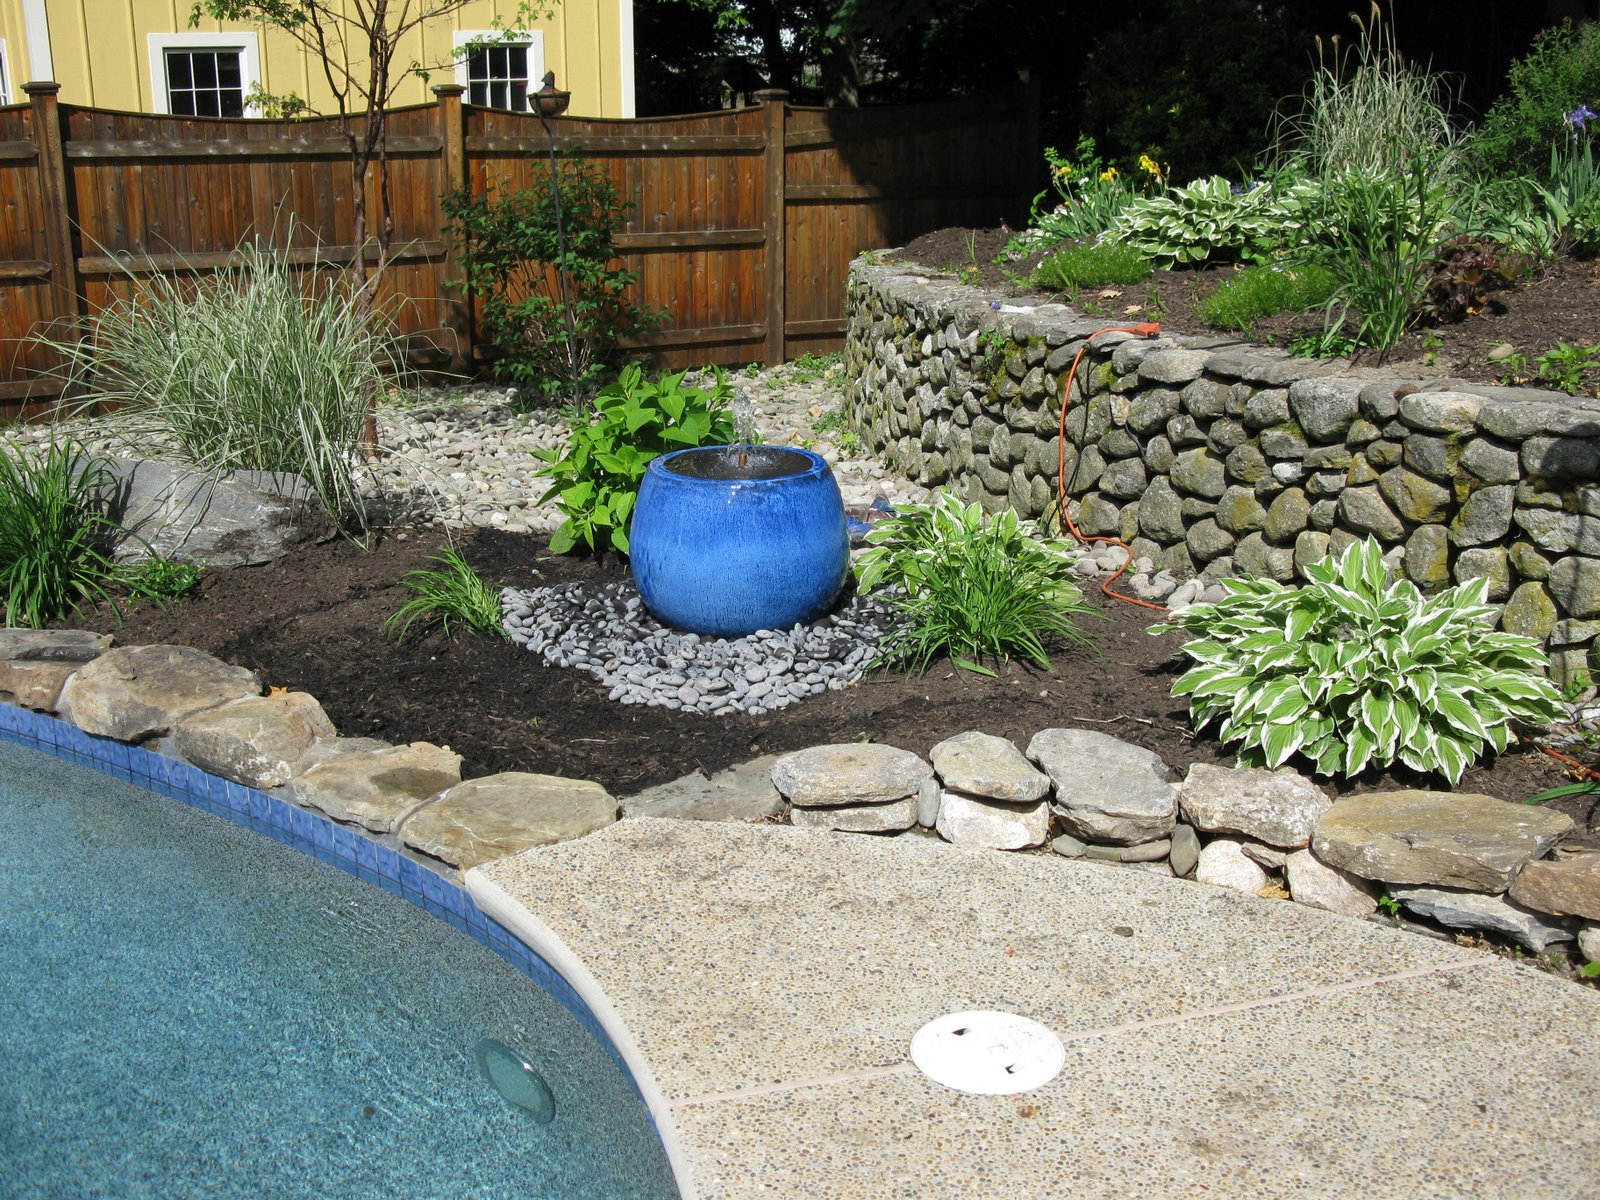
The pump has an 18′ cord and will attach to a GFI outlet hidden several feet away behind a rock. This electrical line is not installed yet. I wanted to make sure I could fit the reservoir in first. The electric line will require an 18″ deep trench with pvc conduit.
 Automatic Water Refill:
Currently there is a sprinkler head nearby that adds approx. 1/2″ of water to the reservoir in 15 minutes of watering. I may leave it where it is or readjust it to better reach the plants around the basin.
I am considering installing a sprinkler drip line to automatically fill the basin? Remember the pipe under the reservoir? I’m still thinking this one through.
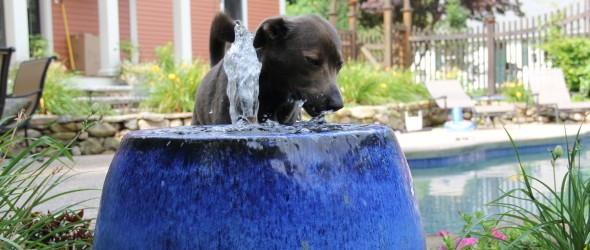
UPDATE – after using the fountain for a season it became clear that my two dogs were using the fountain to hydrate. Between the dog and evaporation I was filling the basin weekly by either dragging an 80 foot water hose or carrying a 5 gallon bucket over to the basin. this quickly got old.
There are auto fill mechanisms you can buy but I figured the easiest thing to do was to tap into my existing irrigation system. I installed a tee connector and ran 1/4″ pipe to the basin and attached a small spray head. Now when that irrigation area turns on the spray head fills the basin quickly and quietly.
Cost of Project:
Total materials for this entire project cost was approx. $ 600.00.
Labor hours to install basin was approx. 8 hours.
Labor hours to install electrical line was approx. 6-8 hours.