Dealing with a Plumbing Leak

How to manage in the face of water damage
I got a panicked call from a client recently that there was water leaking into their living room. So I went over to help them out. I was raised by a contractor, so I forget that a lot of homeowners don’t know how to deal with these situations. This situation made me remember that many people out there have never handled a plumbing leak and don’t know how.
Here are four basic steps for mitigating water damage, repairing water damage and finding a leak:
1. Shut Off the Water
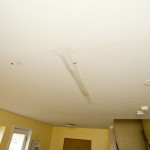
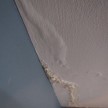
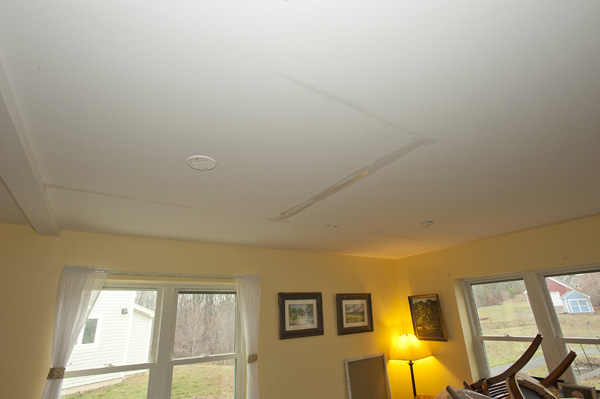
The leak was pretty evident in the living room, bubbled drywall tape and water dripping from the ceiling. Being a newer home that was built with a fire suppression system there was some concern that the water was coming from the fire suppression system. There had been some false alarms and readings of a low pressure problem from the control panel. But it could also be coming from the plumbing for the second floor bathroom. In either case the first thing to do is shut off the water, in this case both to the fire suppression system and the main coming into the house.
If you don’t know how to shut off your water main you should, generally it’s in the basement on the street side wall, and is usually obvious because it’s a 1 to 1-1/2 inch copper pipe rather than the 1/2 inch that’s most common for residential supply lines. With some homes on slab it will be coming out of the floor generally in a utility closet or some sort. There may also be a water heater or furnace in the utility area. There should be a valve. Ideally it will be a ball valve with a lever as this is less prone to failure, but it may be a gate valve with the usual cast steel knob.
Shutting off the water prevents any further damage and gives you the time to tear out water damaged materials and diagnose the leak.
2. Tear Out and Clean Up
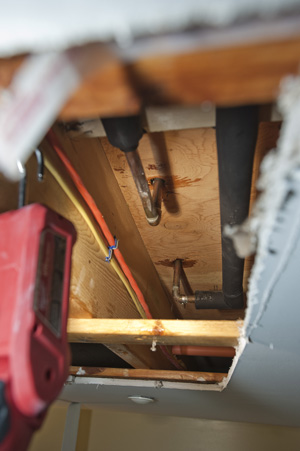
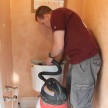
With the water was turned off I had to deal with the water sitting on the drywall ceiling. I laid out plastic on the floor and the surrounding furniture, got my vacuum inside for clean-up, and got barrels set up under the water logged drywall and then carefully poke a couple holes in the ceiling with a drywall jab knife to drain some of the water out. I let that do it’s thing for a while and then came back and started removing the wettest portions of the drywall dropping the debris directly into the barrels I set up earlier.
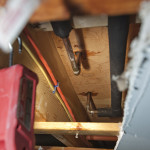
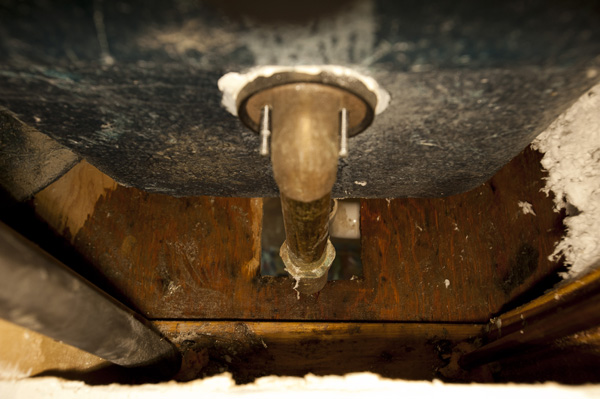
Once a bit of the ceiling was removed it was easy to tell that the water was not coming from the fire suppression system, because there was water coming down from a hole in the 2nd story sub-floor around the tub drain. But on initial inspection the tub drain didn’t look at all wet so this didn’t appear to be a drain leak. So I’m thinking it a supply line. OK so tear out a bit more of the ceiling and find a lot of water dripping from the supply lines, one in particular was dripping a lot, so that’s probably the culprit.
3. Diagnosing the Leak
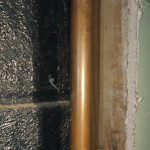
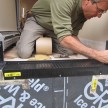
First thing to do now is take apart the trim plate on the shower valve in case it’s something obvious and easily fixed there. On inspection there everything is dry. So now it’s time to gain access to the wet wall. The only way to do so in this case is to tear out the drywall in the master bedroom. Measuring from the door frame to the center of the shower control valve I knew how far out to go to start cutting drywall.
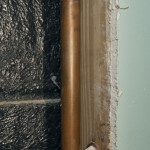
Once in the wall I just kept on moving up until I found the leak. A cap on the anti-knock stub had a bad soldier joint. I confirmed this by having the homeowner turn the water main back on and then running the tub water for a few seconds to re-charge the supply lines.
After shutting off the tub water I could hear air hissing from around the cap and when I put my hand over it the hissing stopped, after a short period of time some water started to leak out. OK time to shut off the main. A little tip for communicating over 2-3 floors, use your cell phone to call your helper if you have one and stay on the line with them until the water is shut back off.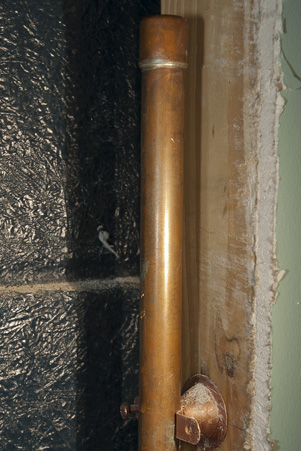
4. Repair and Final Clean Up
Now it’s time to get the plumber out to repair the leak. Once that’s complete the best thing to do is clean up as much water and damp insulation as possible and allow everything to dry out. I sucked up as much water from the ceiling and inside the wet wall as possible.
The homeowner will run a dehumidifier in the rooms most affected and I’ll come back in 24 hours to see how things are progressing. Once everything is dry you can either do more tear out as needed or go right into patching the drywall. In this particular case I spoke with the homeowner and sold them on the merits of having an access panel for the wet-wall. It is in the master bedroom but will be hidden by the door to the room and a dresser.
The panel will be painted to match the walls and screwed directly into the studs. Then patching the ceiling is a simple matter of cutting a panel of drywall and fitting it into place. Then re-taping any remaining water damaged seams. I’ll use setting compound because it’s stronger and will allow me to complete the process in one day instead of coming back three times, one for each coat.
Water Leak Conclusion
A water leak can be a really alarming thing to find in your home. But usually with the proper steps and a little knowledge some serious and expensive damage can be avoided. But keep in mind that even if you don’t want to handle the dirty work the very first thing you should do is shut off the water main until you can figure out where the leak is coming from.