Installing Custom Radiator Covers
Radiator covers or enclosures are a simple, inexpensive way to instantly brighten your rooms and add shelf space and “HEAT UP” your decor.
Decorator Sandra Stout from Creative Design Solutions [978-505-7447] came up with the idea to cover the radiators in this home. All together we will have covered six radiators on this project when done.
“The pragmatic, and elegance that these radiator enclosures gives, makes them beautifully suited, cost effective and a functional option for older, stately homes,” says Stout.
Custom Radiator Covers
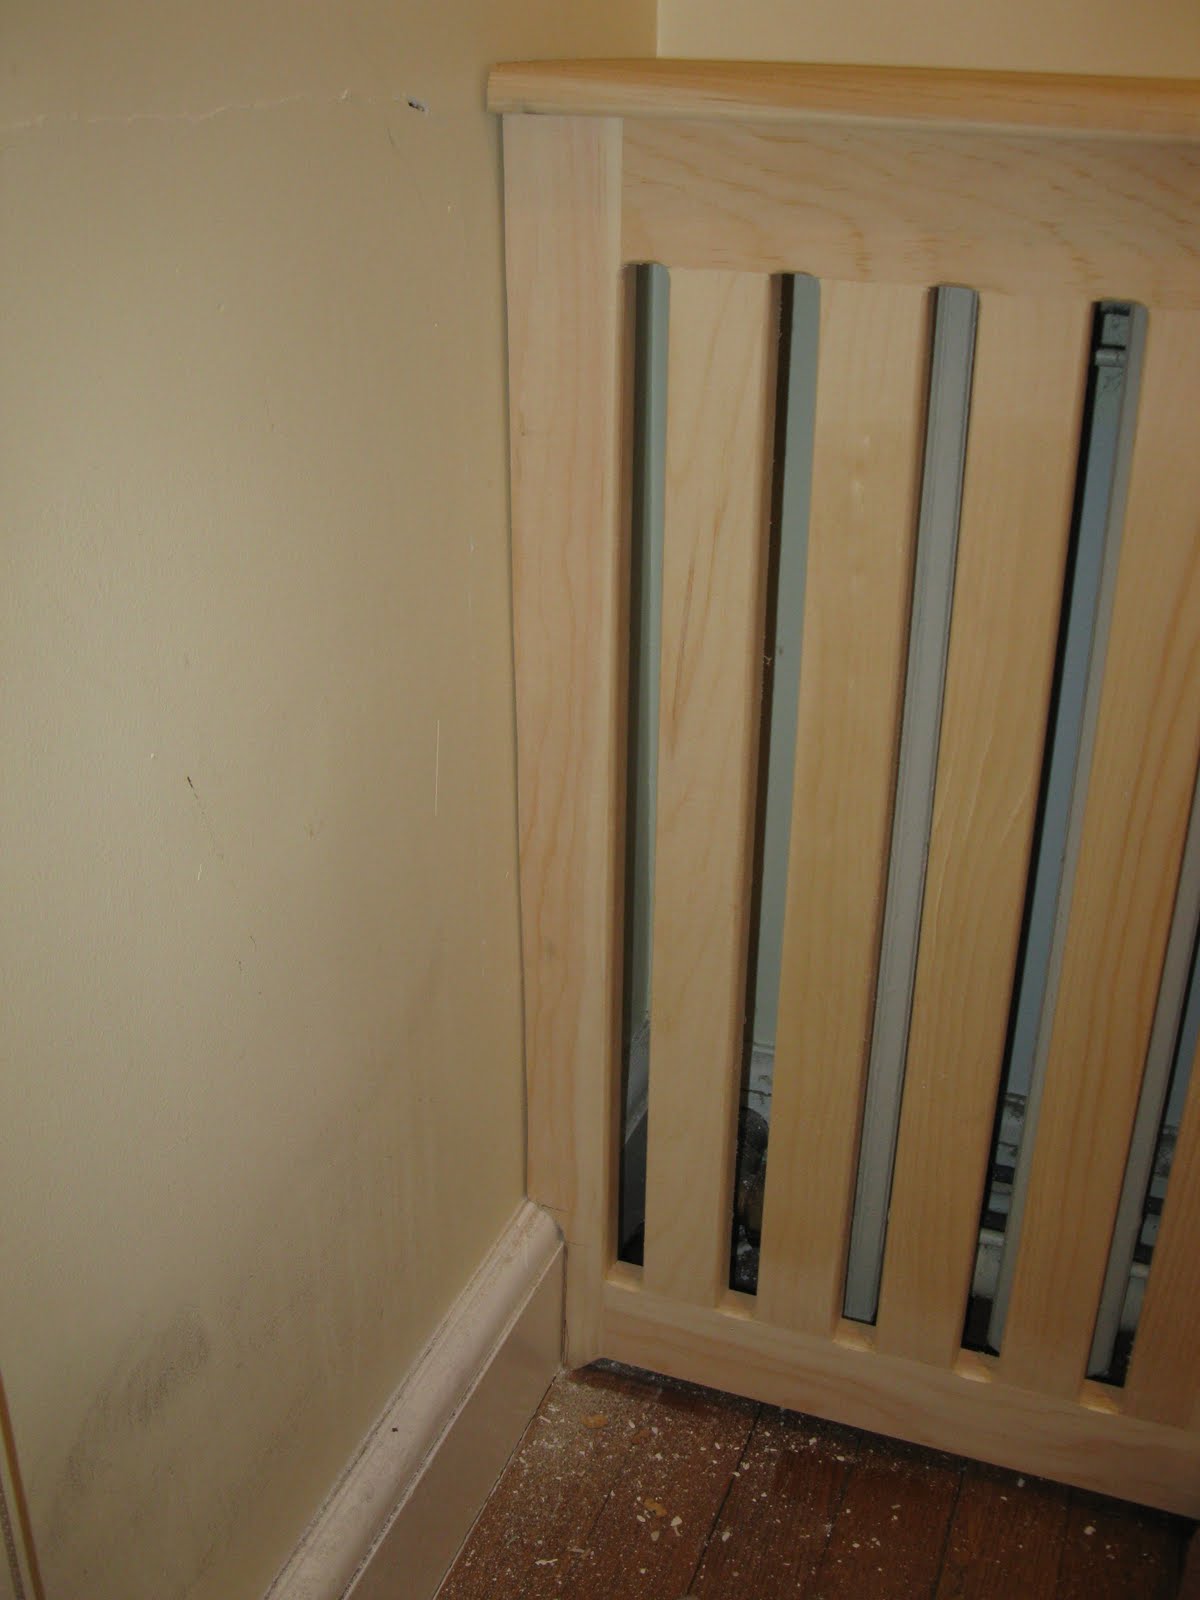
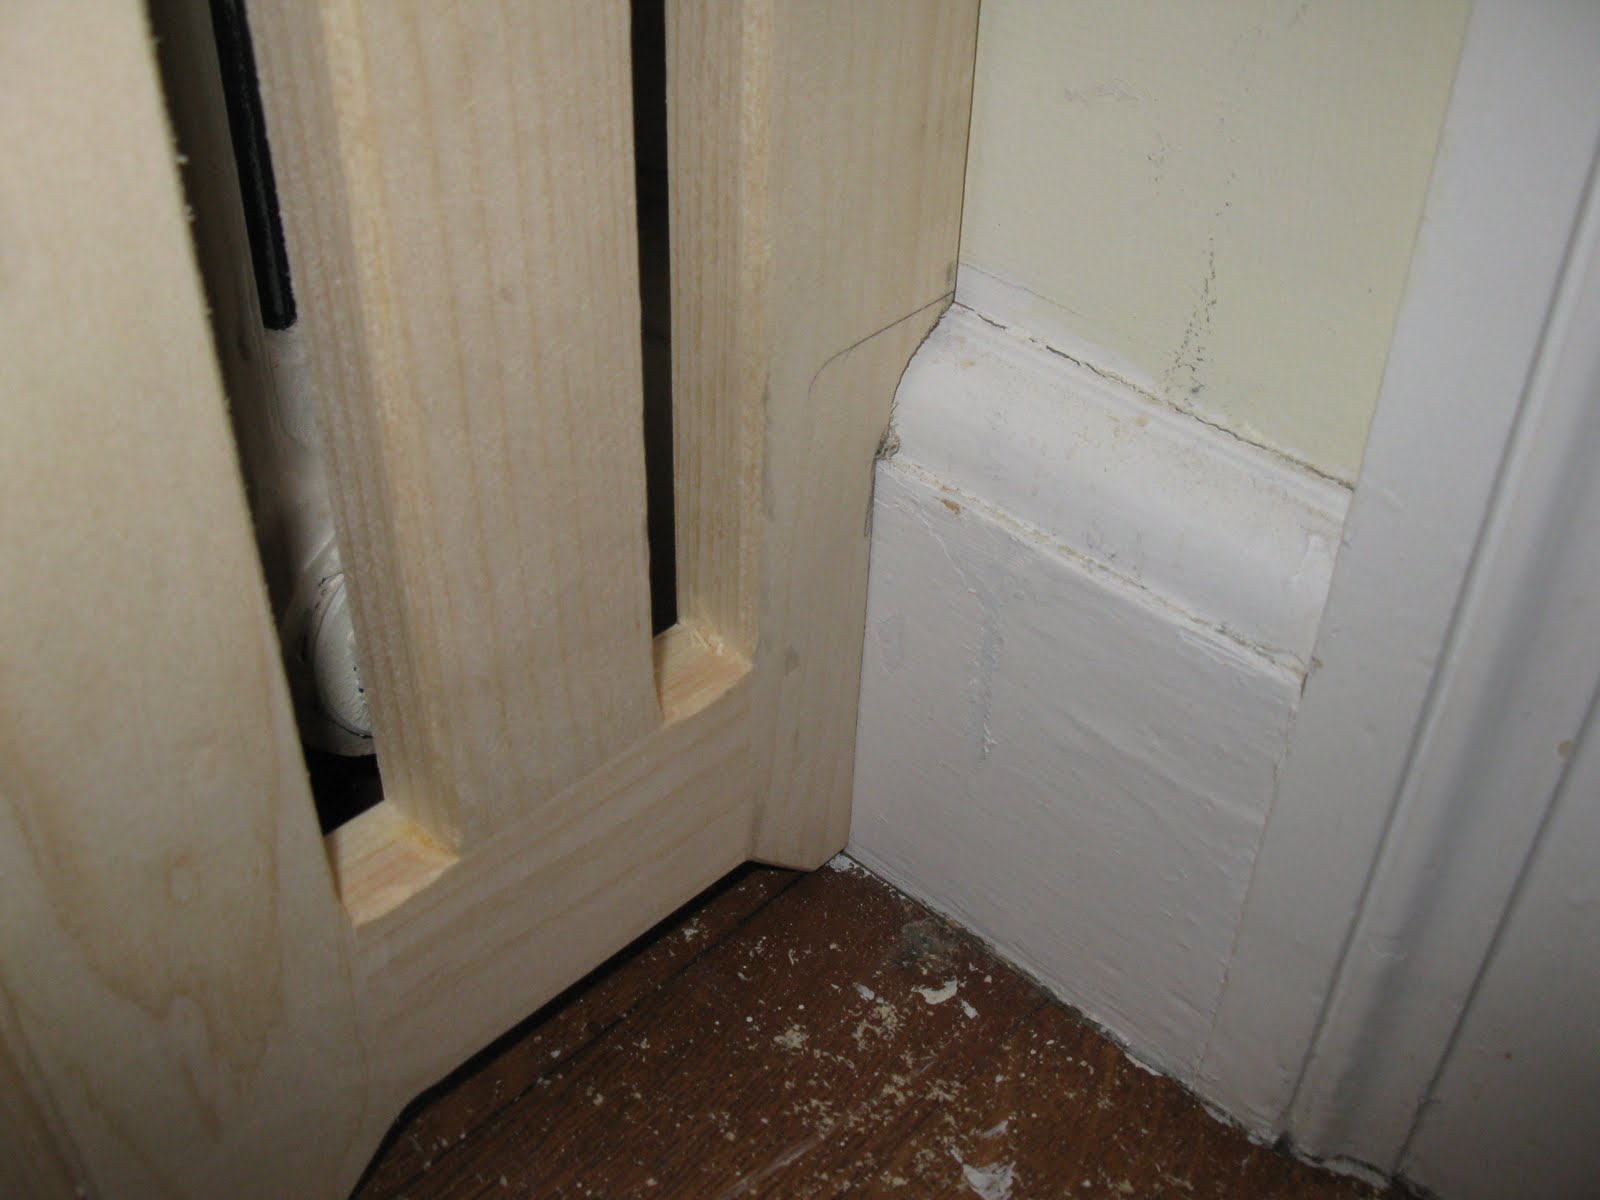
Part of installing a custom radiator is to get it to fit tight to the wall. Most finished rooms have baseboard and base cap molding. See below.
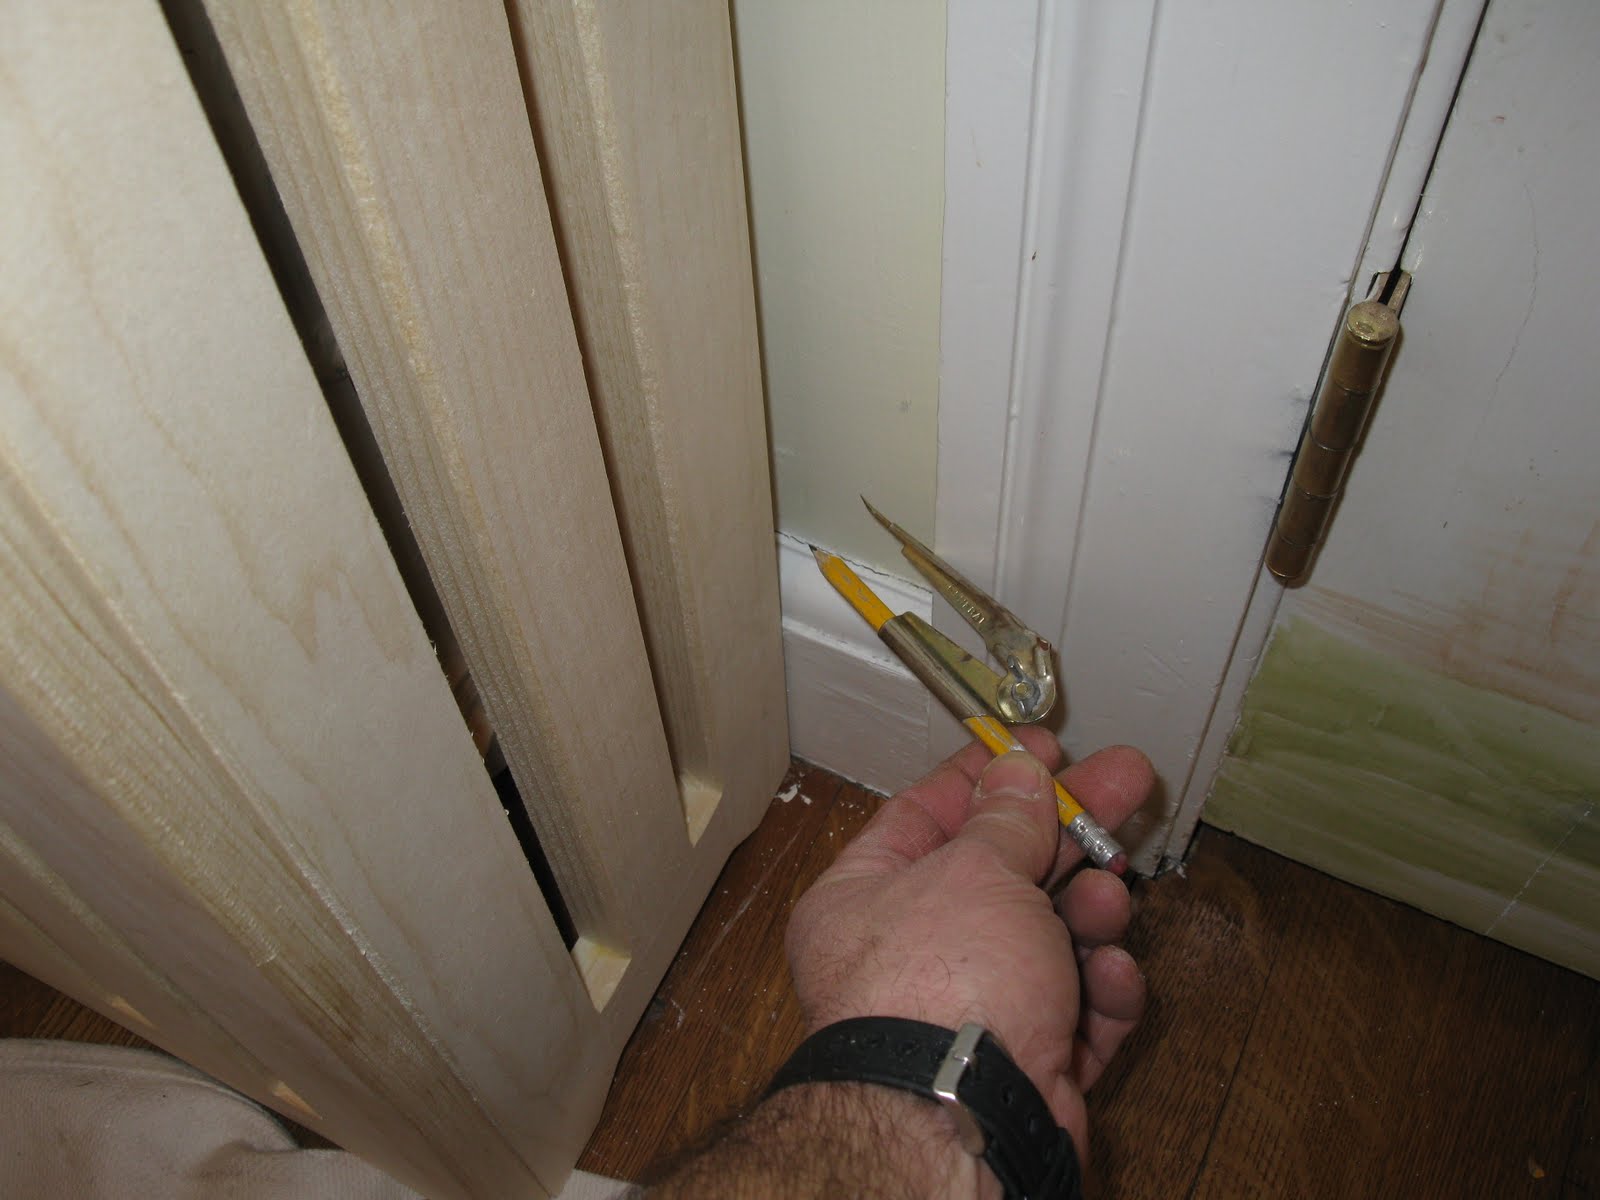
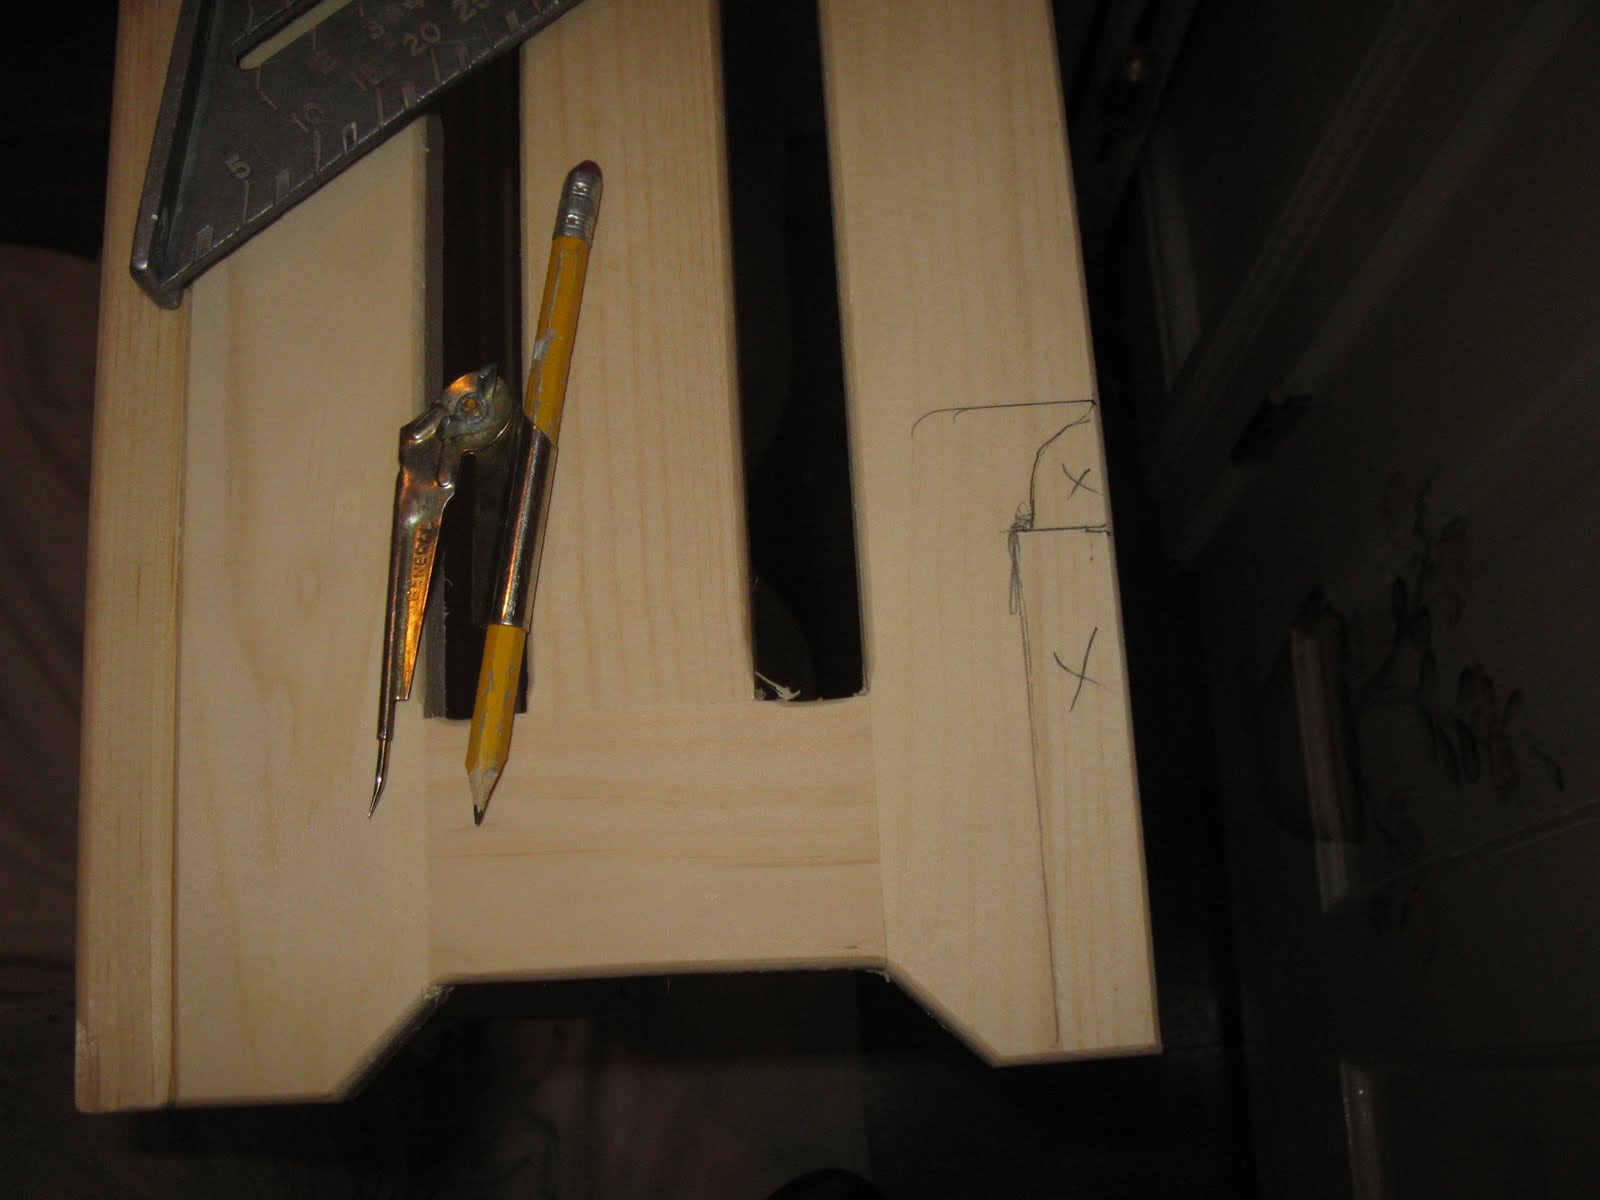
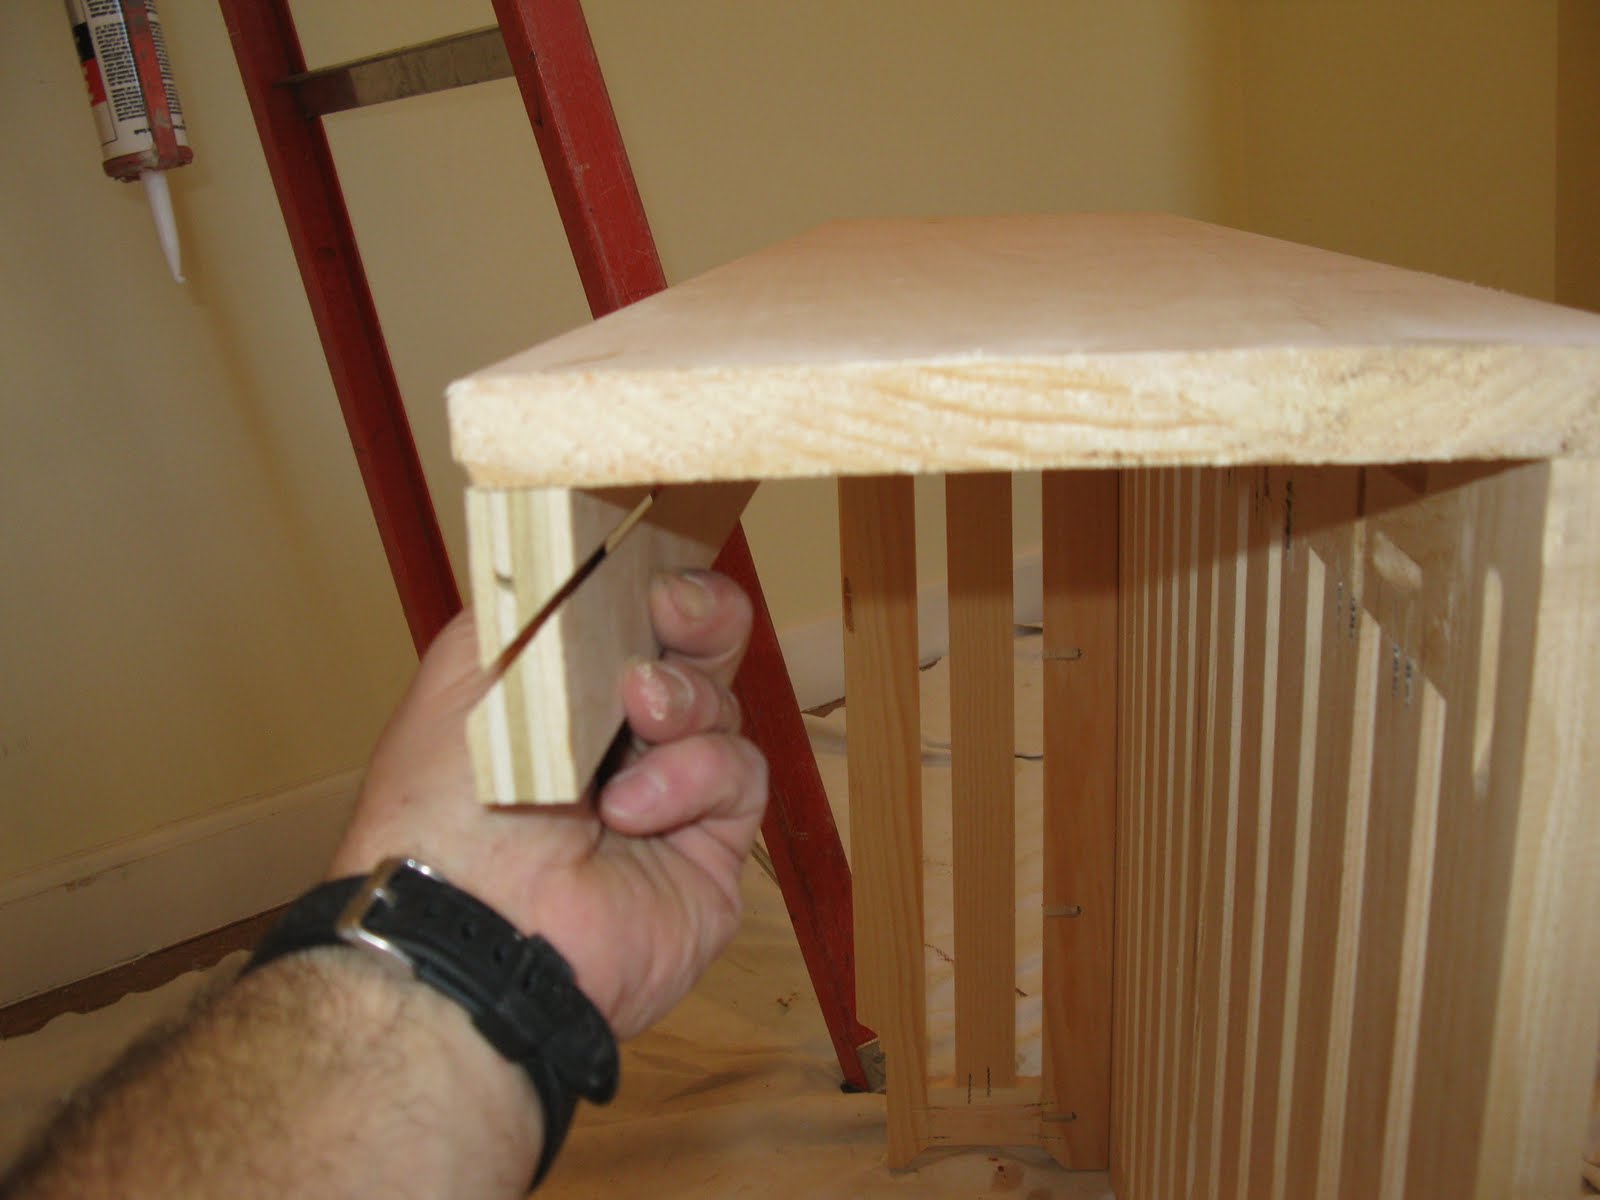
The first step is to duplicate the baseboard molding onto the radiator cover. I do this by using my two dollar “Scribes” to trace the baseboard and molding.
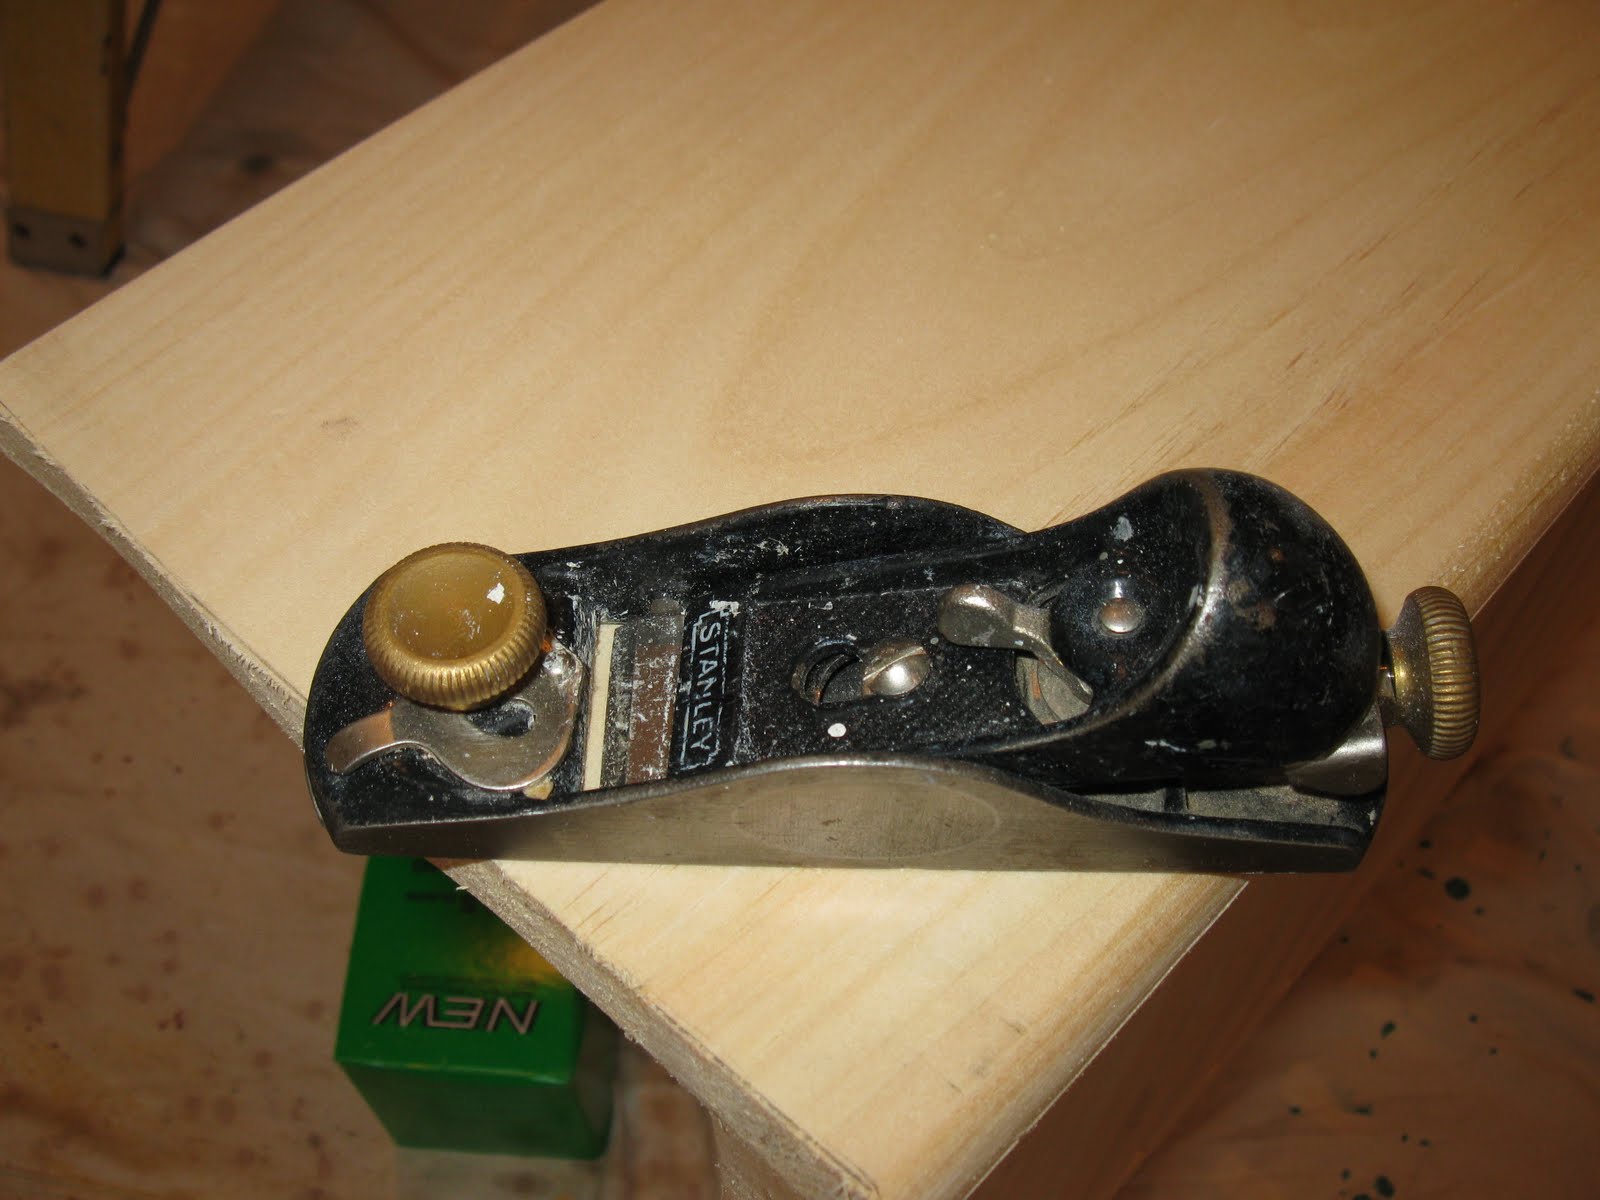
Tools Needed
Another important tool is a block plane. I will often put a slight “back bevel” on the edges of the wood that touch the wall. Doing this allows for a tighter fit as well as easier adjustment to scribe the cover to the wall.
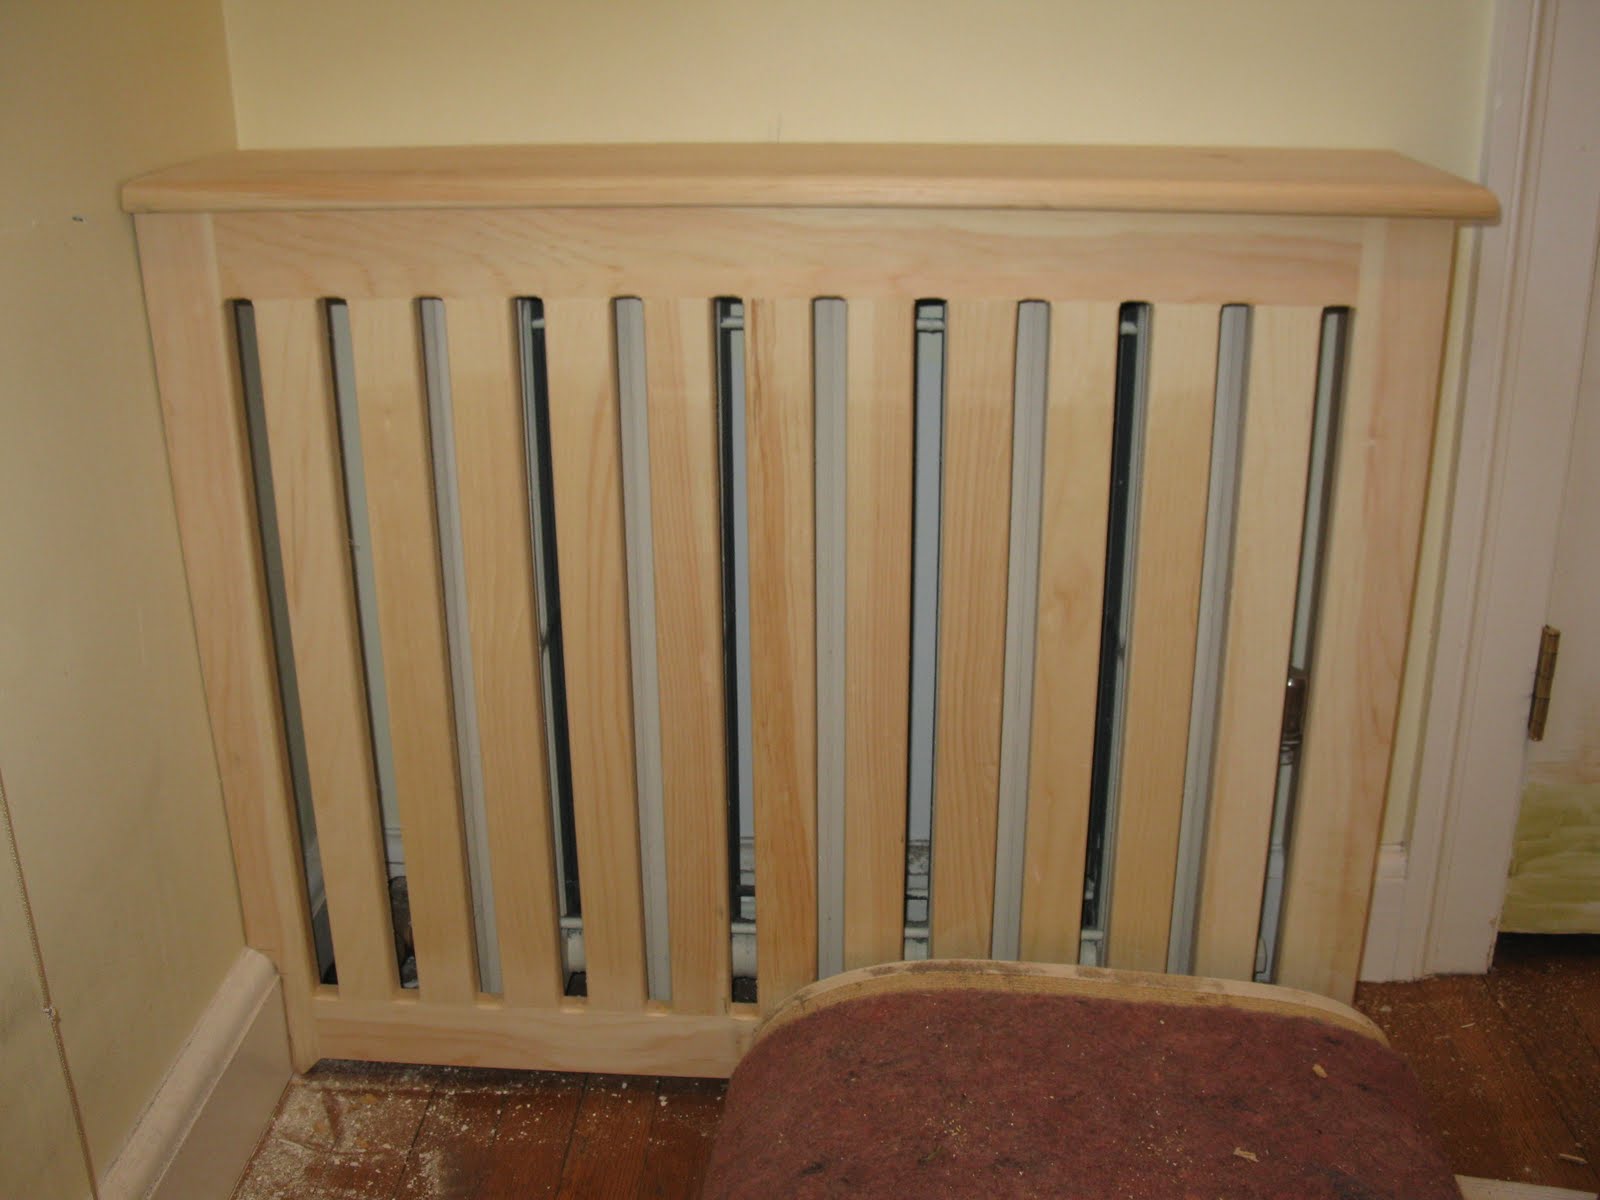
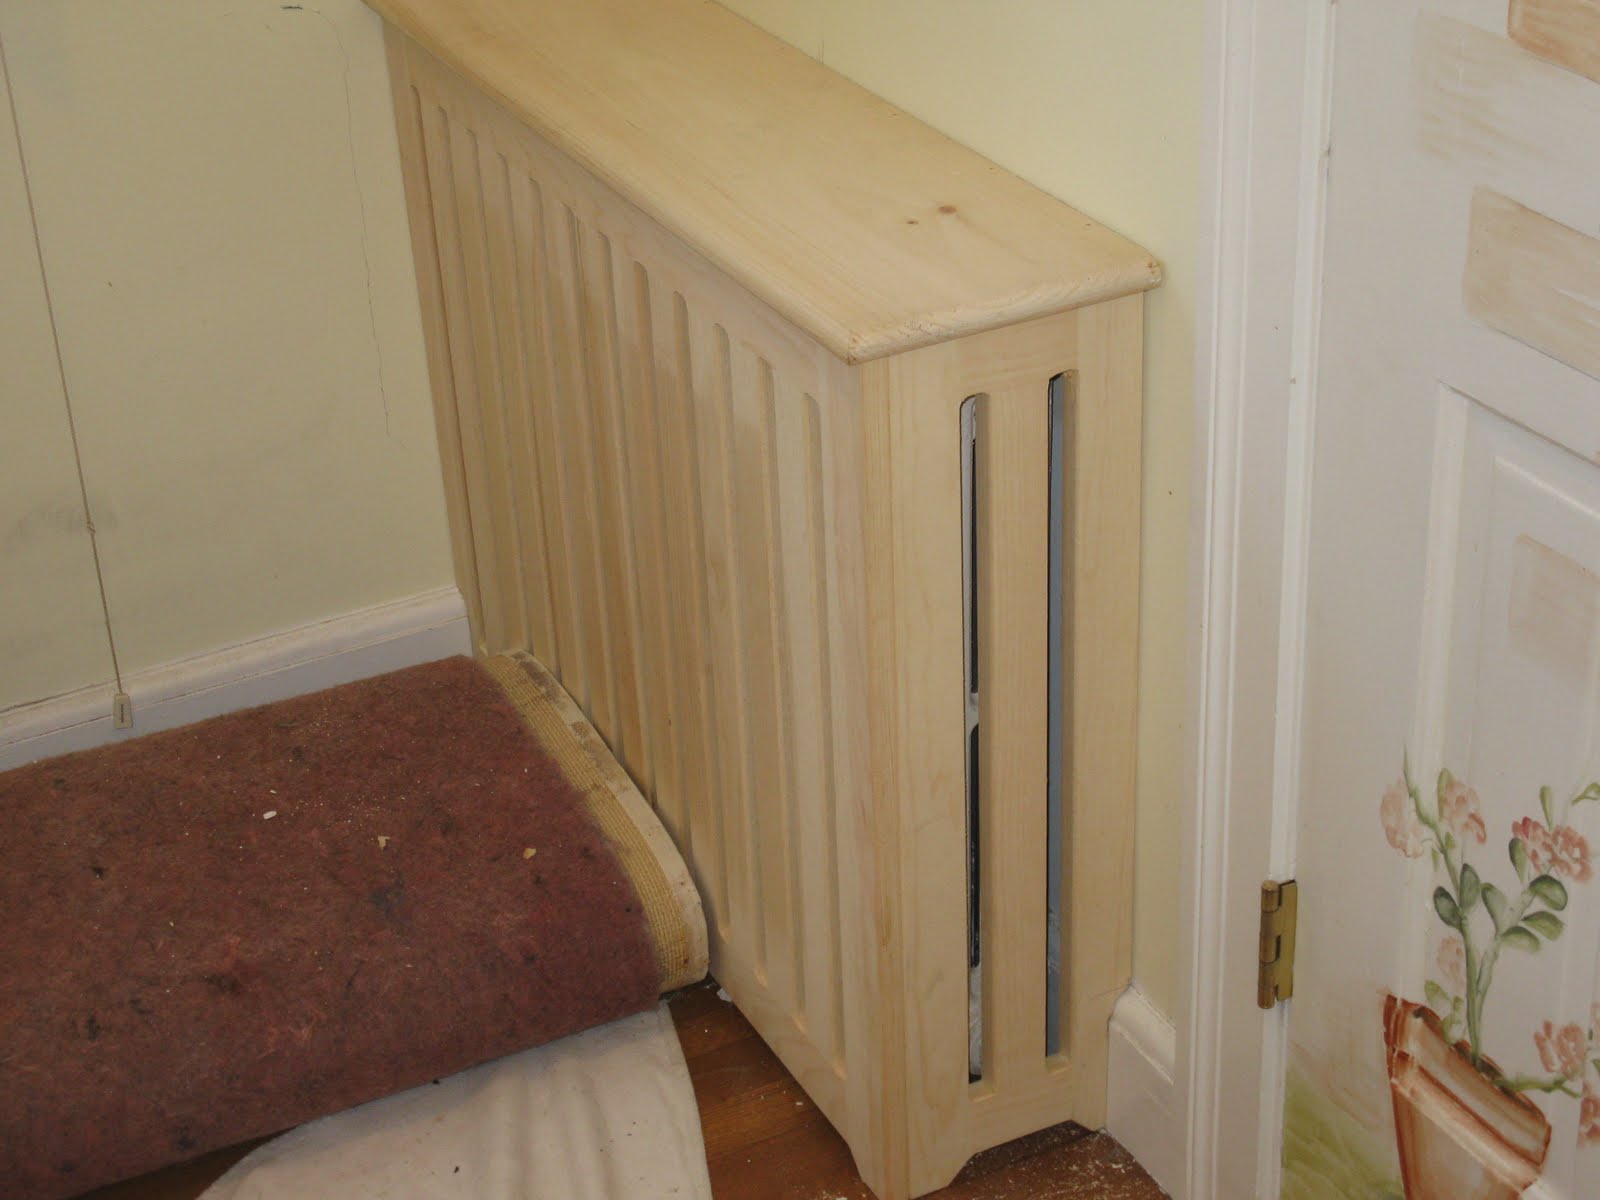
OK, so I scribed the baseboard in the lower left of the photo but somethings not right here… can you see it? [click to enlarge]
The wall and floor are not 90 degrees and there is an unsightly gap between the wall and top half of the cover.
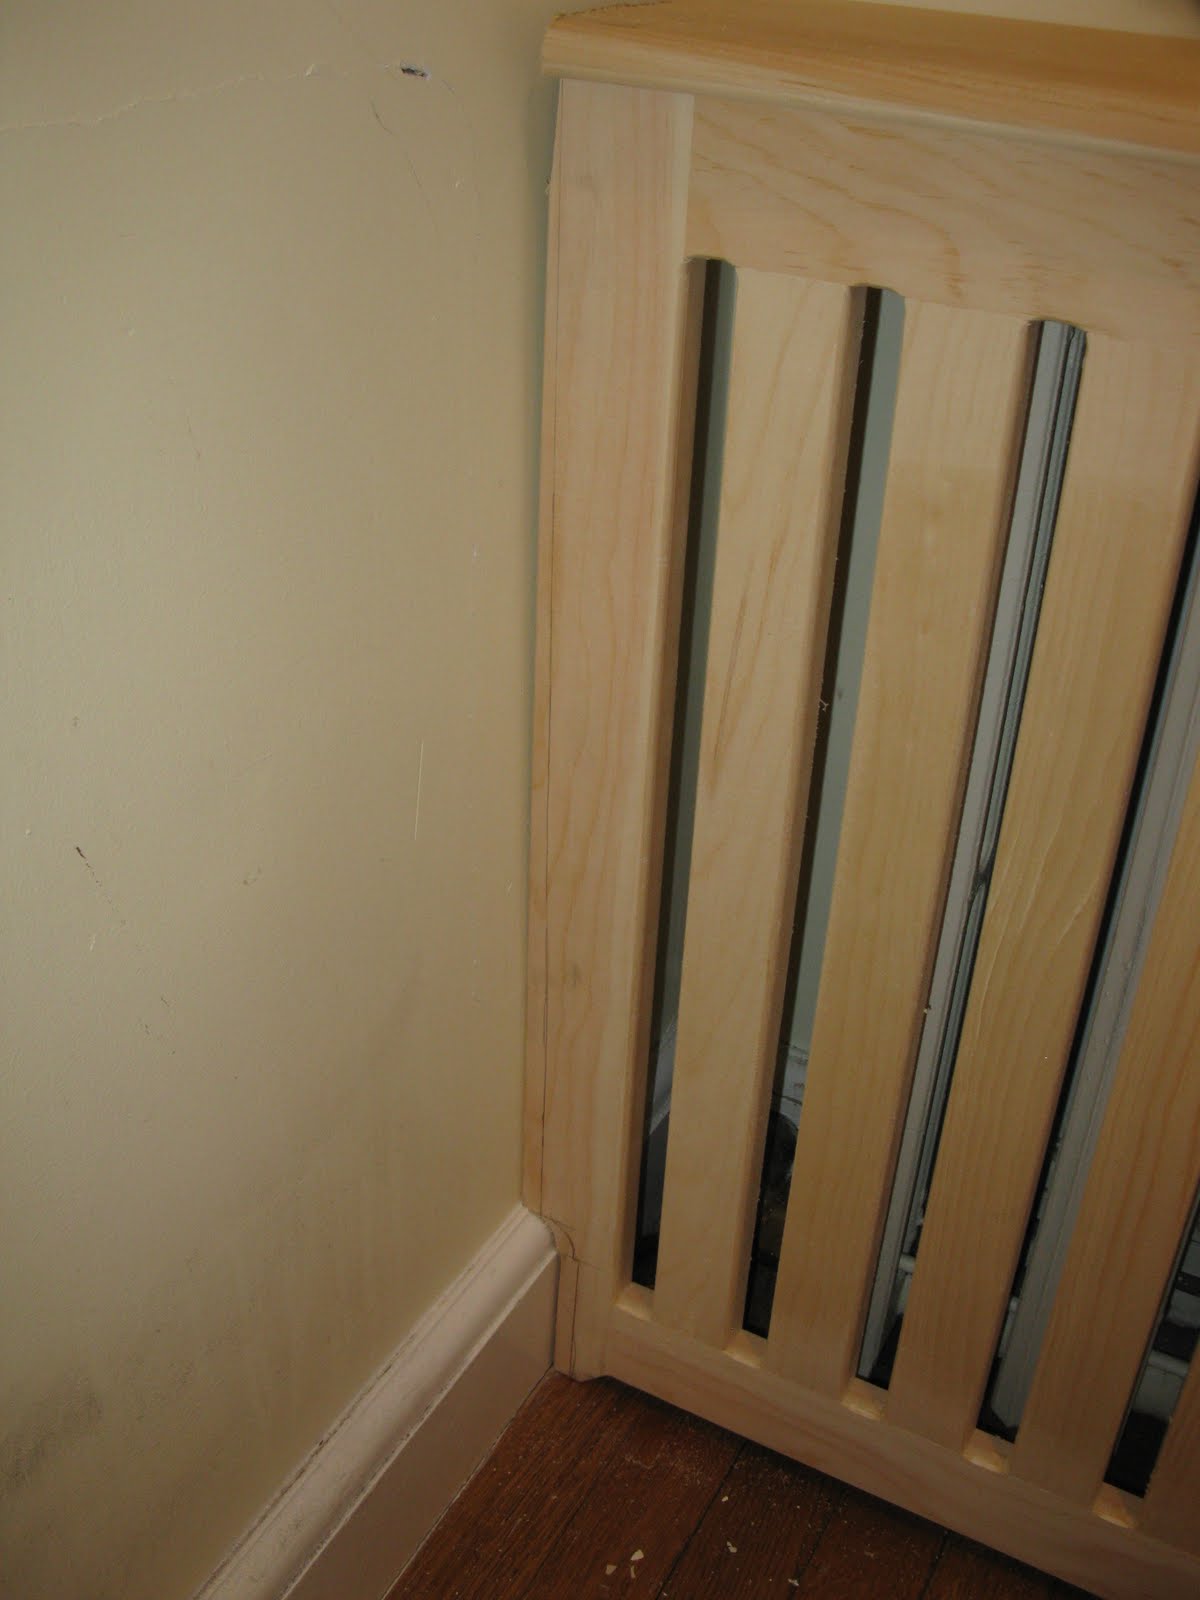
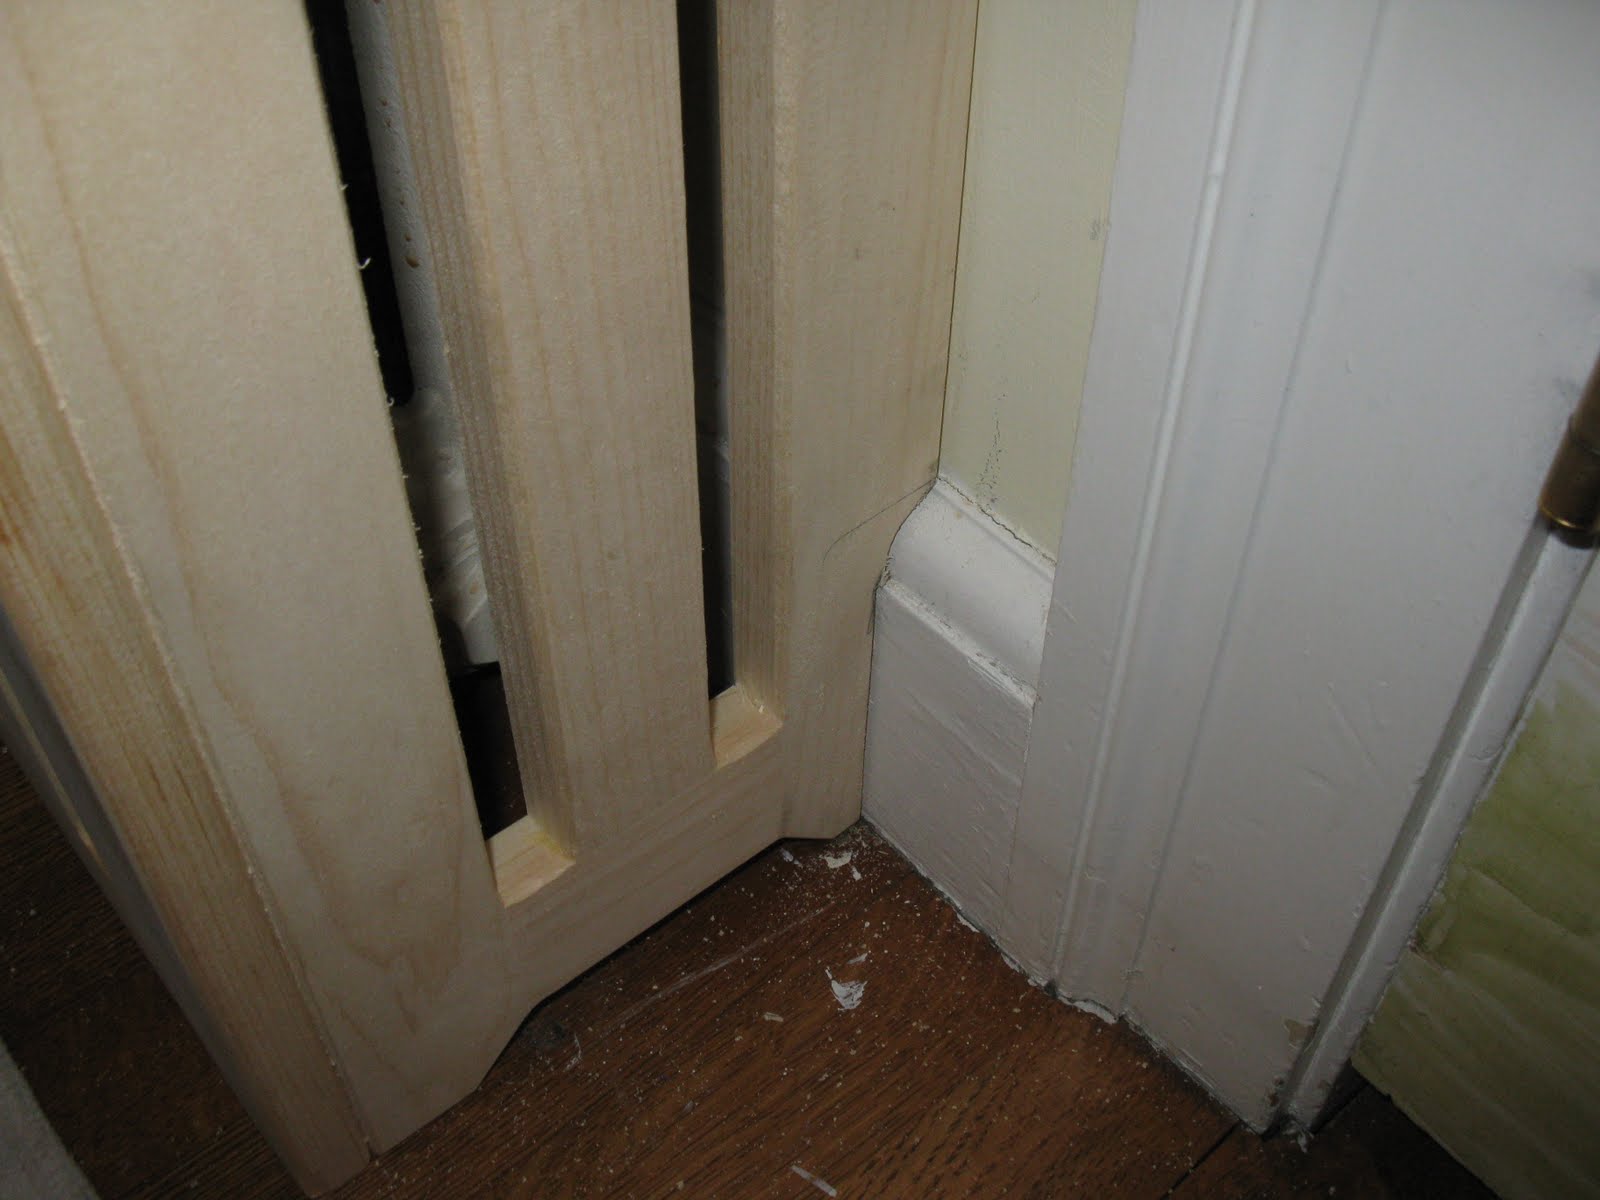
To correct this I adjust my scribes to the same width of the gap showing. Then retrace the wall and baseboard, cutting it with a jigsaw and fine tuning with a hand plane.
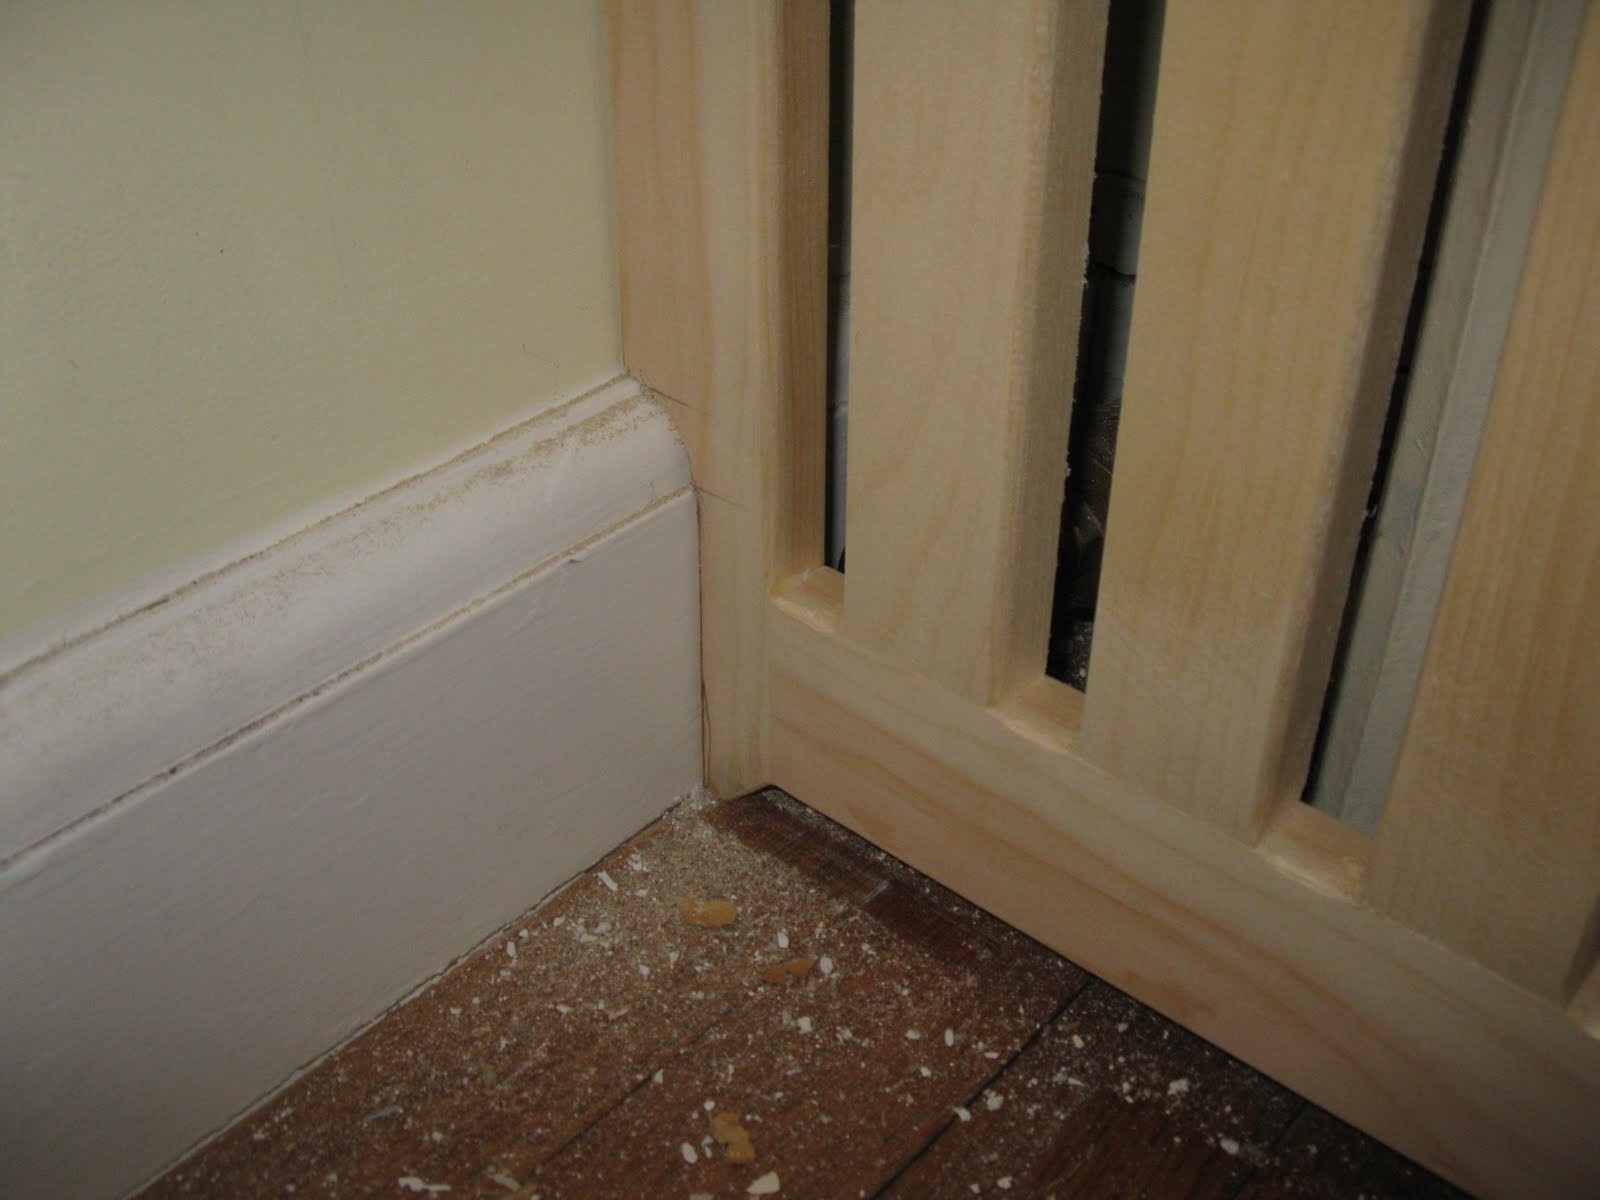
Much better.
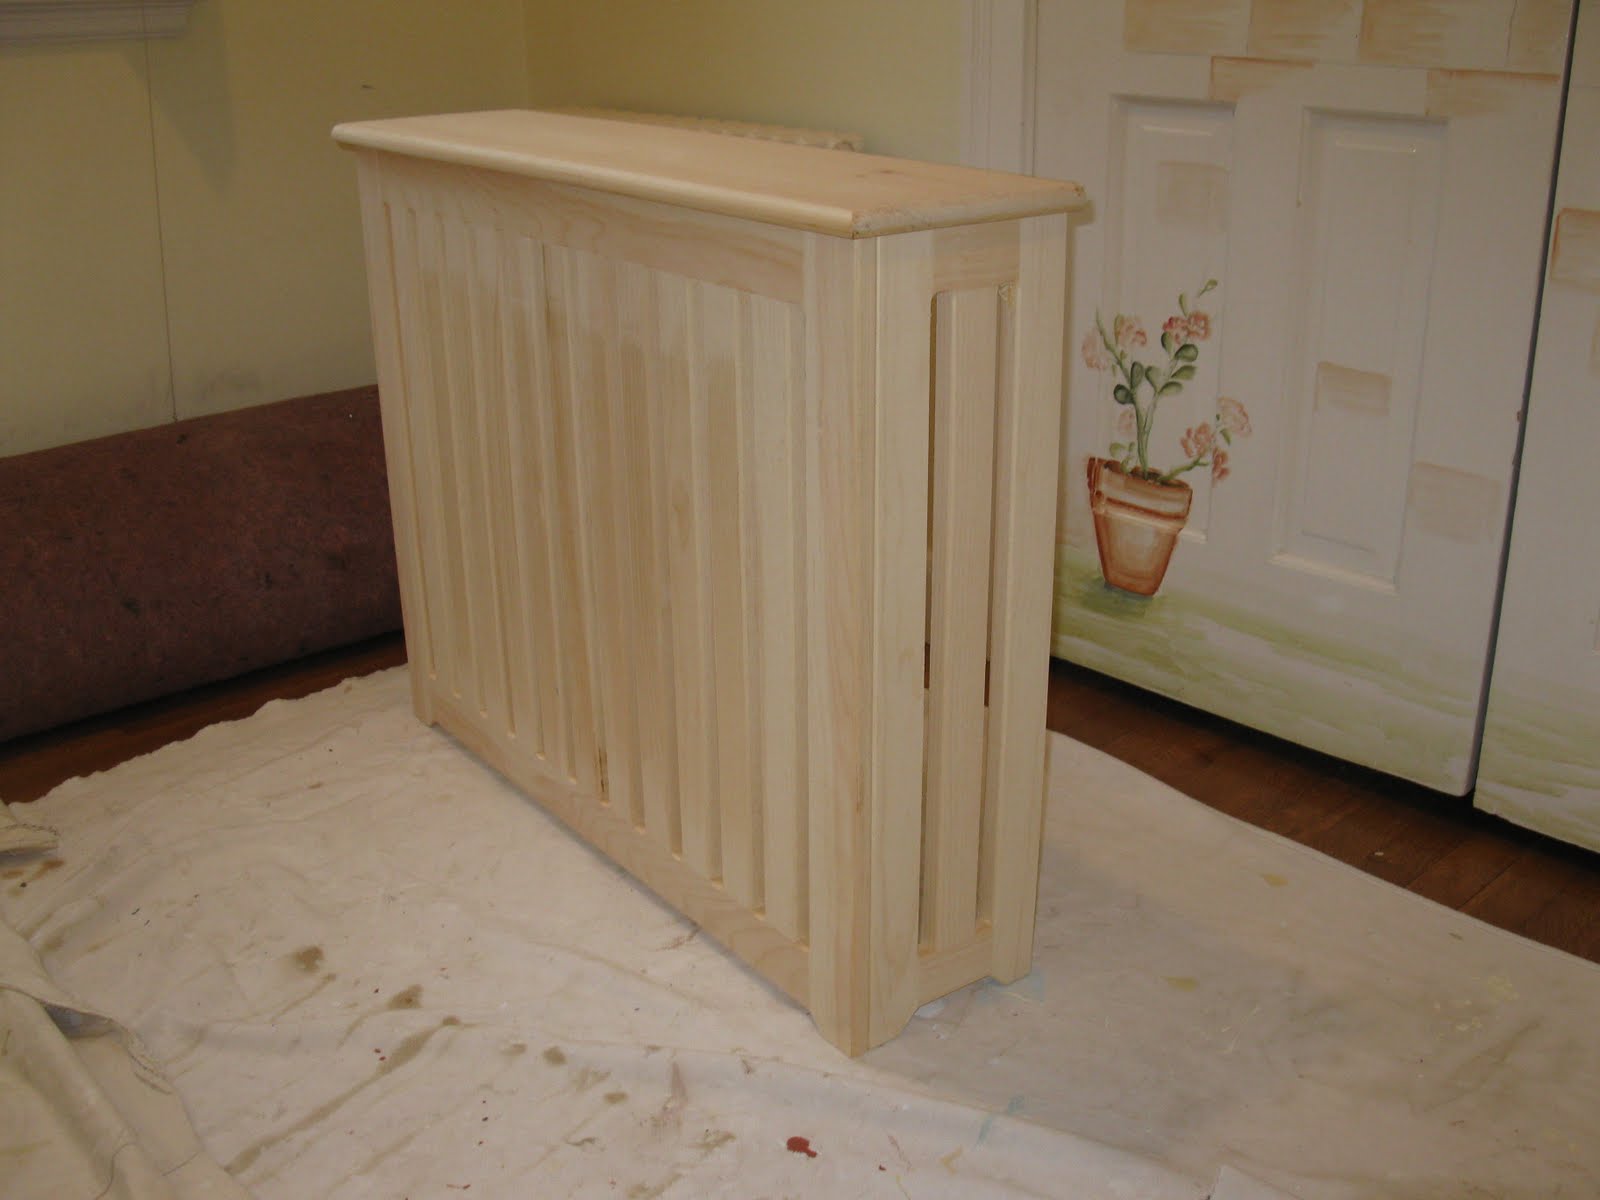
Best case would be a super tight fit, second best is a nice even and consistent reveal between the two surfaces. This cover is sitting lose and will go tighter to the wall once attached.
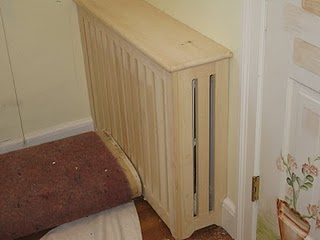
Back, right edge, scribed to baseboard and base cap.
Detail showing the scribe marks traced on radiator cover.
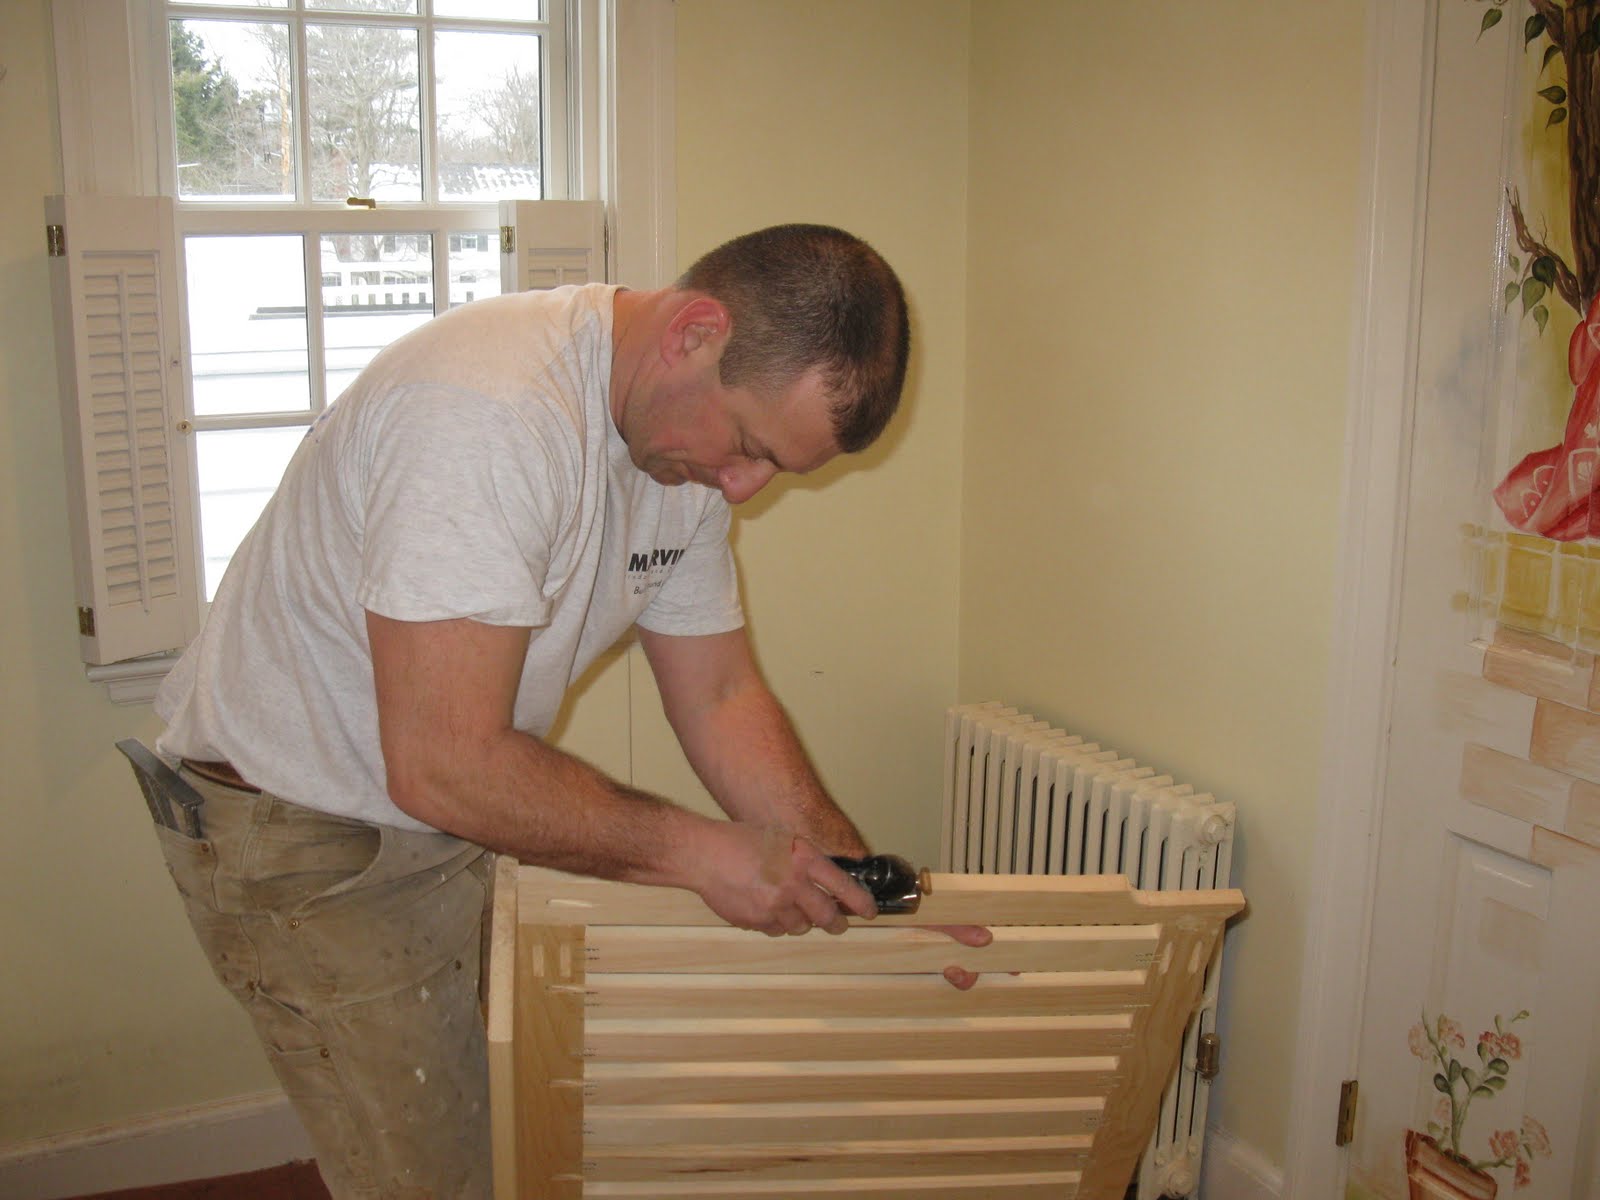
Fine tuning the fit on the left side, face of radiator cover.
To secure the radiator to the wall we use what’s called a “French Cleat.”
Installing Tight To The Wall
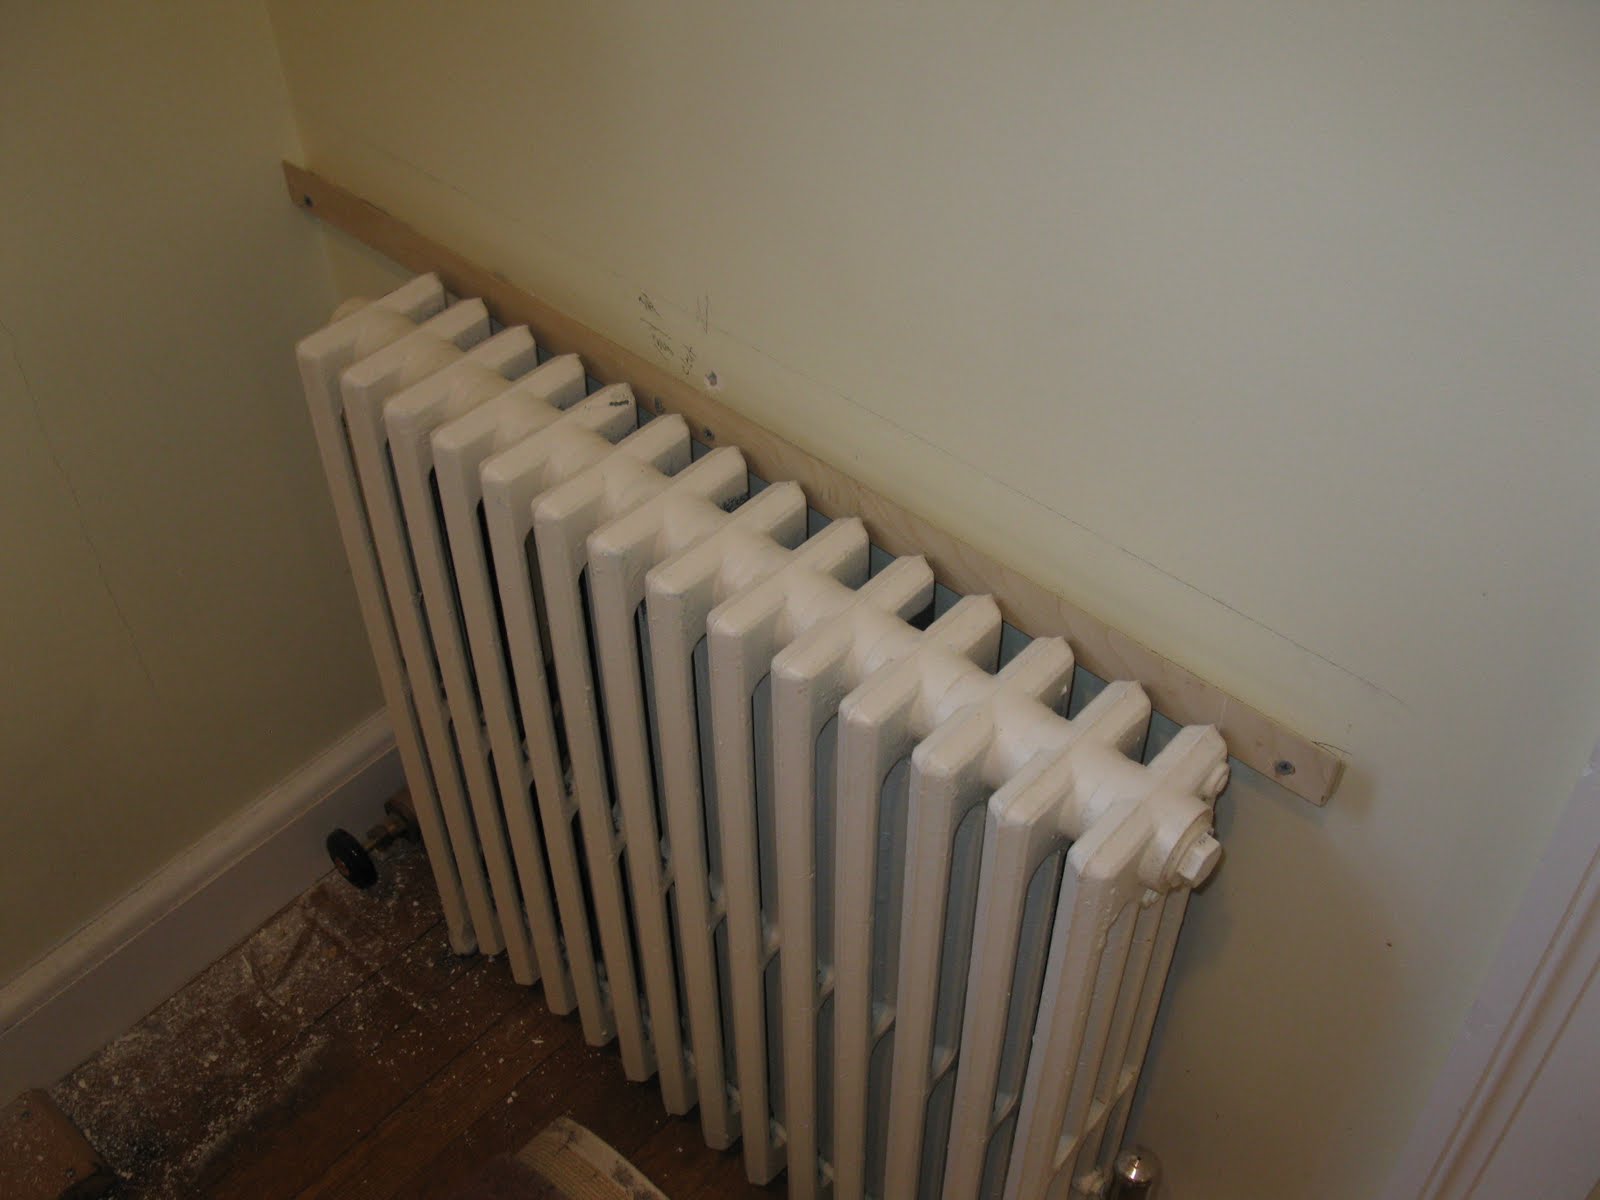
A French cleat is as ingenious as it is simple. It involves securing a strip of wood with a 45 degree bevel to the wall, and then securing an opposing beveled strip on the back of a cabinet or heavy artwork.
This radiator is paint grade material so to install the cleat we glued the cleat and attached it to the radiator cover shelf with finish nails.
We used 3/4″ scrap birch plywood for our cleats.

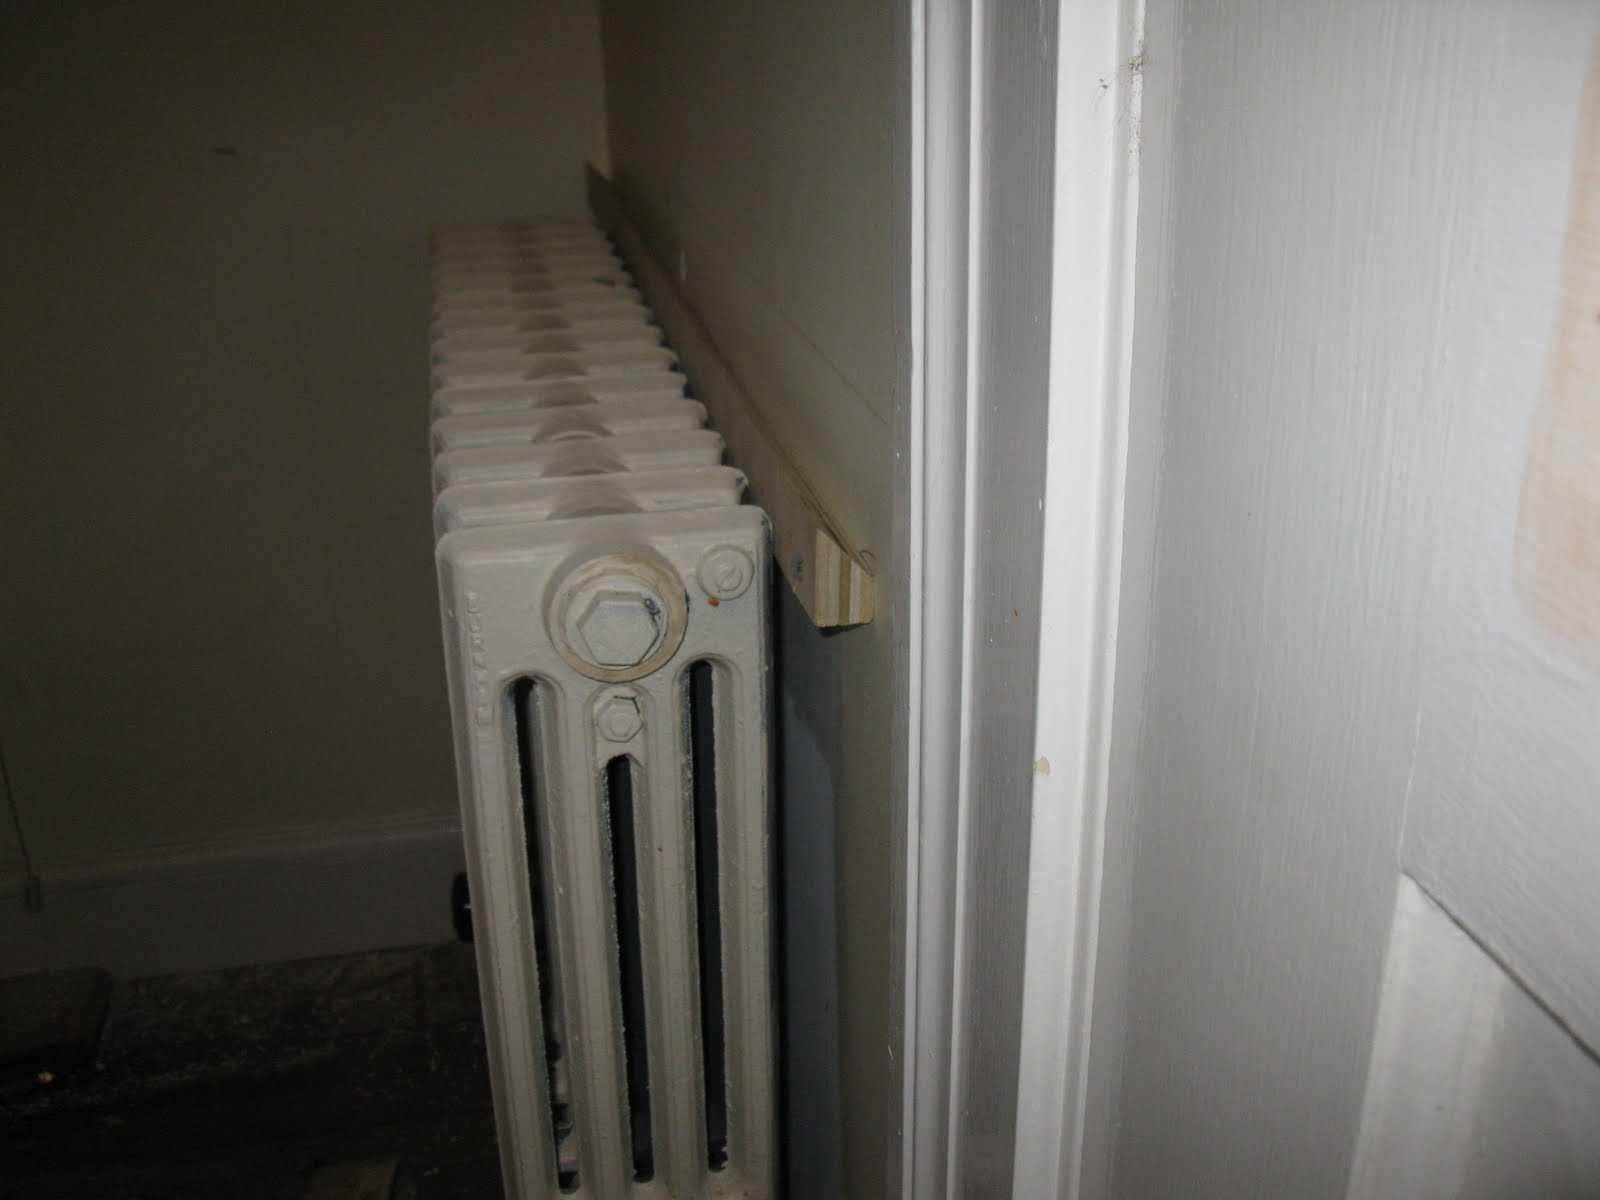
The other end of the cleat was attached to the wall. When complete the radiator cover slips down, over the radiator and onto the opposing cleat locking it against the wall.
Side view of French cleat installed on wall.
The French Cleat has been around a long time. It’s a simple approach to a strong, cheap to use hanging connection. I’ve used this system to hang cabinets, mantles and heavy art work.
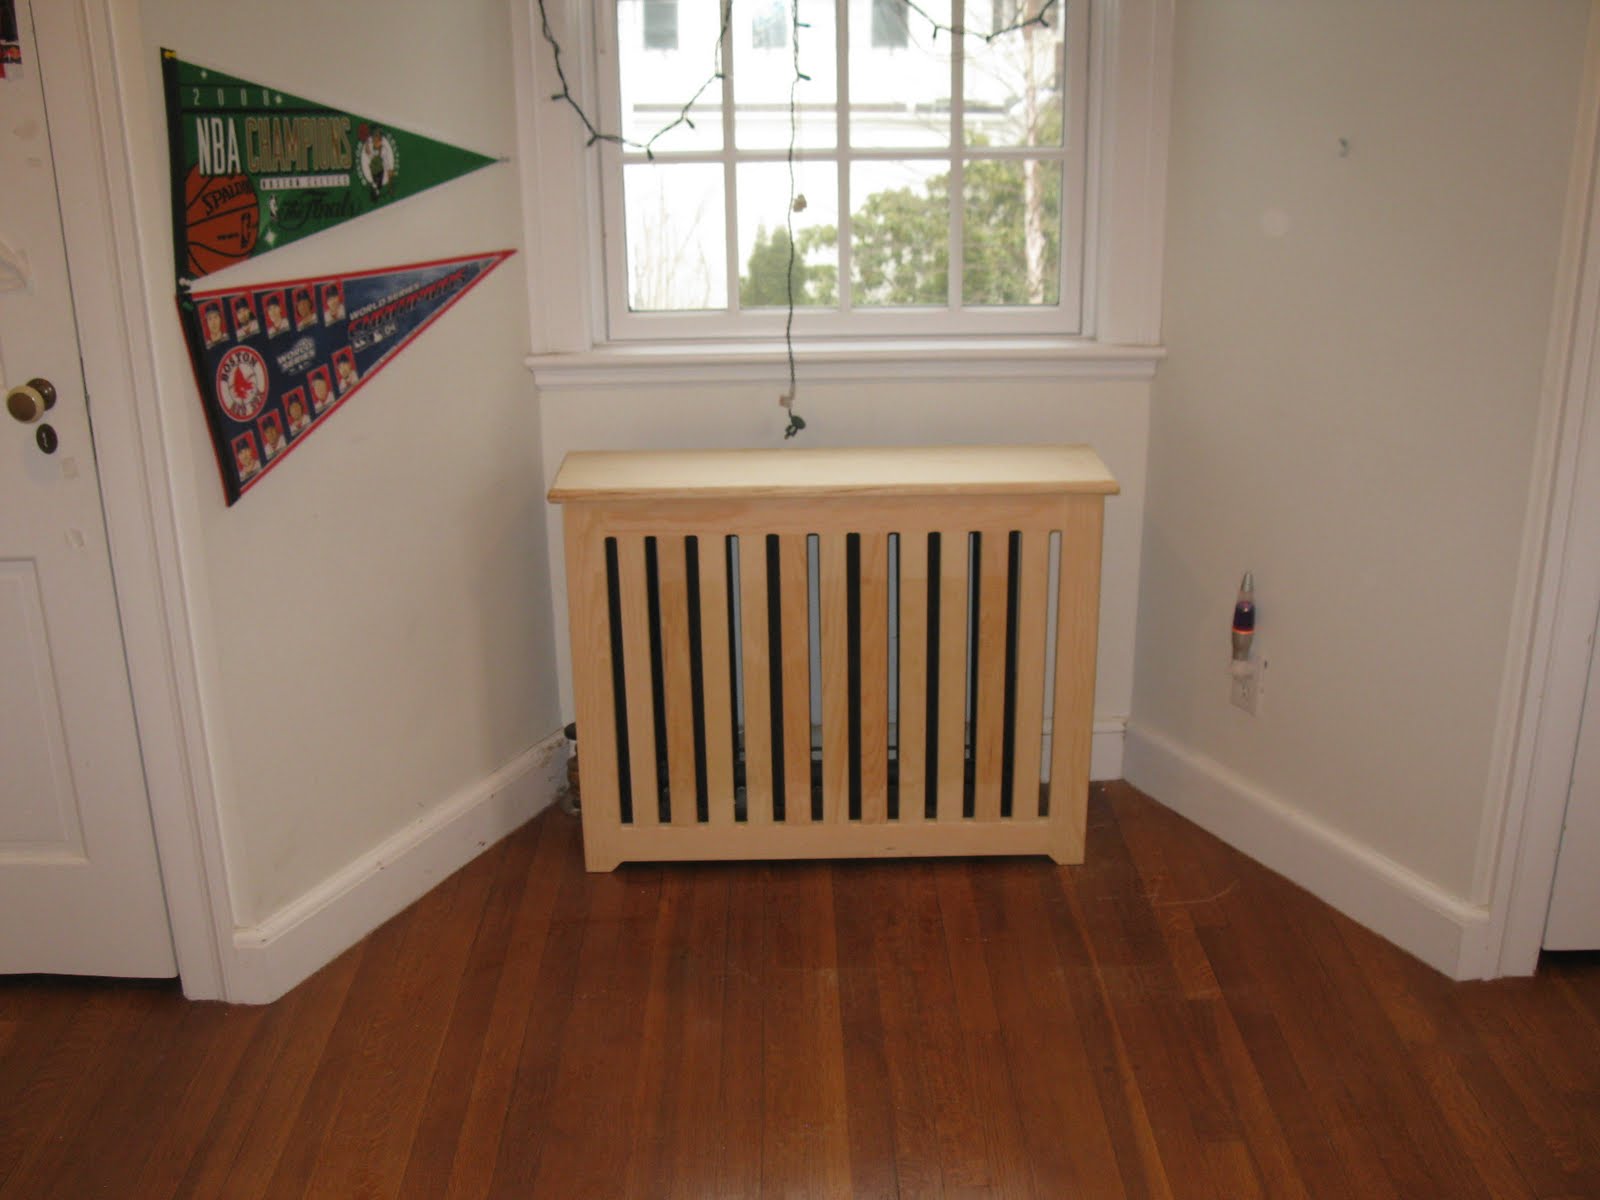
Finished!

The beauty of the French cleat is that this cover can be removed for painting or cleaning with out the use of tools and fasteners.
Ready for paint!