Built-In Bookcase And Mantle Installation

Installation
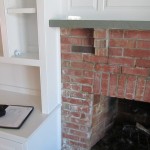
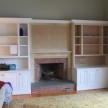
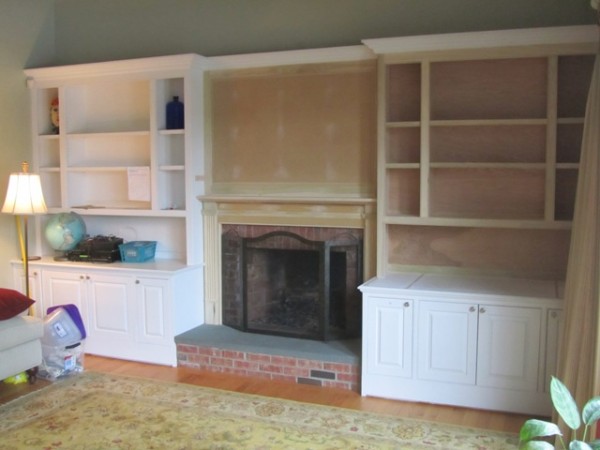
Today we installed the bookcase, fireplace mantel and the panel above the mantel. Earlier we tool off the blue stone fireplace mantel and brick corbel supports in order to install a shorter mantel to accommodate a flat screen TV. A new Somerset Mantel will cover and hide the torn off corbels and a larger panel will cover the exposed brick.
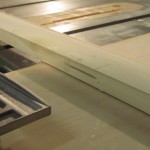
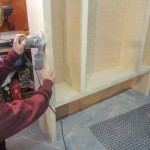
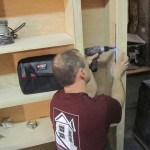
In order to get the panel too cover the brick we had to fur out the wall above 3-1/2″ to match the face of the brick. We used 2×4 lumber on edge and Timberlock type lag structural screws to lag the studs to the wall. We took care to install all of the lags in the same spots on each stud.
The measurements were then recorded for when the TV wall mount is to be installed. There is nothing worse than drilling into a brand new piece of custom work and hitting a screw or lag.

Planning For A Flat Screen TV:
The electrician ran all of the HDMI, cable and power wires and we fished them to the top of our furring strips for easier access later. He will come back and mount boxes for all of the connections. These boxes will be hidden by the TV.
We purposely designed the new bookcase 3/4″ smaller than the one we were trying to match. We did this so we could fur out the wall behind the bookcase to accommodate future speaker or audio visual wires.
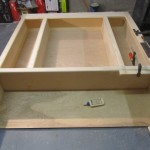
Prior to installing the bookcase we also cut out a rectangular slot in the base cabinet to make getting wires from the base cabinet to the rear of the bookcase.
Installing The Fireplace Mantel:
After furring the walls we set the mantel in place. We attached 3/4″ birch plywood scraps to the face of the brick with 2-1/2″ Tapcon screws. The plywood scraps will allow us to nail the mantle to the fireplace.
Both base cabinets had return molding touching the brick so we had to cut the mantle profile out in this molding. We used a Japanese saw, utility knife and a sharp chisel to carve out the molding and then slid the mantel down.
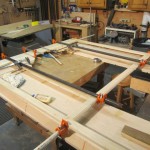
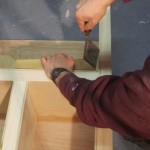
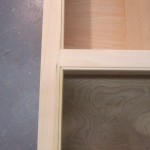
With the mantle in place we cut installed the panel. Typically a panel this size would have been done as three smaller panels but it was decided that it would be better to have one panel since a large TV was being installed. The panel sits on top of the mantel shelf and was attached with finish screws.

Installing The Bookcase:
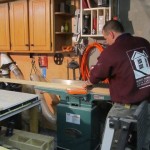
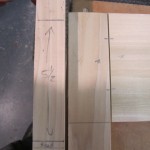
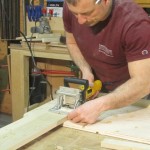
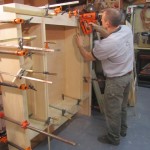
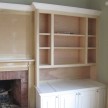
The bookcase was then installed. I purposely made the far right side of the bookcase trim larger to accommodate for an uneven or plumb wall. We scribed the wall and used a jigsaw to cut a bevel cut. Bevel cuts help the unit slid in place and are also a lot easier to make miner micro adjustments with a hand plane.
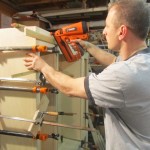
Once the bookcase was in place we secured it through the left side into the panel stud and along the top of the case, and through the back panel on the far right side. Pre-drilling and counter-sinking are important and We filled the screw holes when done.
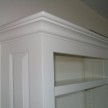
All nail holes are then filled and sanded, the entire project is vacuumed and then we caulked the seams. We then installed the shelves and re-installed the existing crown molding that we had saved.