Build A Privacy Screen

Constructing a Cedar Privacy Screen
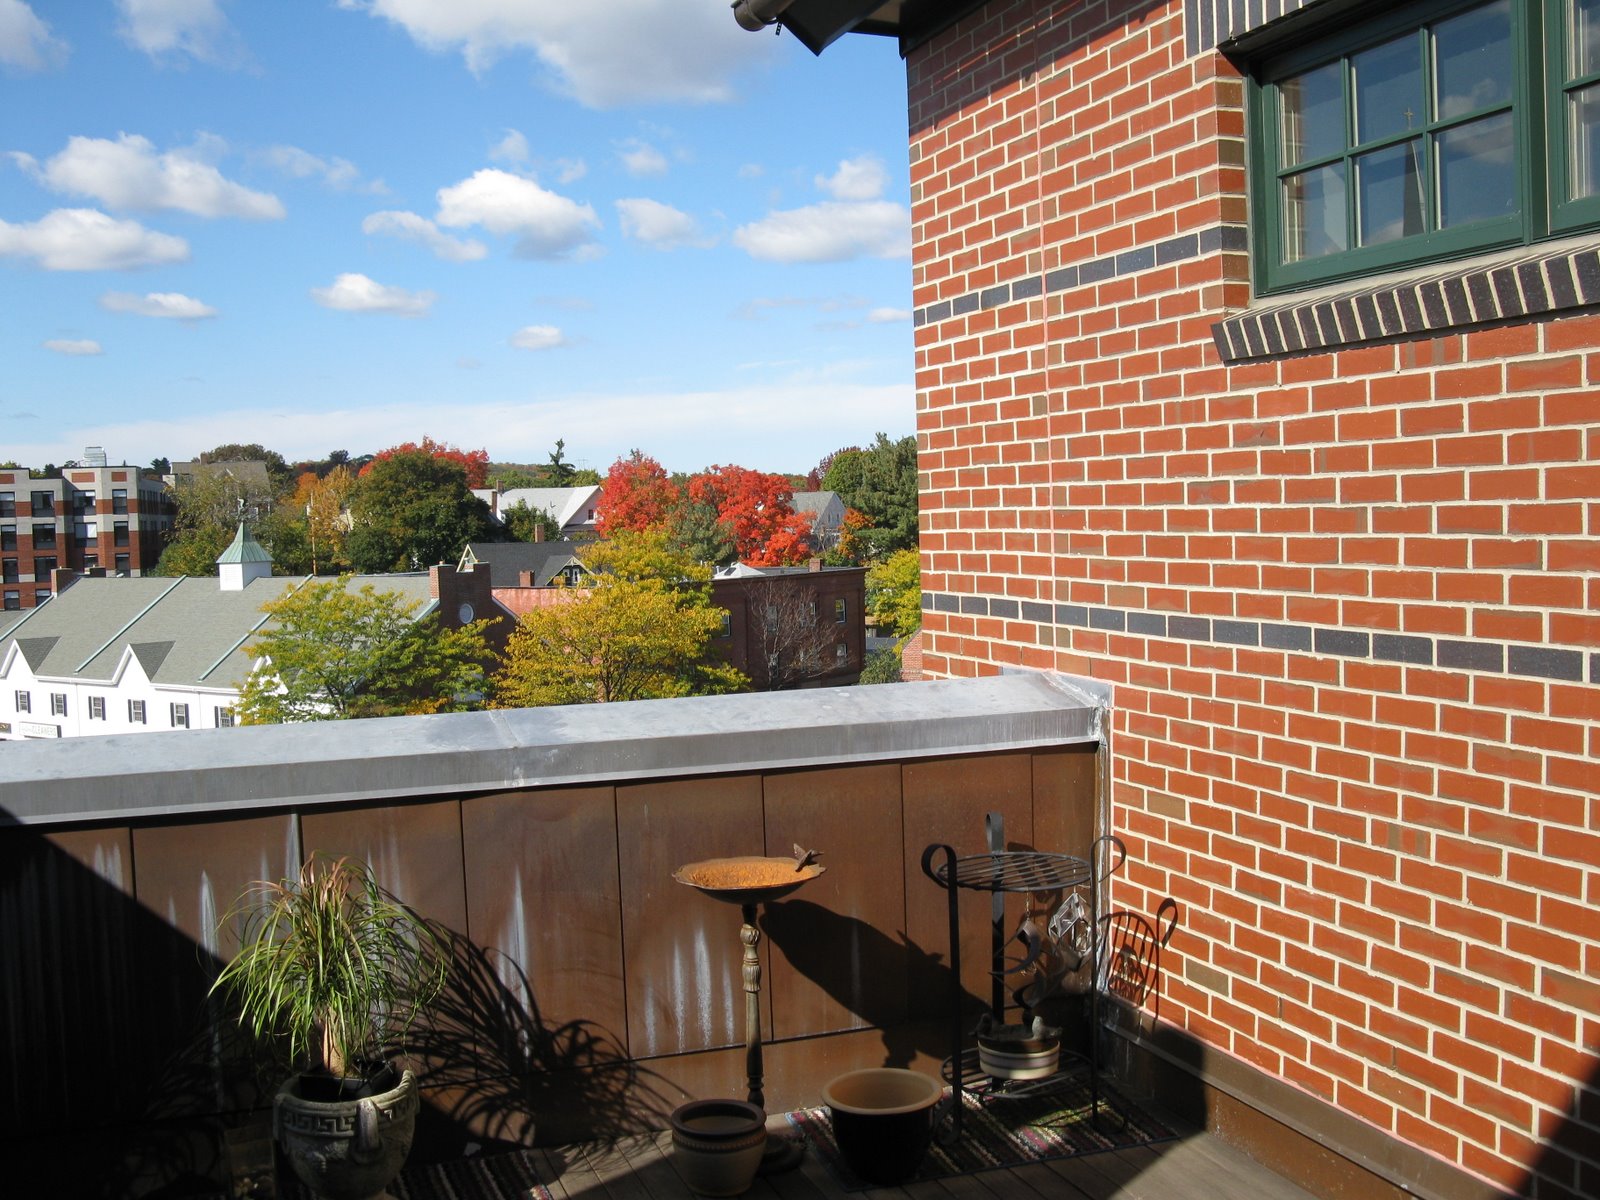
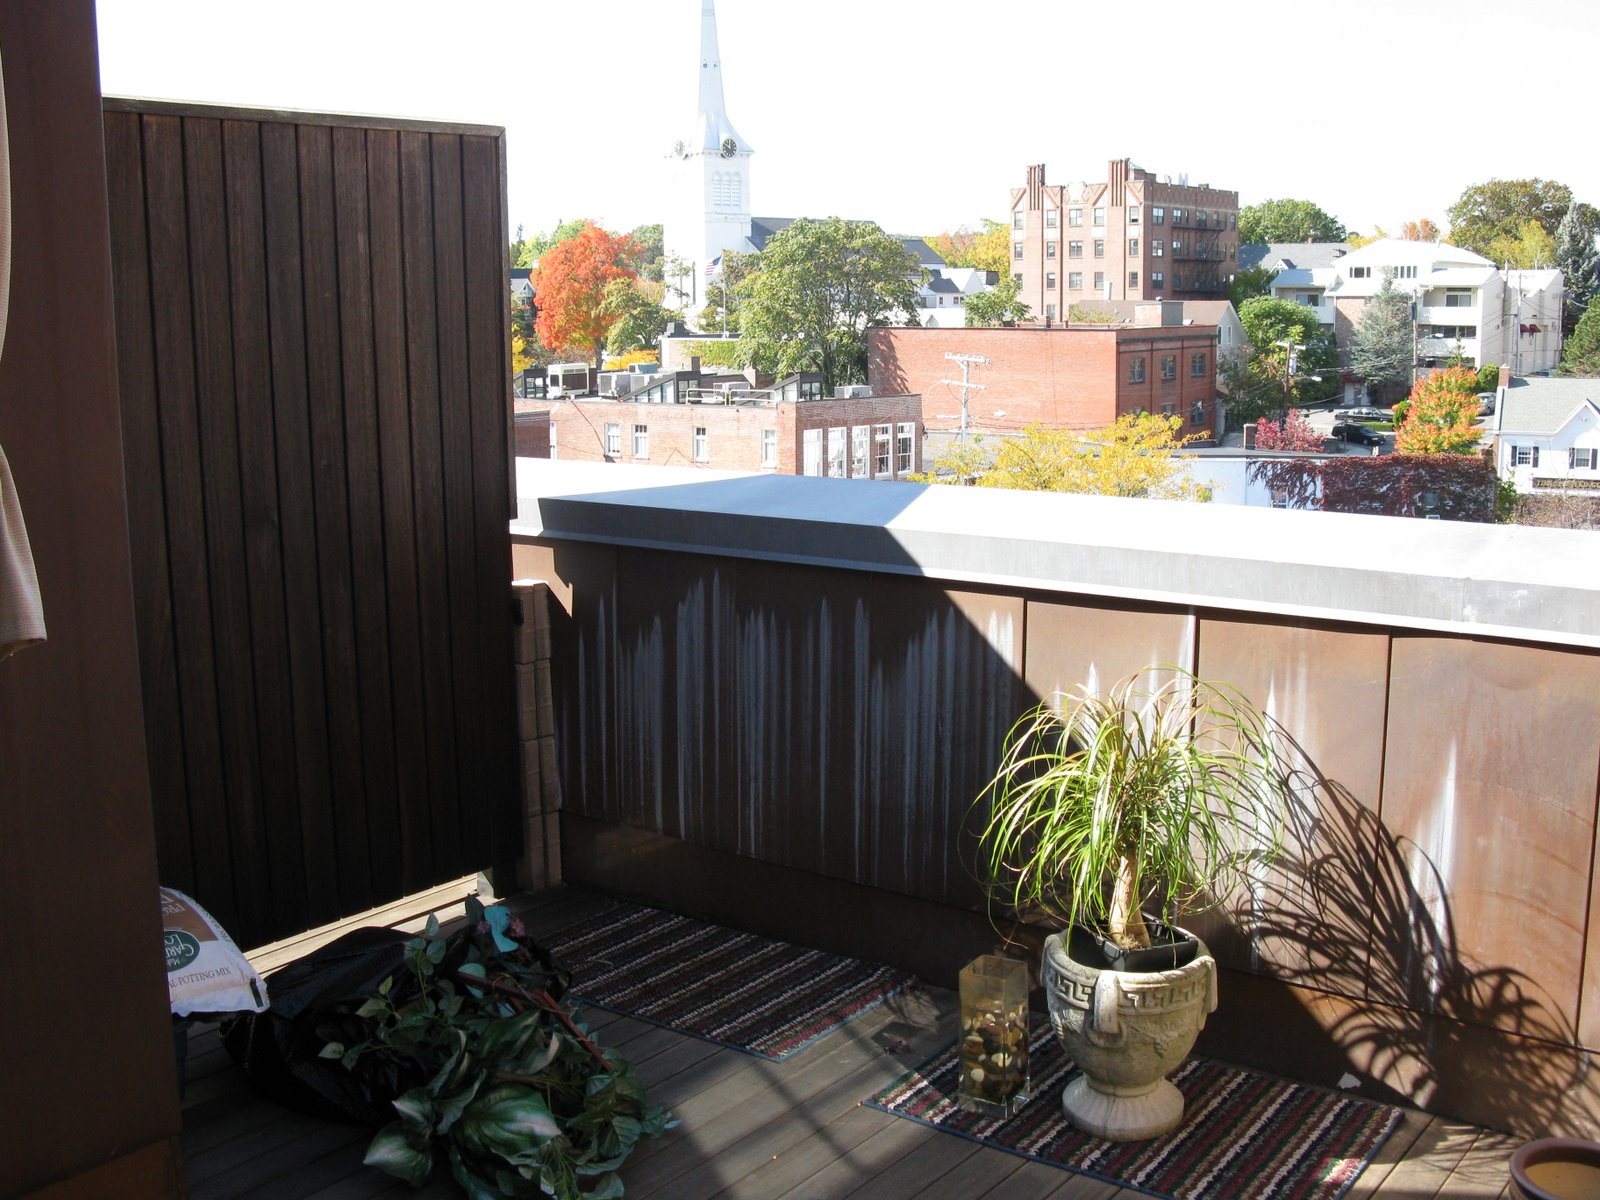
The picture below is the rooftop patio at a Winchester, MA Condo project we worked on. Our client wanted us to build a privacy screen to block the view but still allow in light onto her roof deck.
 I decided to construct the new screen out of high quality 1″ thick cedar and cedar components.
The screen will be installed a few inches off the copper half wall and run from the wood privacy screen fence on the left to the brick wall on the right.
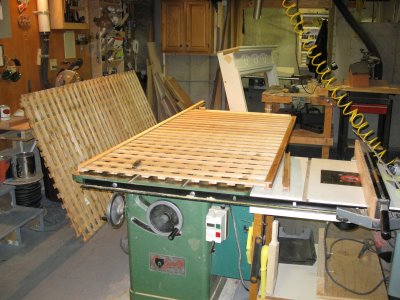
 Last night I took the opportunity to get a jump on the project by cutting, fitting and fastening most of the components in my heated work shop! Installation day is Friday.

Build A Privacy Screen
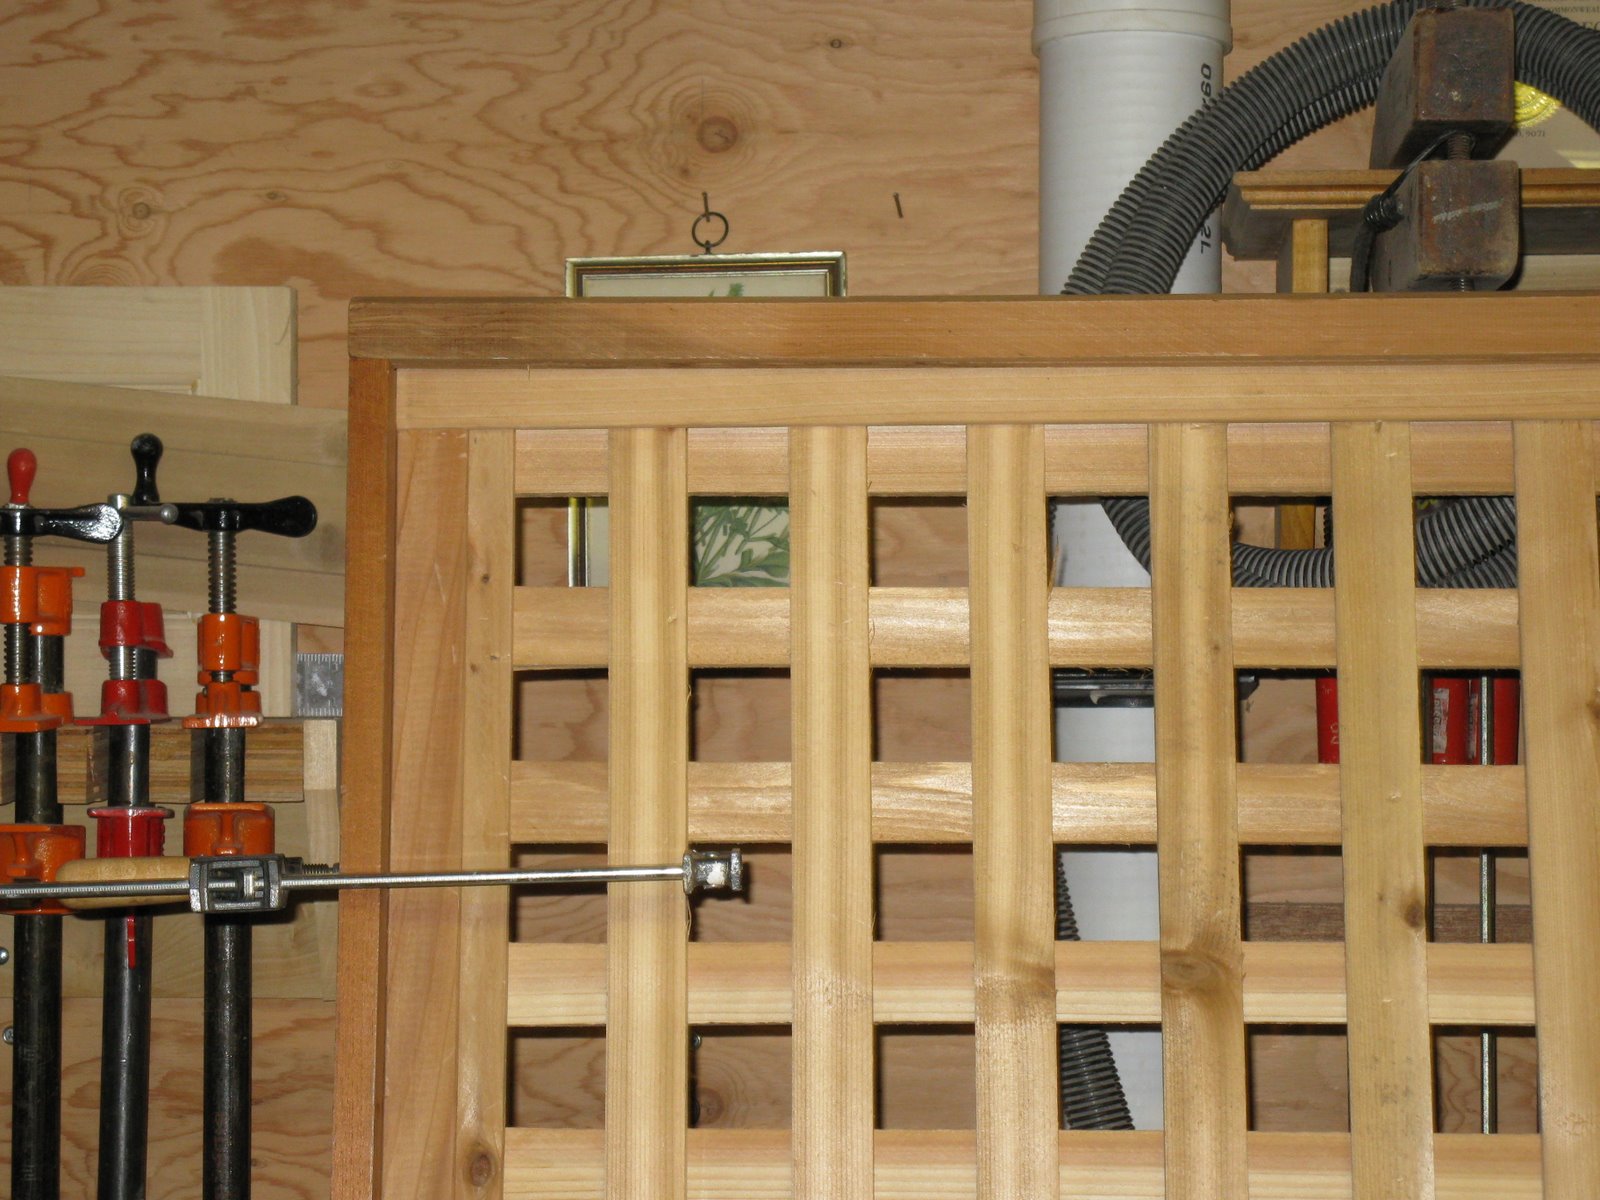
The size of the screen is 155″ or just shy of 13 feet, and approx. 6’6″ high.
I used four, 4×8 cedar, lattice panels to make up the 13′. The problem with cutting these panels is the staples used to hold the lattice slats together. A saw blade hitting a staple can destroy the surrounding wood, and possibly the blade.
I was able to come up with a spacing that allowed me to cut three panels the same size without hitting the staples. The fourth panel will be cut to size on site and will be “pretty close” to the other panels in width.
 Panels ready for cutting in the shop.
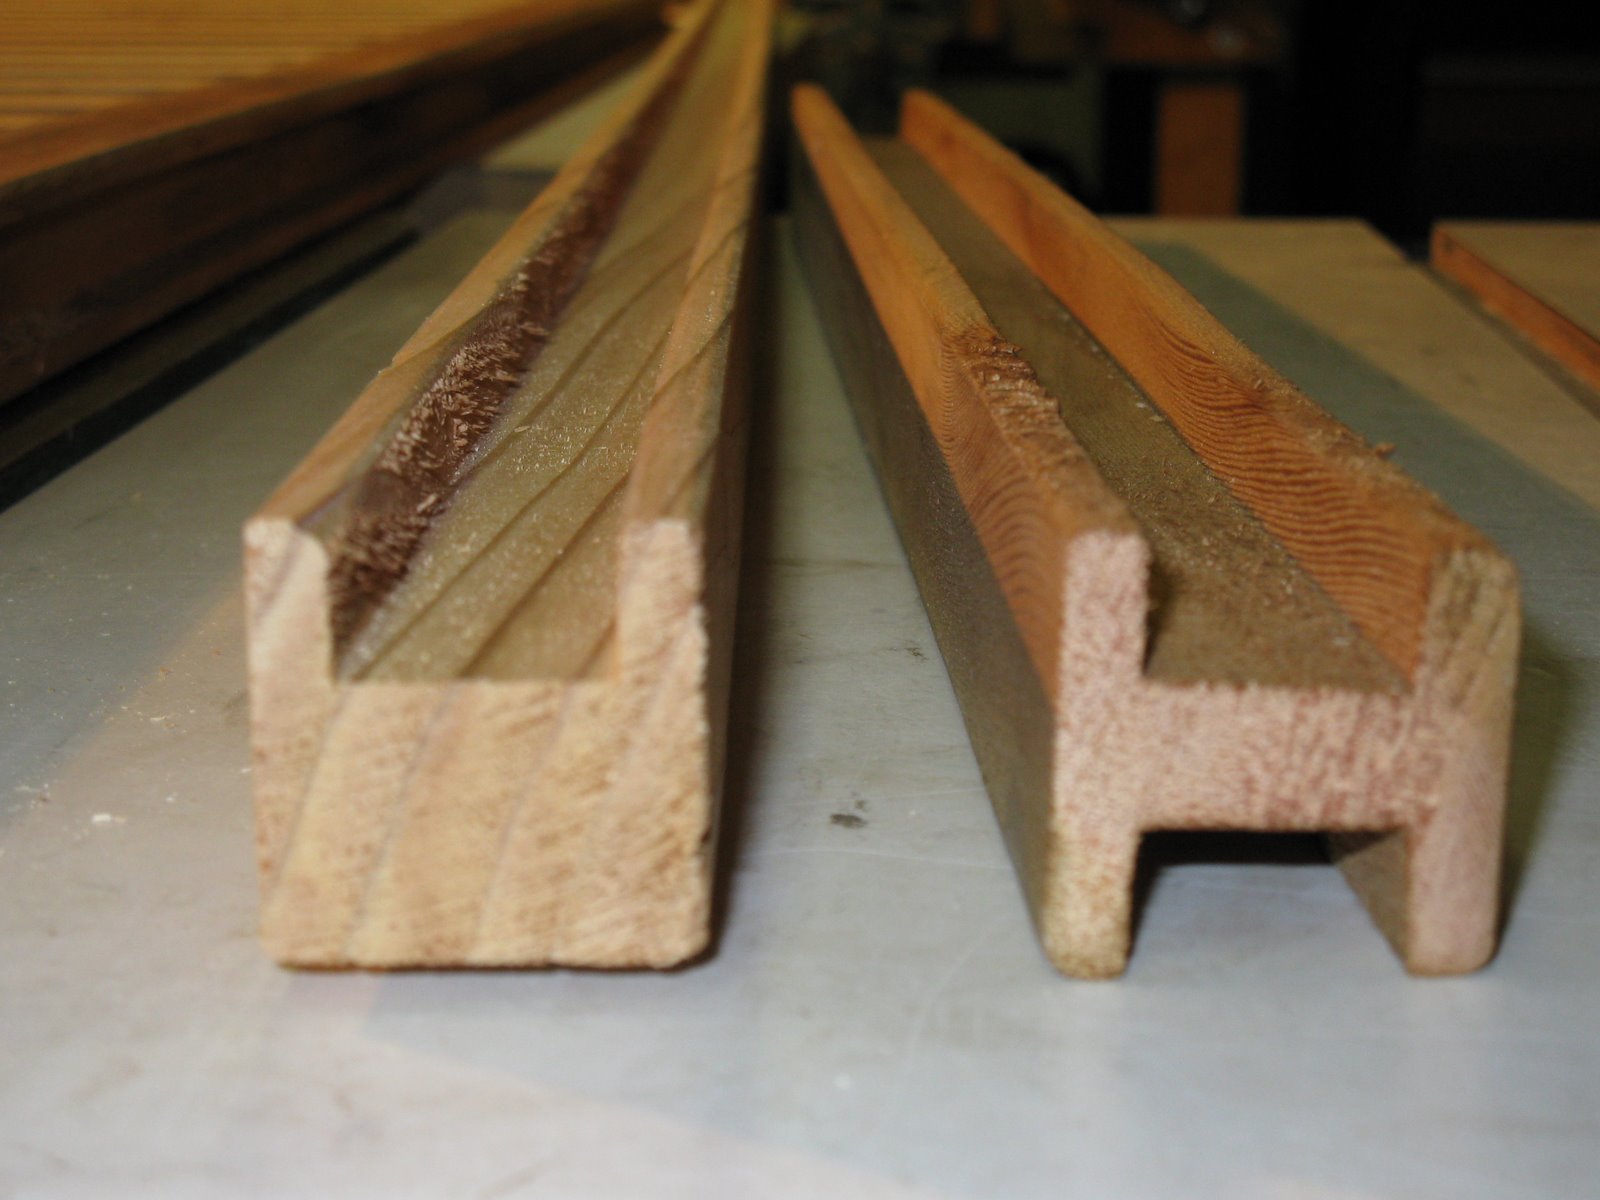
 To mate the panels I am using cedar “H” shaped divider pieces and dadoed, “finish end,” caps. [shown below, right]
The end caps will “picture frame” the entire screen and the dividers keep the panels together.[shown below, left]
Both of these pieces fit tightly over “two” overlapping slats in the lattice. For this reason it was important to cut the panels and leave enough lattice, at least 1/2″ so they fit snug.
 The top of this screen will receive a full length cedar, 2×5 top cap. [similar to a hand railing system] I used a 14′ long cedar 2×4 and chamfered the edged and then plowed out a dado on the bottom edge. The dado will receive the finish cap. [photo below]
This will be the last item installed. The dadoed finish end cap has been pre-drilled and holes counter sunk for mounting it into the molded top caps dado.
Once the top rail is fitted snug over the panels, galvanized crown staples will secure the finish end cap to the lattice panel.
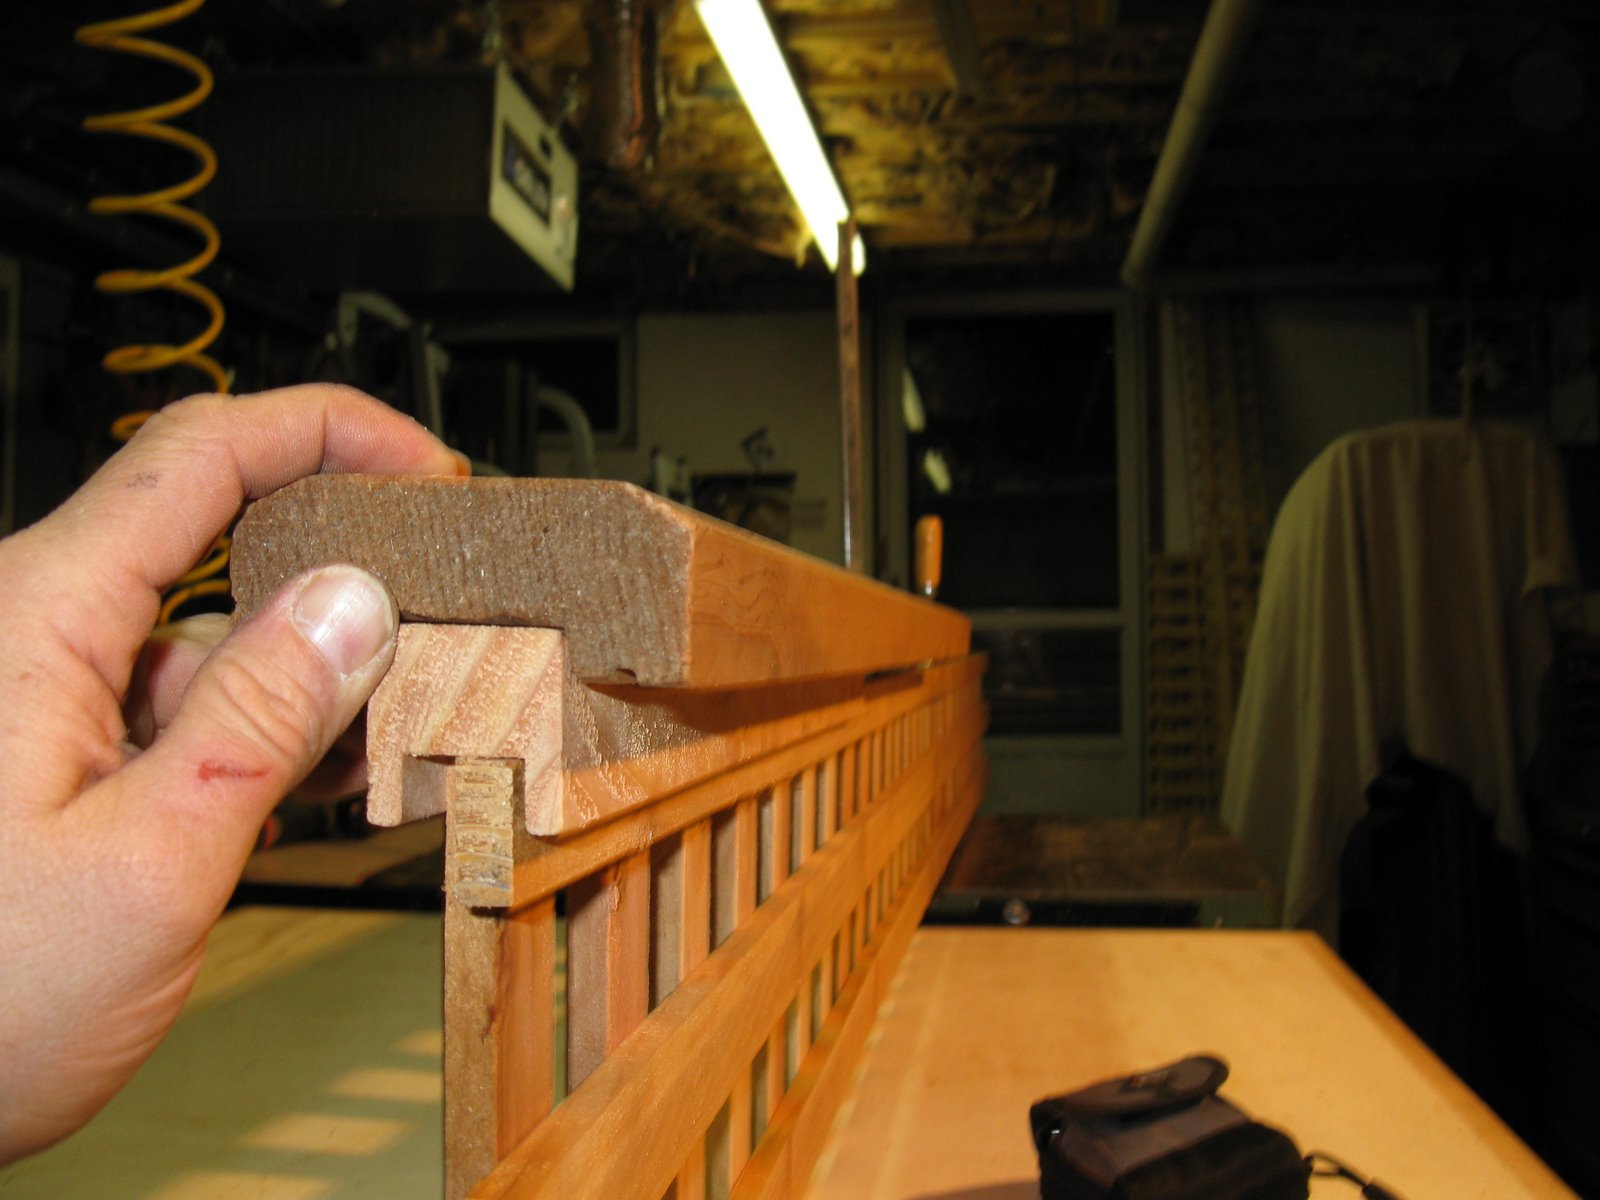
Finished end cap fitted inside the molded top railing. Hidden stainless steel screws sill secure these two.
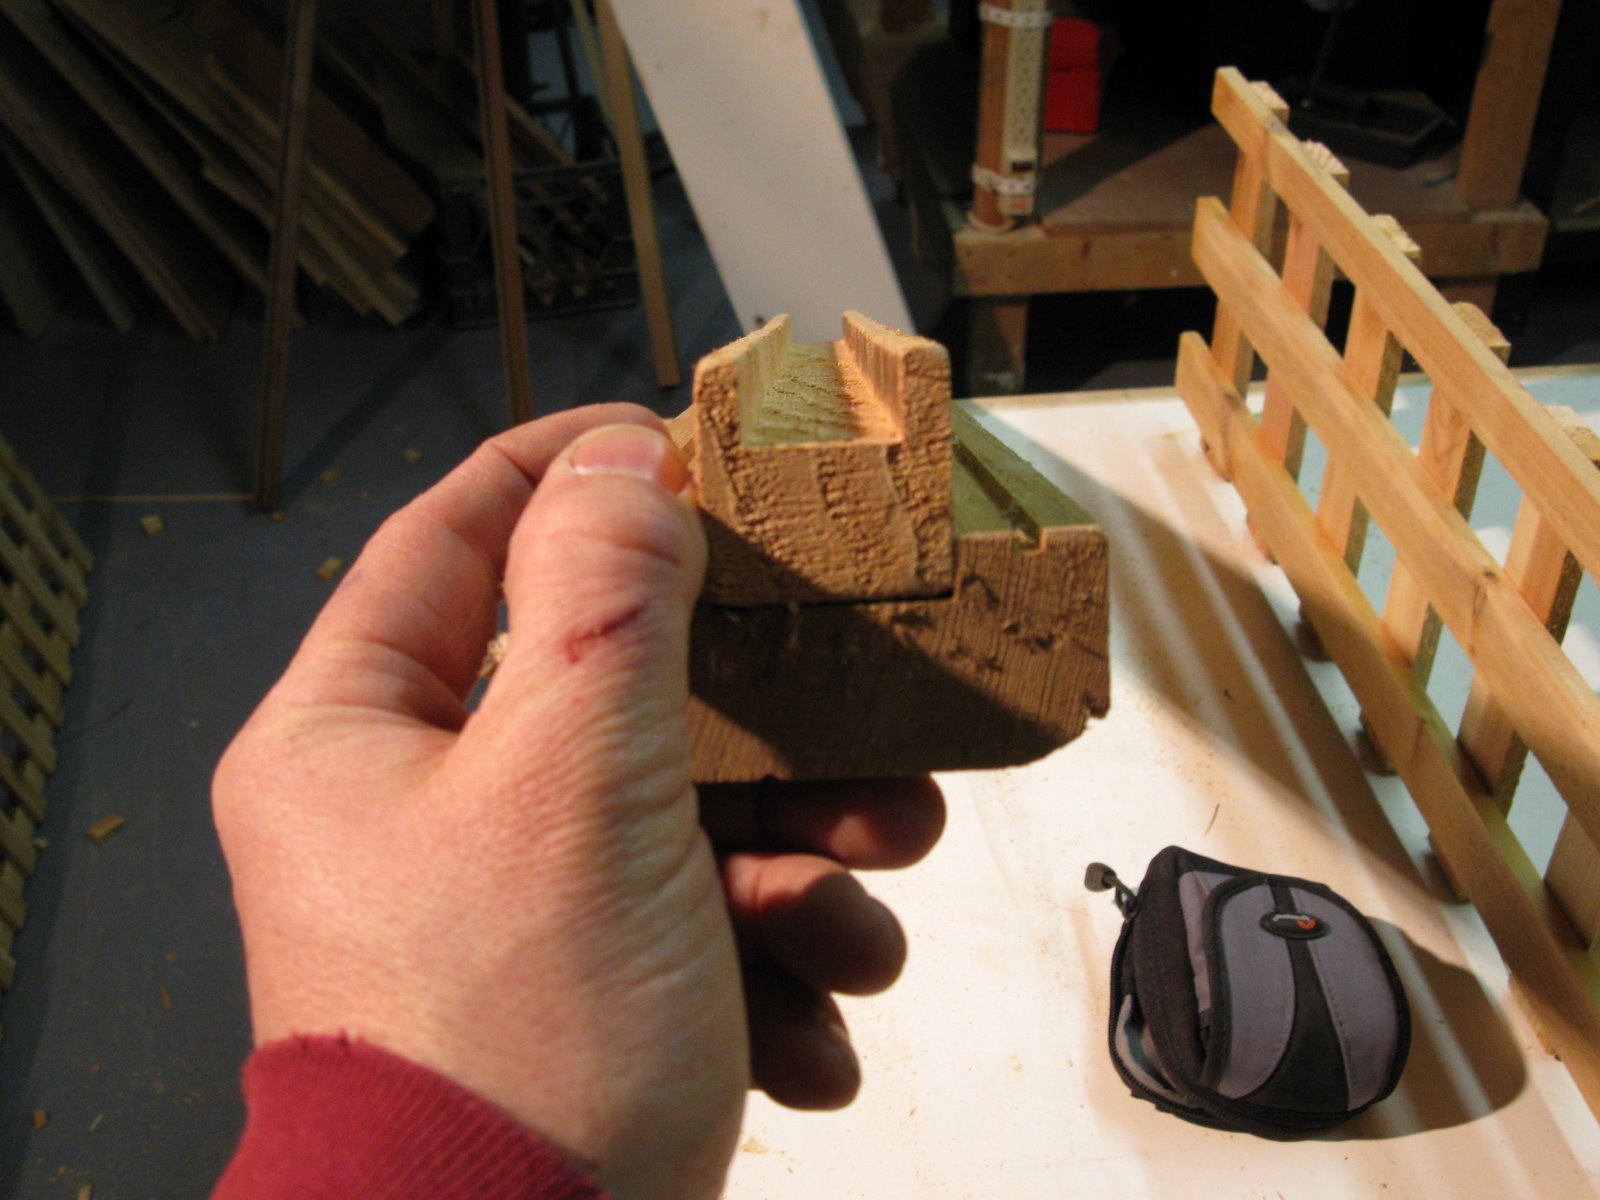 This picture shows the double dado, “H” dividers for holding the panels together. A close look shows the 1/2 slat on the bottom of the dado. This is important for a tight fit.
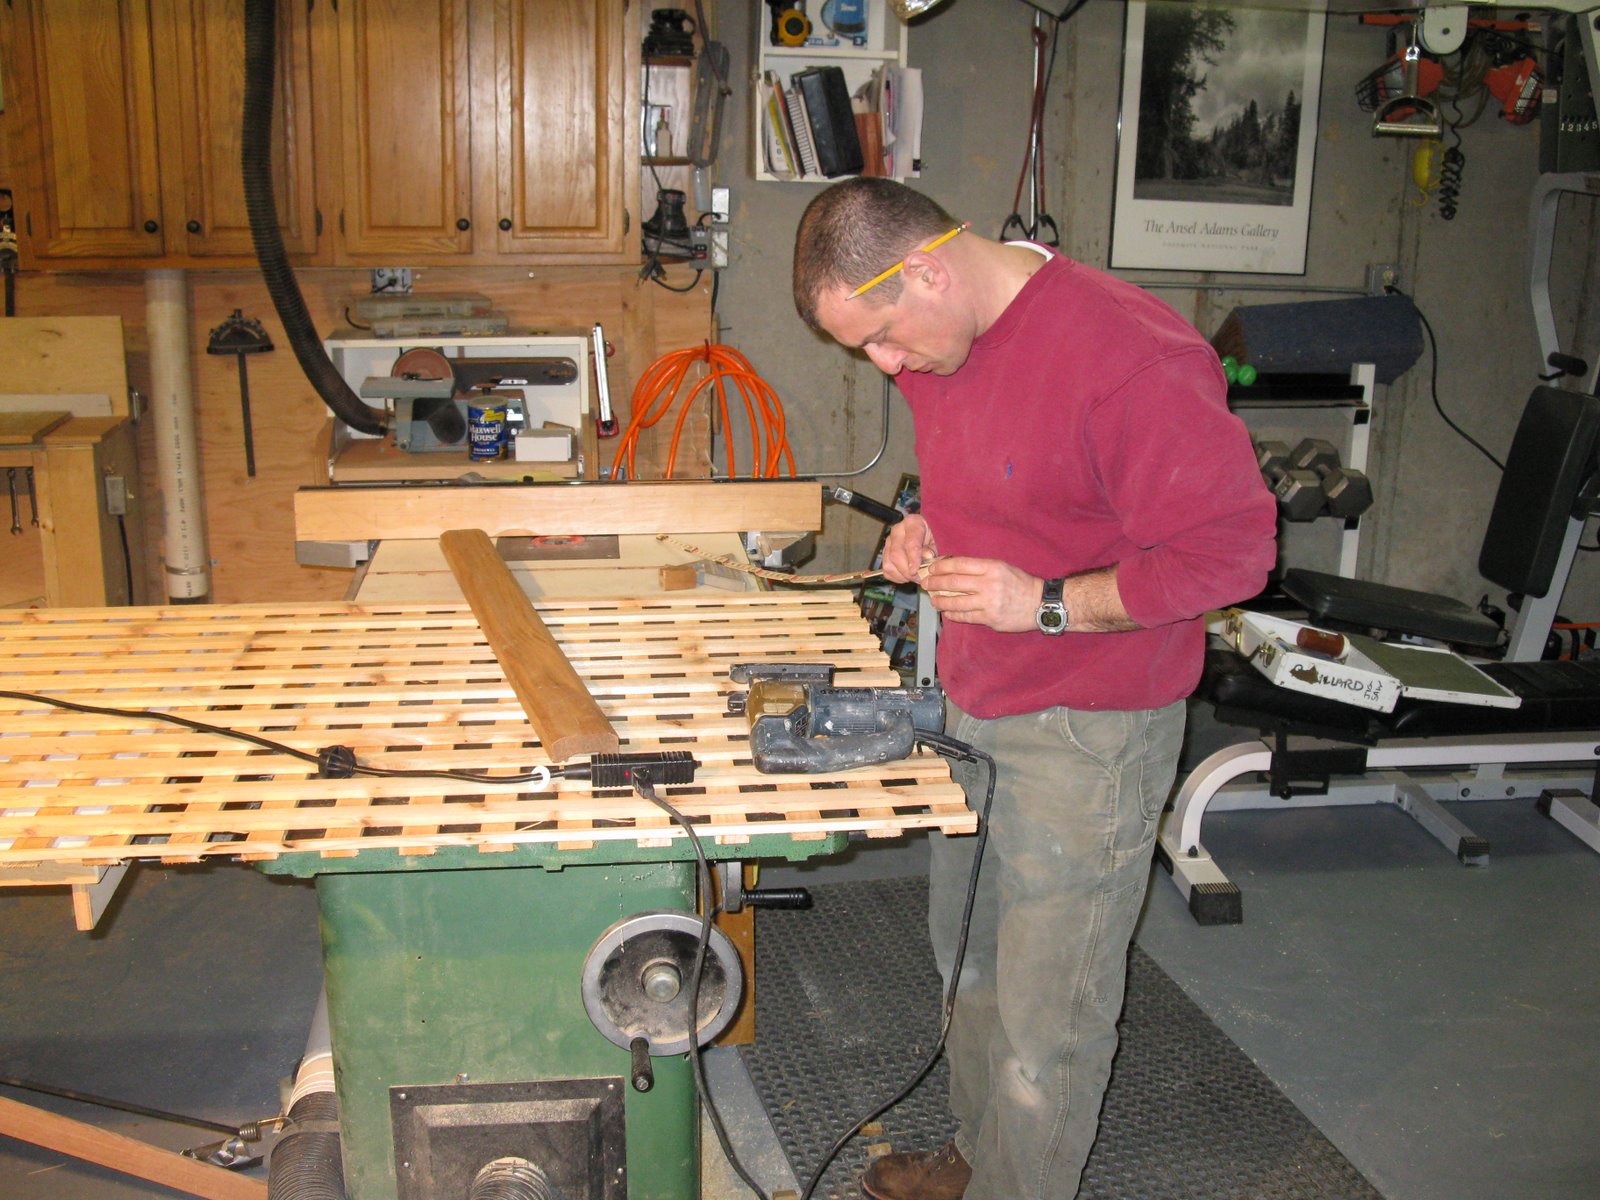
 Laying out the panel sizes. Is that gray hair????
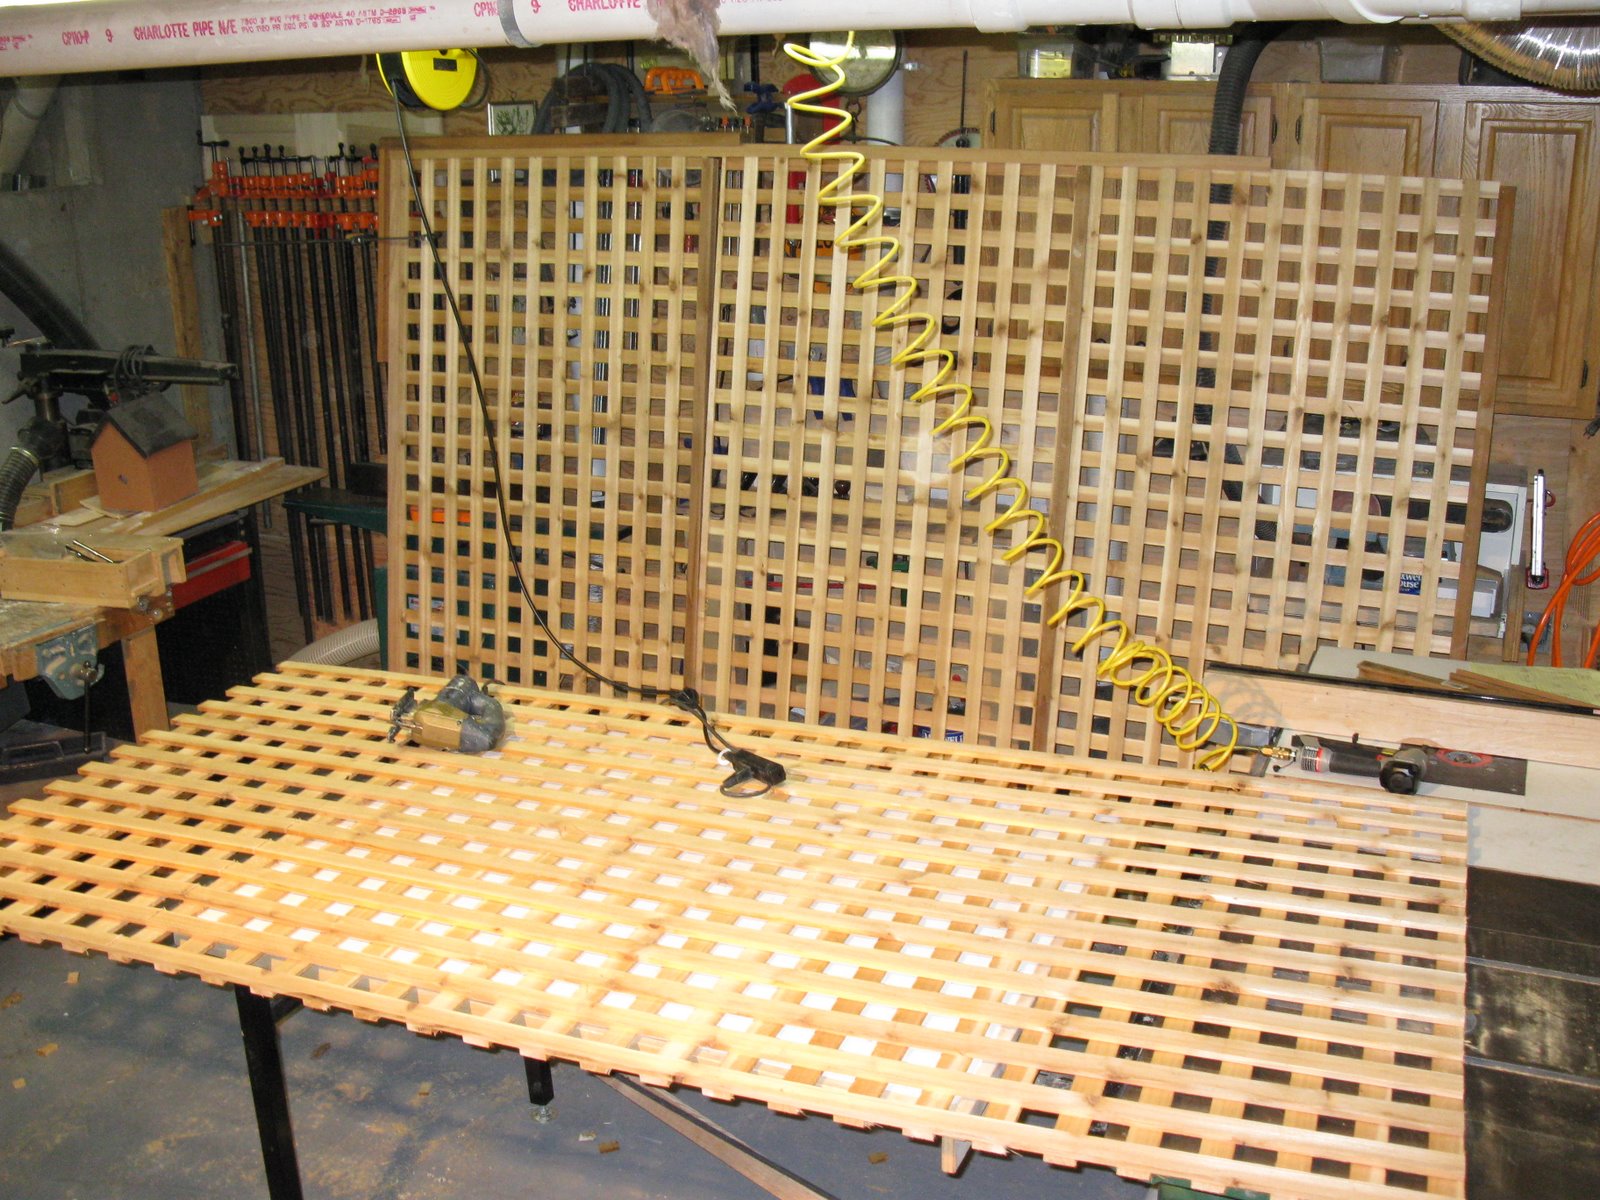
 Three pre-cut panels with dividers and top cap in the background.
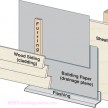
 I will use 2×4 cedar as an side / end to secure this screen to the wood fence and building. 2×4 cedar gives me more options for attaching the top rail with stainless steel screws and hiding them with cedar plugs.
Securing this screen will involve three fixed points; both ends and the decking floor. The brick wall will receive counter sunk, expanding bolts and will hidden by the finished end cap which will overlay the bolts and screw to the 2×4 cedar.
 There will also be a cedar cleat mounted to the deck flooring with stainless steel screws. The screens bottom finish end plate have been drilled and the screw holes countersunk [maybe even plugged?] to secure it to this cleat.
These three securing points and the solid cedar top rail should be plenty strong to withstand any winds.

See this project completed