Decorative Tray Ceiling

Framing A Decorative Tray Ceiling
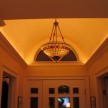
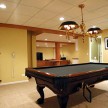
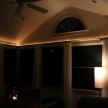
A tray ceiling is a rectangular architectural feature that is either inverted or recessed. Tray ceilings can be plain, ornate, subtle or dramatic and almost always make a statement!
When people install tray ceilings they almost always install accent or rope lighting above it. Tray ceilings are often found in kitchens dining rooms, hallways and formal living rooms.
Architectural Details And Shadow Lines:
Aesthetically speaking a tray ceiling disrupts the flat ceiling look that most homes have and creates a dramatic look.
Tray ceilings break up the ceiling plane and add a variation in height that creates an atheistic and architectural pl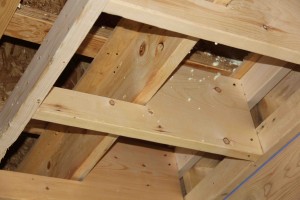 easing detail. A tray ceiling design also gives the ceiling added height, character and a feeling of spaciousness and luxury.
Often tray ceilings will have molding trim installed inside or around them, creating a dramatic visual effect. Many times larger lighting pendant fixtures or chandeliers are often installed in the center.
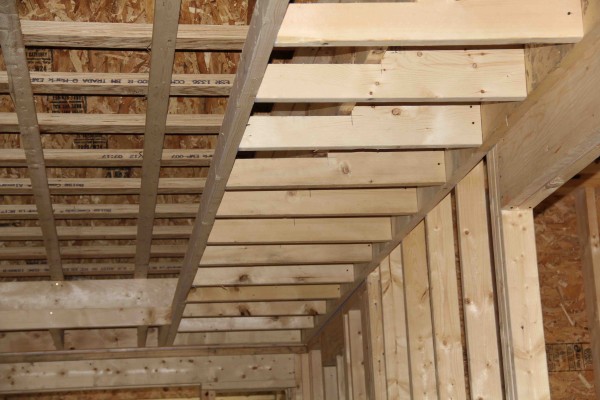
Building a Tray Ceiling:
The best time to build a tray ceiling is when building the room or remodeling and the wall and ceiling framing is exposed.
To create a recessed tray ceiling, think about what type of trim and crown moldings you will use and be sure to leave enough space above the tray to be able to install any crown 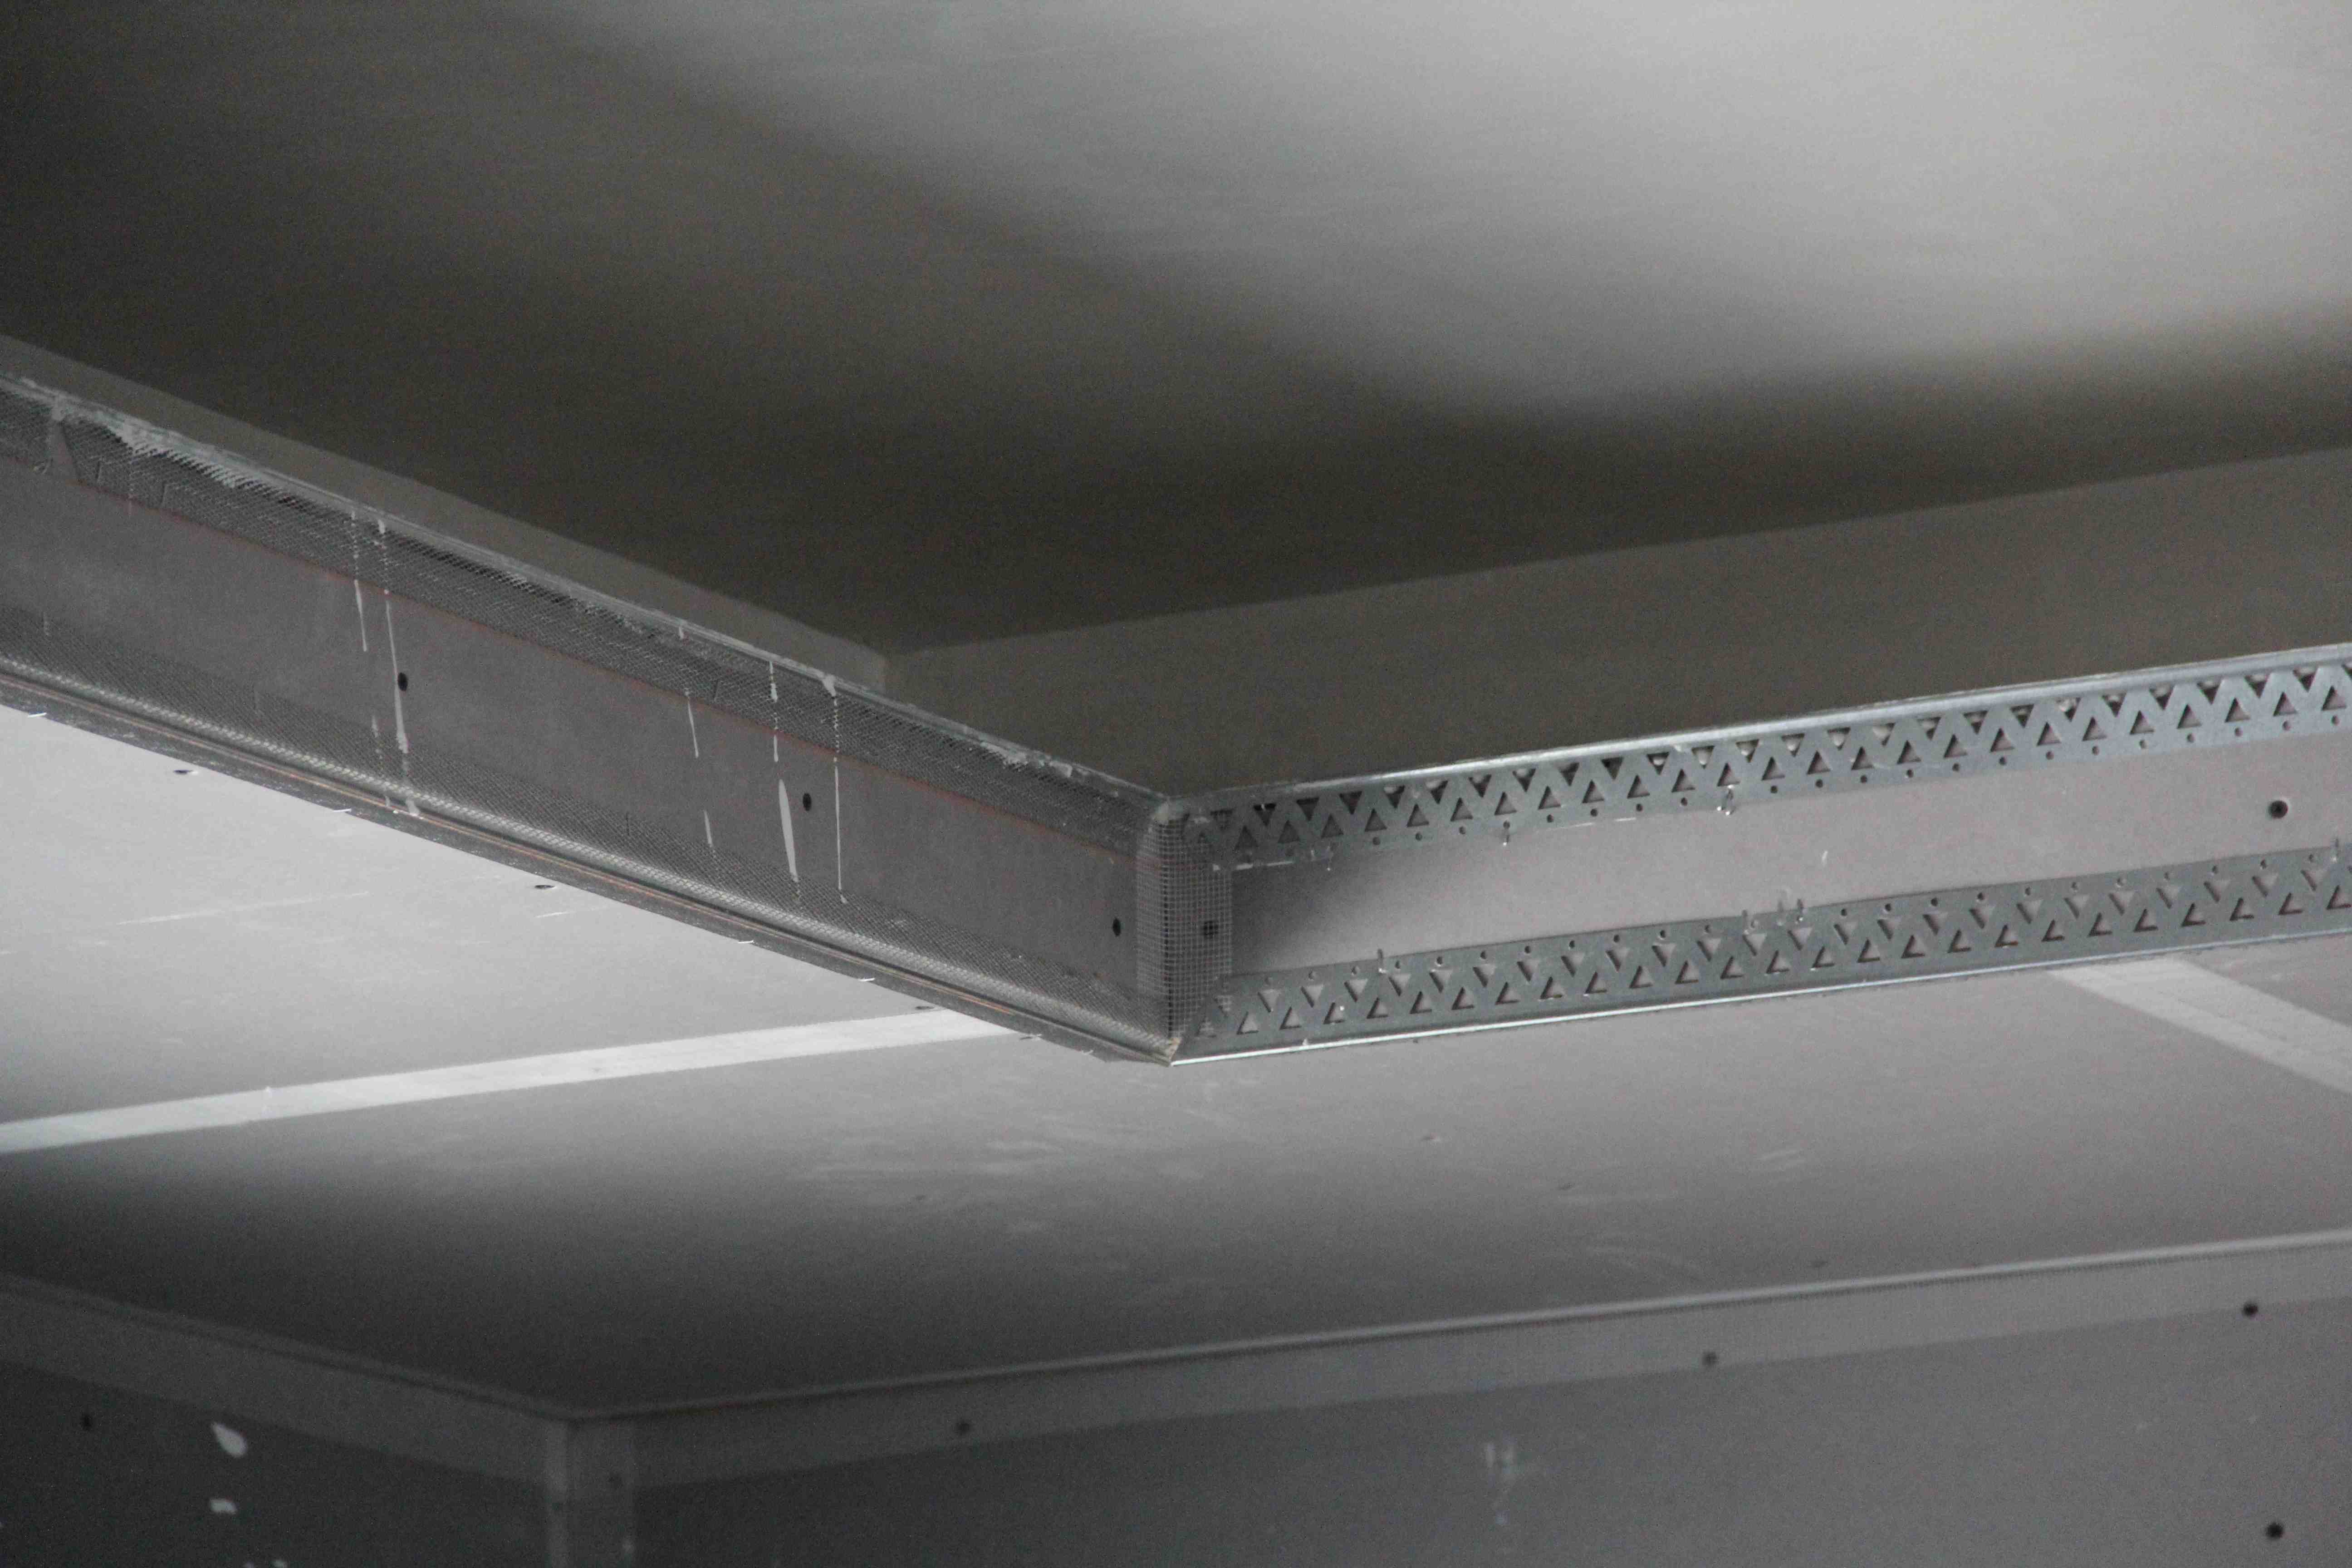 molding above the tray.
If you intend to add crown molding with roped lighting, you will need to add outlets above the tray out of sight. This outlet should be wired to a switch that you intend to control or dim your rope accent lighting.
Once you’ve determined you’re shelf spacing its time to establish a level line on all four walls of the room. Laser levels like the GLL3-80 3-Plane Hybrid Line Laser is perfect for a project like this. The GLL3-80 has a laser diode that can provide a full 360-degree coverage on two perpendicular vertical planes and one horizontal plane.
Once the level line is established install a horizontal 2×4 framing “nailer” around the perimeter of the room on that level line. Then mount larger perpendicular shelf bracket framing to the horizontal framing. To secure the shelf bracket framing I install 4 toe nails into the 2×4 framing and then later add a larger 2×8 across all of the shelf brackets.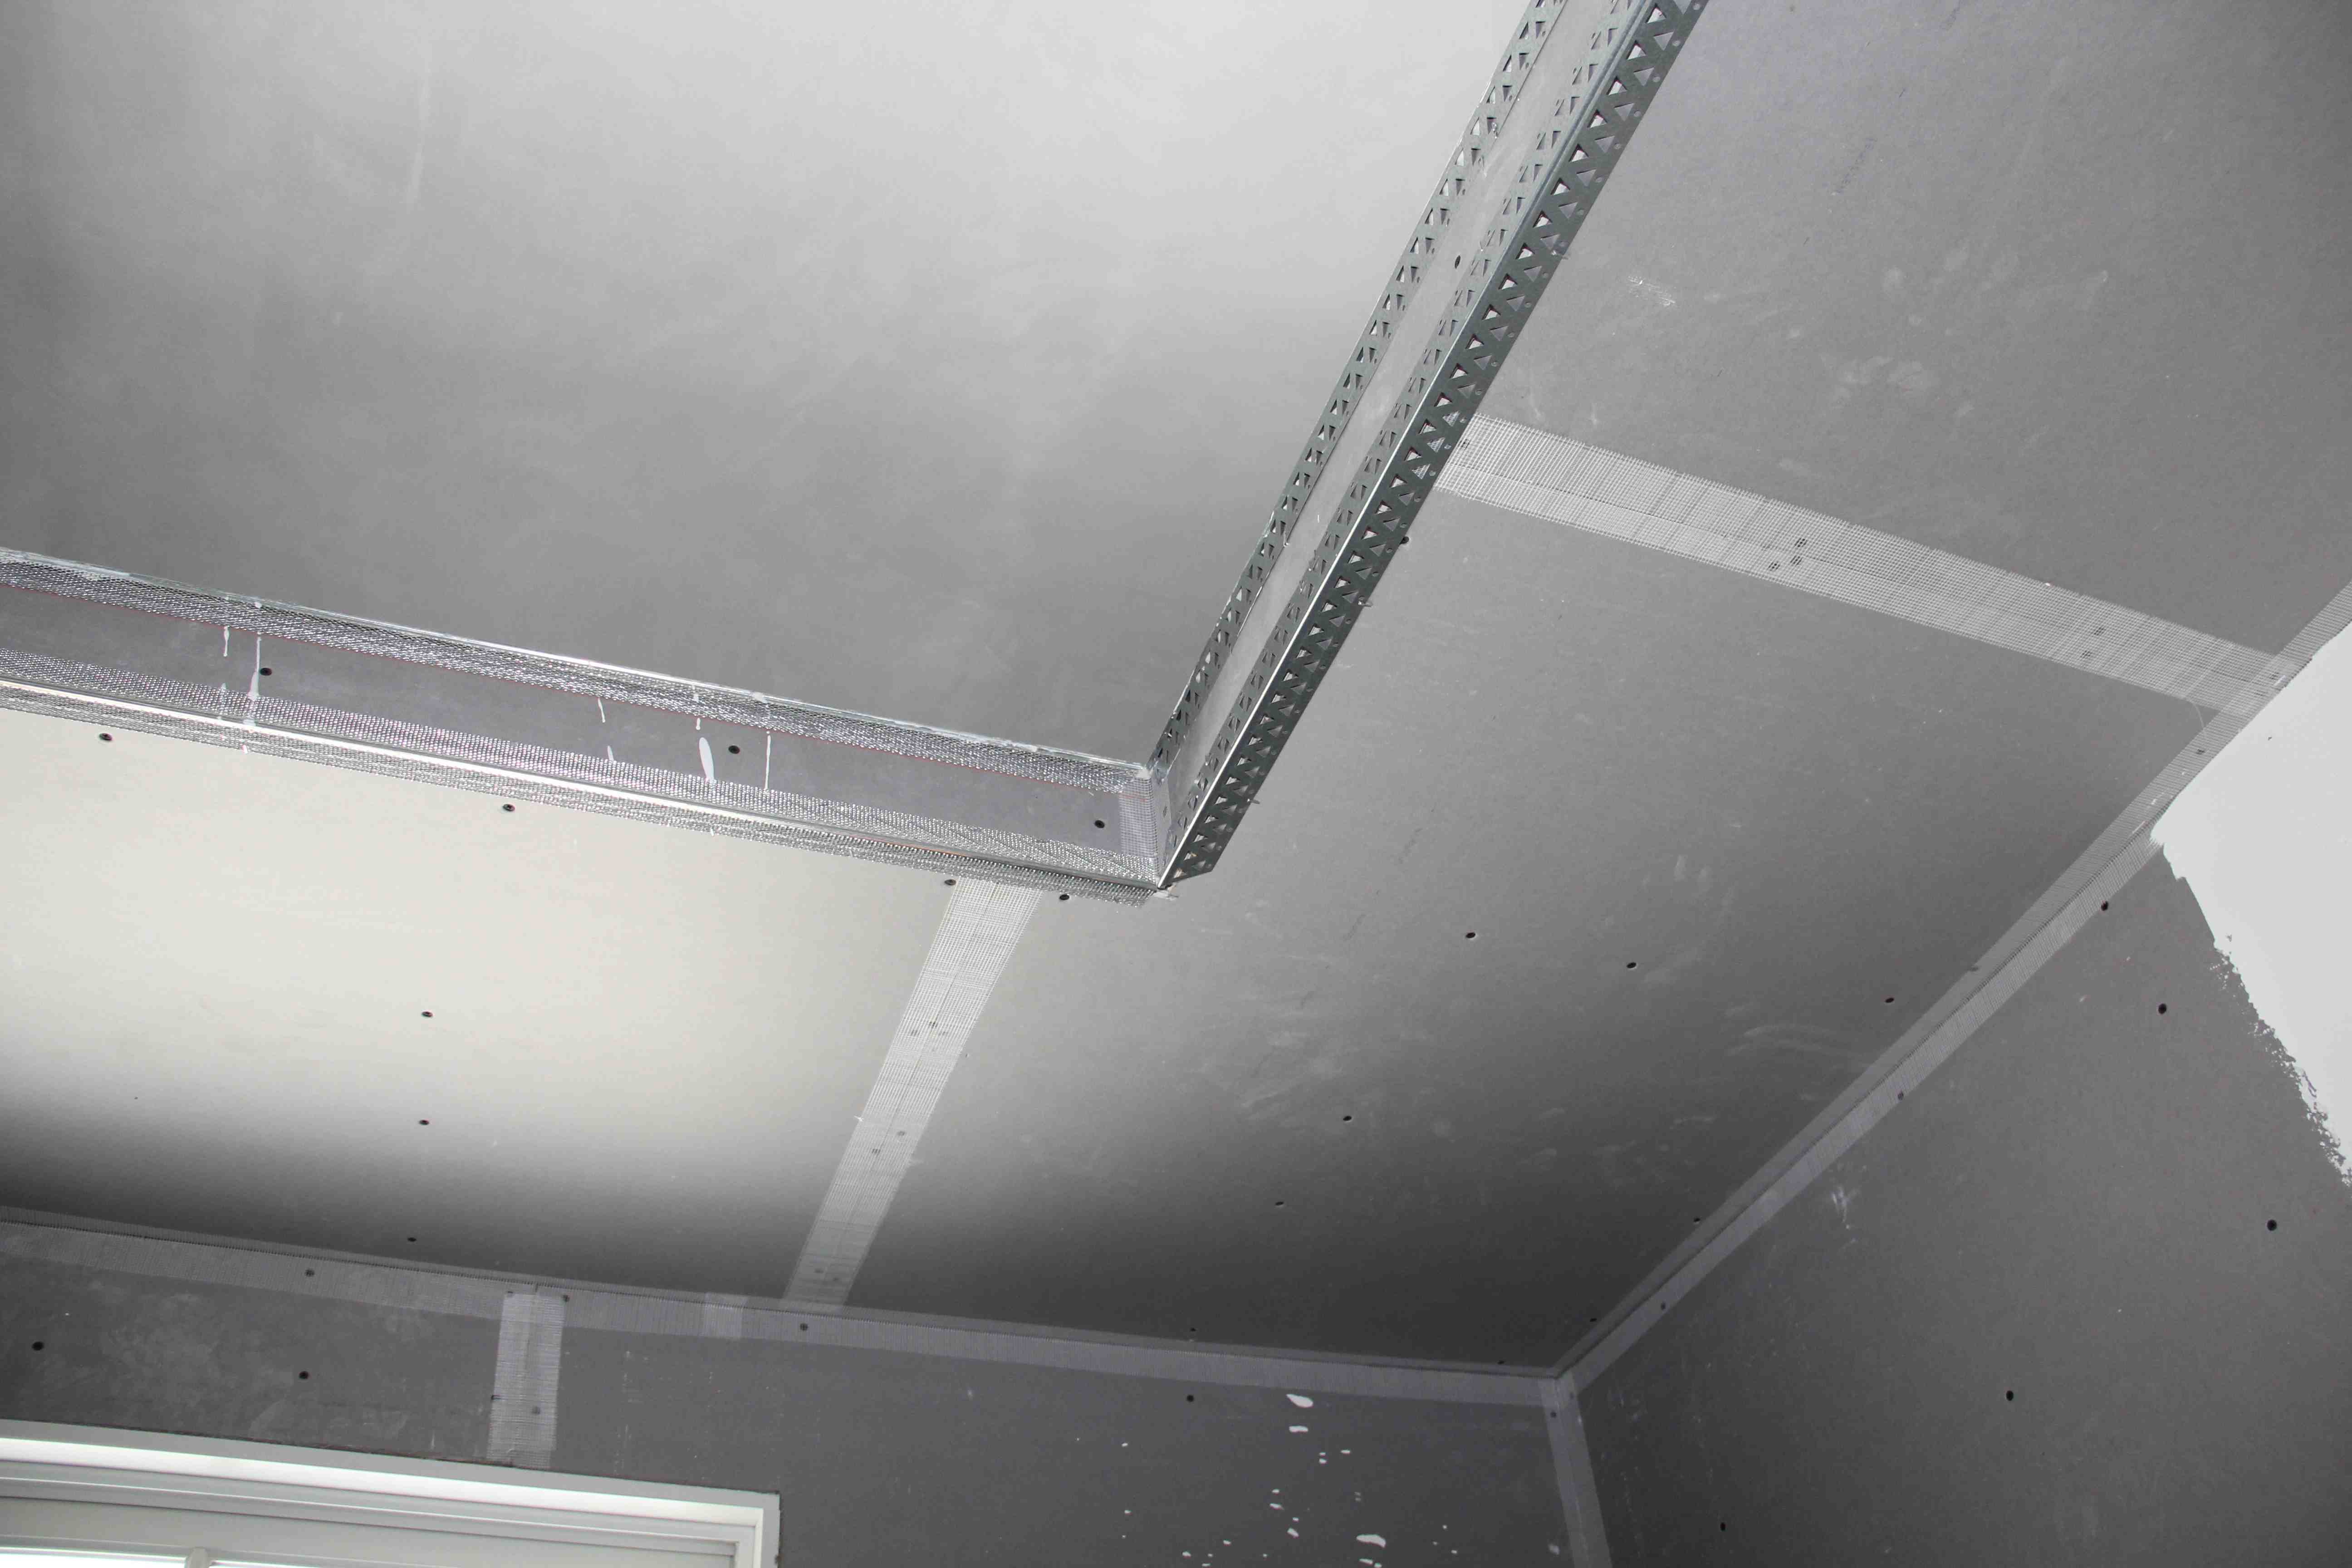
Take care to ensure that the shelf is installed level and that it is ninety degrees off the wall surface.
I cut the shelf bracket material to be able to accept a 2×4 on the otter shelf edge and also accept a 2×8 on the upper shelf area. this upper area will become the “wall” section above my shelf. The toe nailing, 24 and 2×8 all help to lock the shelf together and give it strength.
After the electrician installs the necessary wiring the entire shelf will receive blue board and plaster. Once that is dry the crown moldings and rope lighting can be installed.