Installing A Window Seat

Custom Window Seat Installation
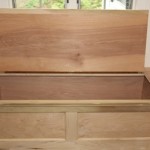
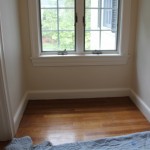
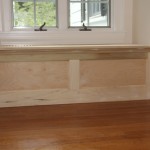
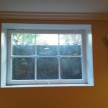
I recently made a custom window seat for this window alcove. [photo right] The customer originally had a bench in this spot but wanted something more permanent with storage. We decided installing a window seat with a hinged lid was the best option.
Measuring and making this window seat was done earlier and in my shop, this post is only the installation portion of the finished window seat.
Preparing the space:
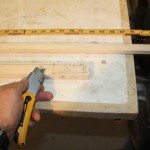
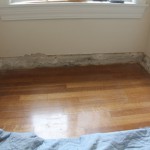
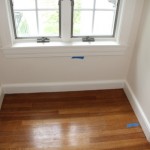
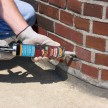
The first step involved with installing the window seat was to carefully remove the existing baseboard trim. I decided that I was going to save the old trim so that it matched trim in the area.
I used a utility knife to cut the baseboard caulking seams and a scrap block and pry bar to gently pry the baseboard off the wall. The scrap block of wood is placed against the plaster wall to prevent damage from the pry bar.
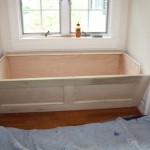
Installing the box:
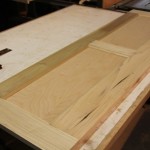
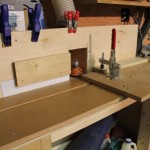
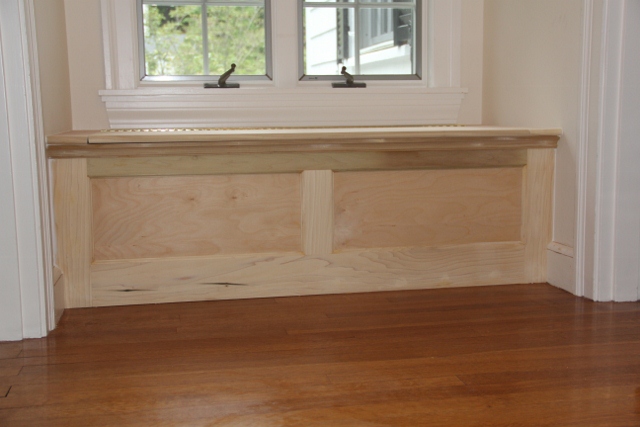
I purposely made my window seat box a few inches narrower than the opening. I did this so I wold not have to fit it to fit. the front panel was made larger and will be scribed to fit wall to wall.
Using a level and shims I make sure the window box sits level in its resting spot as well as centered in the opening. I located the wall studs and pre-drilled and counter sunk 2  1/2″ screws through the box and into the studs. I try to keep my screws up high, under the hinge rail to hide them.
As much as I hated to I also installed two screws in the bottom front of the window seat box and into the hardwood floor.
Installing the front panel:
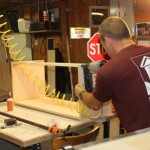
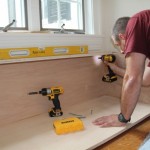
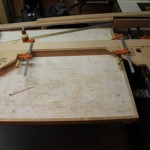
I checked the floor which was level and both side walls which were plumb. I was lucky because that meant minimal scribing.
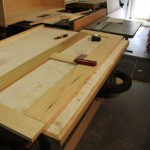
I place the edges of the panel to the walls to see how they would sit and they looked really go od, so instead of scribing I measured side to side, added 1/16″ of an inch and then cut my panel to that measurement with 30 degree bevels on both ends.
The bevels allow the panel to slide into place without a fight but with the sharp point of the bevel tight to the walls. The top portion of the bevel is also hidden by the seat frame so I had no worries of an exposed cavity.
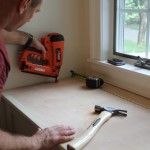
Once I had the window seat front panel in place I applied Gorilla wood glue and then secured the panel with finish nails. I used my Paslode cordless finish nailer for this project. I have to say that this was not an easy spot in the house to get to and dragging a compressor and hose would have been torture.
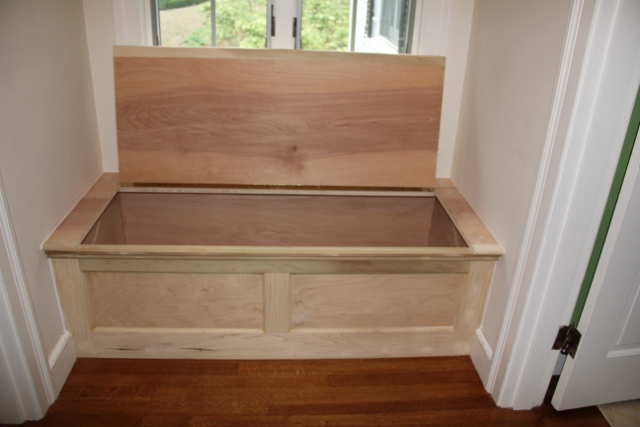
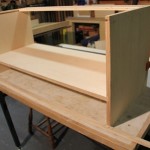
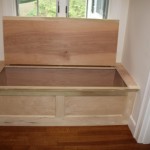
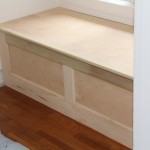
Installing The Window Seat Lid Top:
I pre-assembled the lid and frame in the shop. On site I installed the lid top similar to the front panel by scribing to the walls. I also use a back bevel to get a super tight fit to the walls.
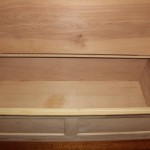
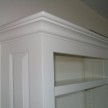
I secured the lid frame to the box frame with glue and finish nails. Once this was complete I installed a piece of decorative molding along the top edge of the front panel located just under the window seat lid.
Lastly I reinstalled the baseboard, used wood filler at all exposed nail holes, sanded flush, vacuumed up and notified the painter.
READ: Custom Bookcase with Window Seats