The Most Common Locations for Roof Leaks
By Robert Robillard on roof leaks
Roof Leaks
Finding roof leaks have often been associated with the idiom: “finding a needle in a haystack.” It’s difficult and often seems impossible to do.
Here are a few methods that have proven useful to me to locate roof leaks:
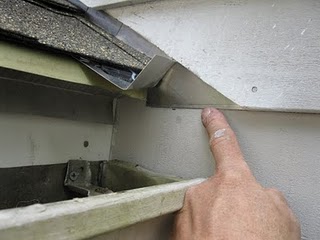
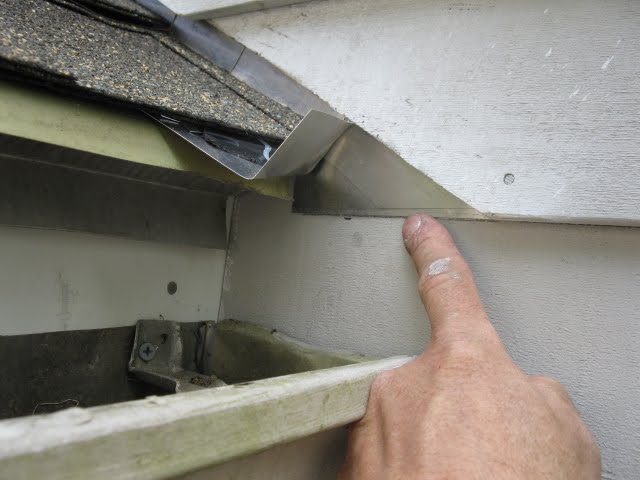
1. Inspect Roof and Sidewall flashing:
Most of all the roof leaks I have dealt with involved improper or damaged,
flashing. Flashing’s are transitional roofing materials. They connect a roof to something that is not a roof such as a chimneys, roof valleys, house walls, skylights, plumbing stacks, etc.
Some roofs stop at a house wall. Metal flashing must be in place to direct water down the wall and away from the stopping point of the shingles.
This “step” flashing may be behind wood siding or in a brick wall. See sidewall flashing leak damage.
The flashing should extend over the shingles at least three to four inches. If the wall is brick or other masonry, this flashing must bend and extend one inch into a mortar joint.
2. Use a garden hose:
Start spraying from the lowest possible roof leak location and work upwards. NEVER point the hose up-roof which directs water under the shingles. Instead, try to simulate rain falling from above.
Be patient as tiny leaks often take a long time to start dripping.
Remember that water can travel sideways and present itself inside the house several feet or more away from the leak location. water leaking into a roof can hit a roof seam and follow it sideways until it drips into the house. I’ve found a roof leaks over 10 feet away from the interior leaking spot.
3. Low Pitched Roofs:
Flat rubber roofs often have seams where standing water or snow can infiltrate. Low sloped roofs are highly susceptible to leaks from wind blown rain and ice dams.
4. Worn, Damaged Shingles And Popped Nails:
Often times shingles wear down or are damaged by workers walking on them and a nail popes through. Other times a nail is not driven flush and cuts into the shingle. Either situation can cause a pin hole leak.
Look for missing or damaged shingles, especially cracks.
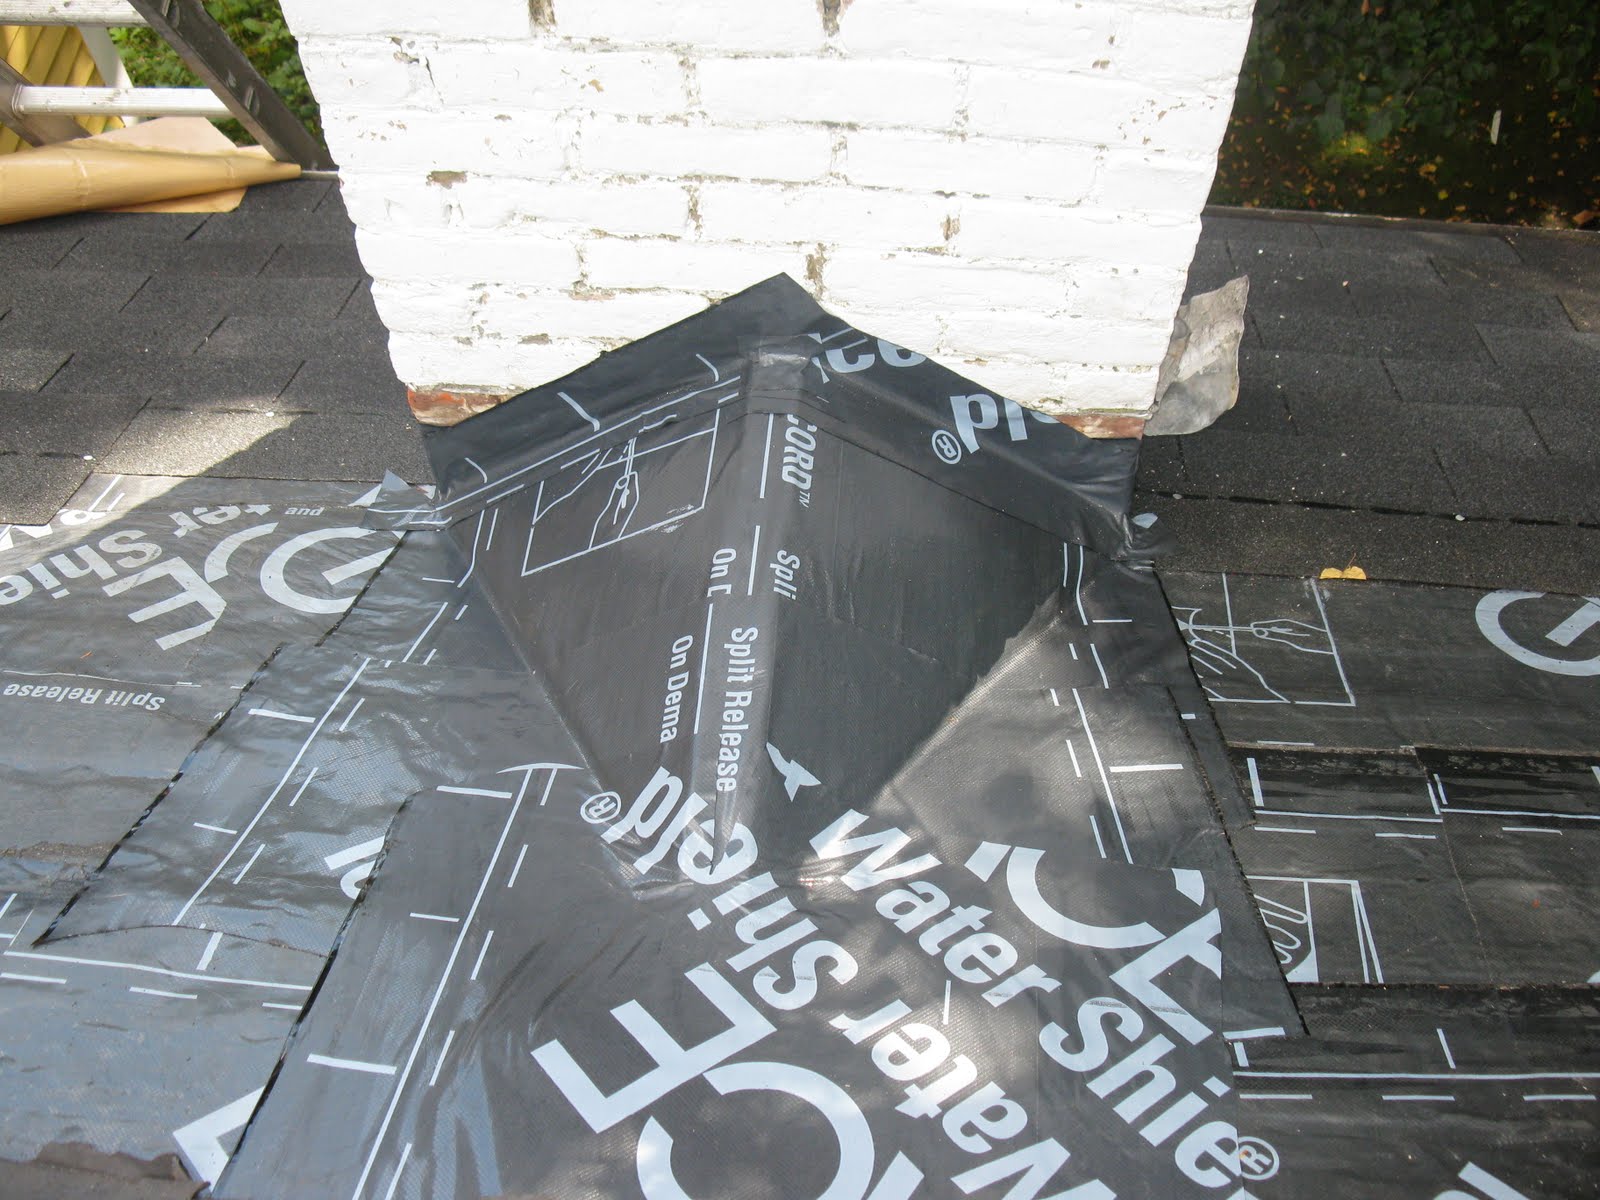
5. Chimney Flashing:
Chimneys contain four different types of flashing. All must be right or you will have a leak. Plus, the counter flashing that goes into the brick mortar joint must be right. A hairline crack above the flashing can allow vast amounts of water to run behind the flashing’s. Look for soldered corners of flashing that might have broken or have holes.
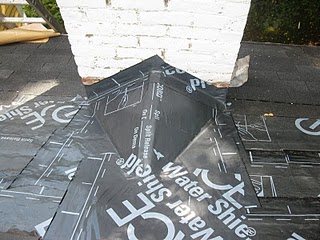
Many time installing a chimney cricket behind a chimney can resolve leak issues.
6. Plumbing Vents And Skylights:
Many plumbing vents consist of a rubber seal with an aluminum flashing. The rubber can fail in as little as 10 to 15 years. Look for cracked rubber around the plumbing pipe. The flashing should be installed up and under the shingles that extend up roof from the middle of the plumbing vent. The bottom half of the flashing should be exposed and overlap the lower shingles to shed water.
7. Ice Dams:
These leaks can happen even if everything on your roof is in great shape. The best prevention of ice dams is to install a rubber under-layment membrane under your roof shingles and to take steps to prevent air leaks in your attic or roof insulation.
8. Plumbing Fixtures:
Finally, consider that roof leaks may be coming from a leaking plumbing fixture or pipe. Sometimes it is necessary to open up a wall or ceiling to inspect the cavity and attempt to locate the roof leak.


