Installing Veener On A Bookcase Project

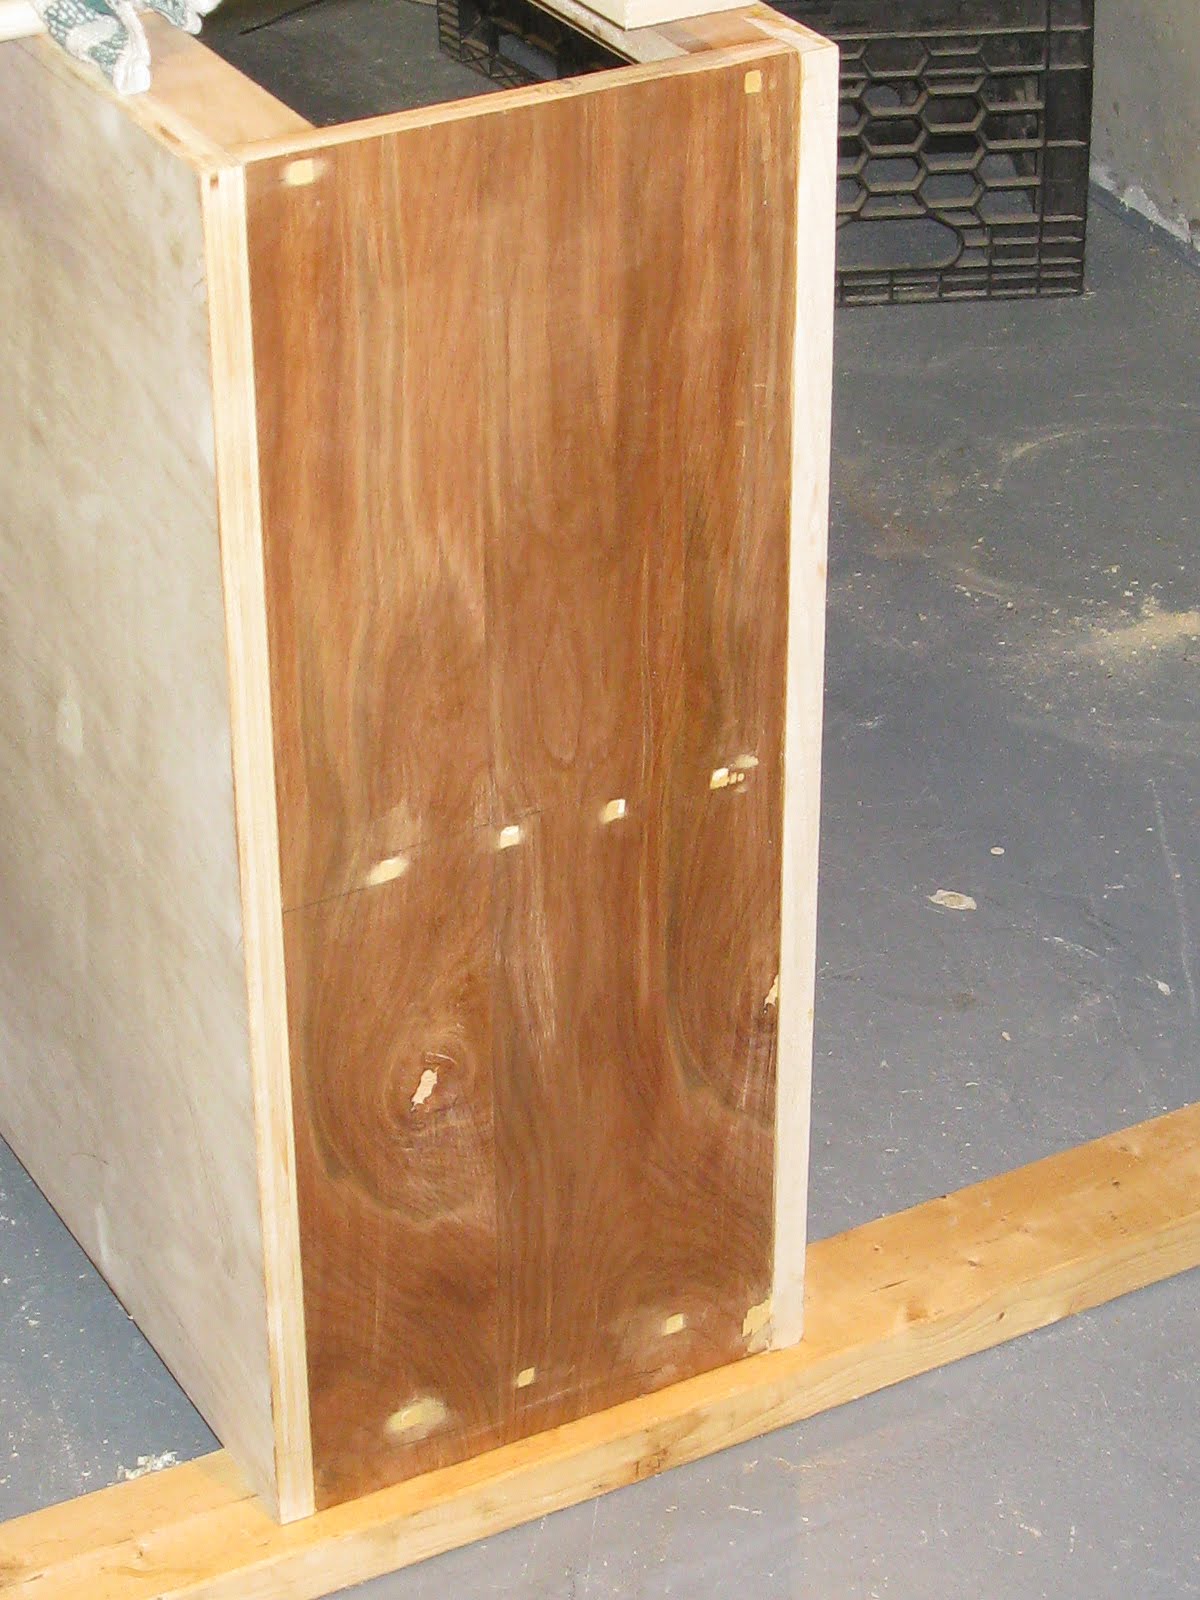
On my recent bookcase project I erred and ended up having screw holes visible on the finished end portion of the cabinet. My friend always says “it’s not the mistakes you make, it’s how you fix them.” In this case hide them!
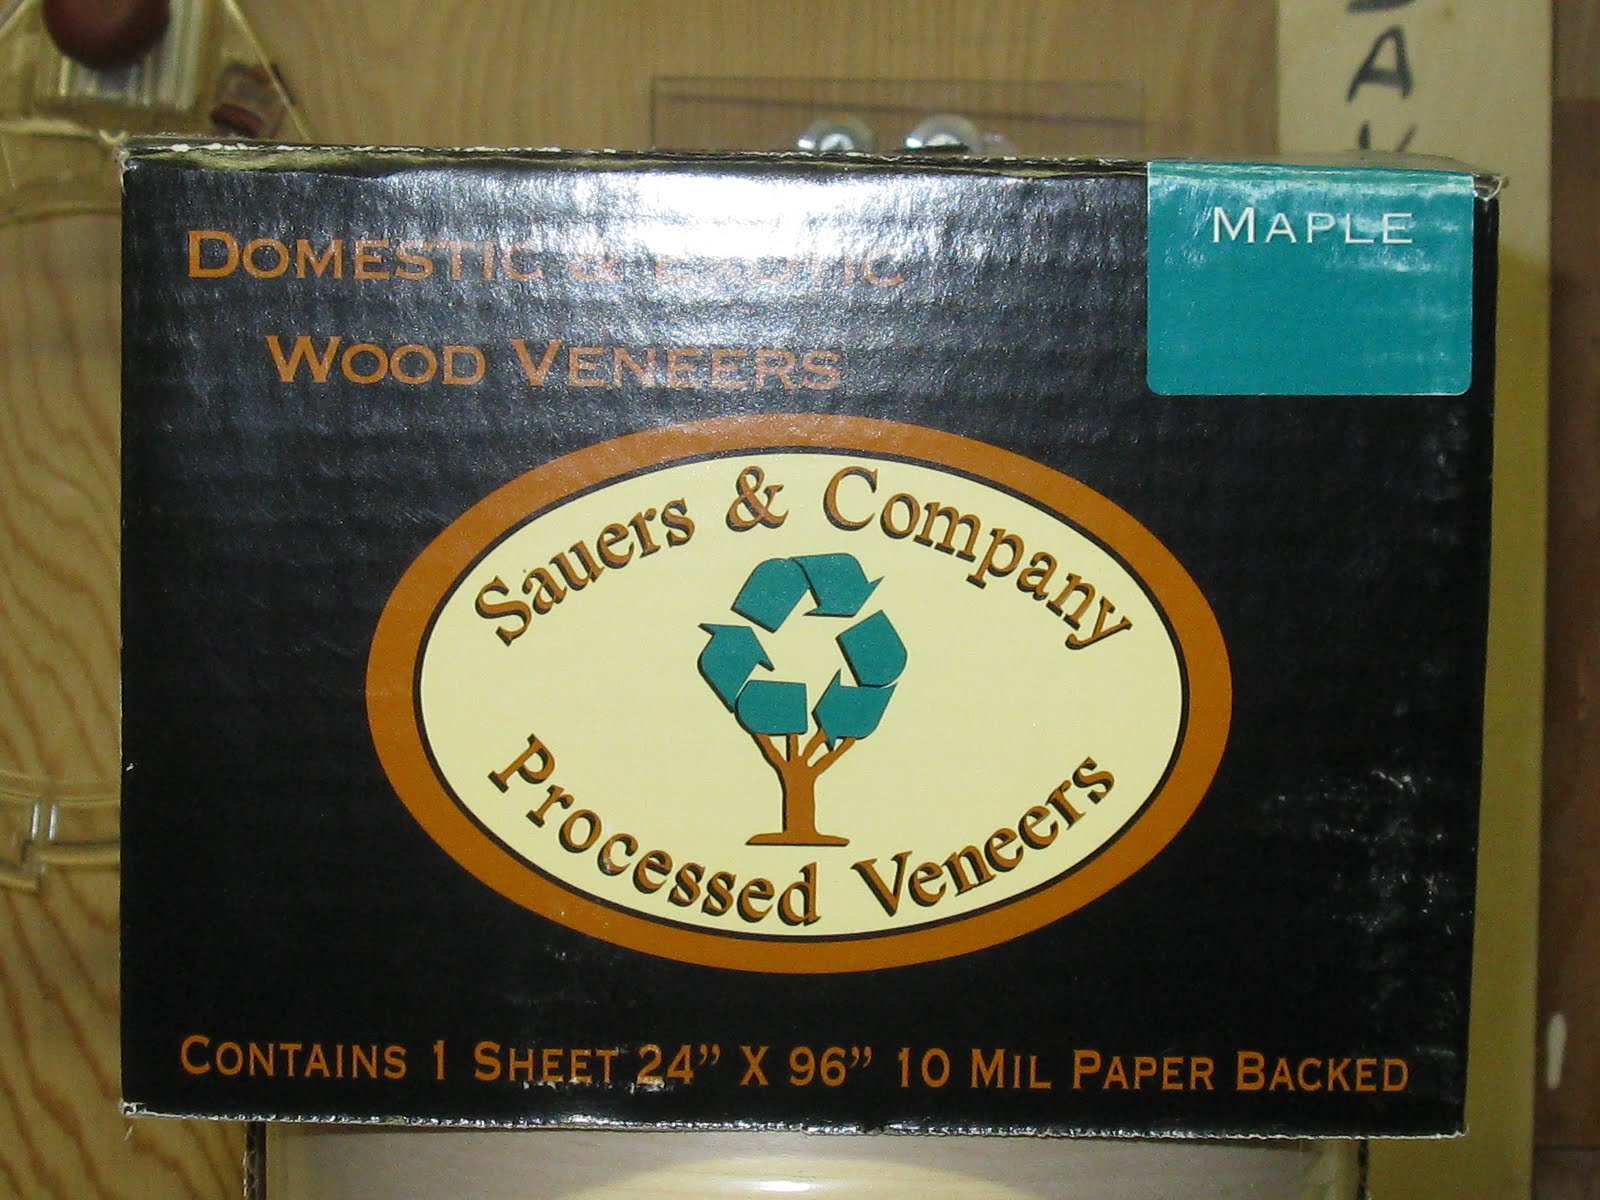
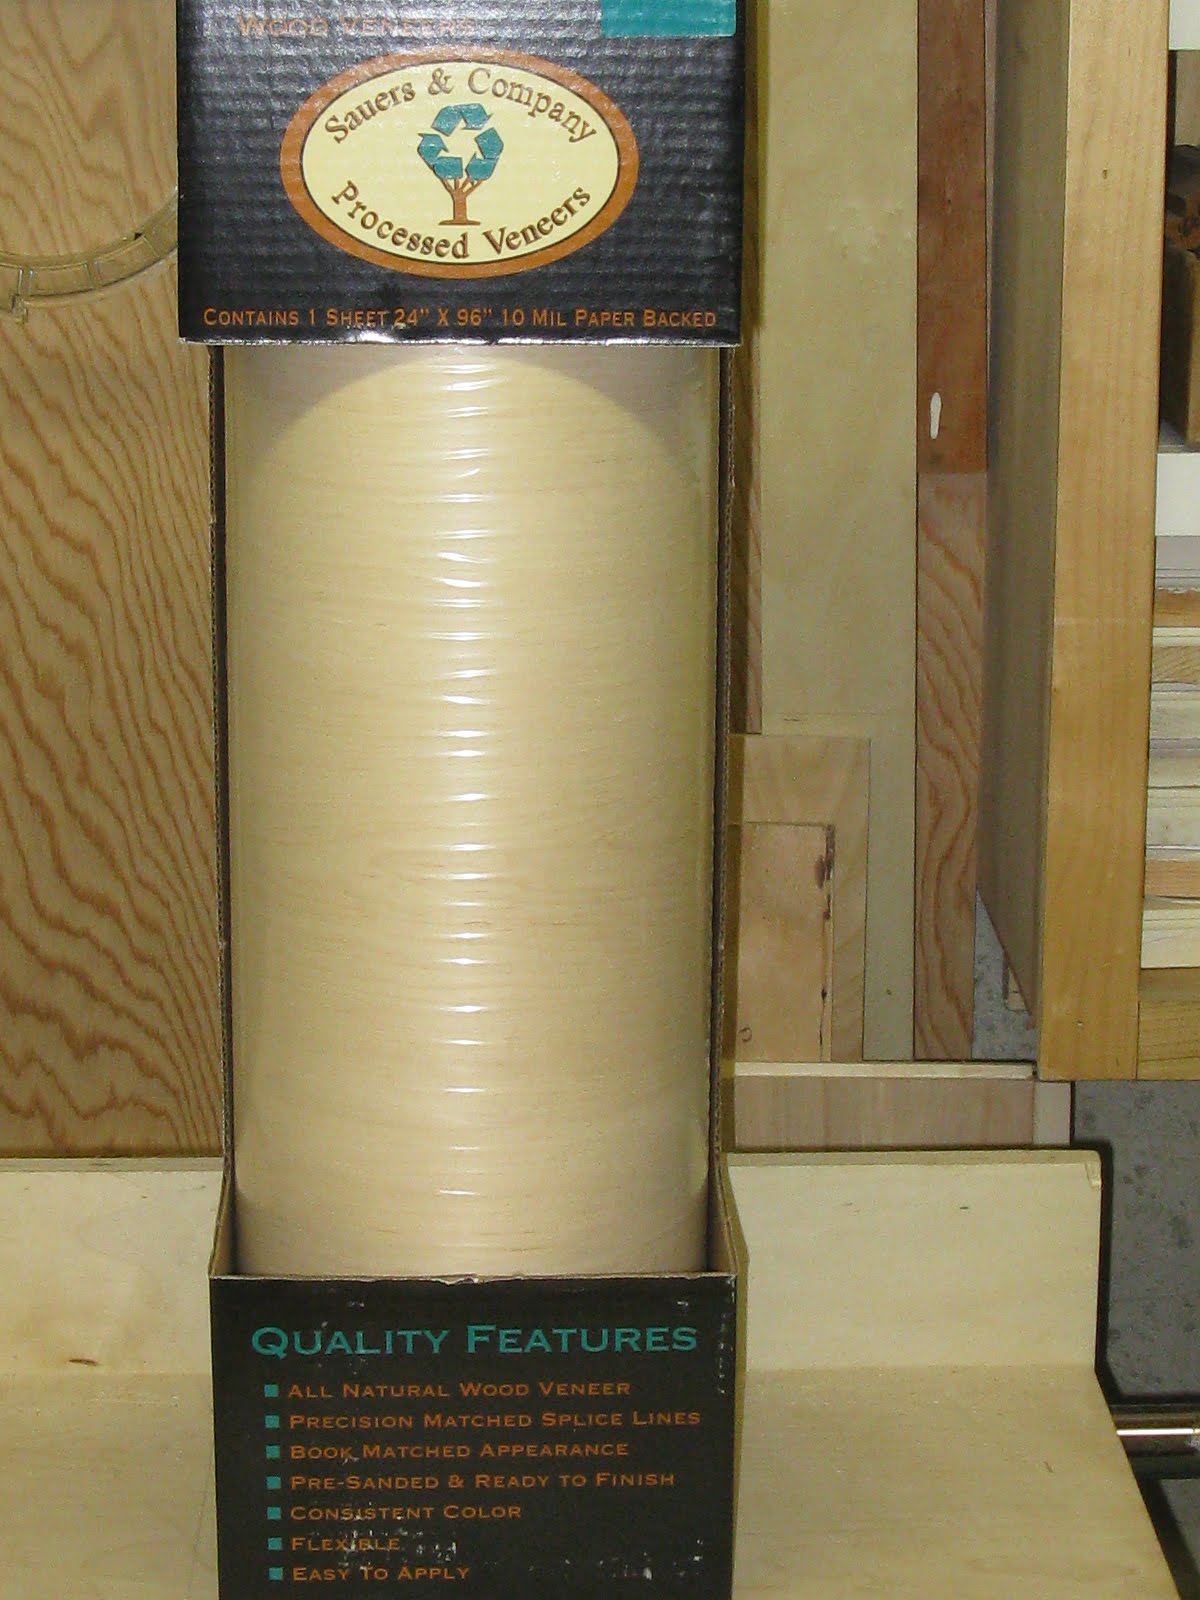
In order to hide the screw holes I needed to add a layer of veneer plywood.
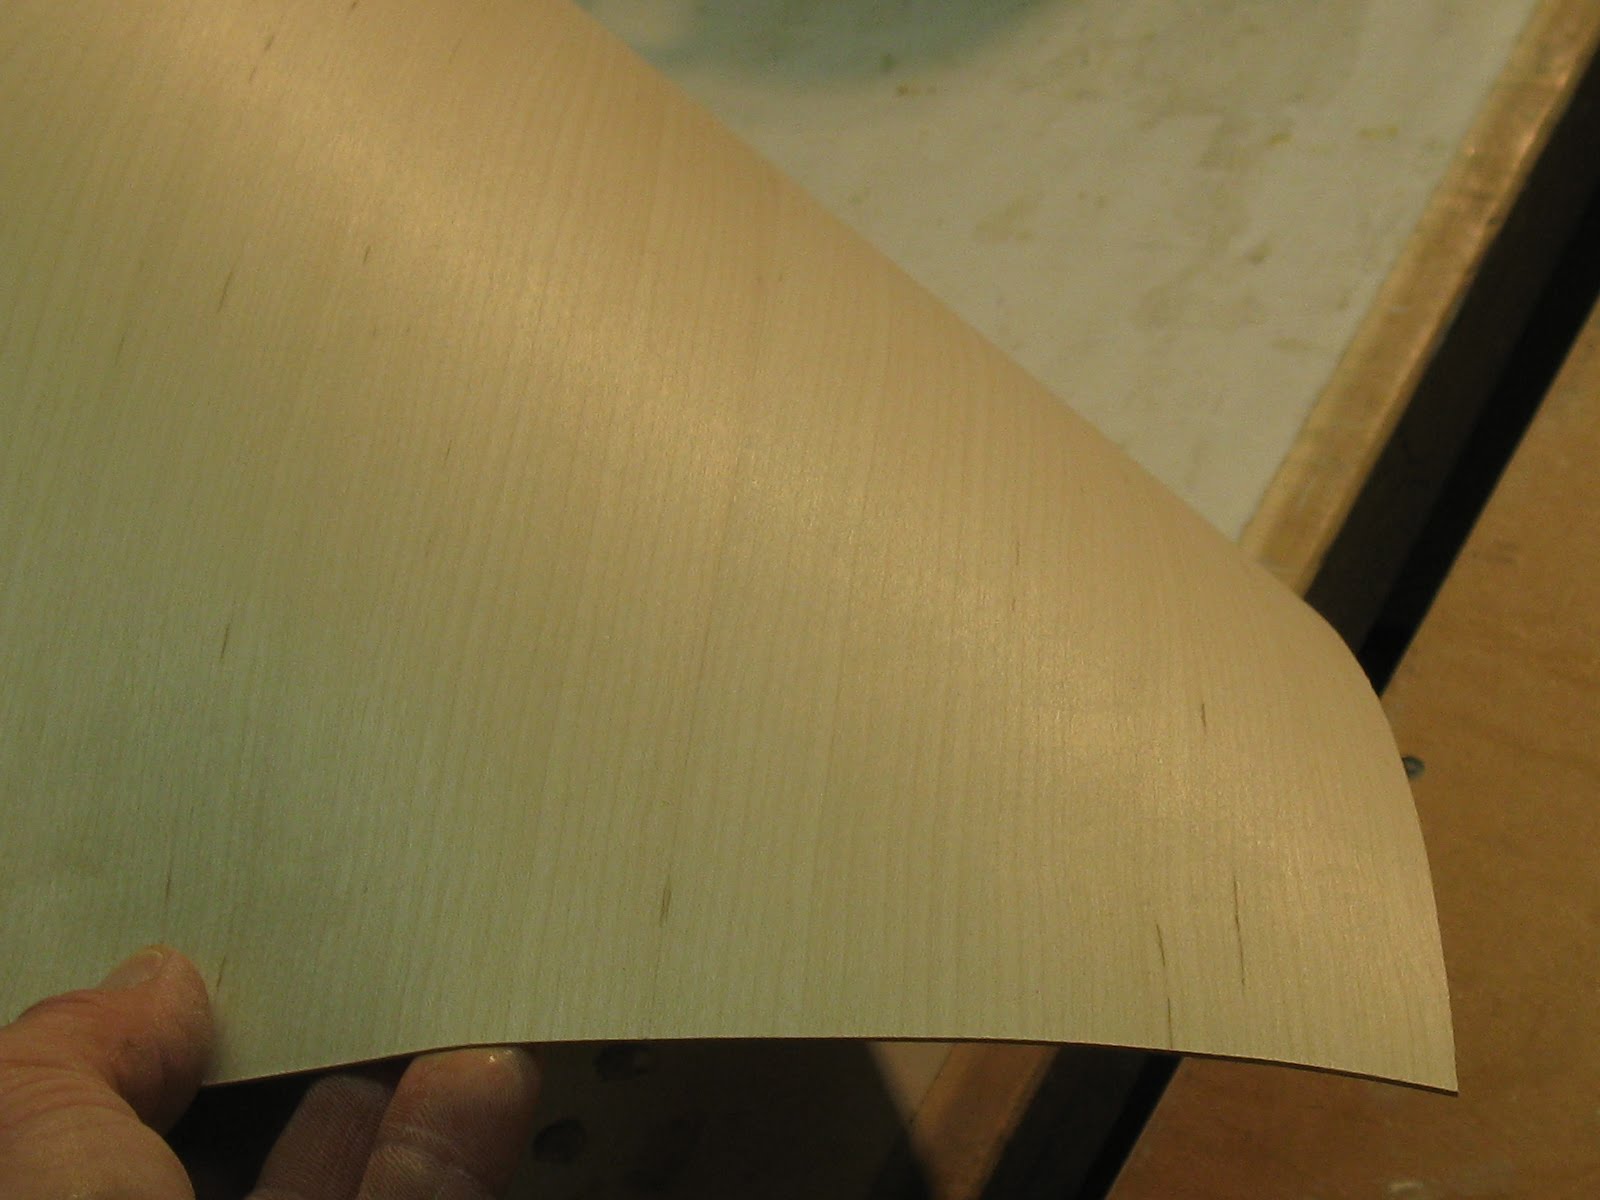
Veneer is a thin surface layer, as of finely grained wood used in decorative or finish applications.
To make my repair I filled all of the screw holes and sanded the cabinet side smooth and free from defect.
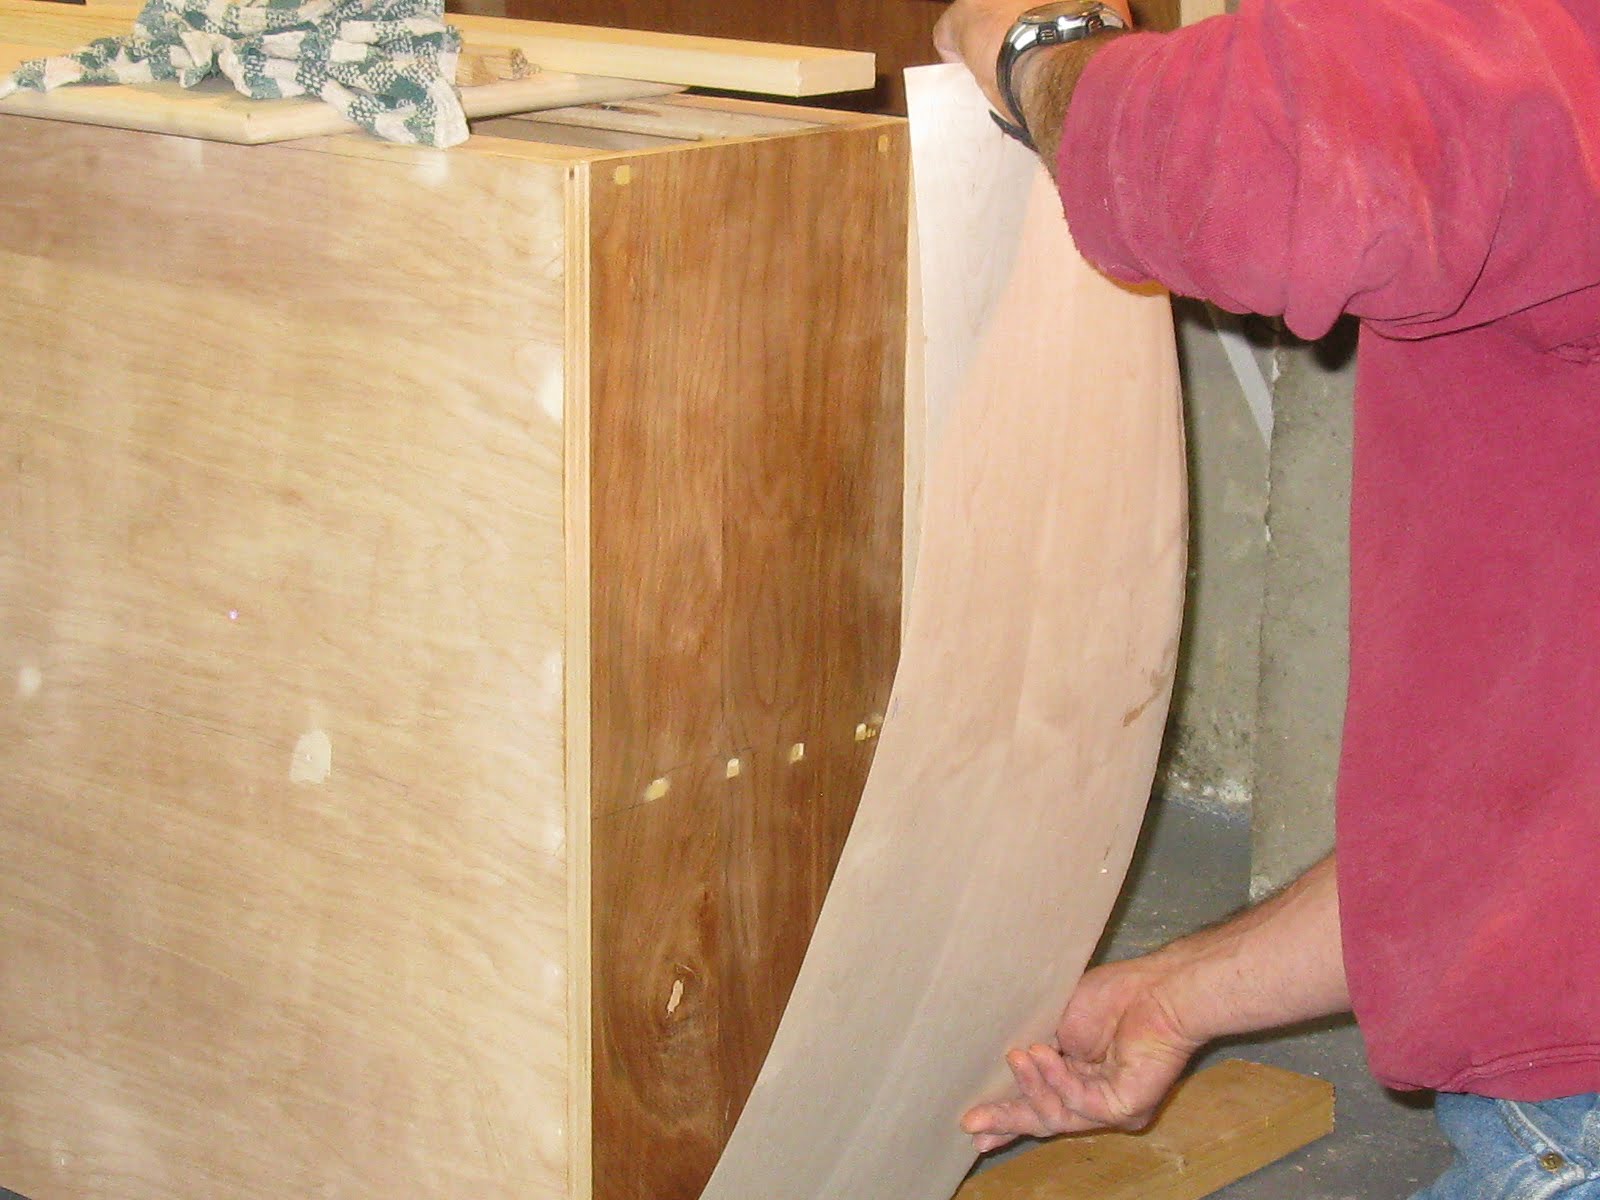
Cutting a larger piece than I needed I applied a coat of contact cement adhesive to both the cabinet and the veneer.
On plywood substrates, two coats of adhesive must be applied. Apply the first coat and let dry completely before applying the second. I followed the manufacturers recommendation of time between coats and prior to applying the veneer to the cabinet.
Here’s the steps:
1. Preparation: Be sure that both surfaces are clean and free of dust. Clean the back of the veneer sheet as well as the substrate with air pressure and wipe down with denatured alcohol . The sheet veneer and the substrate should be acclimatized together for at least 24 hours (48 hours is best) before gluing together.
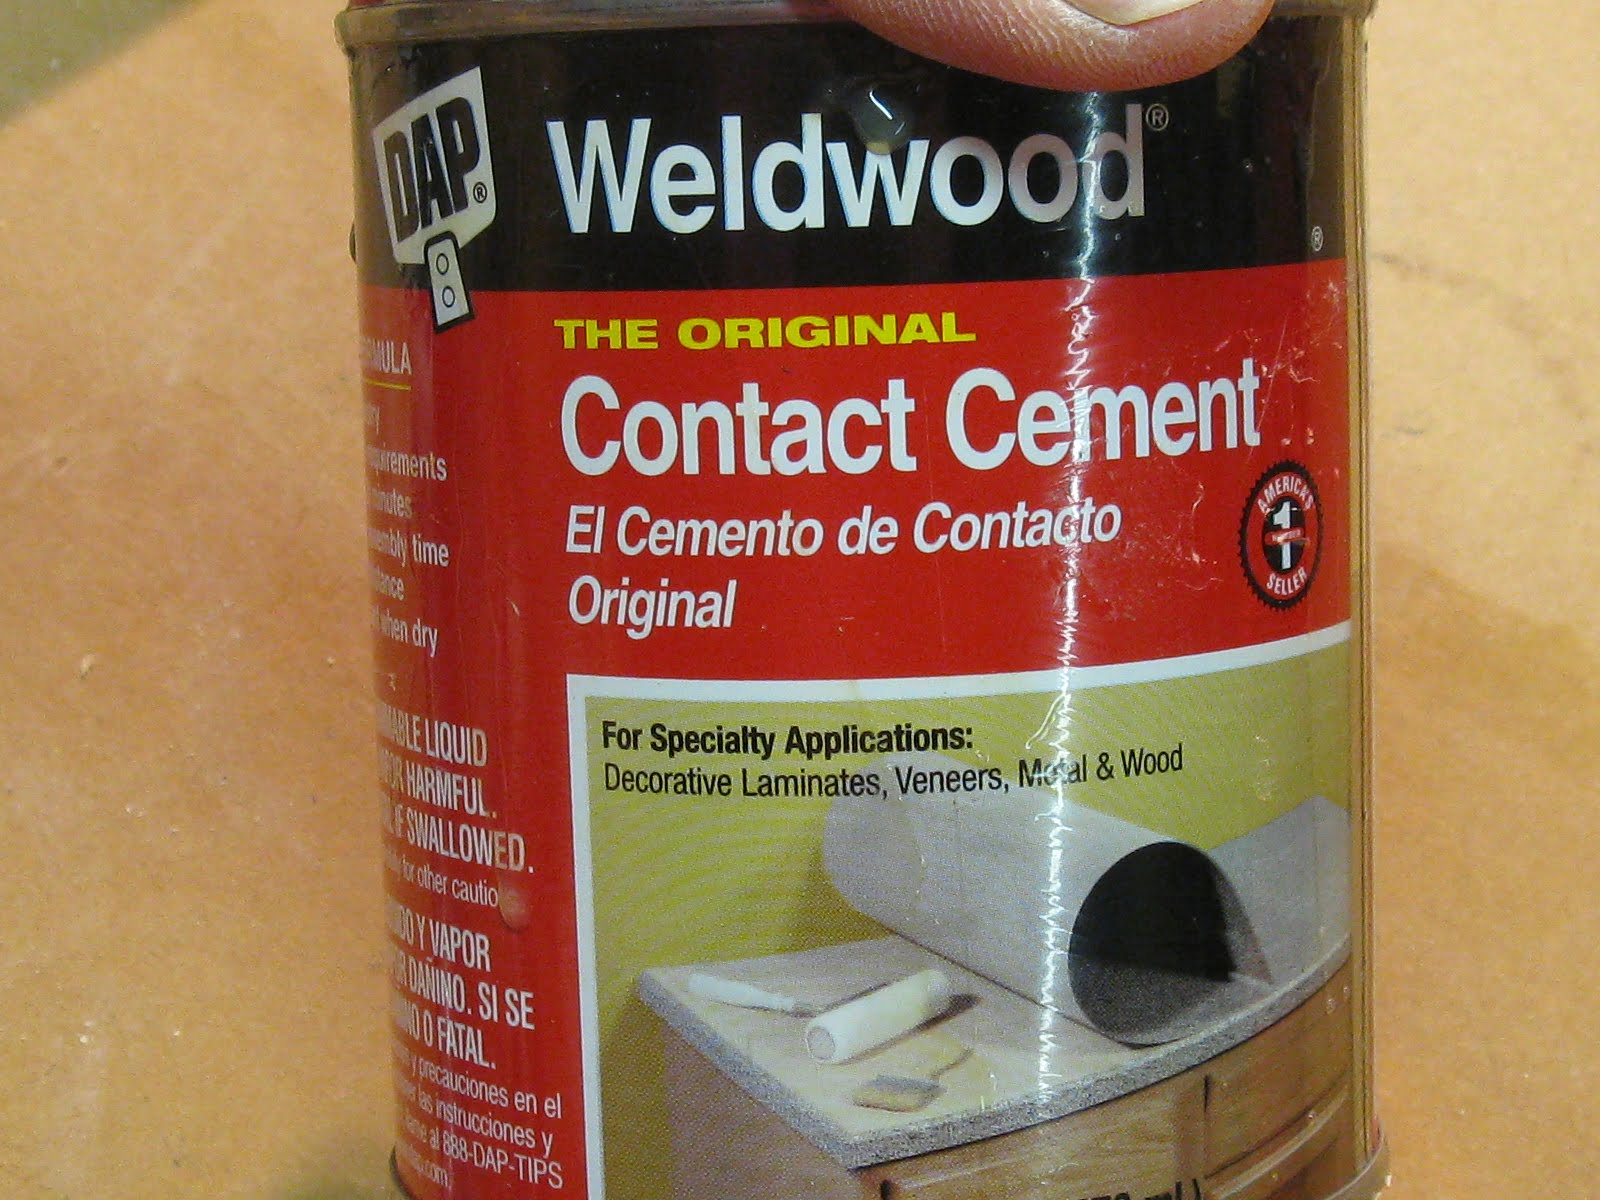
2. Adhesive: In most shops, the adhesive of choice is contact cement.
Remember that contact cement is a flexible adhesive designed to glue a rigid overlay, such as plastic laminate. With sheet veneer, you are using a flexible adhesive to glue a flexible overlay. Because of this, you must use a different method of application.
A) Always use 100% coverage on both the back of the veneer sheet and the face of the substrate. As a rule, use twice as much adhesive as you would when gluing plastic laminate.
B) Give the adhesive the right amount of dry down time. You don’t want to trap gases that can later cause blisters. The time can vary depending on ambient moisture, airflow around your work shop, and ambient temperature. Check the label on the can to find the dry down time that is right for your conditions and the adhesive you are using.

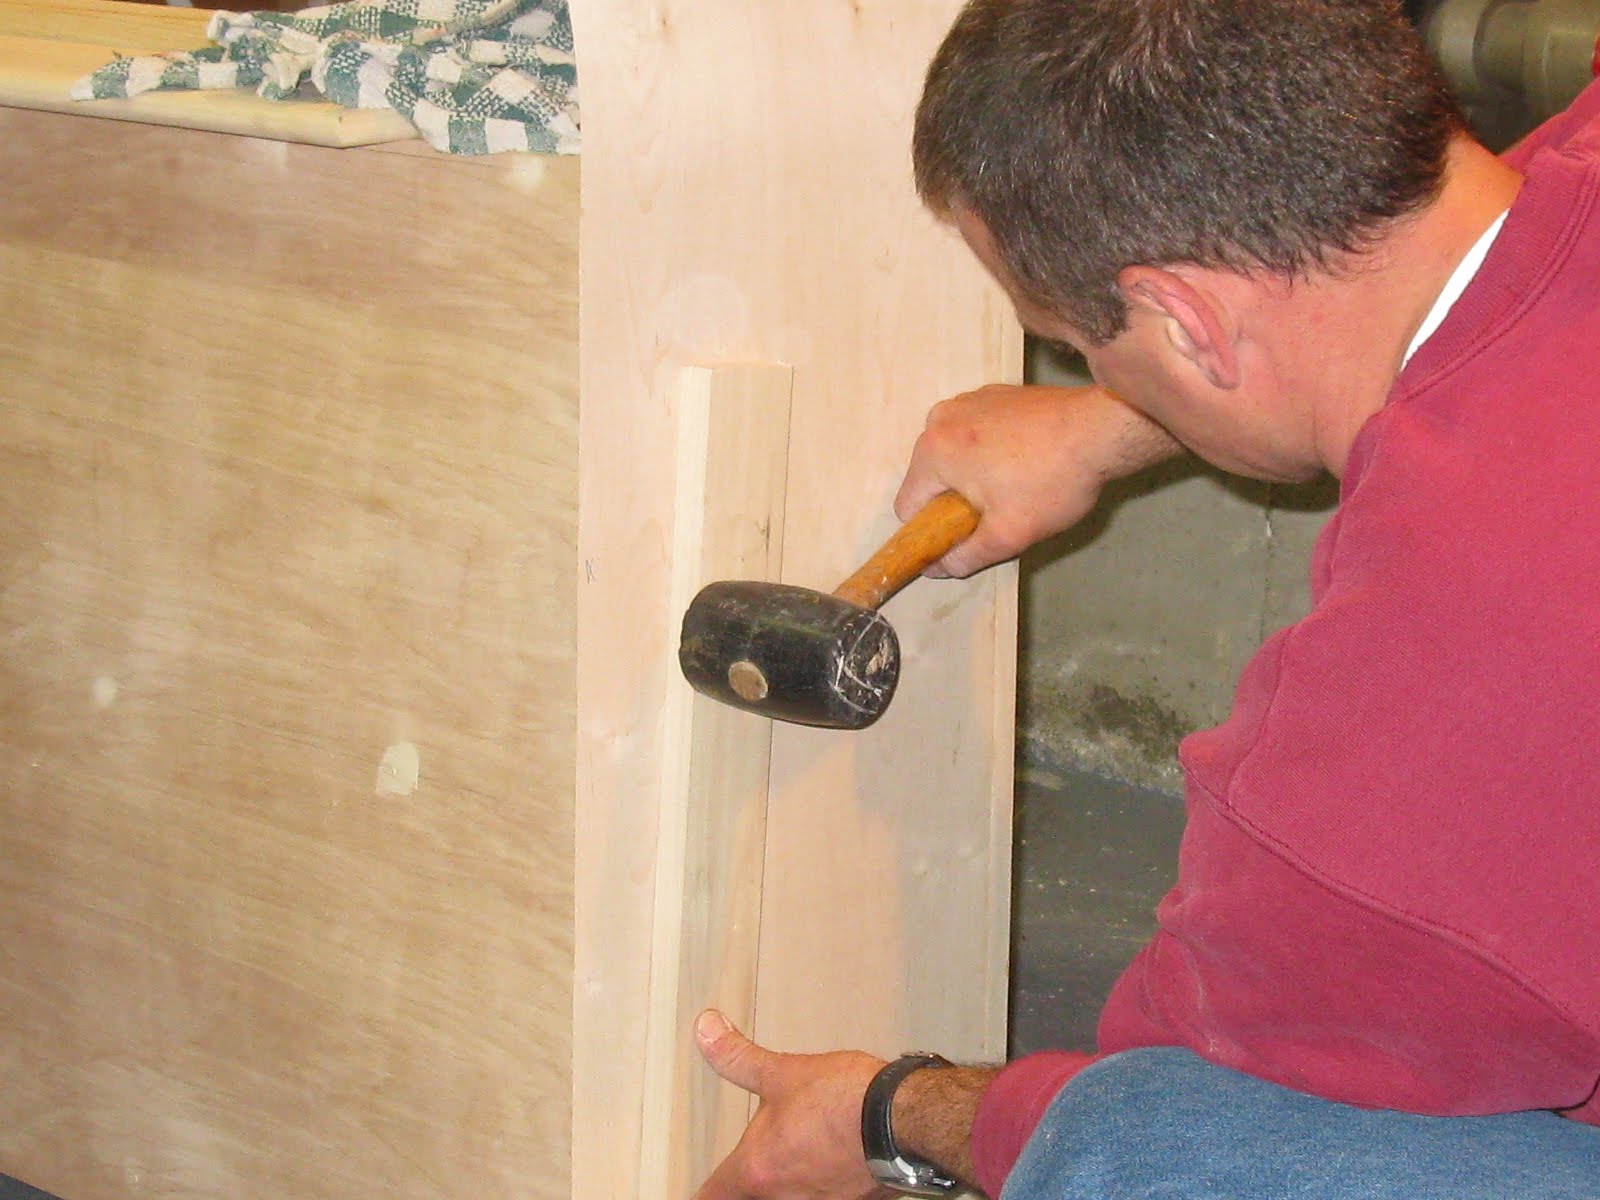
Fitting the veneer to the cabinet. Use care here because once the veneer touched the cabinet it sticks to it forever.
3. Bonding: Bonding is the second most important part of your job. The desired bond makes two pieces one. It is reached with the proper amount of adhesive and pressure.
With contact adhesive, you will need a lot of pressure all at one time. You can buy or make your own wood scraper, which should be 4-5 inches wide. Starting in the center of the surface to be bonded, pull the scraper in the direction of the grain. Push down with both hands, as hard as possible, moving over 3 – 4 inches at a time until you have covered the entire surface.
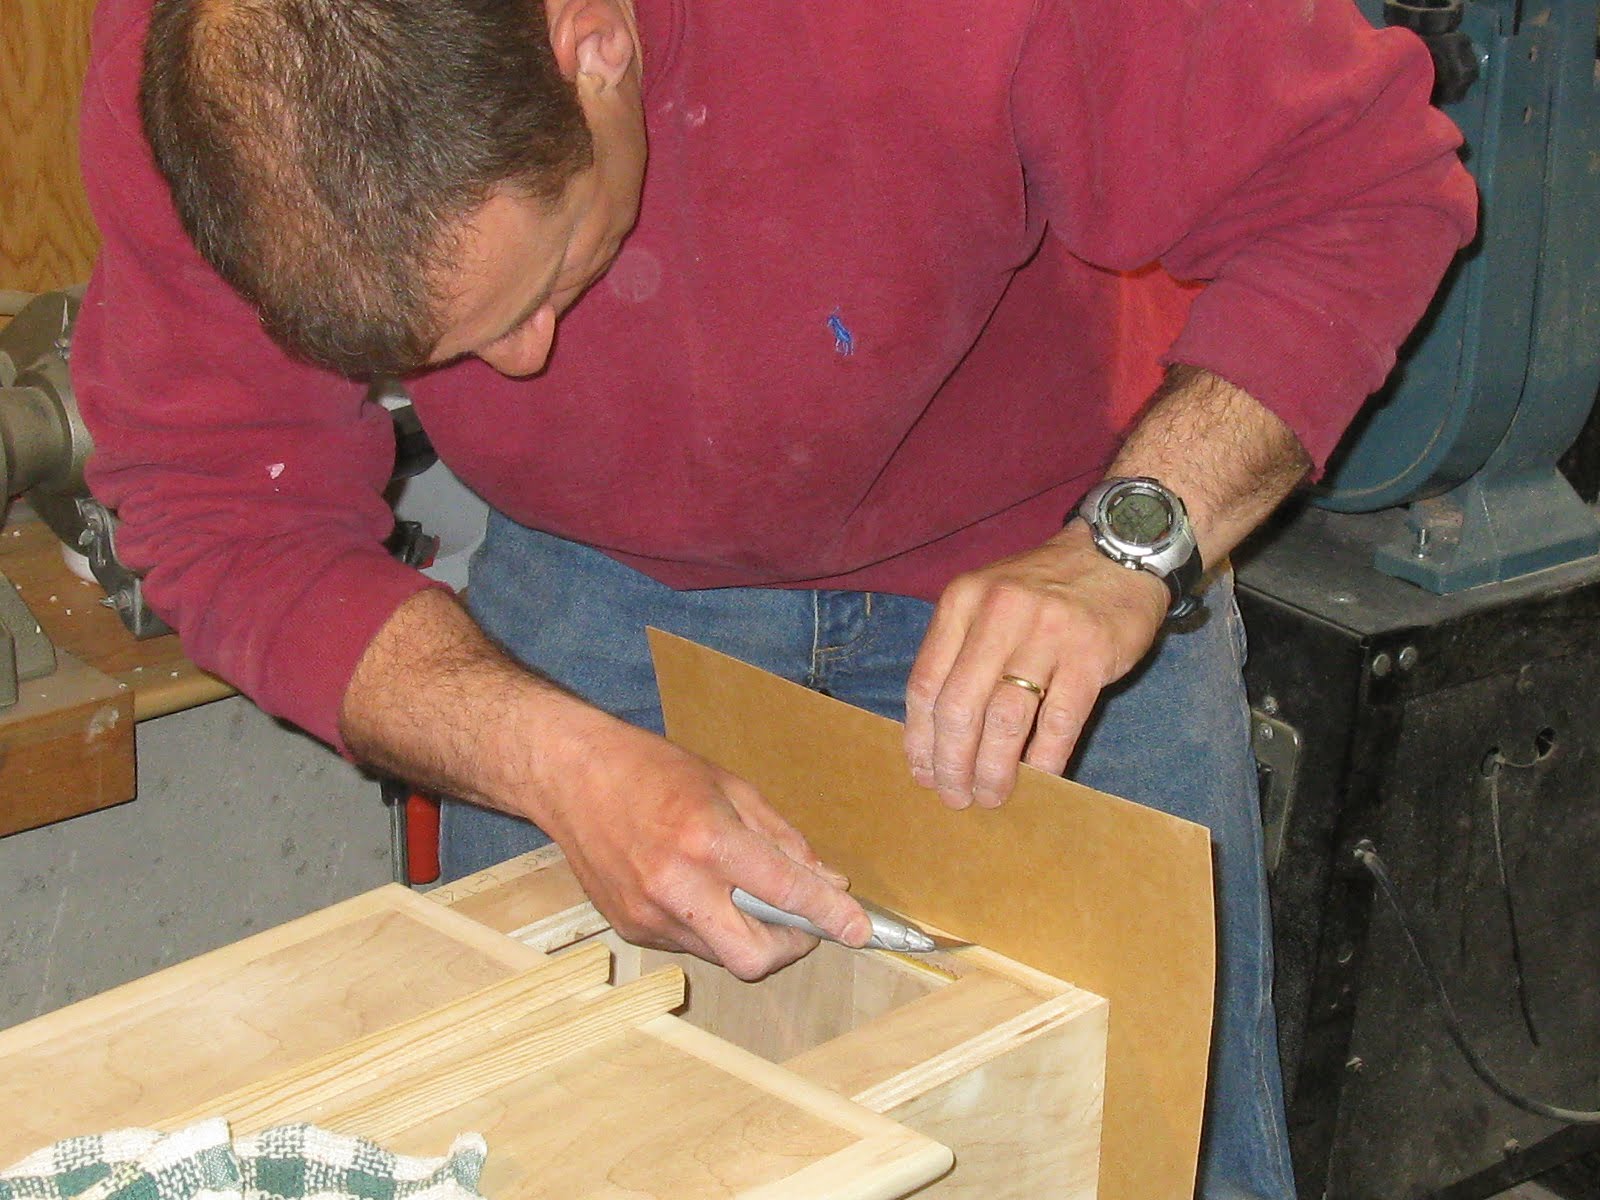
Trim off the excess veneer. I used a utility knife, hand plane then sand paper to finish off the edges.
4. Time: After you have bonded the sheet veneer to the substrate, allow the piece to sit. In order for contact cement to work, a chemical reaction must take place. This reaction produces gas, which must escape from the edges and surface before the seal coat is applied. Wait at least 4 – 6 hours before applying any sealers or finishes to a veneered surface.