
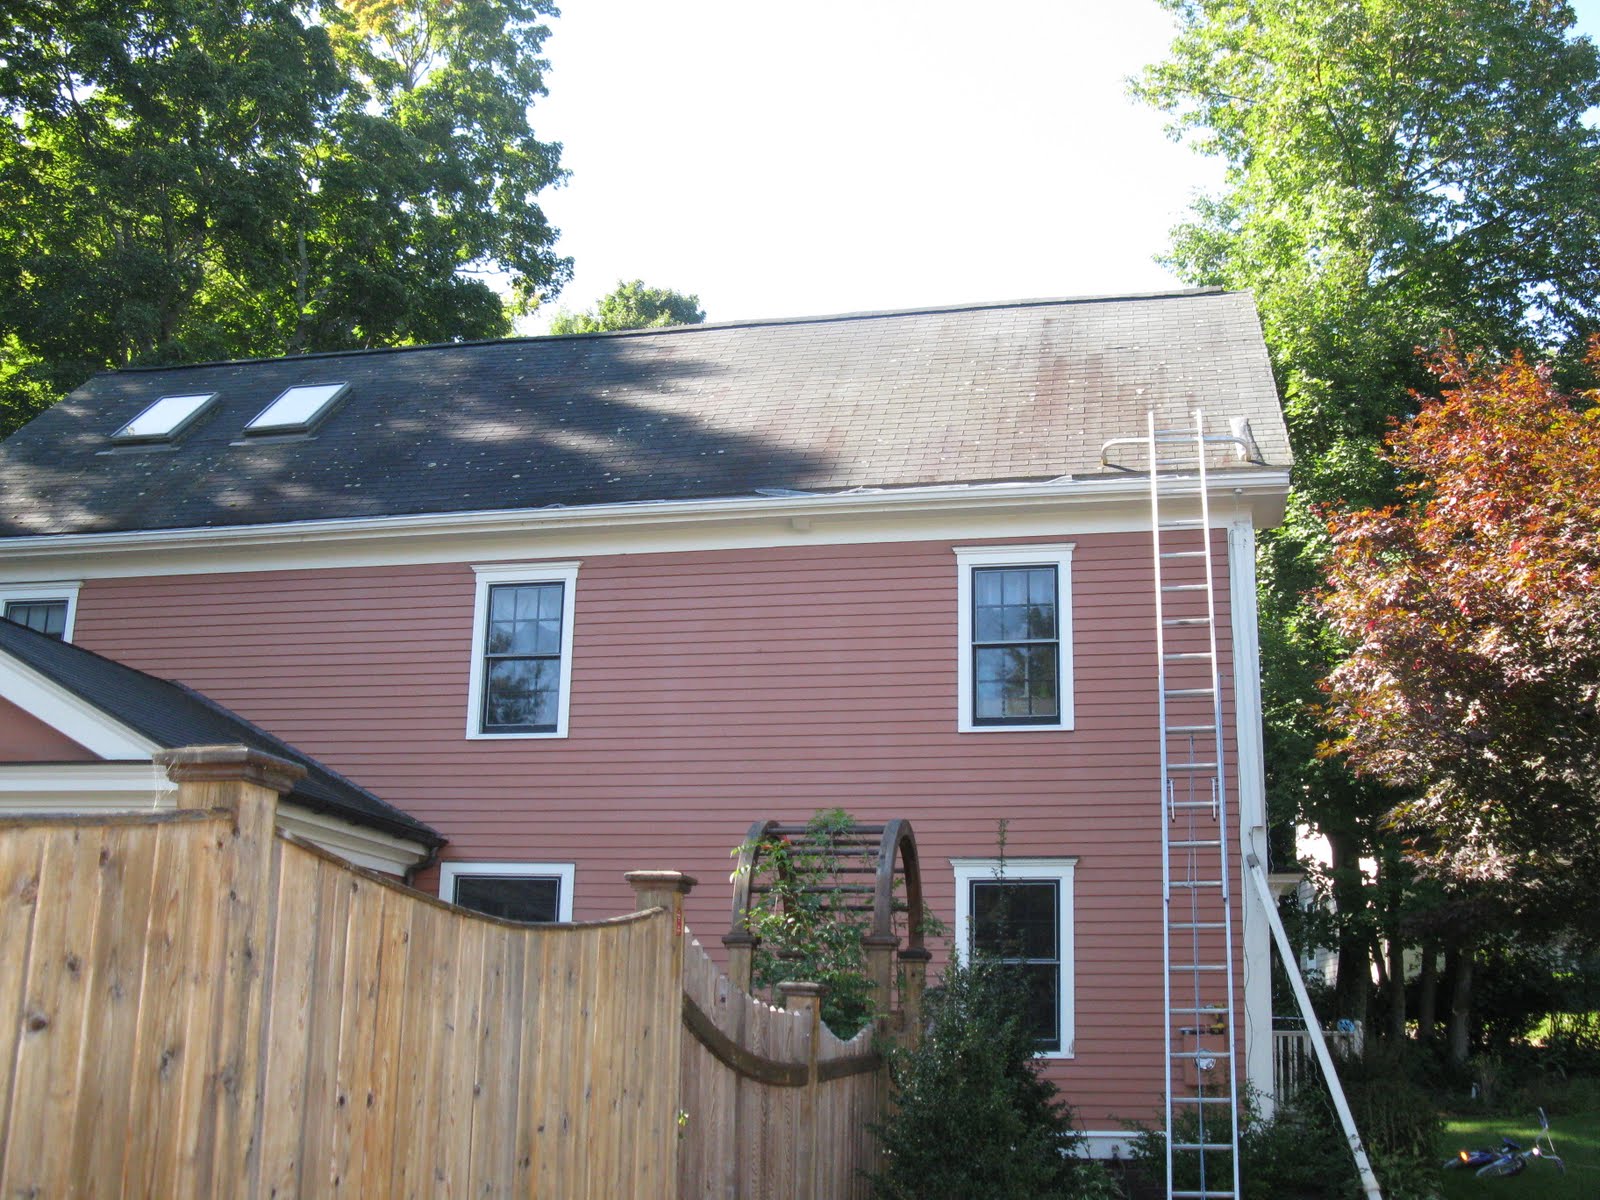
I finally experienced an ice dam leak in my own house. My roof is 17 years old and almost ready for replacement. I had a small roof leak into 1st and 2nd floor ceilings, near the two far right windows. It was time to buy time with by installing a roof and gutter De-icing kit
I’ve written several posts on how to prevent ice dams. See past posts. [Then scroll down]
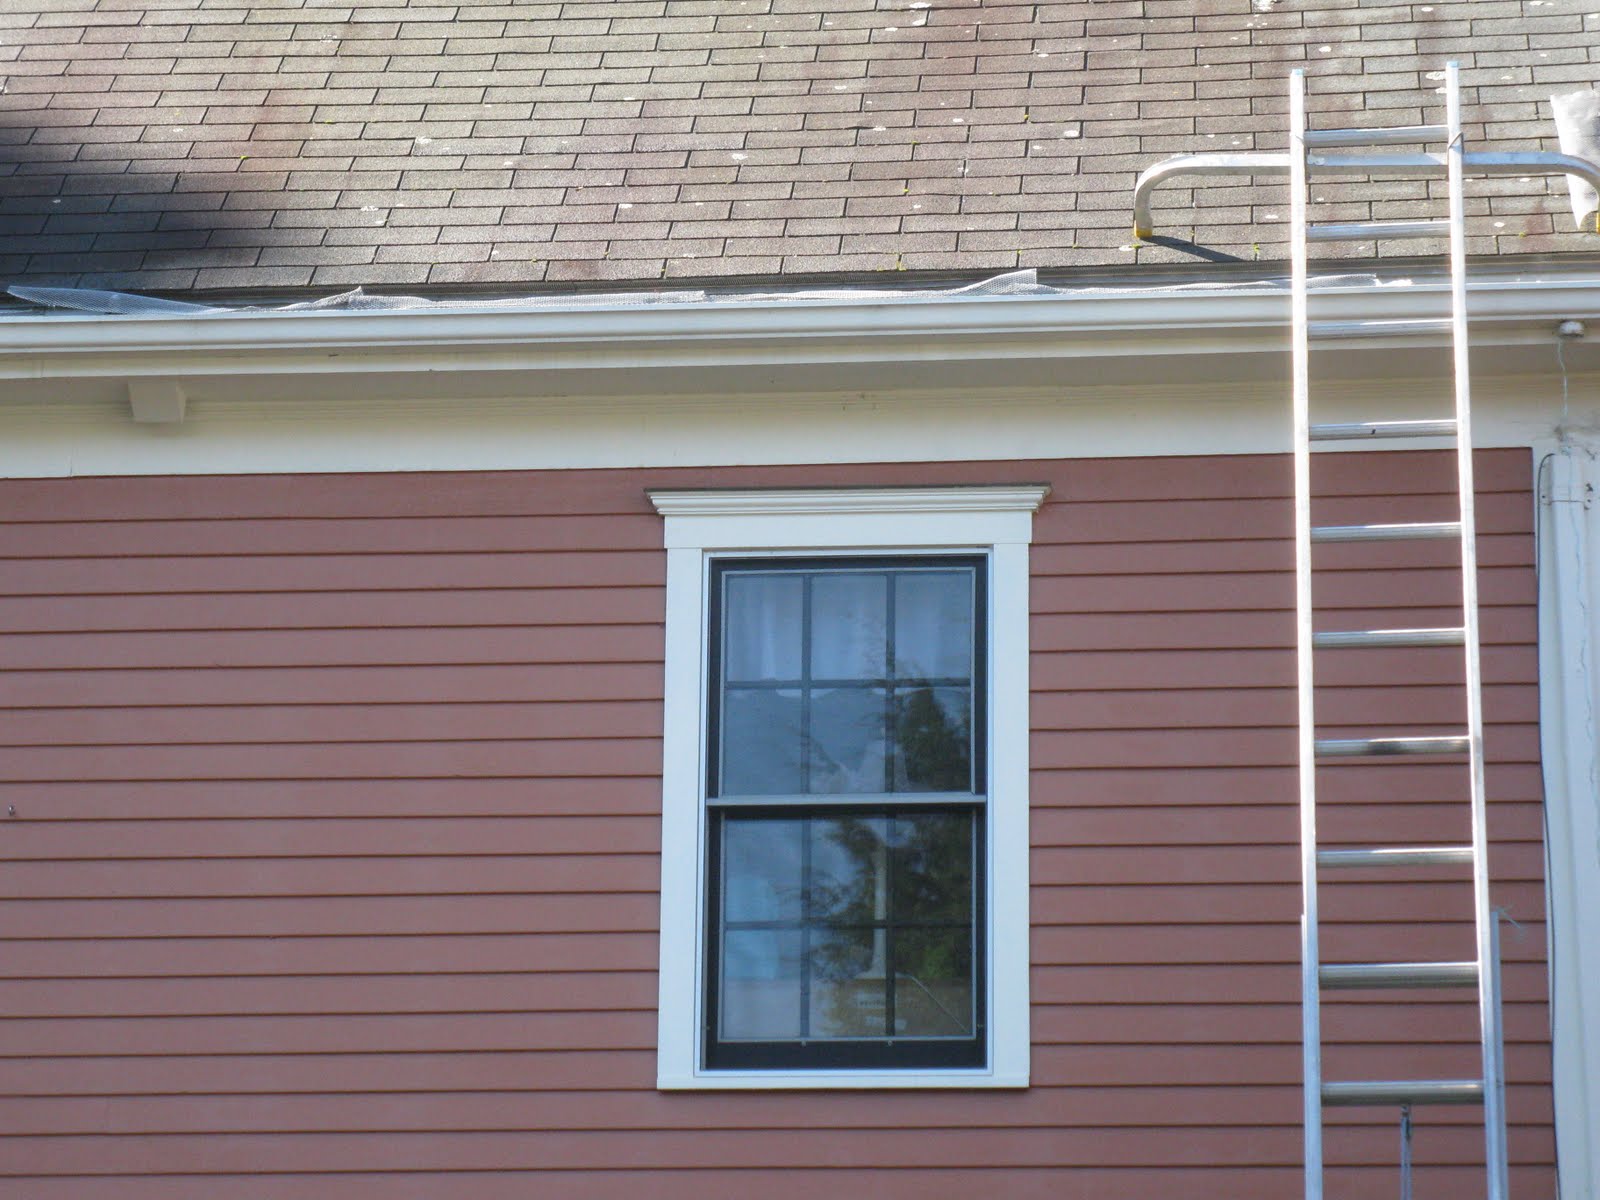
My issue with this roof is that there is only 36″ of ice and water shield. 12″ of that membrane is over the sofit area which is a cold space.
My next roof, which is sooner than later, will have two rows [6 feet] of ice and water shield going from the roofs edge up.
The roof leak was concentrated in one specific area which is over a closet that houses the air conditioner unit. [located to the left of the window below]
This utility closet area must be leaking warm air through the insulation and causing the ice dams. I will need to look into this further.
I purchased a 100 foot Roof & Gutter De-Icing kit. I call this “roof heat tapes.” The theory behind heat tapes is that when the temperatures drop to freezing an internal thermostat turns the heat tapes turn on and work to melt ice and prevent ice dams.
The tapes melt ice and snow and allow that melted water to drain along the heat tapes [see picture on box below] and off the roof.
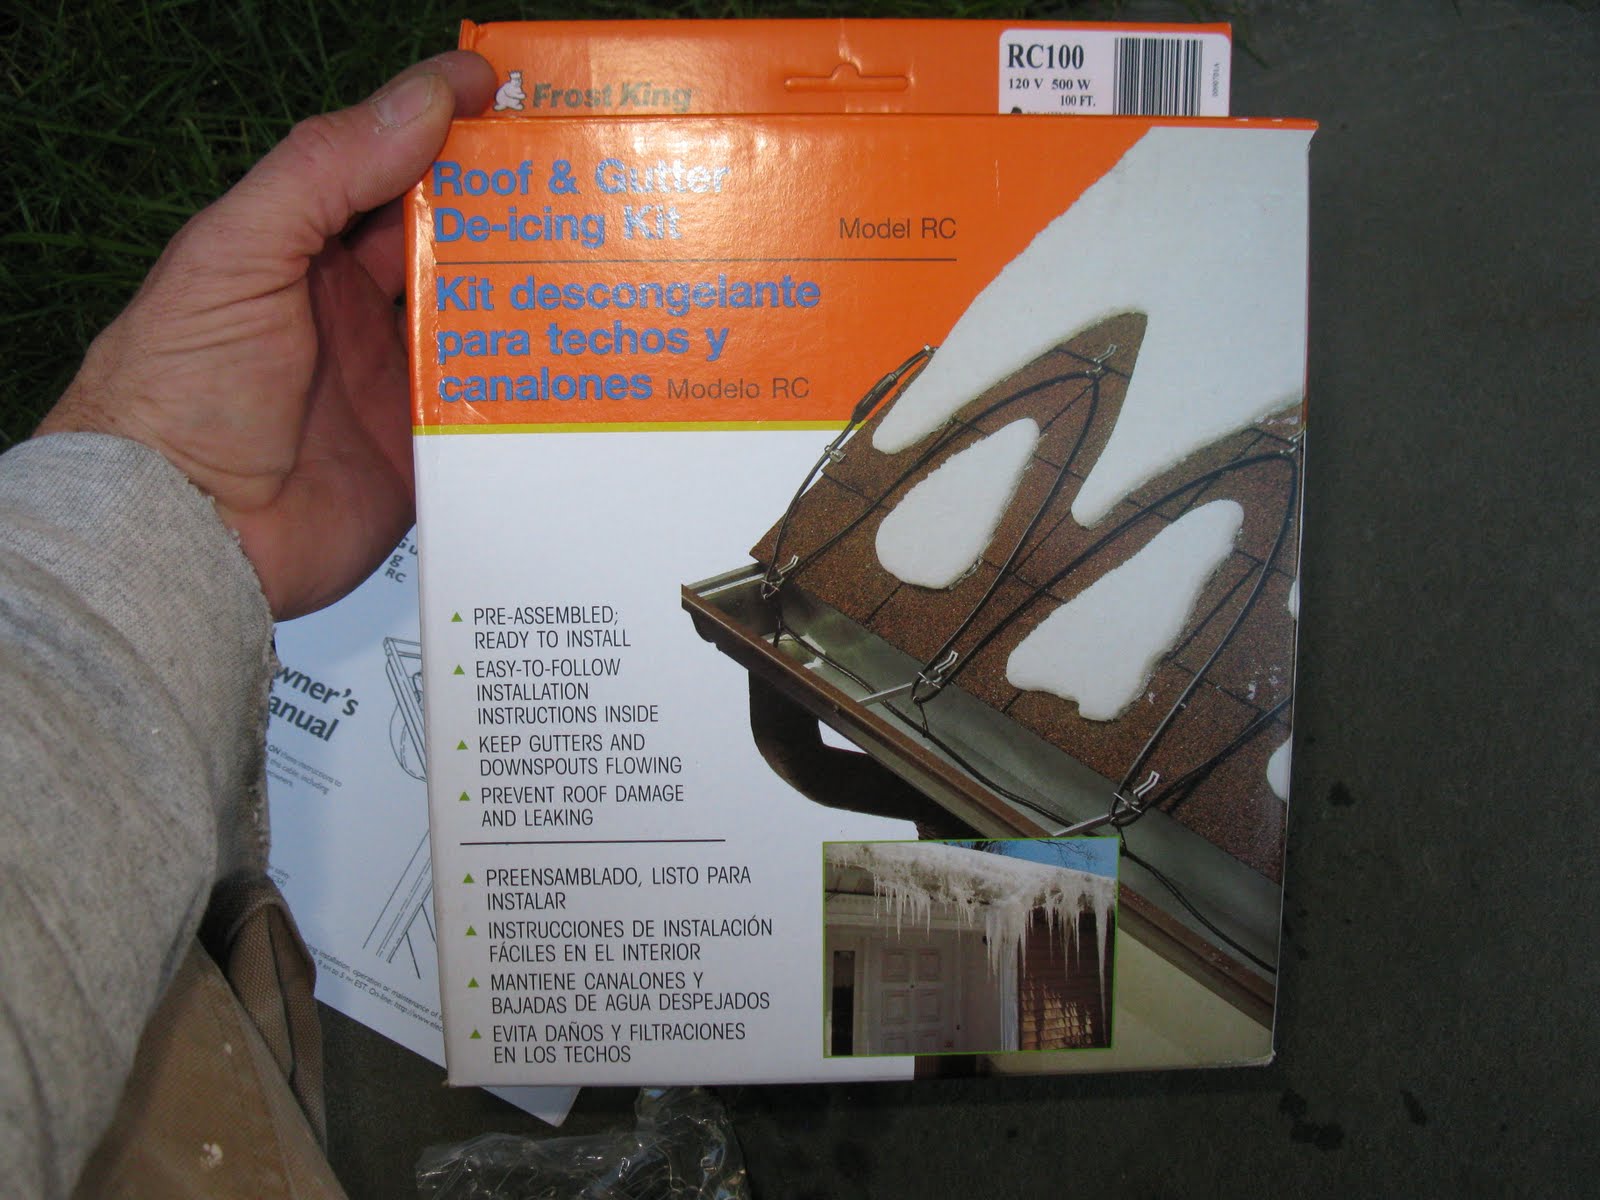
The kit comes with 100 feet of cable, and more than enough stainless steel roof and cable kits. The only tools you need are a ladder, a putty knife with lifting the shingles and pliers for crimping the stainless steel clips.

In-line, internal thermostat.

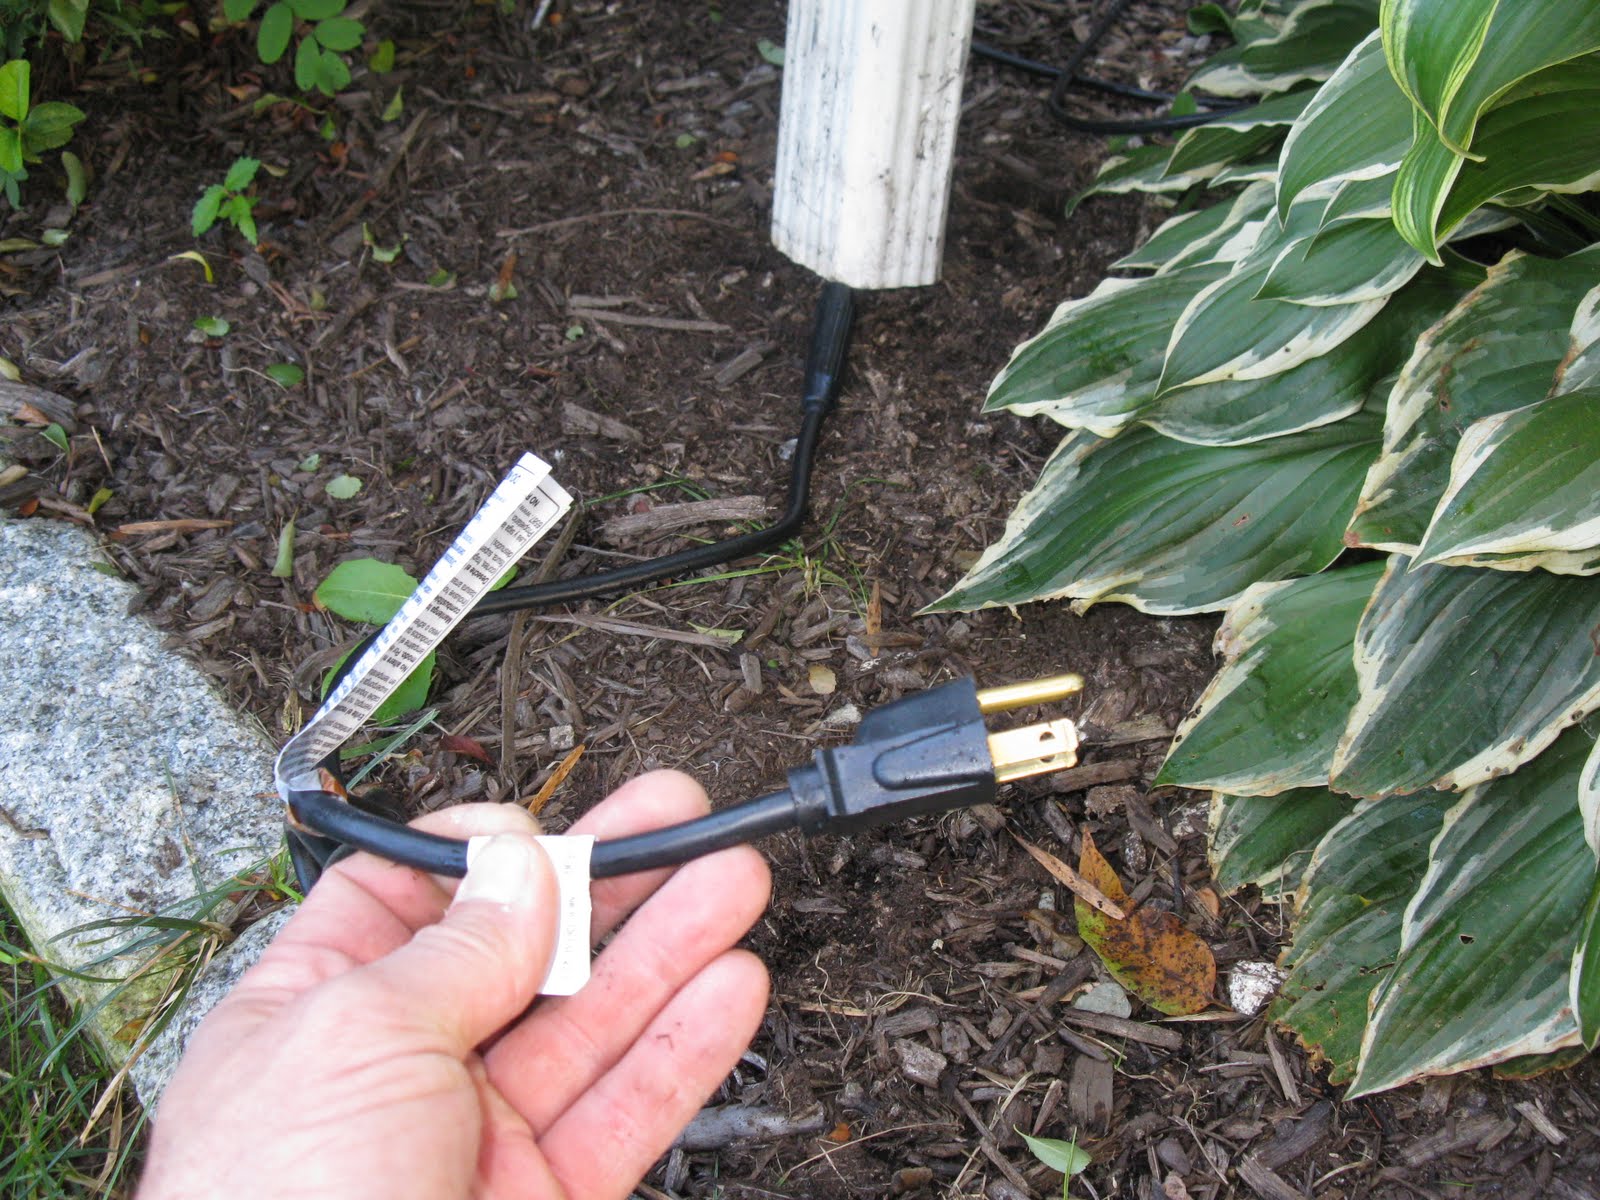
At the end of the cord is a power plug. In-line thermostat can be see just entering the downspout.
I decided to dismantle my gutter downspout and run the heat tape up from the ground and into the gutter above.
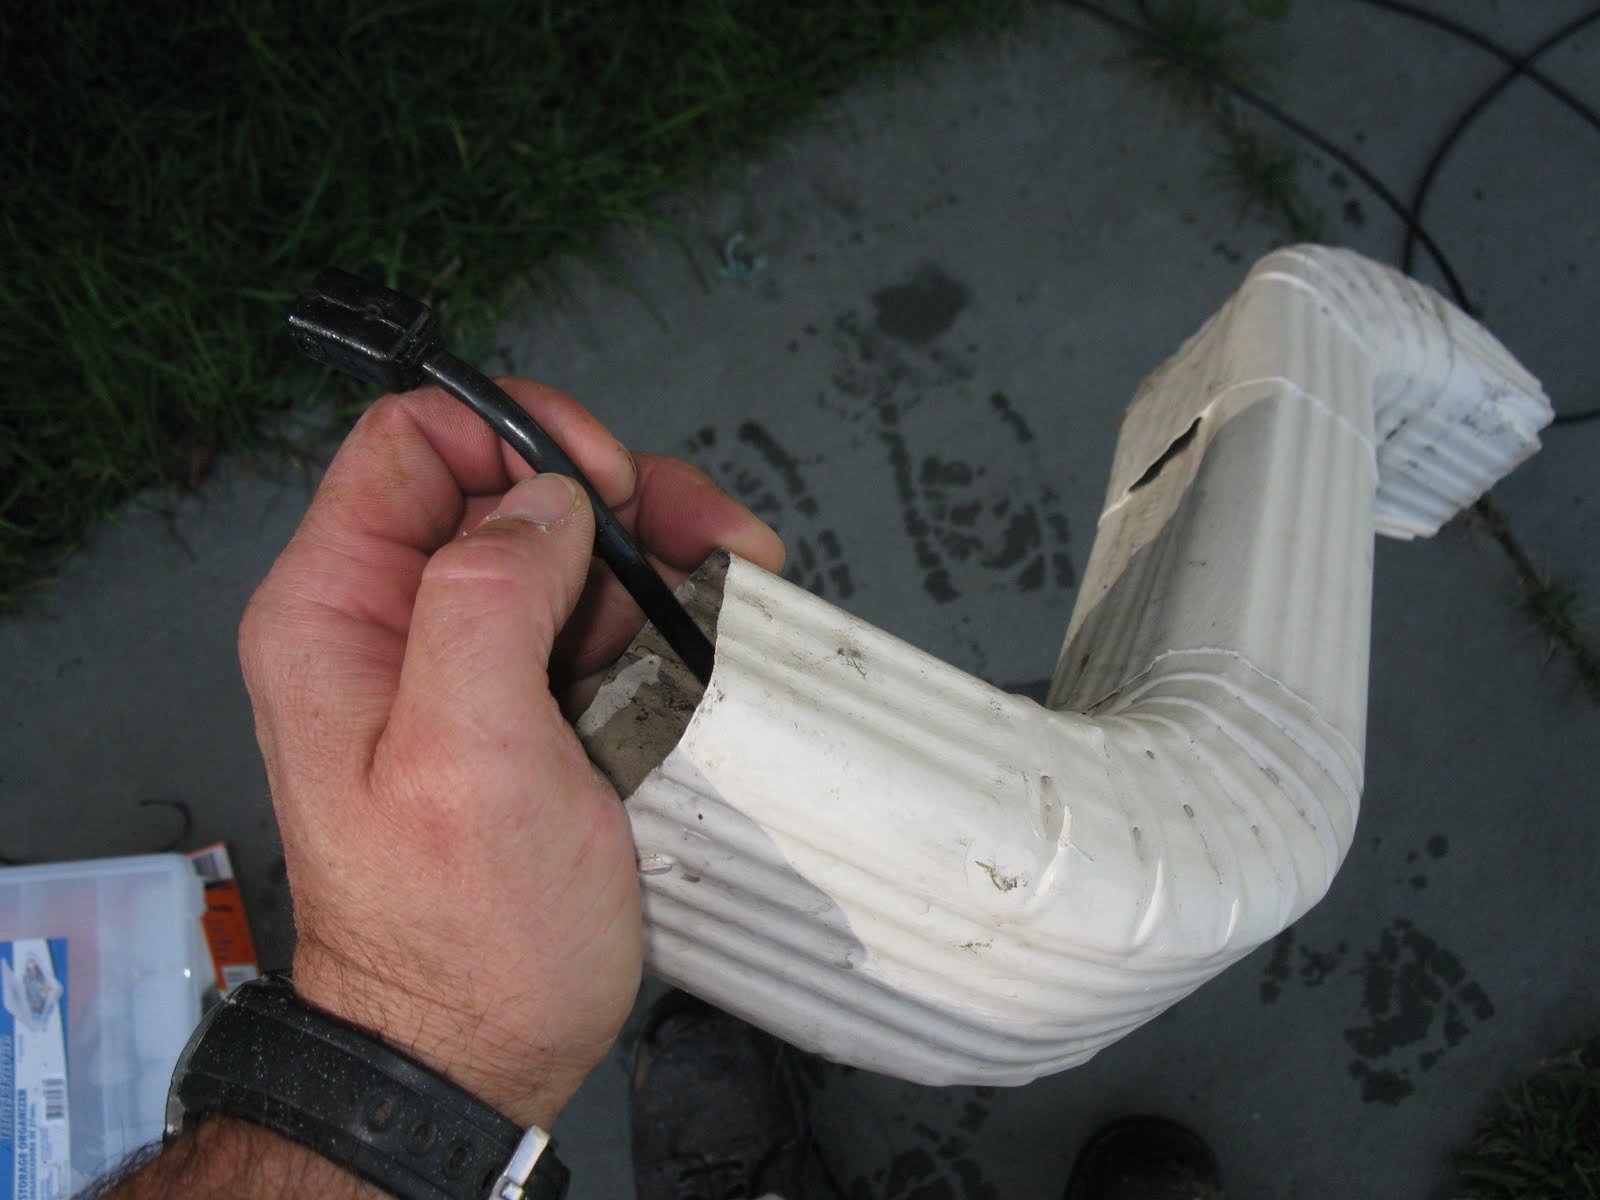
I used electrical wire pulling string to pull the heat tape up through the gutter. End of heat tape shown below.

At the bottom of the down spout I ran the wire below ground a bit and then cut a section of the pipe cap to run the electrical cord out.

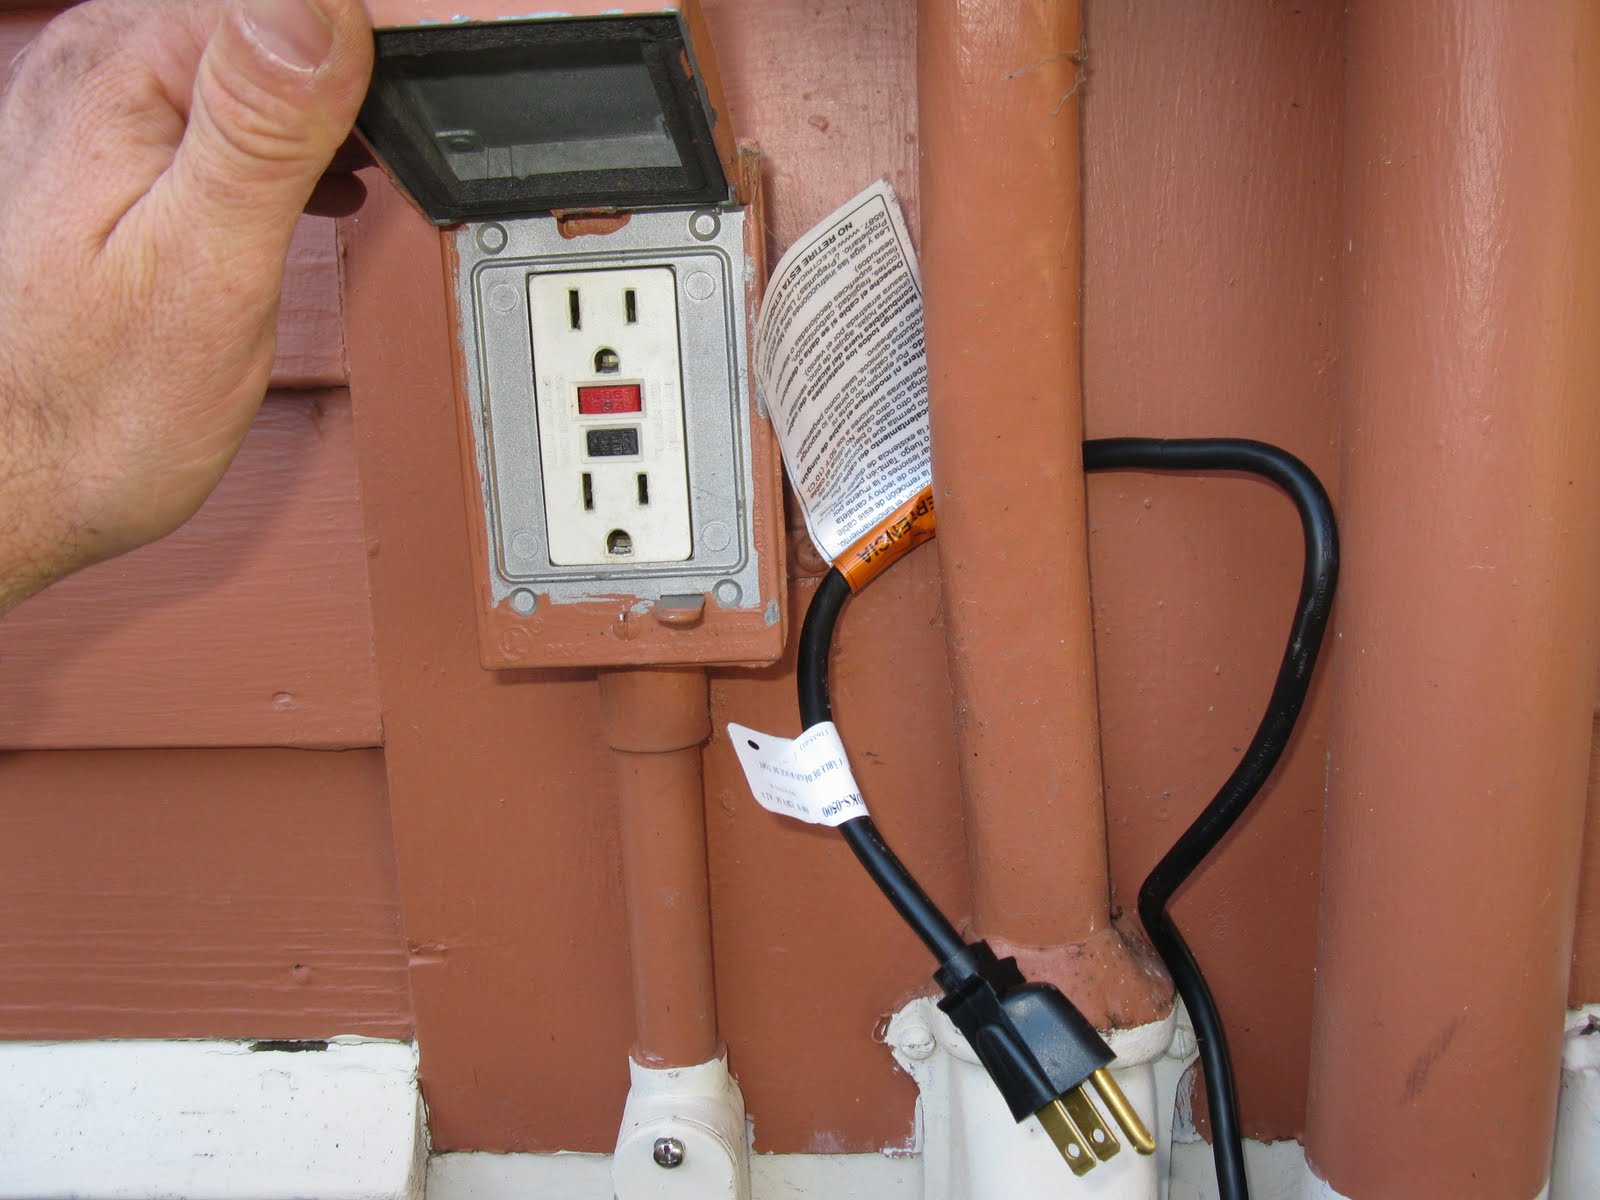
The power cord will plug into this exterior GFCI outlet.
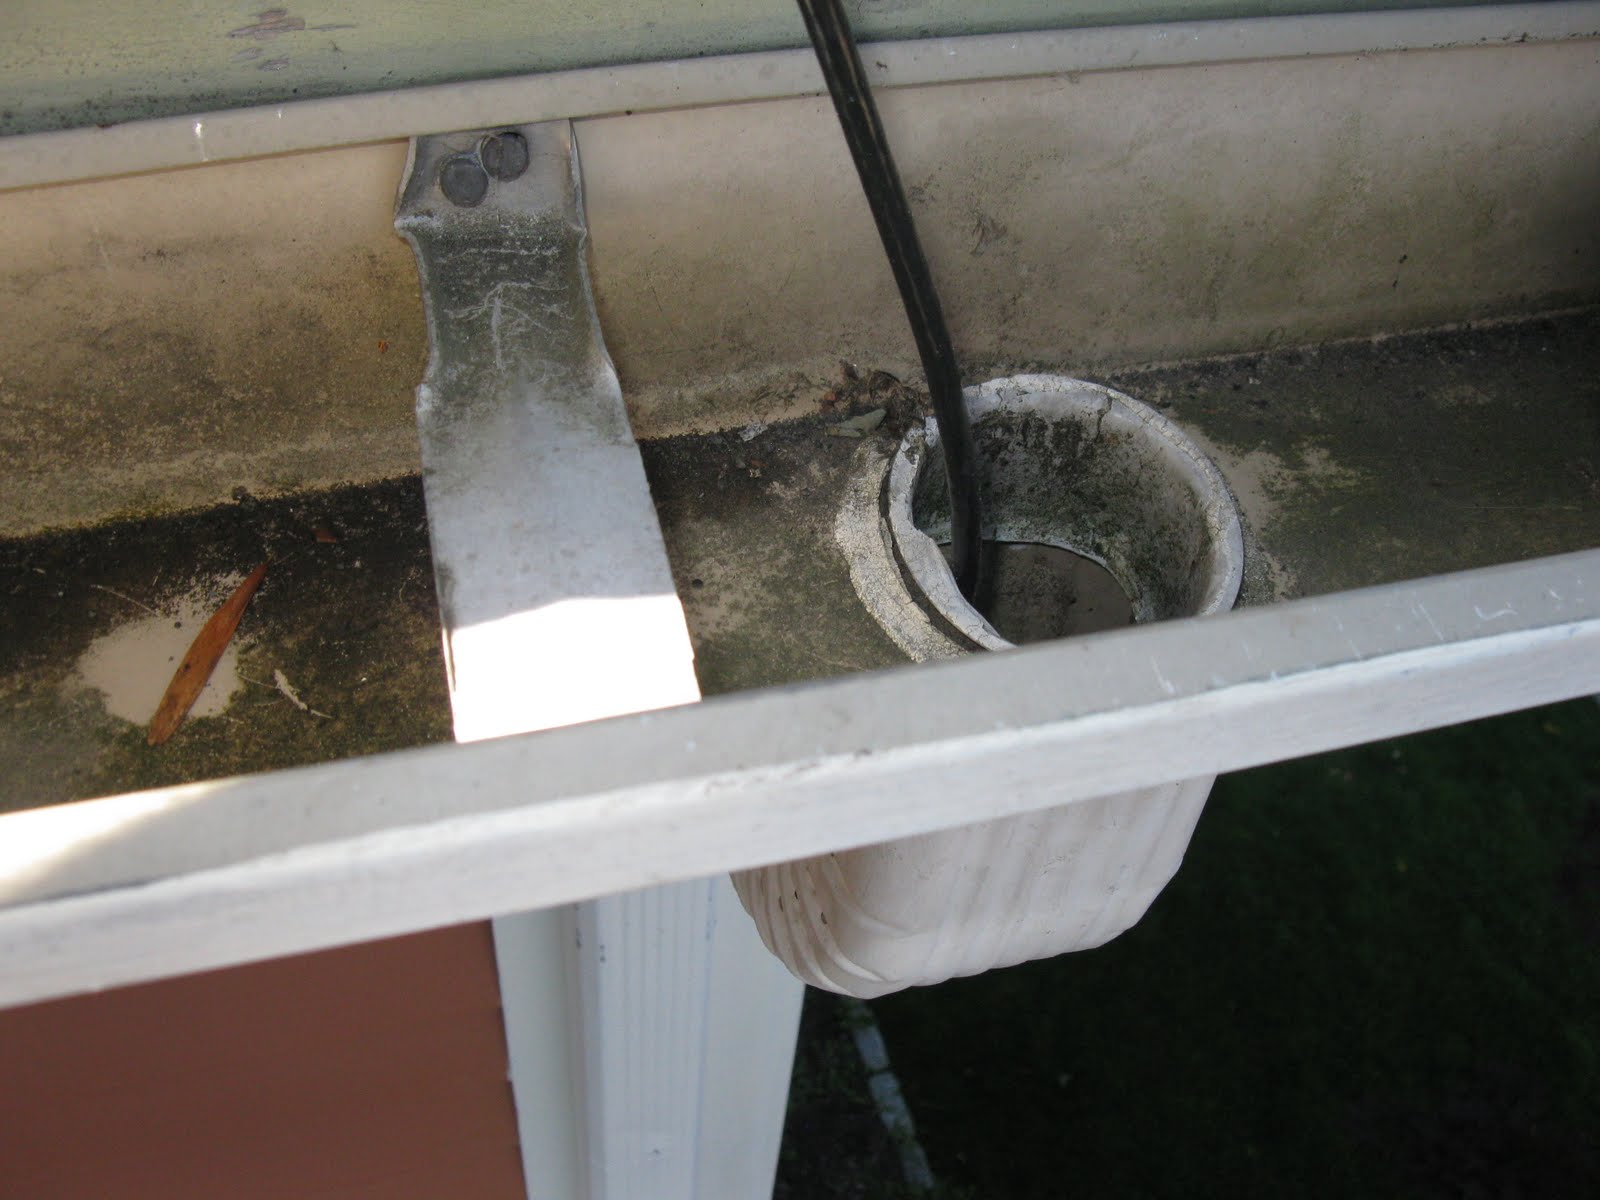
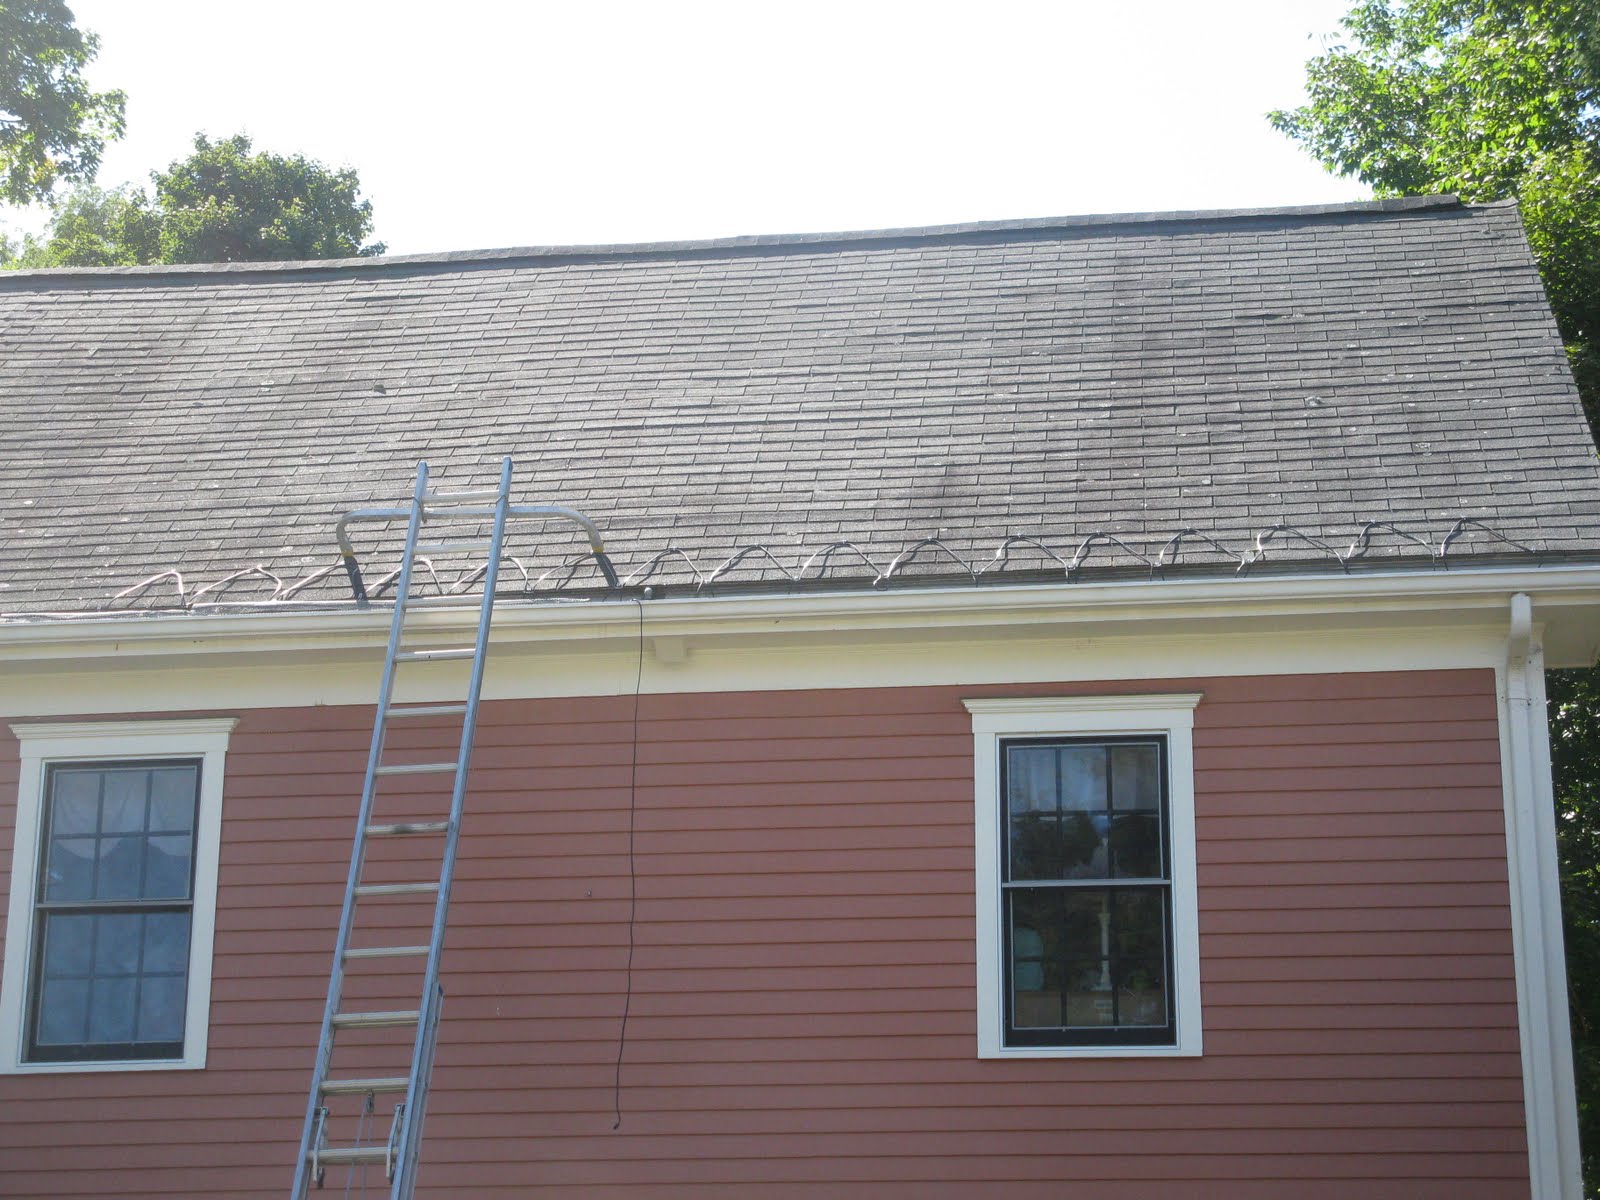
The heat tape running up through downspout and onto the roof.
I spaced the cables 15″ and ran them in a triangle pattern. At the gutter the cable runs off the roof and loops into the gutter approx 2″ from the bottom of the gutter.
To finish off I ran the heat cable in the gutter back to the downspout.
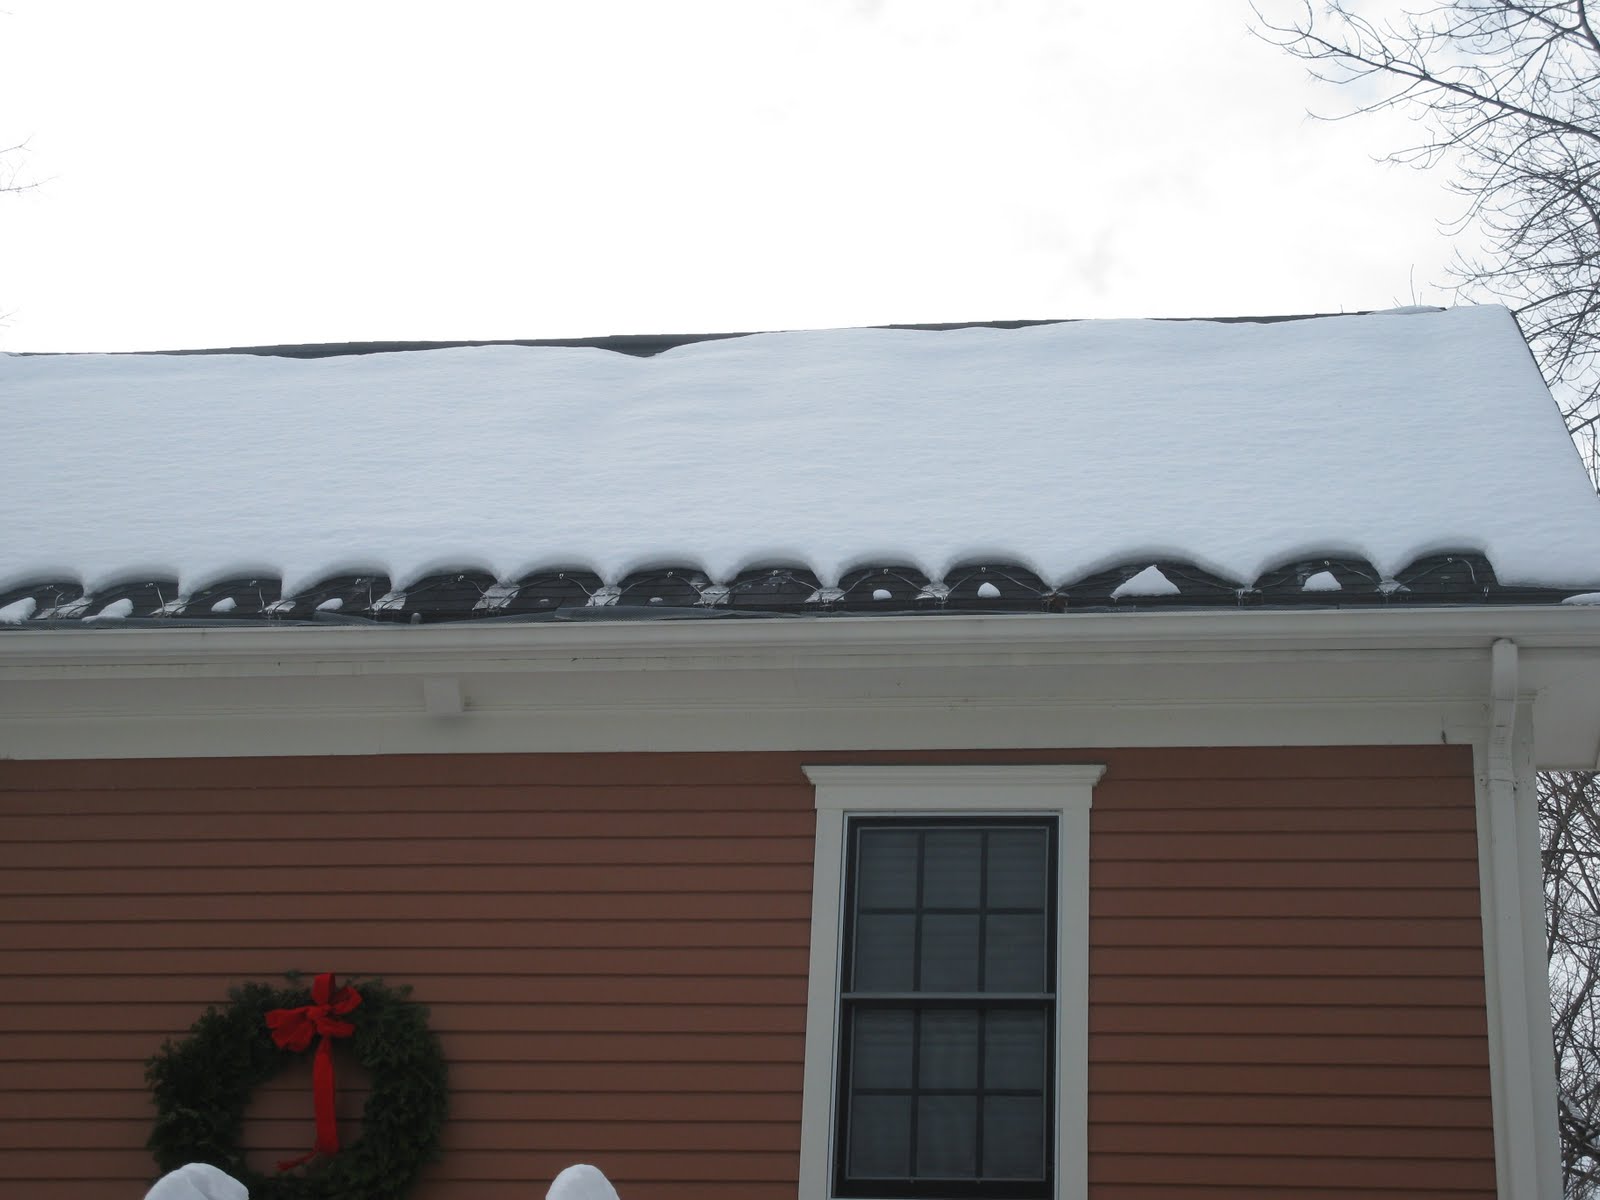
The theory is that as the water runs off the roof through the melted cable channels it will also follow the cable and drain out of the gutter and down the downspout, thus working to prevent ice dams .

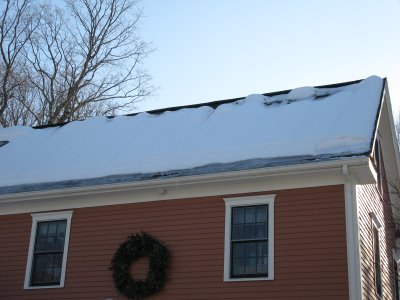
I’m looking to buy some time here before replacing the roof. Hopefully no more roof raking, until then.
Below is after a snow storm.
~ concord carpenter
Subscribe to A Concord Carpenter Comments by Email