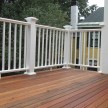
Deck Privacy Screen

How to Build A Cedar Privacy Screen
The Privacy Screen for this deck installation went well and the client was pleased with the finished product.
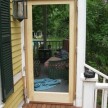
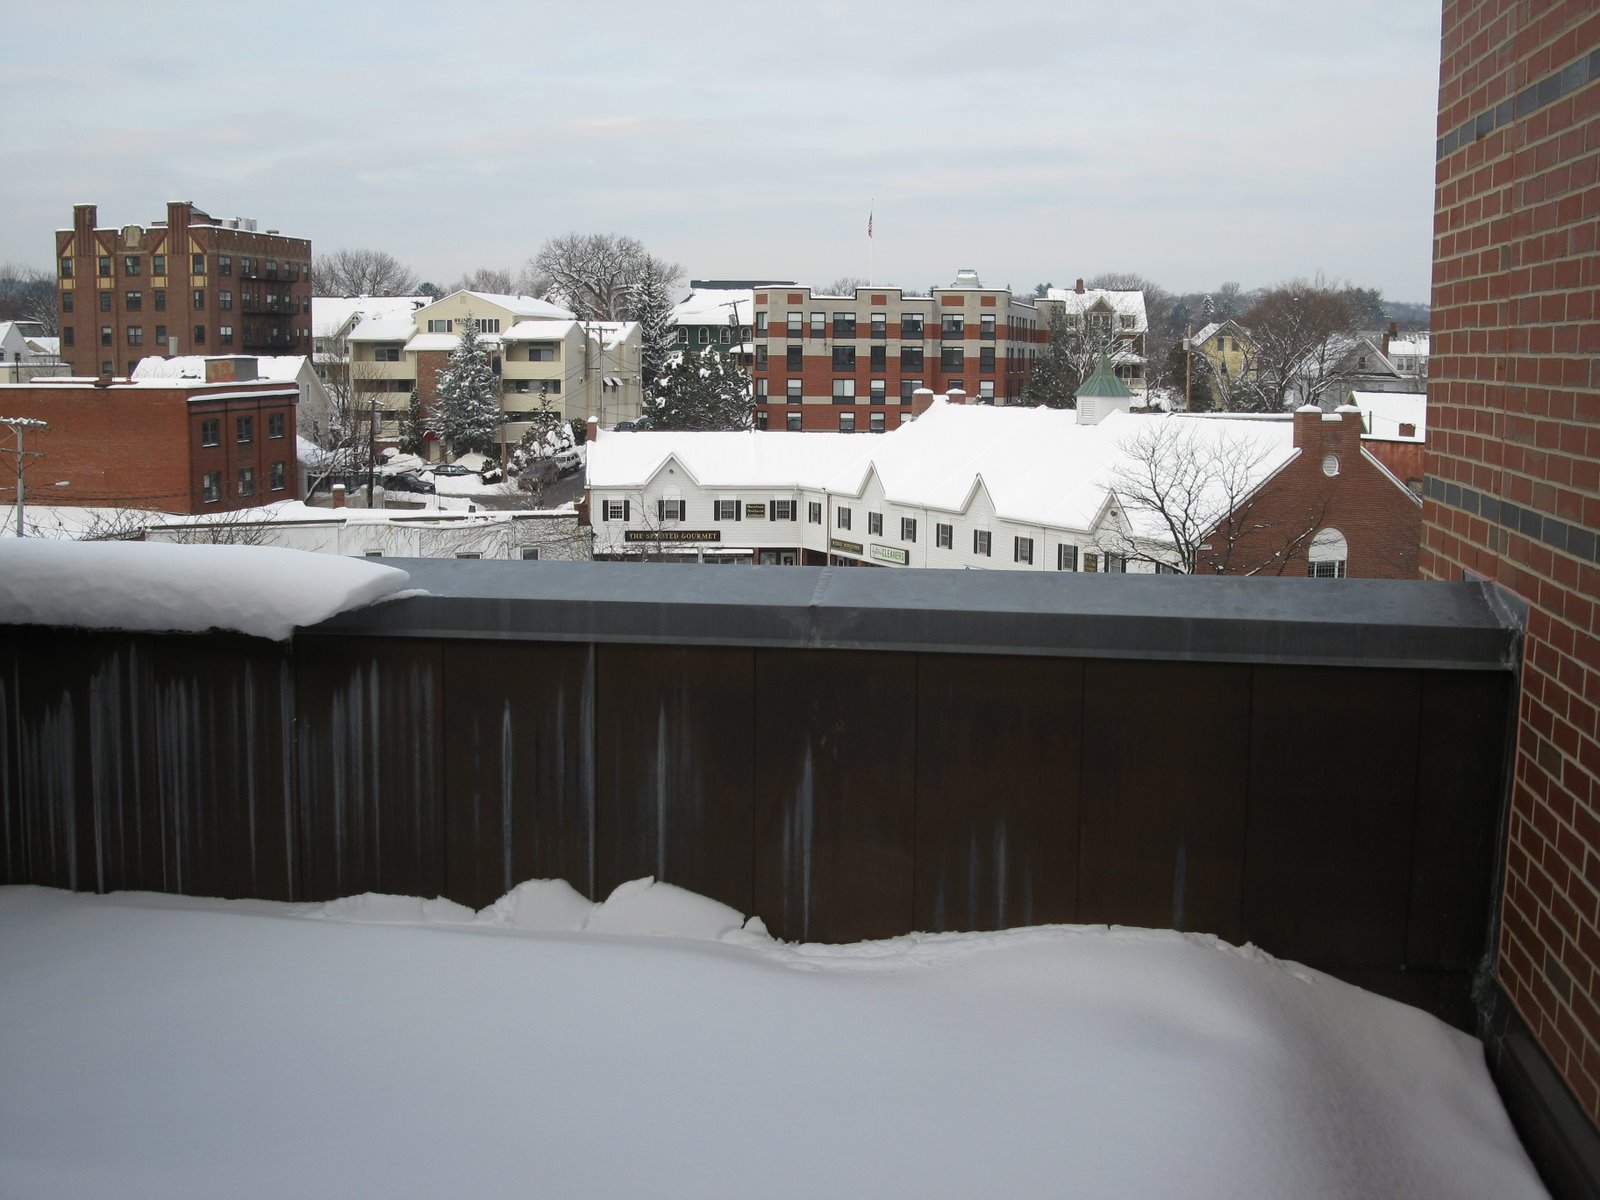
BEFORE PHOTO
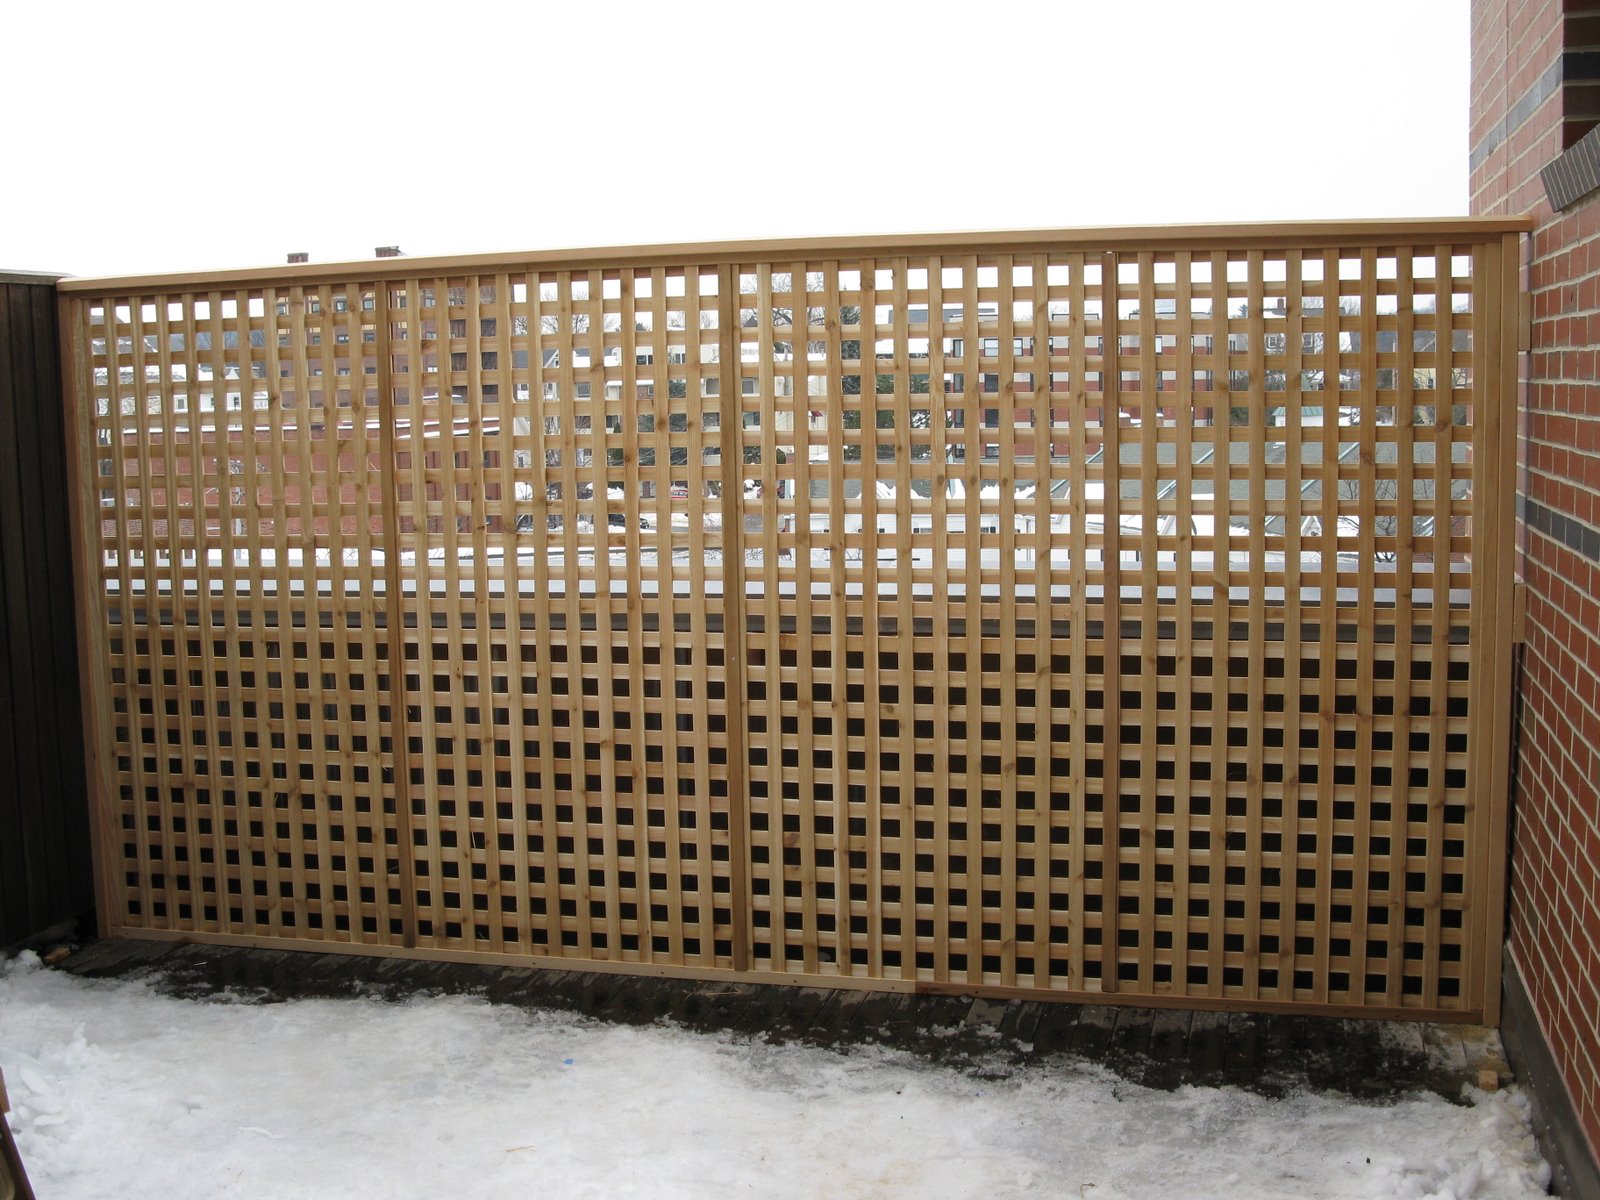
 AFTER PHOTO
Installing The Deck Privacy Screen
We build our privacy panels in the shop and transported them to the jobsite. See how we made these panels.
To install it we first had to deal with Mother Nature. After 1 hour of shoveling 14″ of snow off the deck, pouring hot water and chopping an inch of ice we finally made it down to the decking.
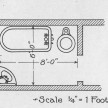
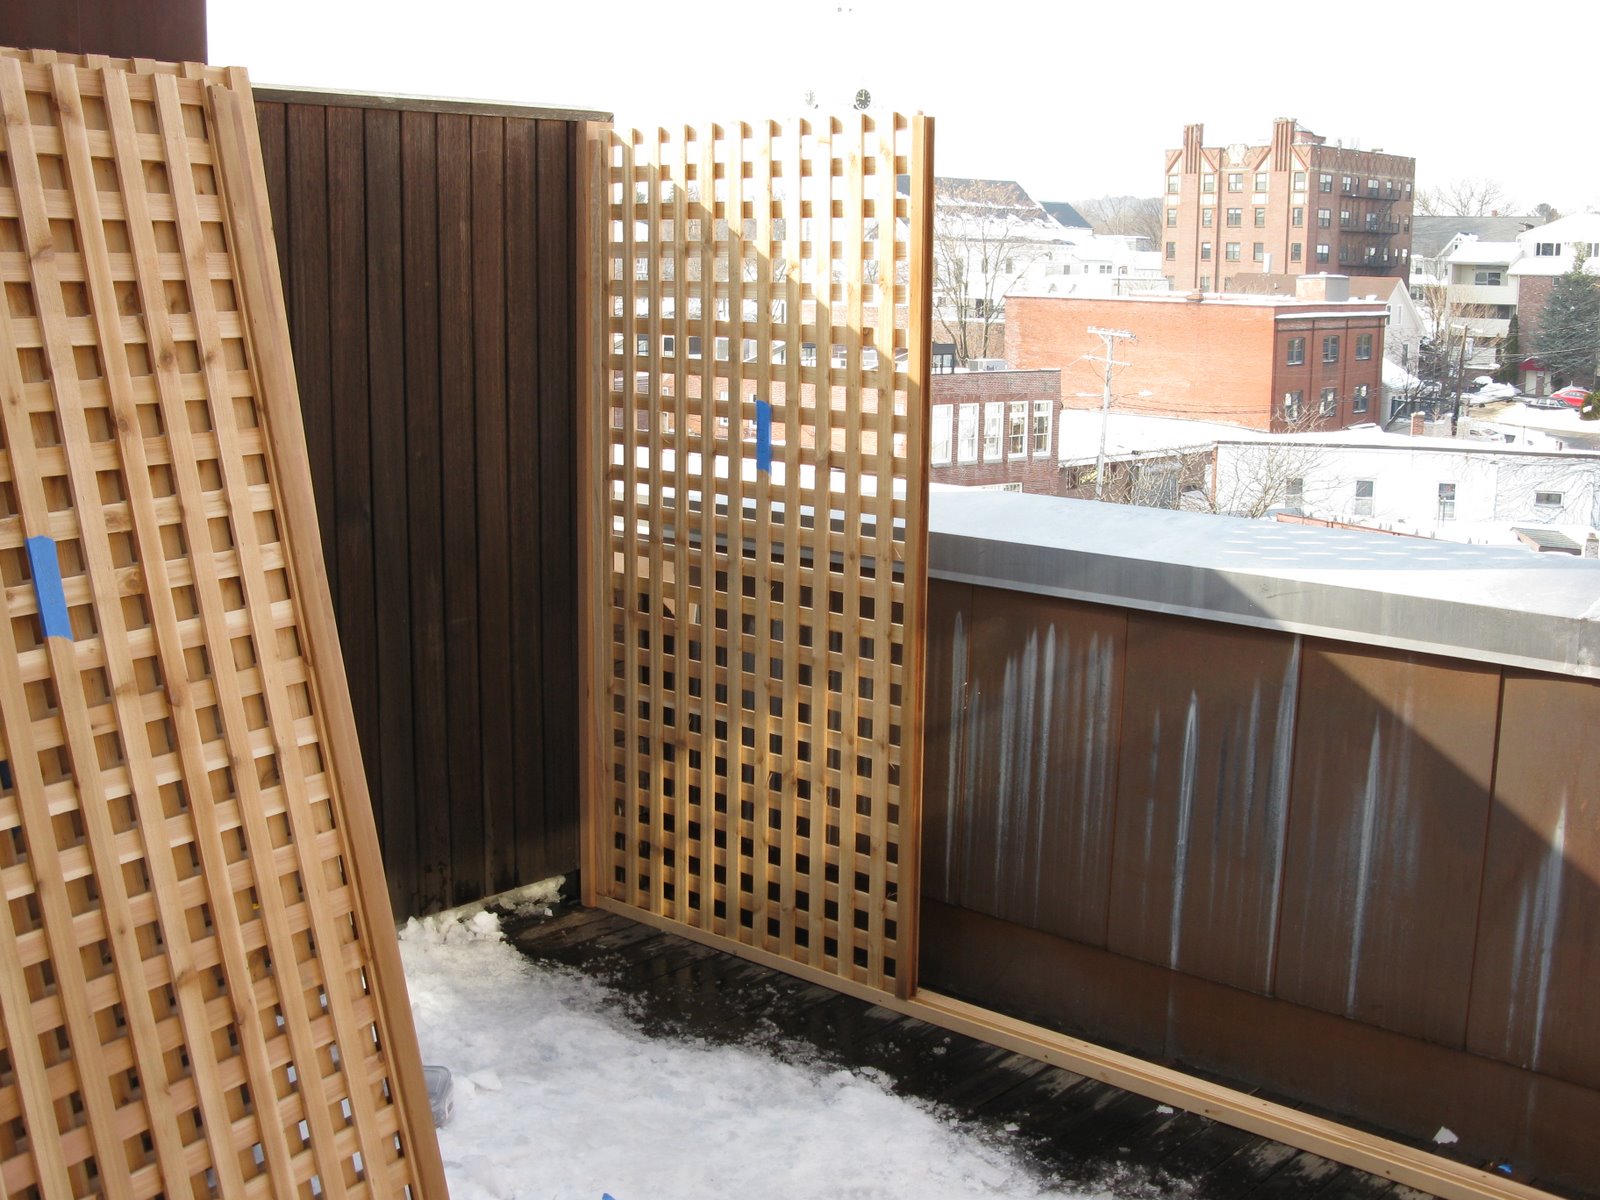
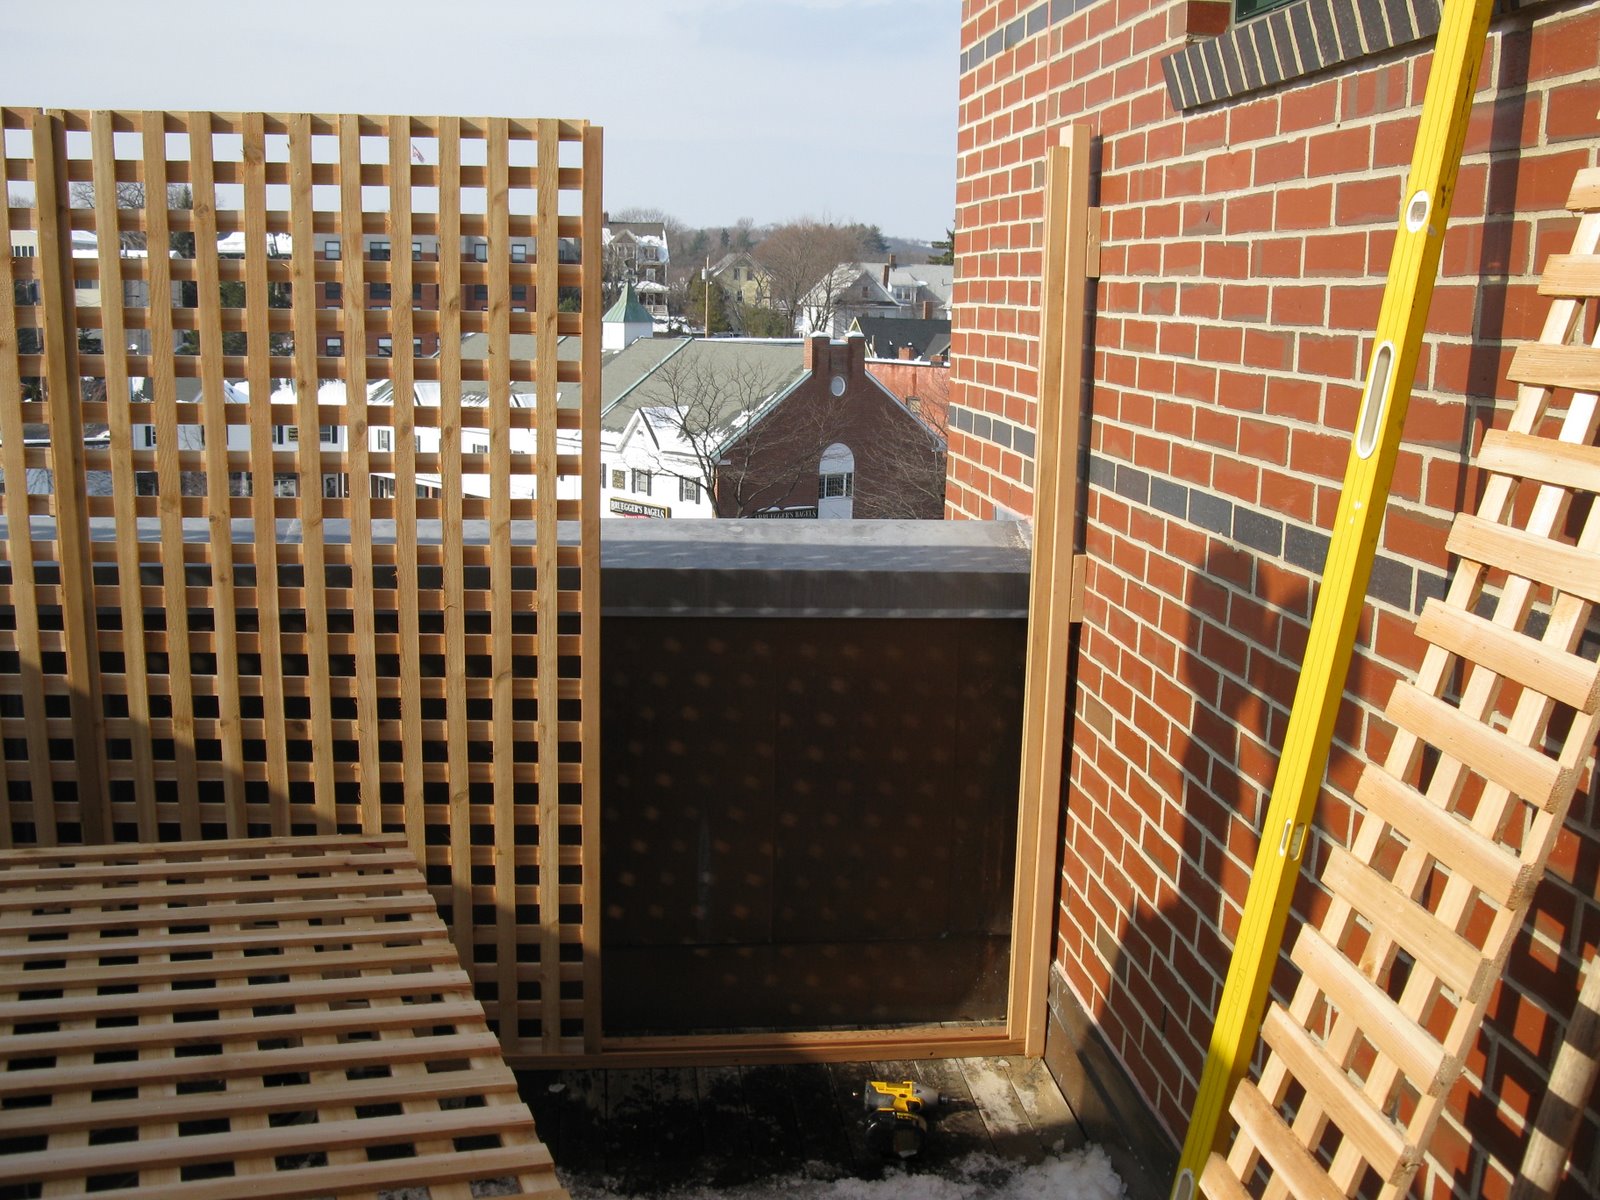
First order of business was to establish a place to install the screen. We chose to locate the screen 4″ off the rear, copper coated, half wall. [photo below]
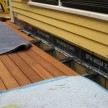
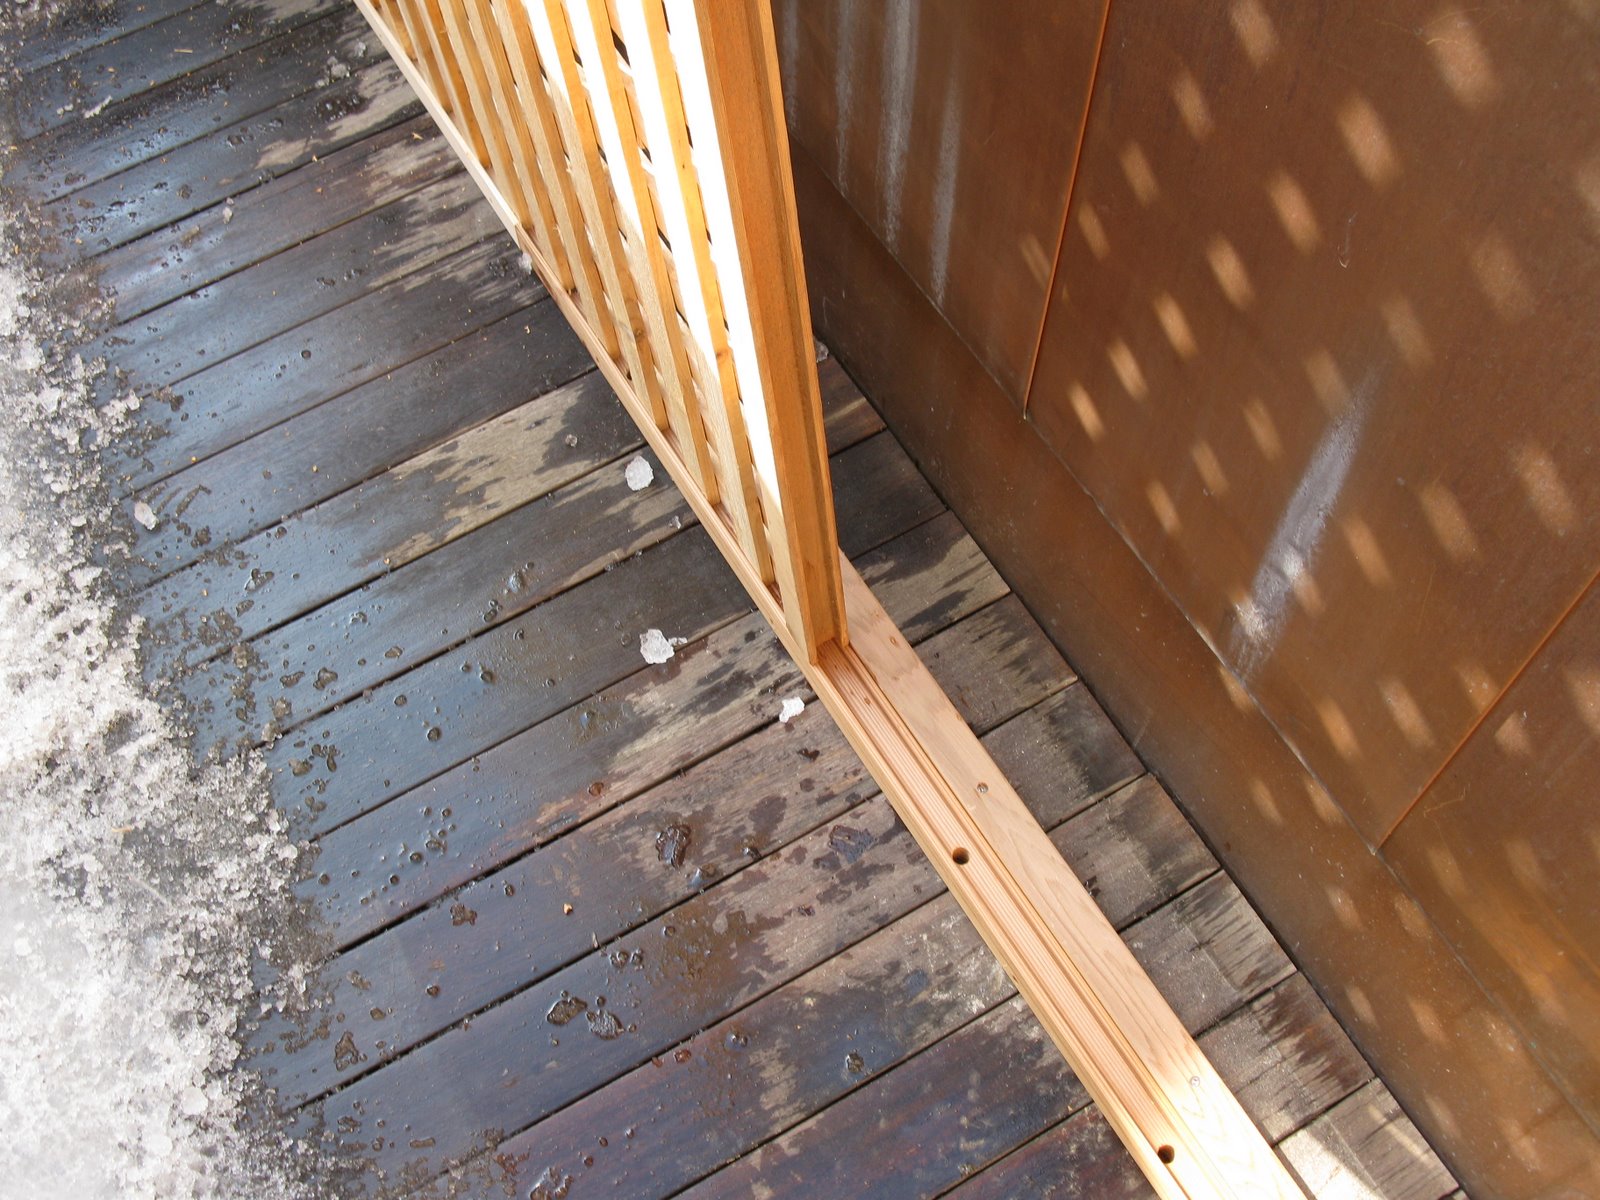
Floor Cleats and Brick Wall Provide Rigidity:
The floor cleats went in first, followed by the 2×4 wall supports.
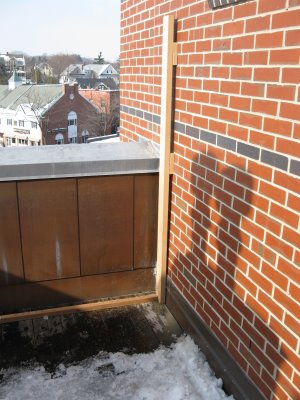
The spacer blocks were needed because of the lower portion of the wall was built out with copper counter flashing.
Privacy Screen for Deck

The fence 2×4 support support went up easy, was secured with hidden stainless steel screws and allowed the first panel to slip right in.
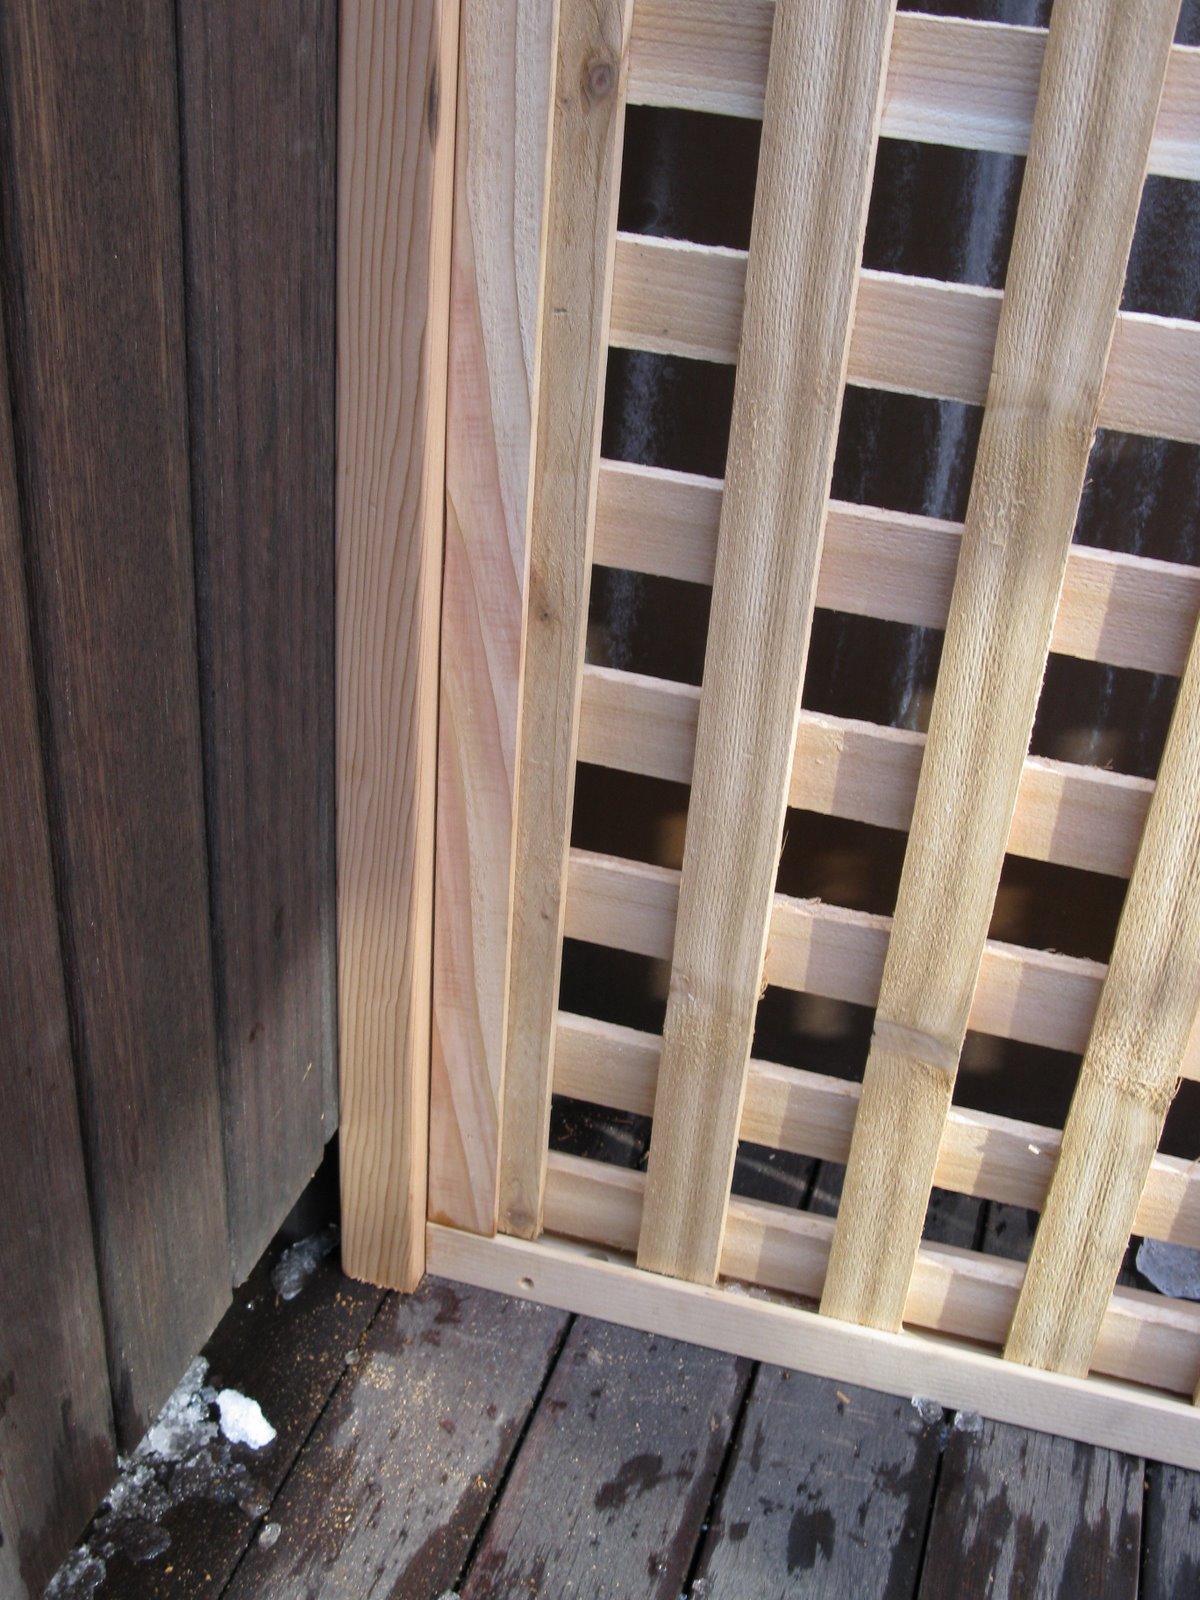
 Close up of the end panel final fitting. [click on photos to enlarge]
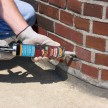
 Bill is screwing in the last section of floor channel to the decking cleat.
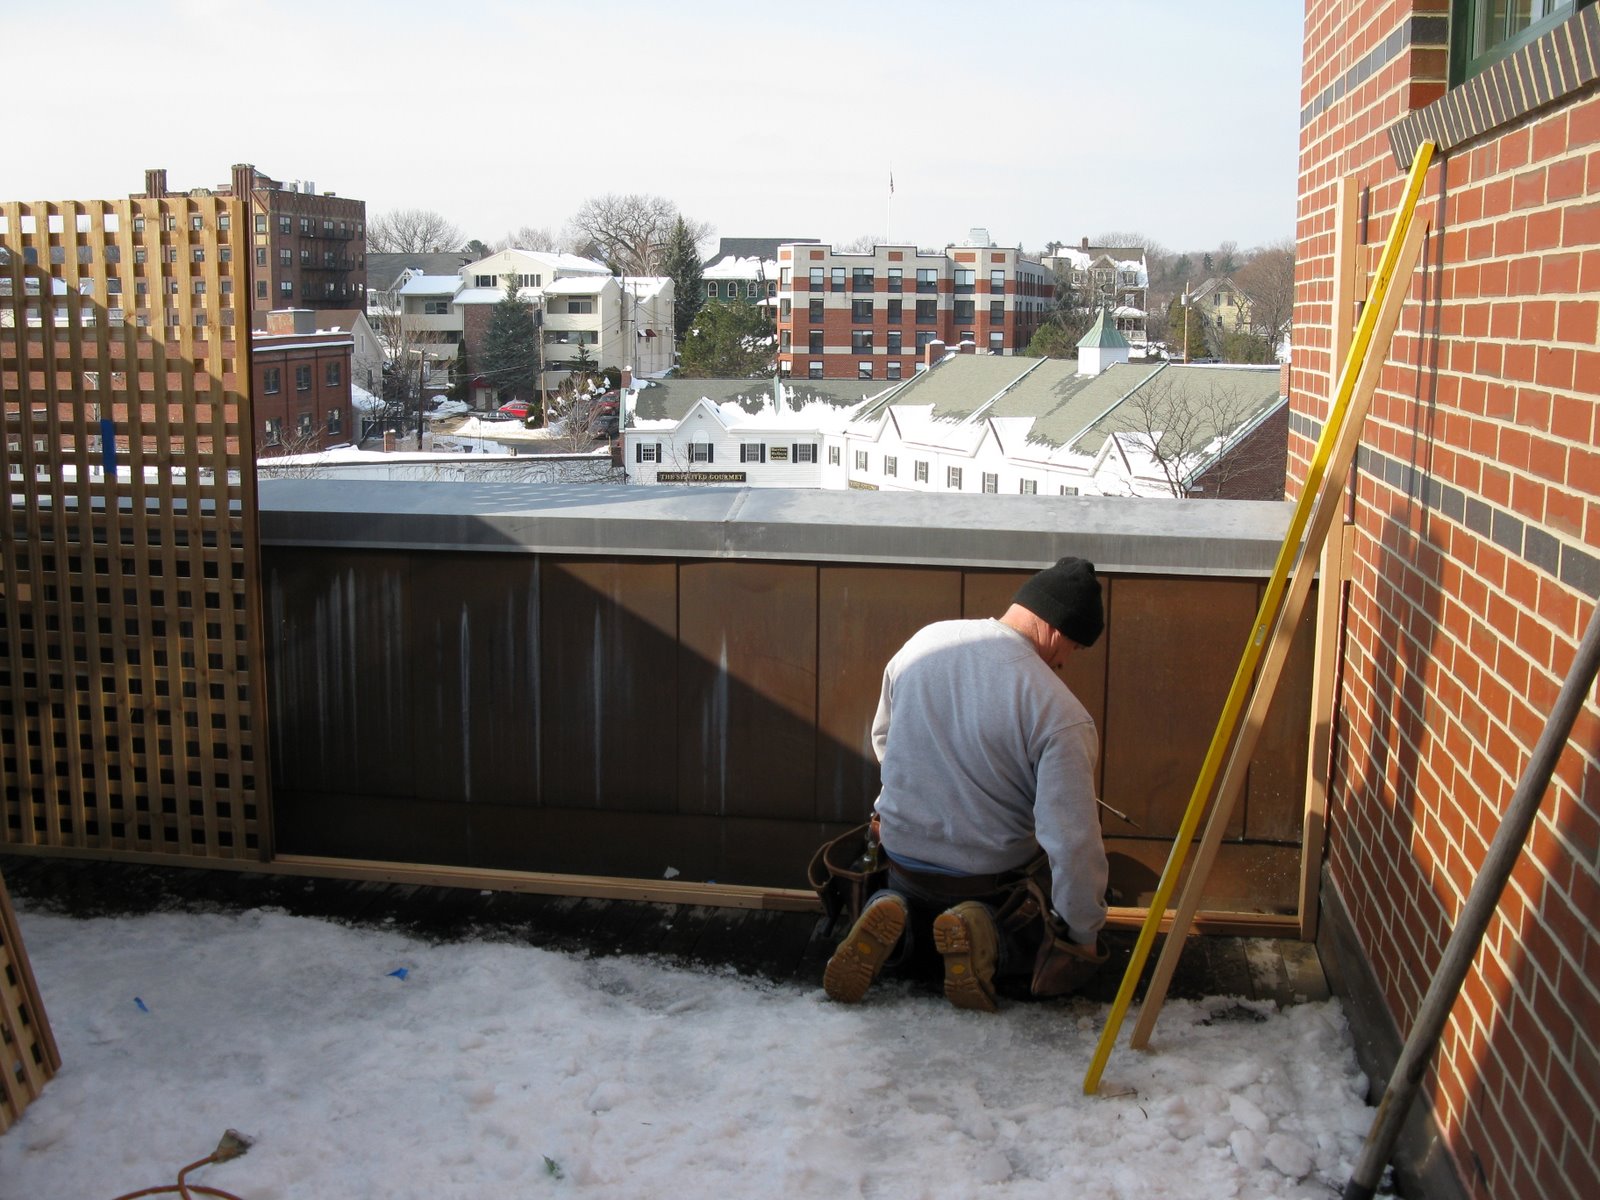
Third panel installed no issues yet. Everything was level and plumb!
Close up of the floor cleat and floor channel with drain holes.
Final panel goes in without a hitch.
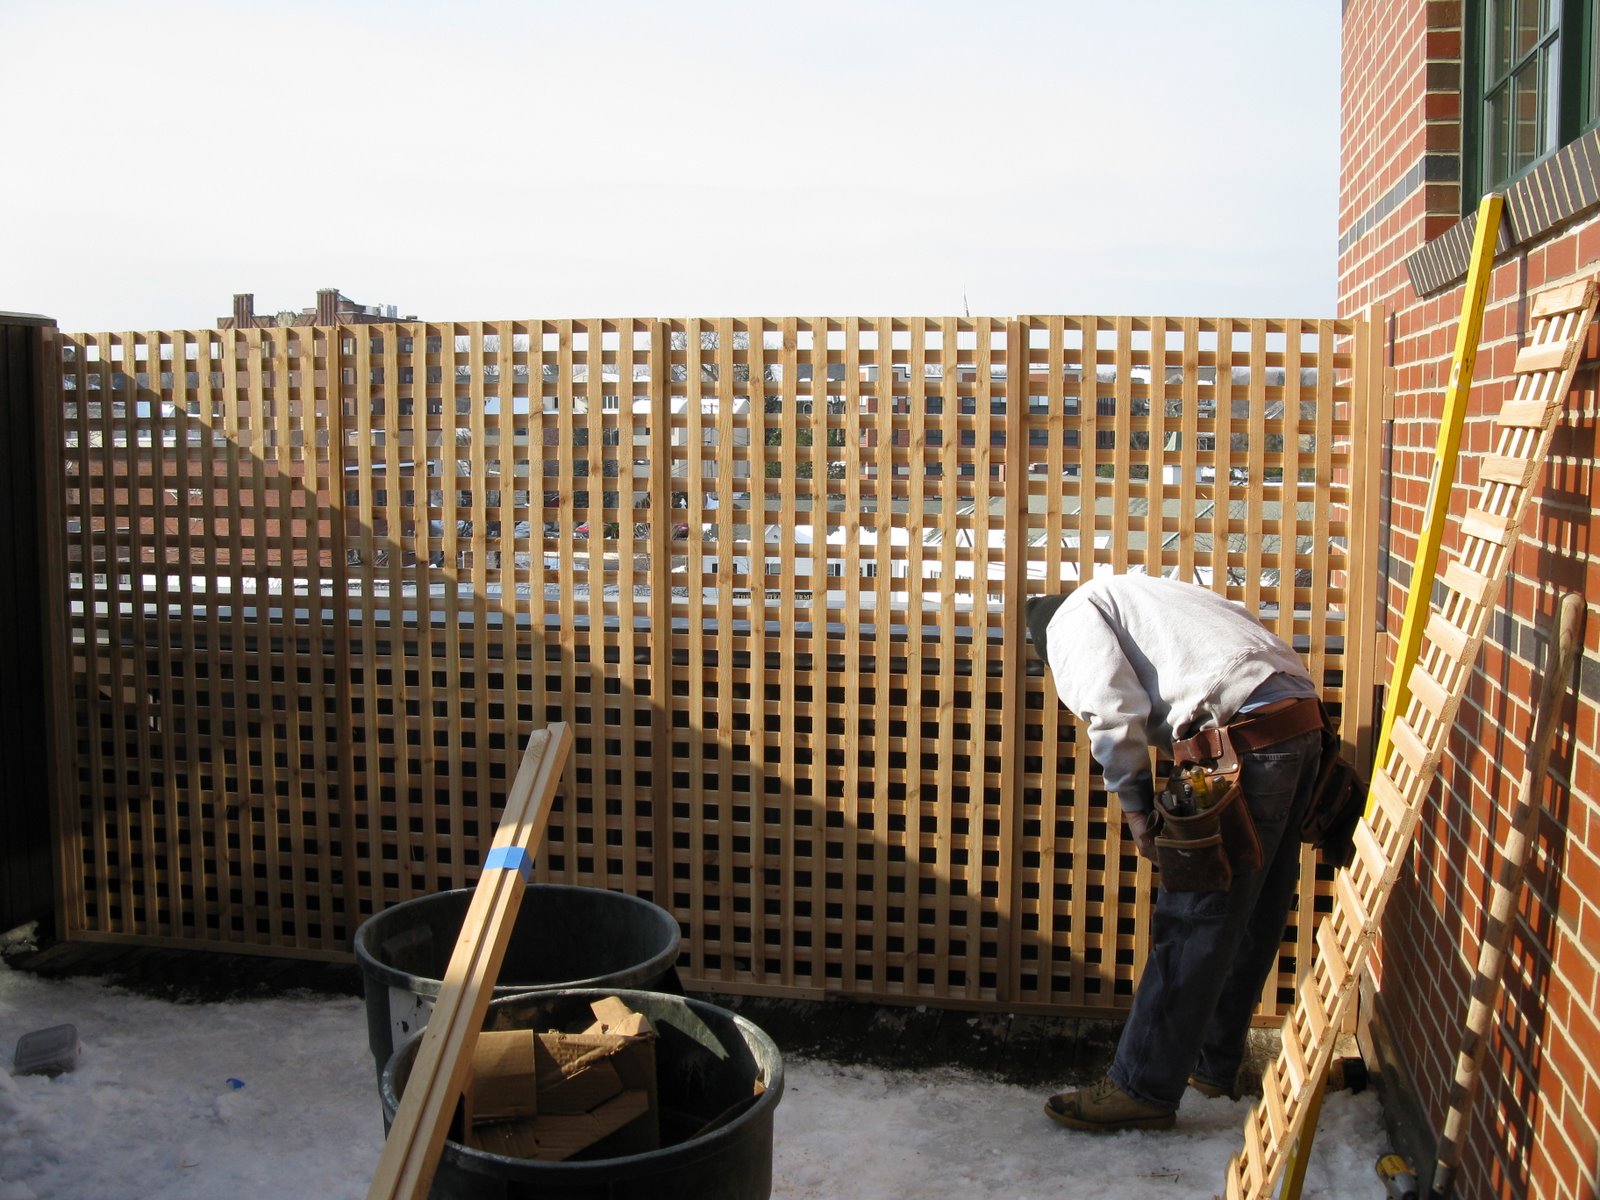 This picture shows all of the panels in and the top channel dry fitted. The final fitting will involve screwing this top channel to the underside of the top rail, with hidden stainless screws.
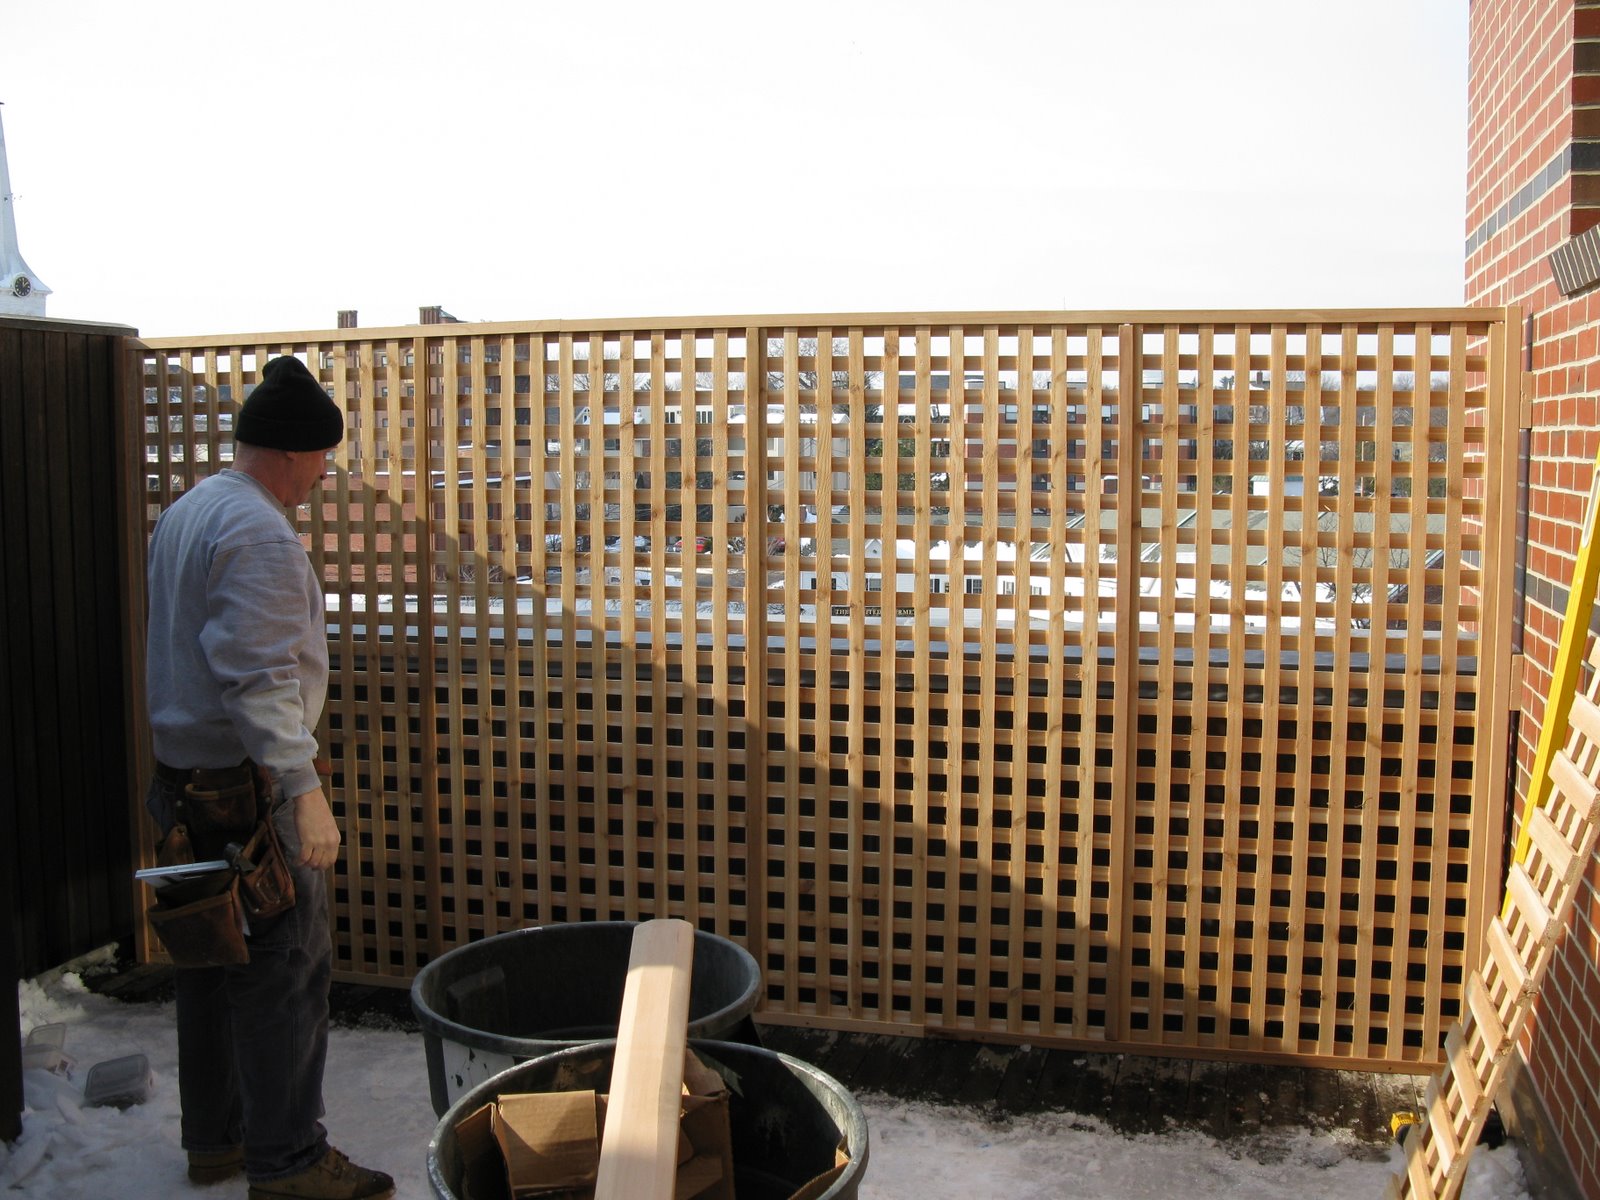 Top rail installed. We used crown staples, mostly on the back side, to secure the top channel to the lattice panels, and then secured the top rail to the wall and fence 2×4 supports, each with two long stainless steel screws.
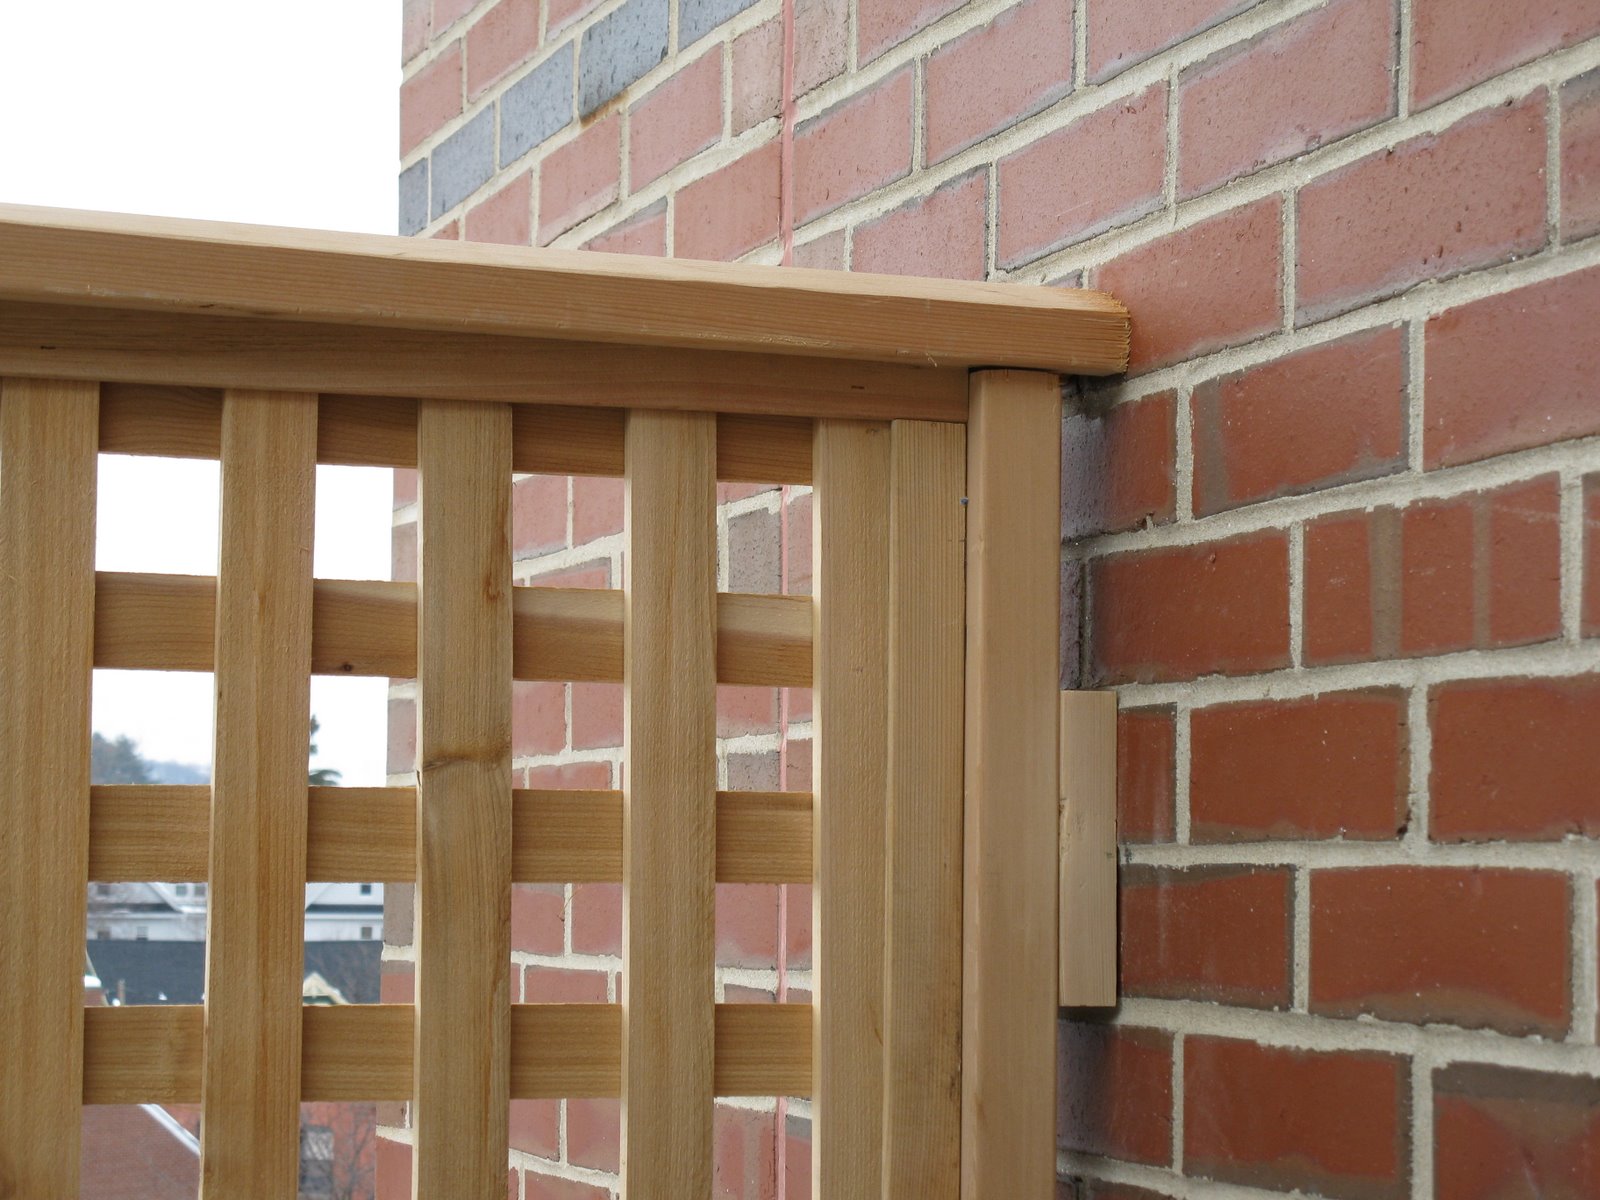 A center support, not shown, was added in the lower middle panels to reduce sway in the middle panel section.
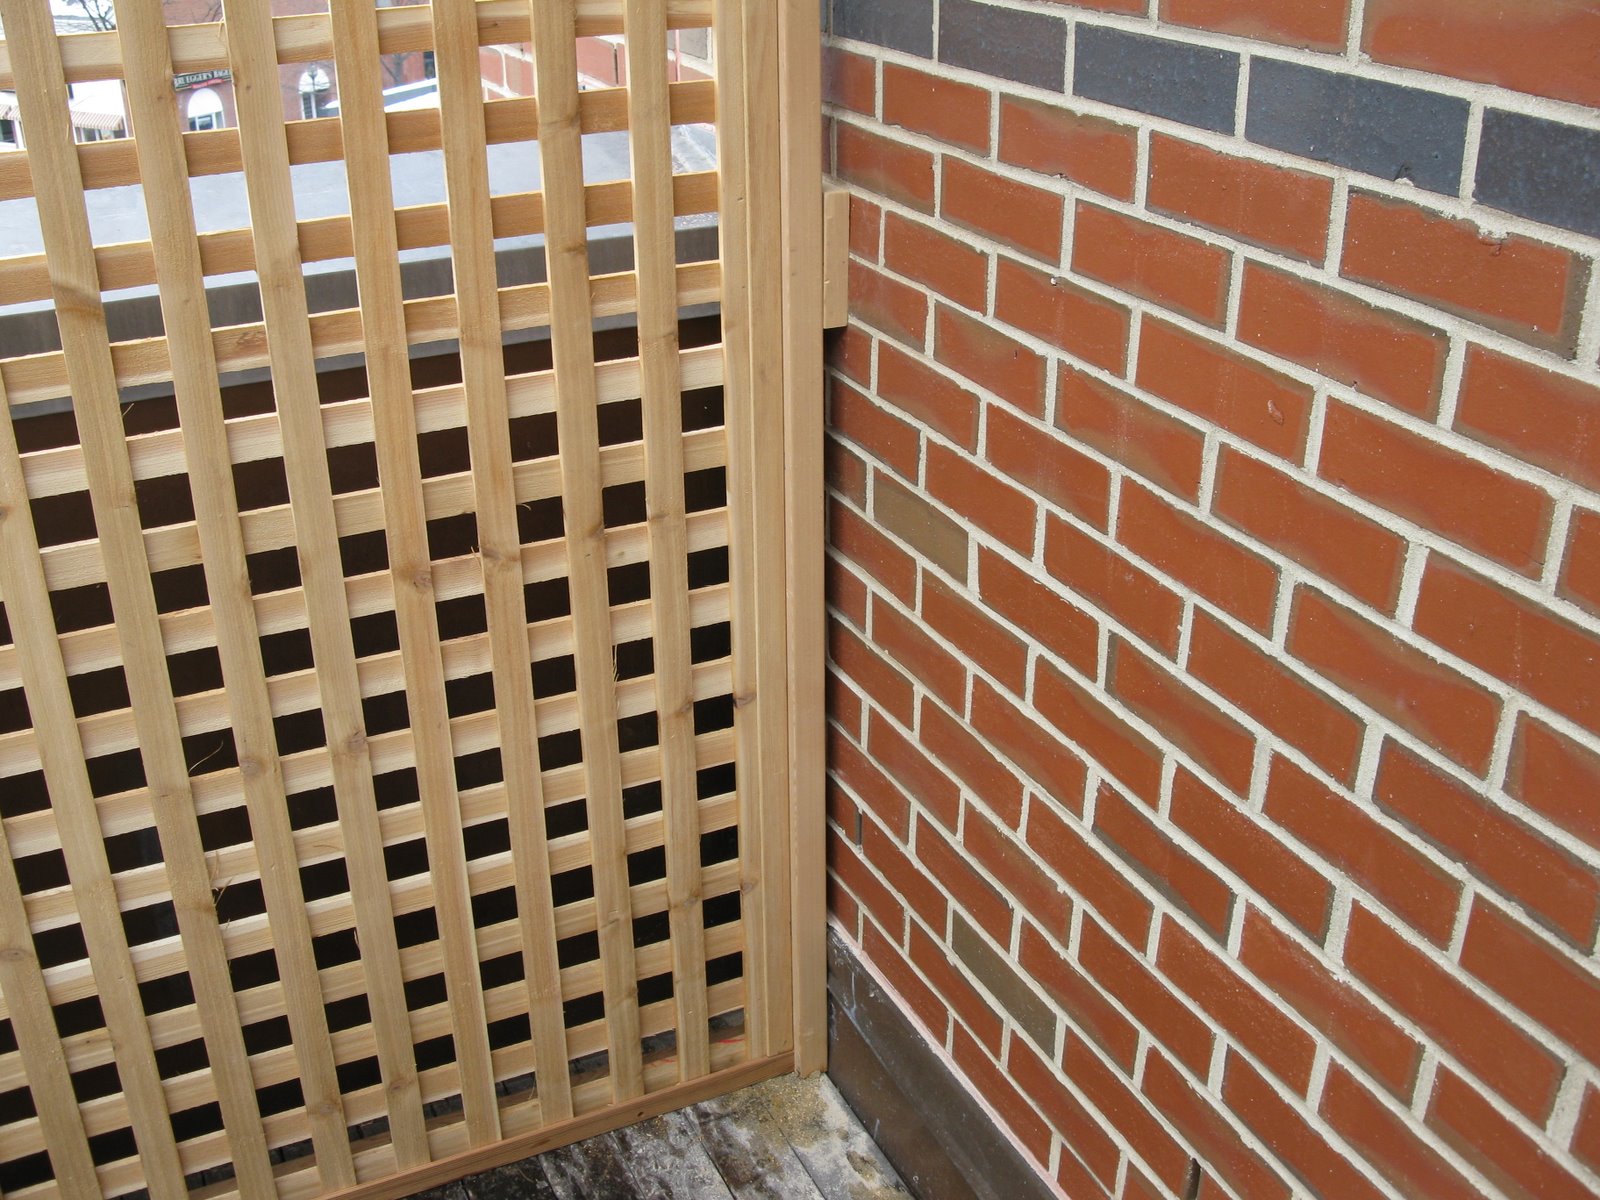 Final pictures.
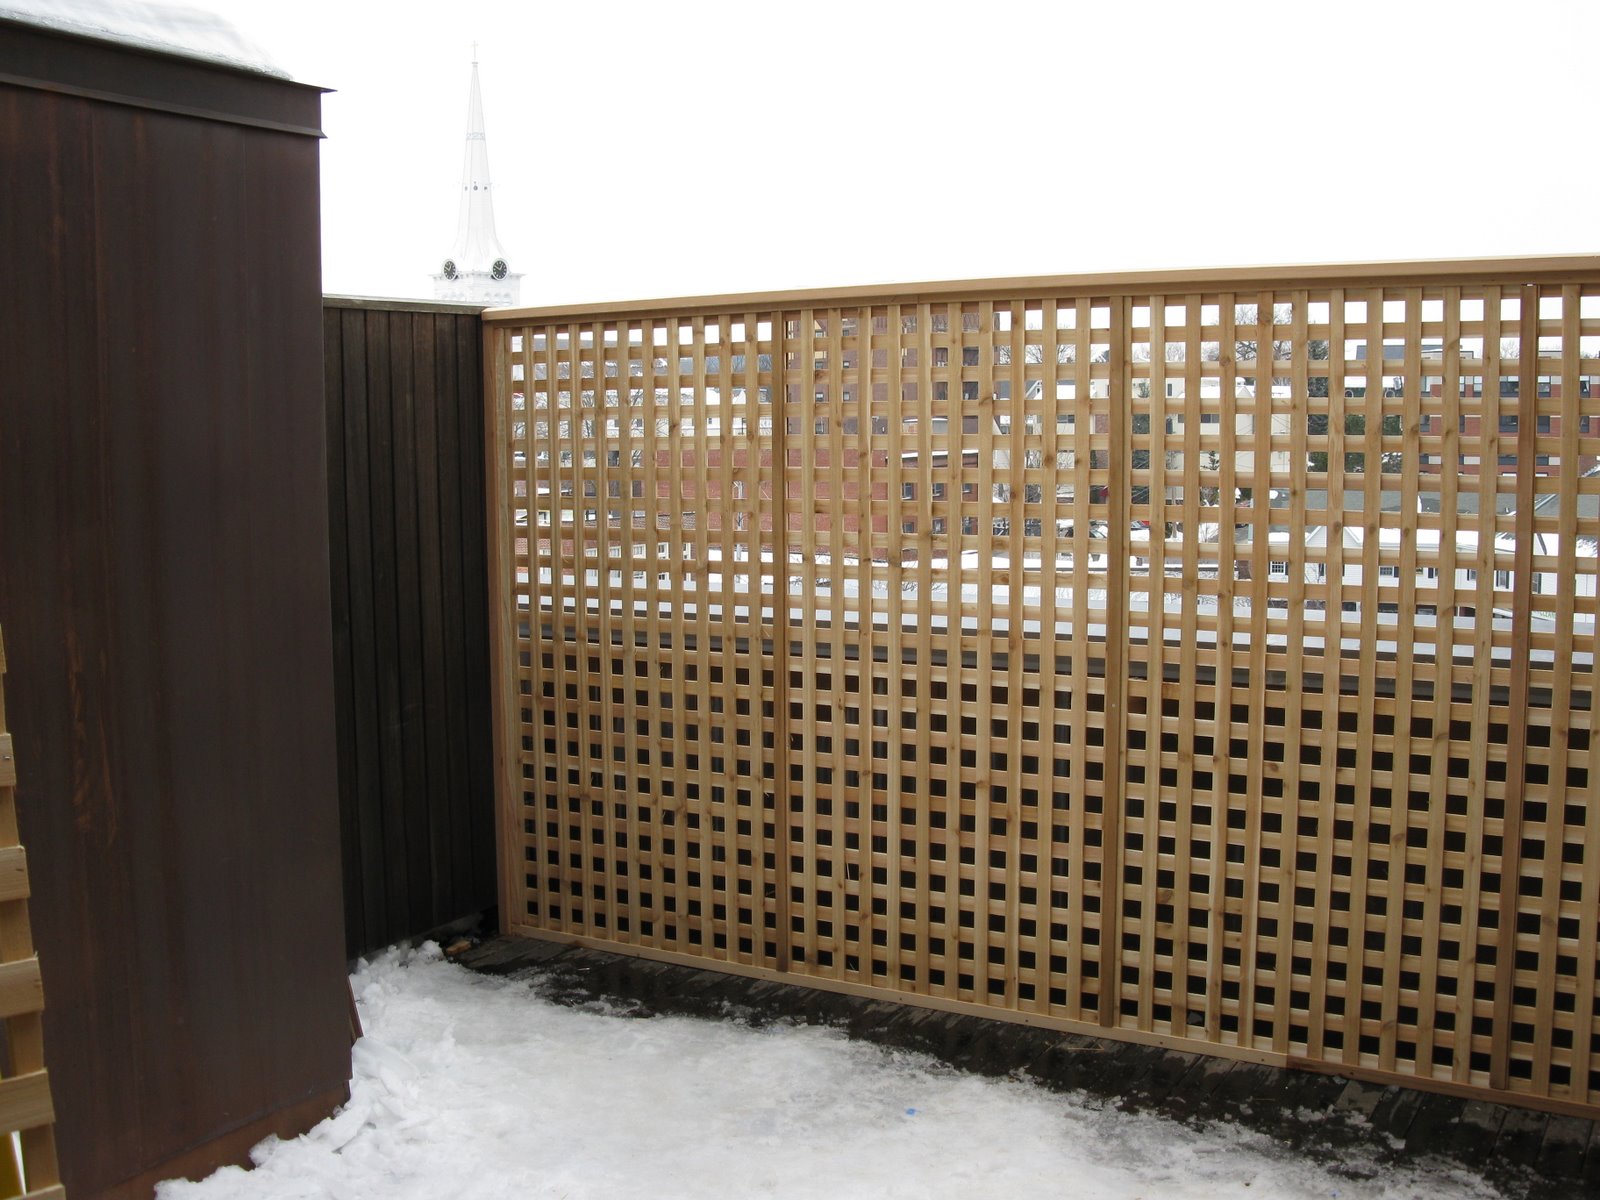 A slight angle was cut on both sides of the top rail to help pitch water.
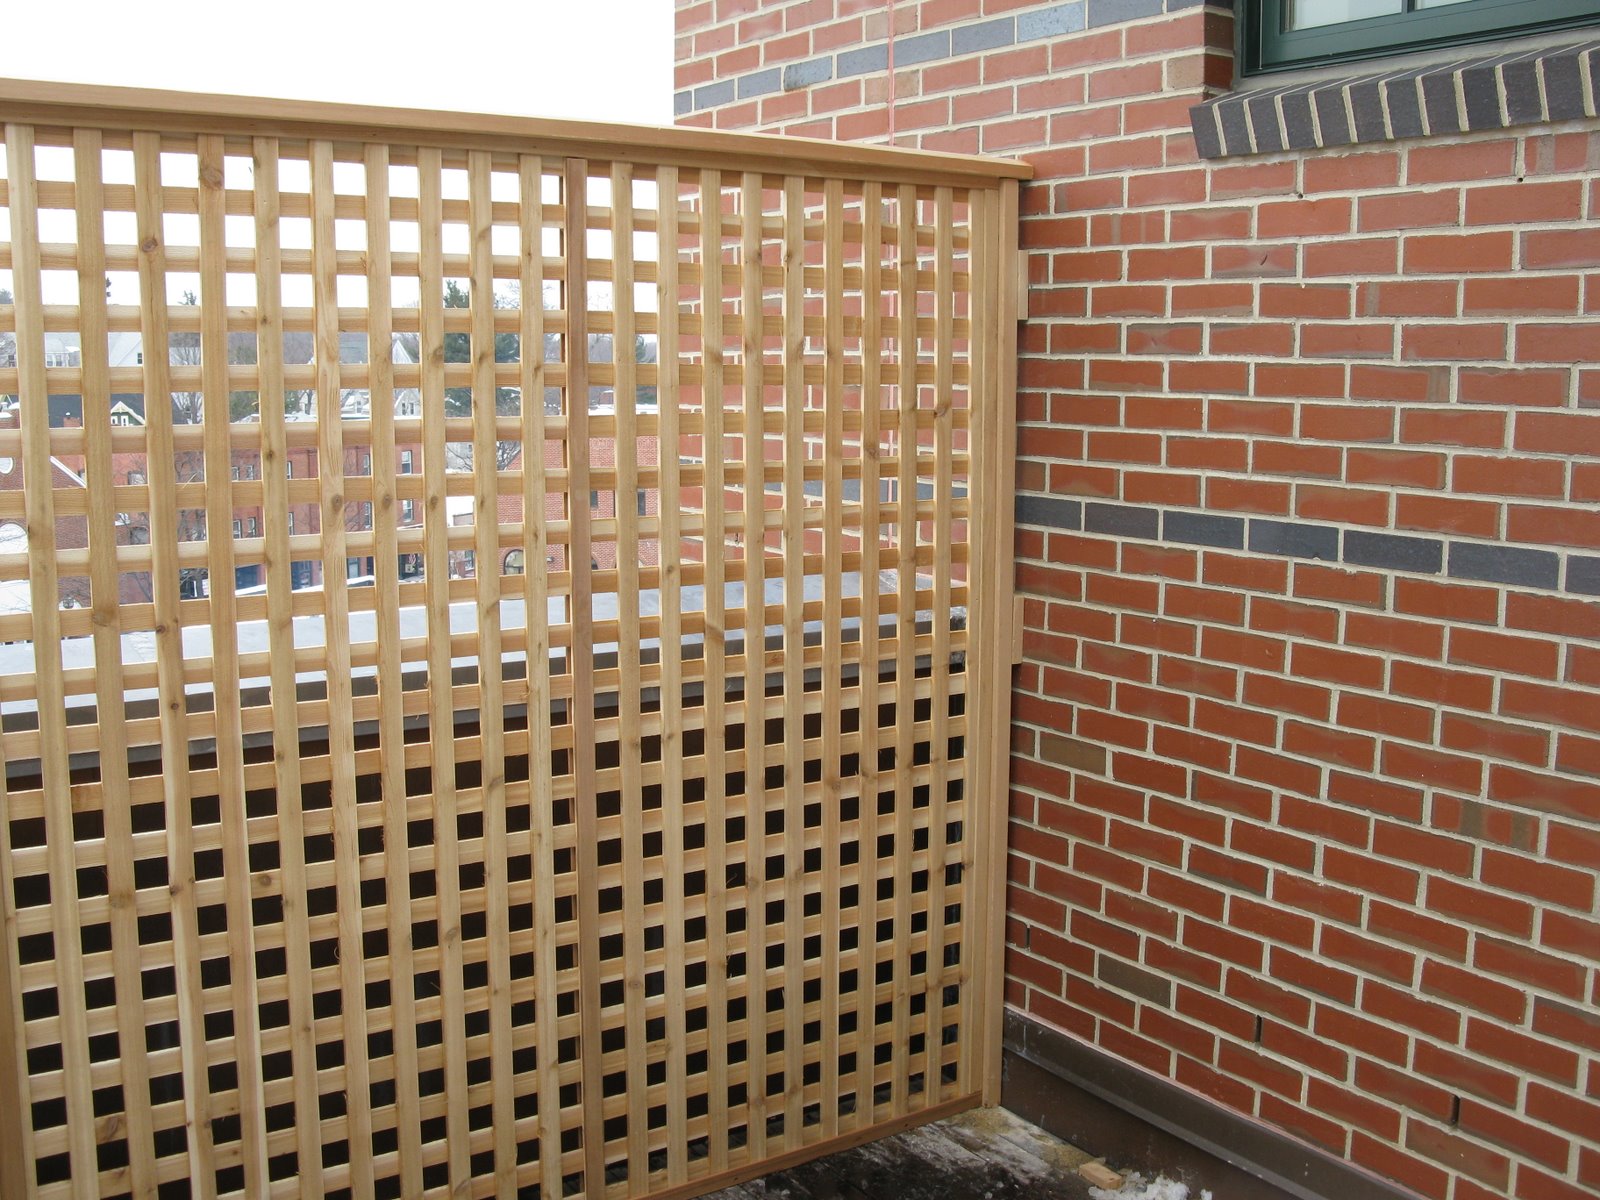 ~ a concord carpenter